Welcome to
Valley Oak Paper
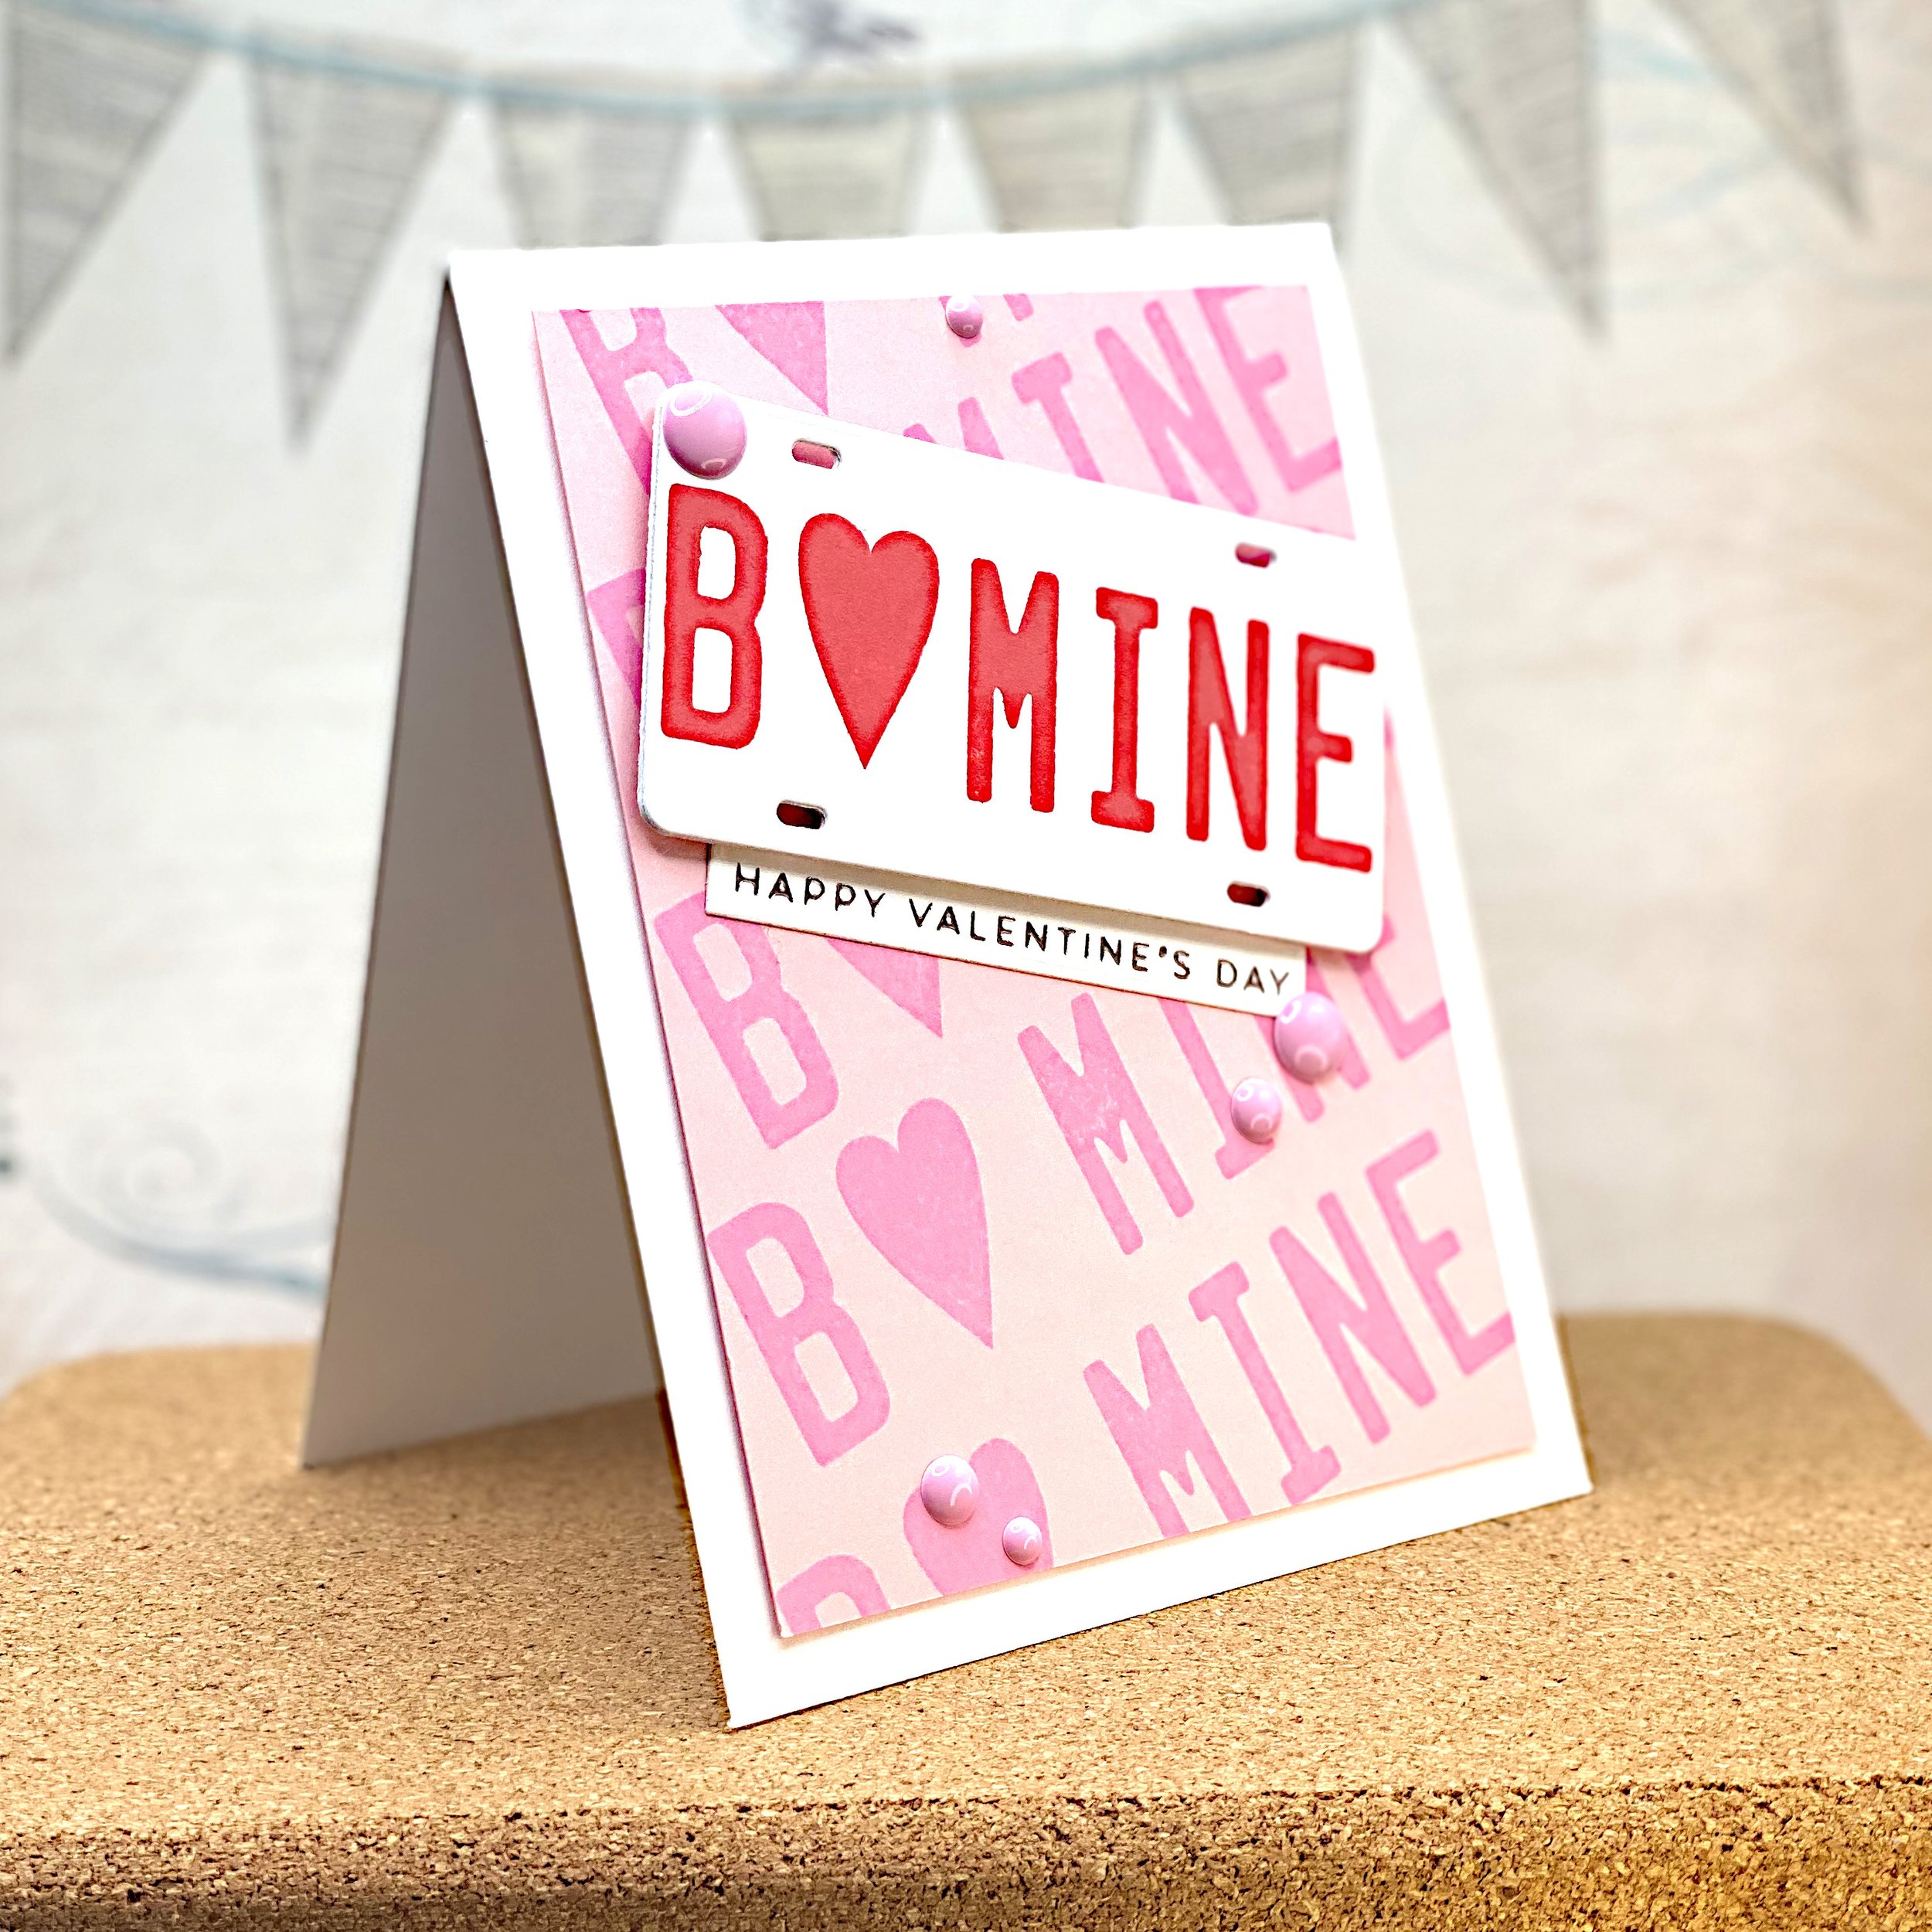
B♥️ Mine - Clean & Simple Valentine
For this card I used the MFT Vanity License Plate Alphabet Stamp Set and MFT Vanity License Plate Die. I have so many ideas for how to use these! How about a 🍕PIZZA, 🎂 HBD, 🐻 BEAR, 🦌 DEER or 🐋 WHALE license plate?
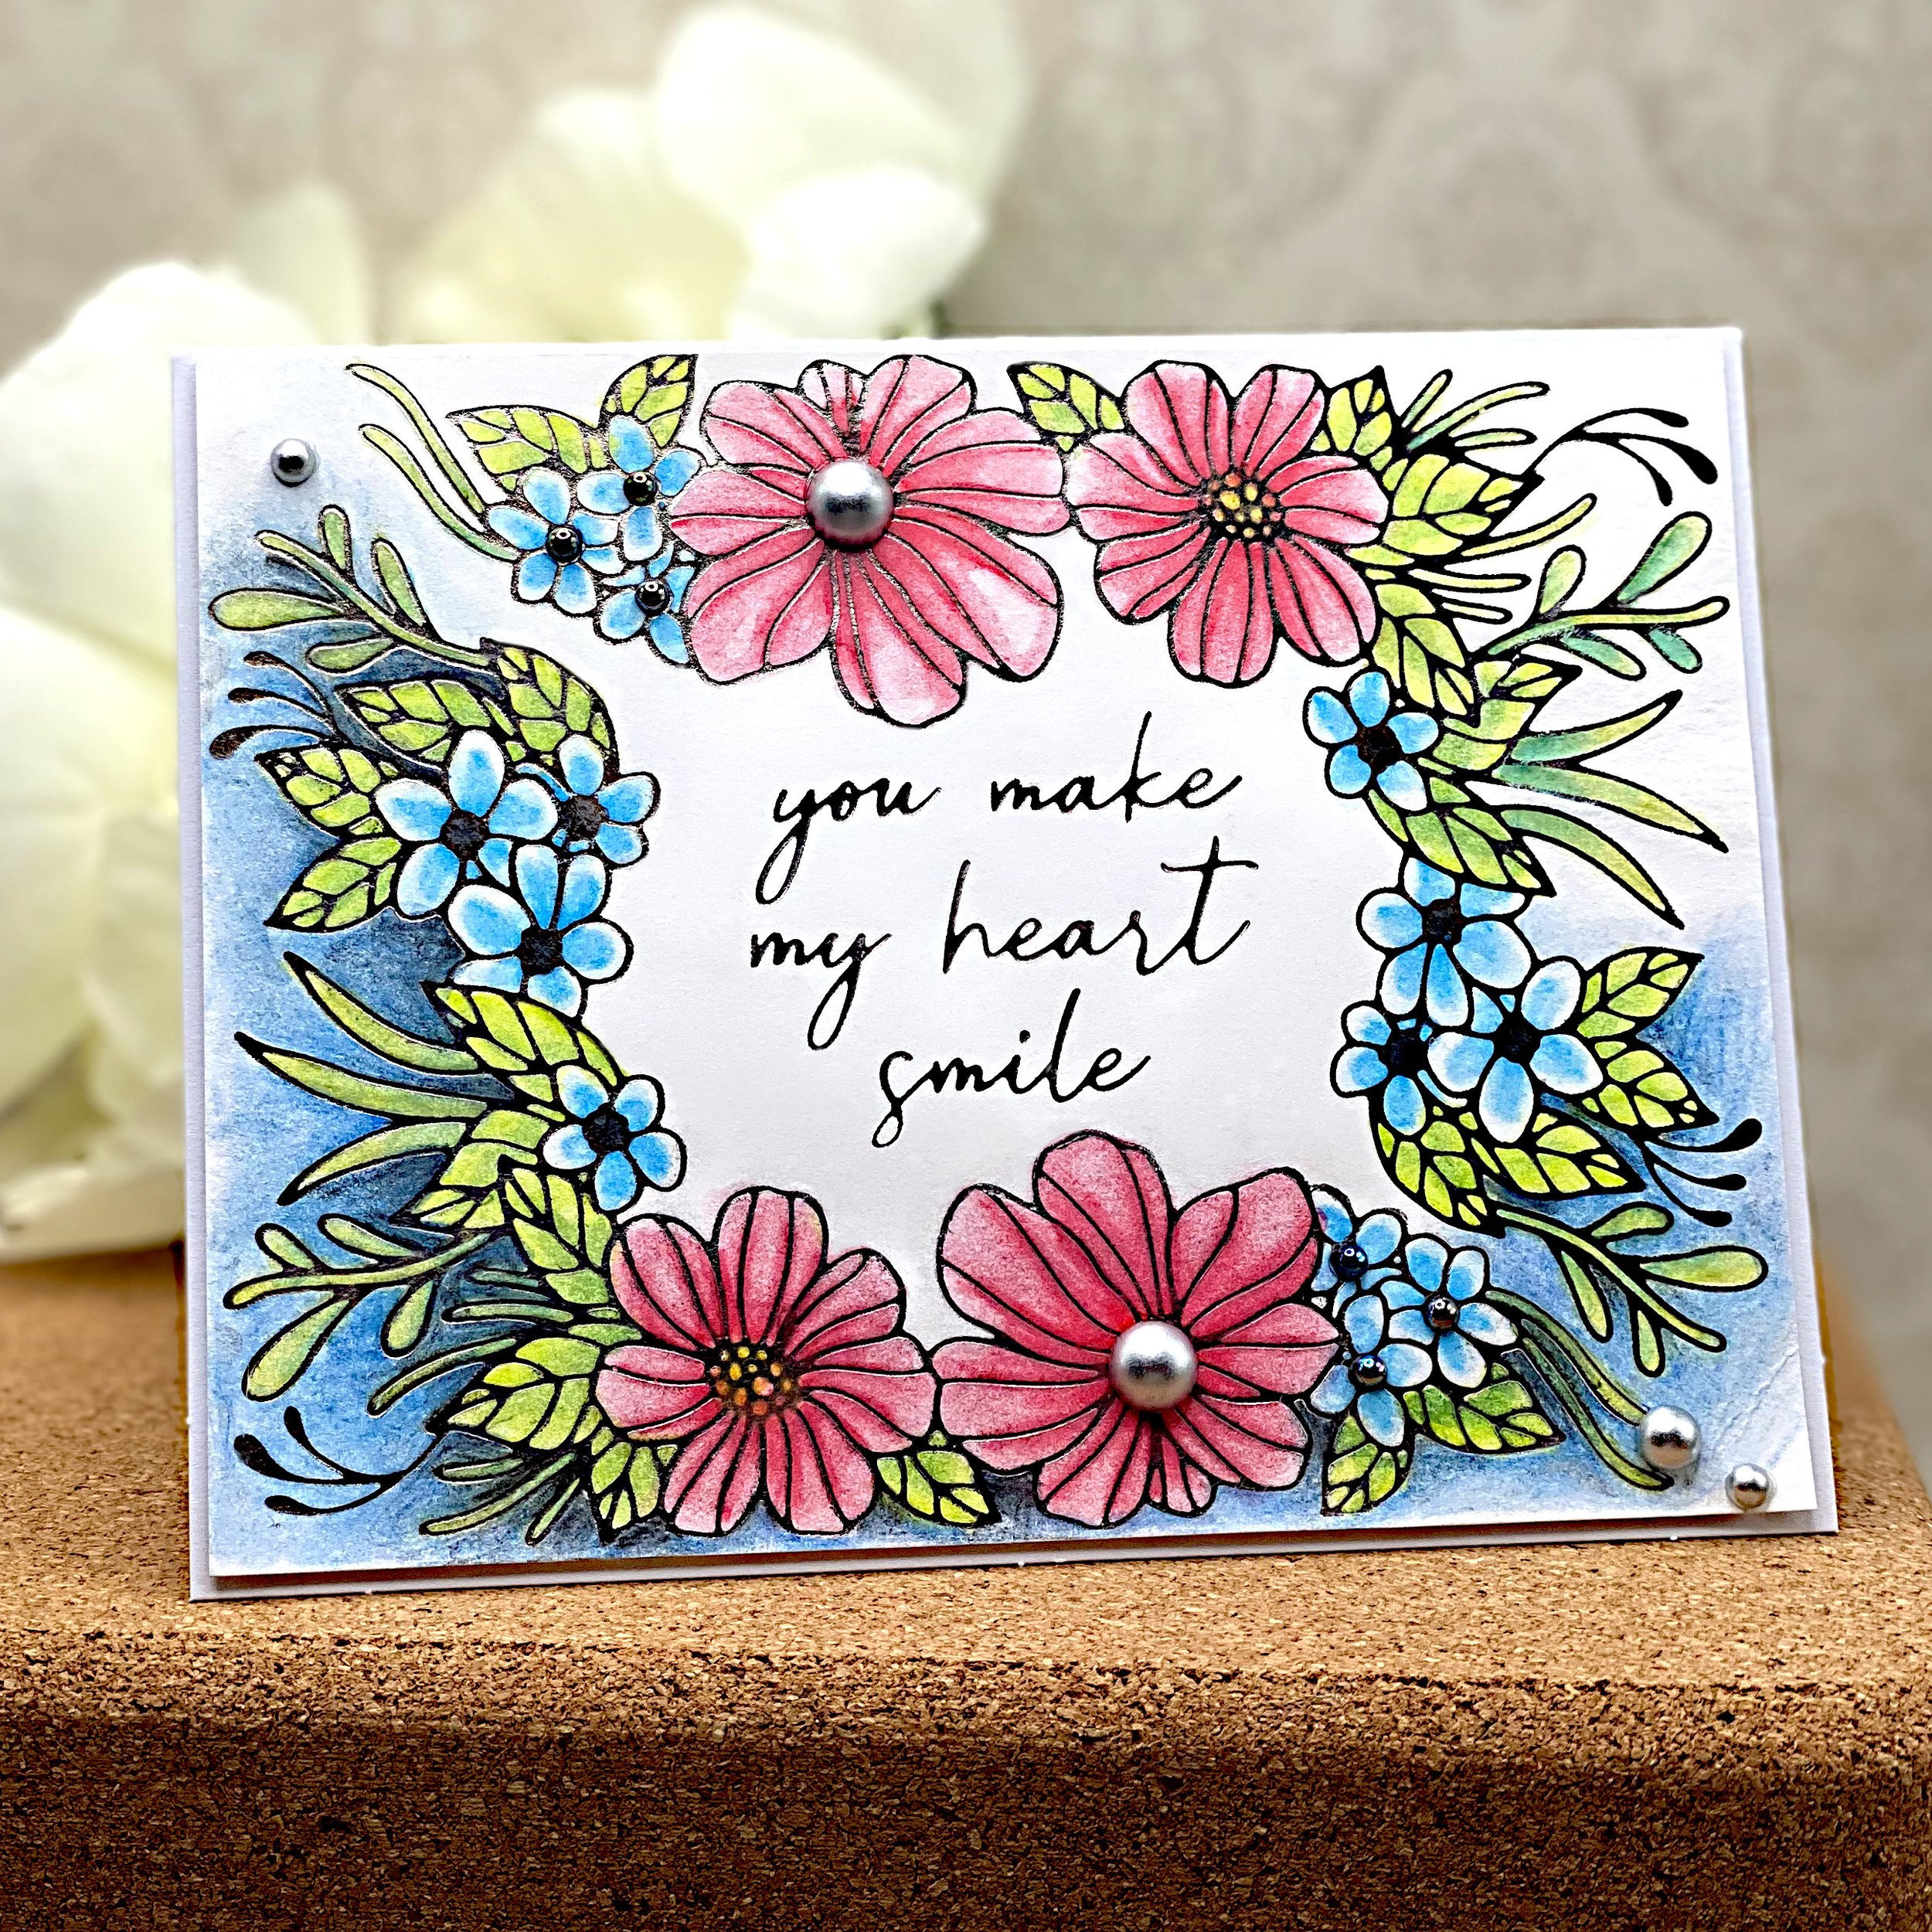
You Make My Heart Smile
For this card I used the Spellbinders Glimmer Hot Foil Kit of the Month for December 2023. Getting a new toy to play with every month is just so much fun!
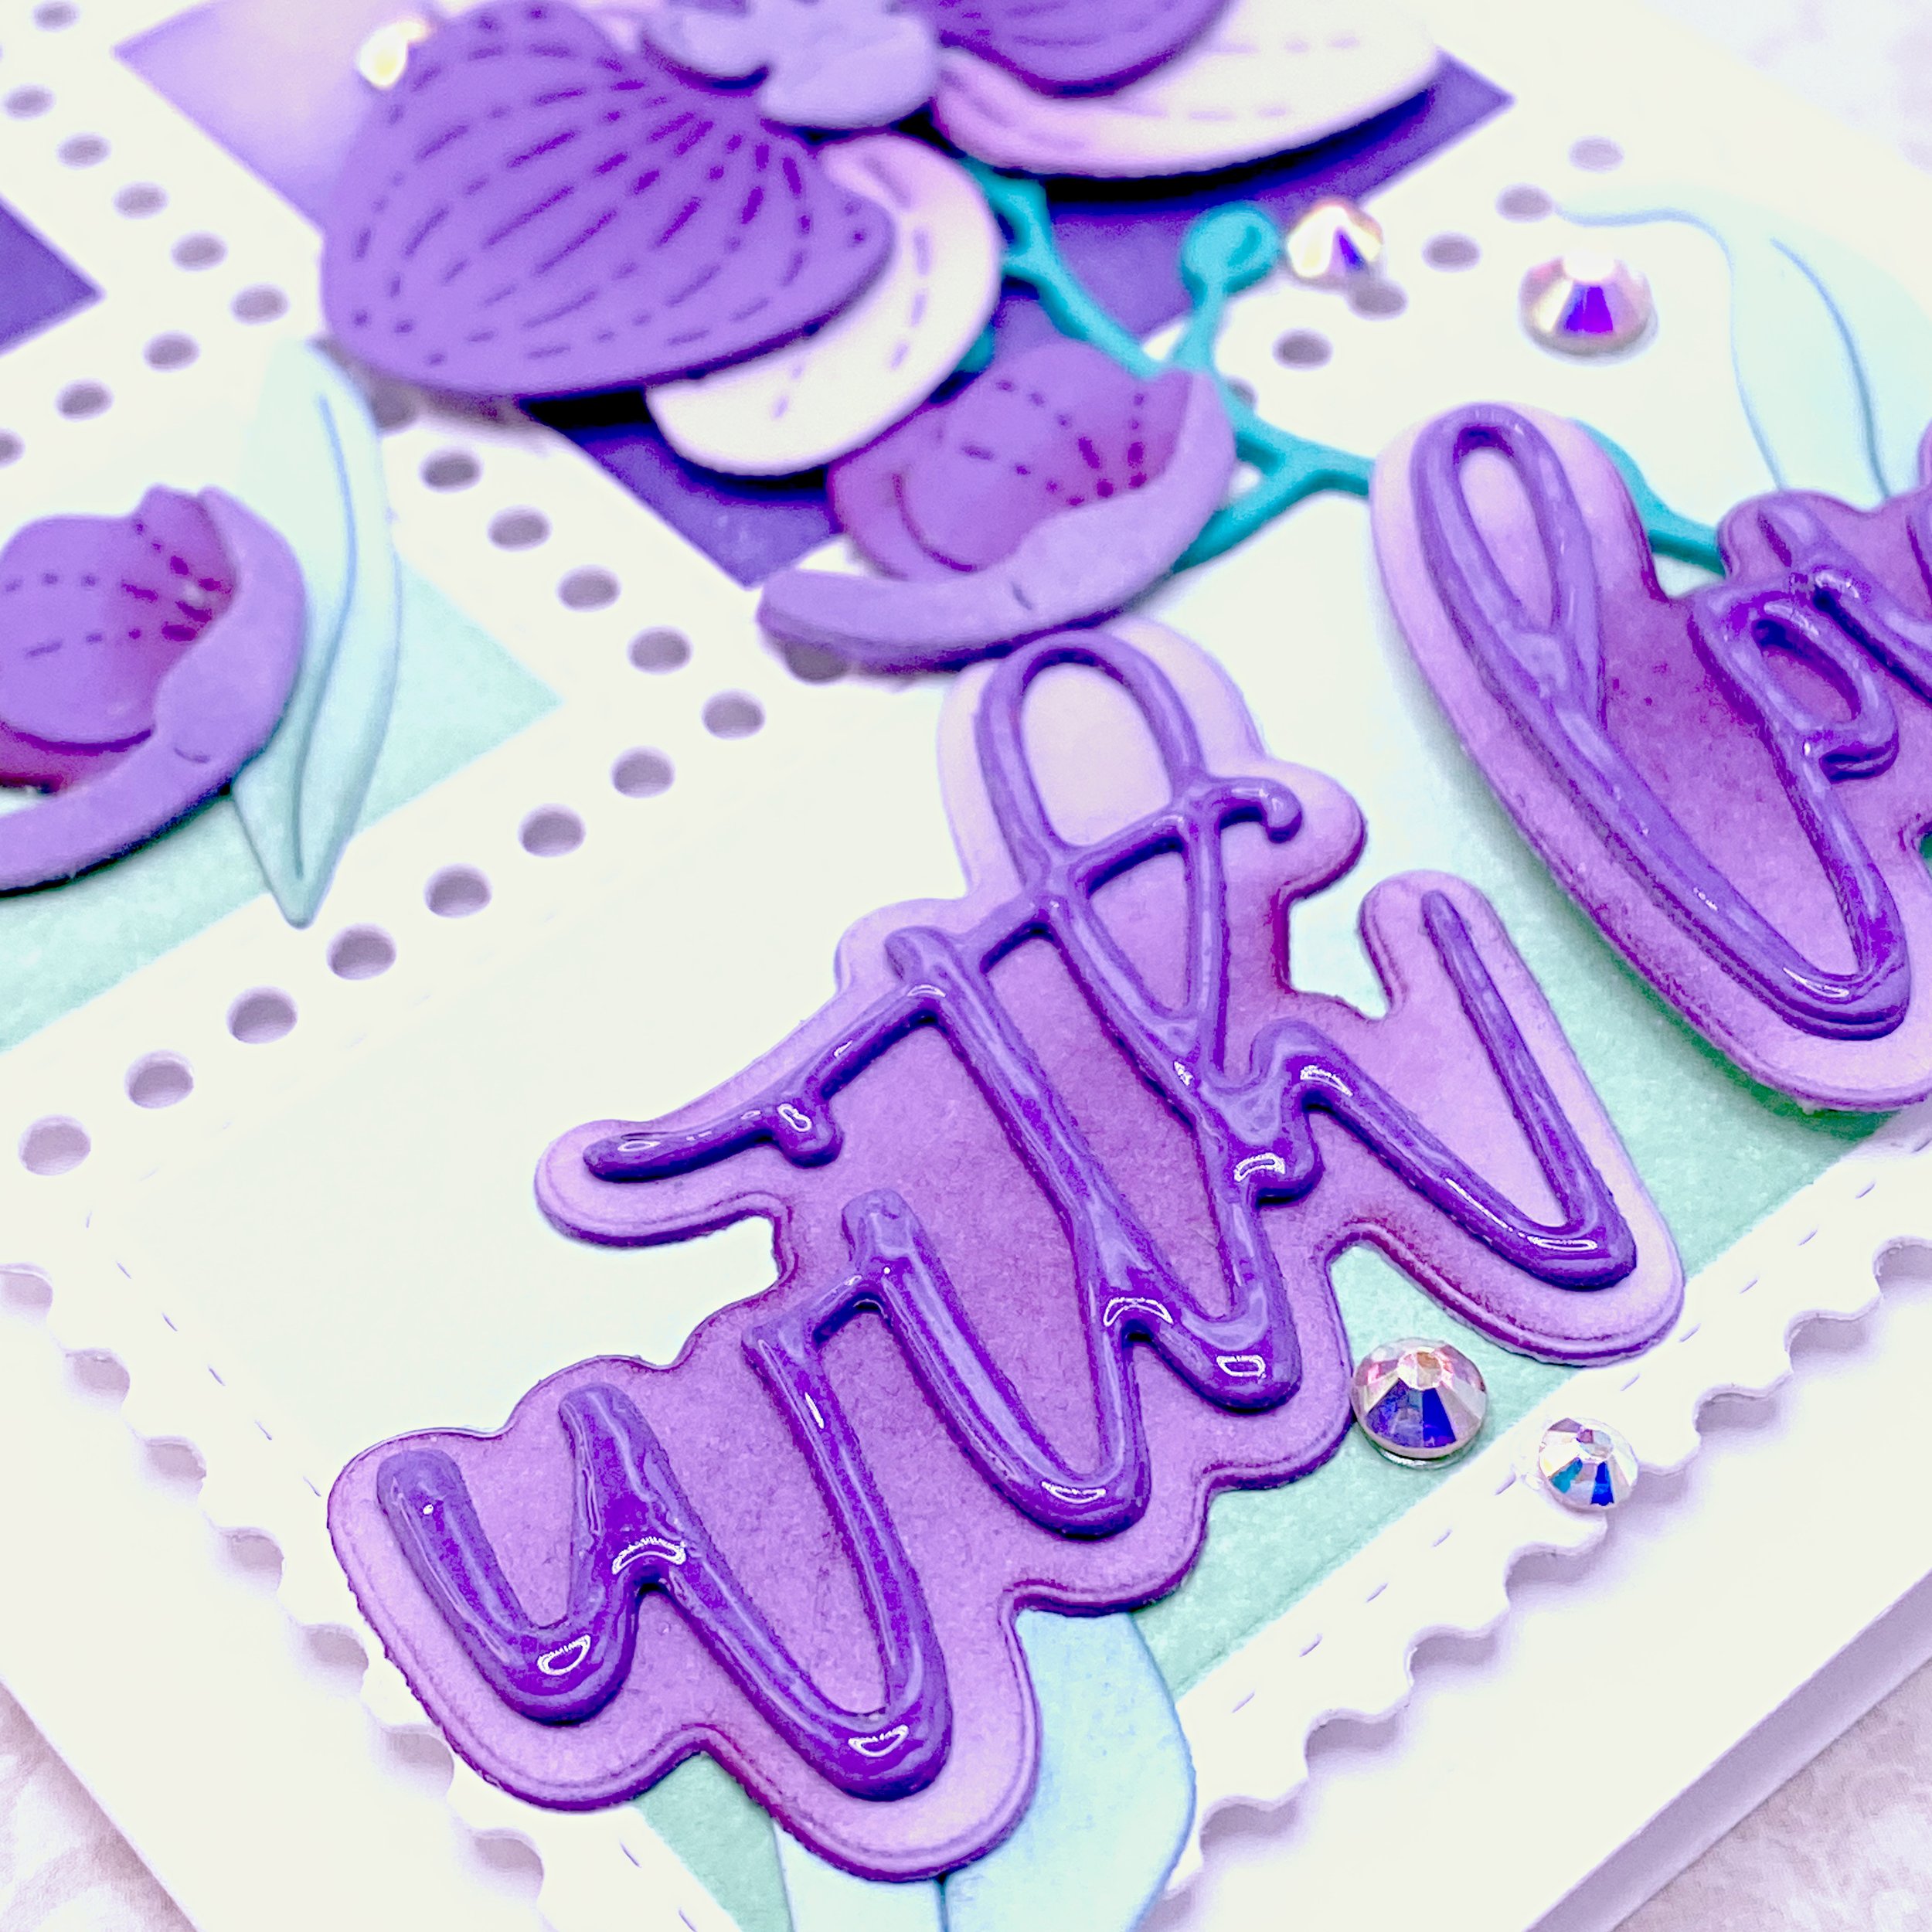
Orchid Postage Collage
This card was inspired by the Waffle Flower December Sneak Peak Club that included the Mini Slimline Postage Collage dies and stencil.
Mistletoe card tutorial
That’s all for this card - now you can sit back and admire the sparkle! ✨
Happy Holiday Bears
This is a relatively simple holiday card that would be easy to mass produce in a couple of evenings.
Lovely Layers Deer
The main feature of these cards is the Lovely Layers Deer Die Set by Honey Bee Stamps. You can watch me make this card on YouTube. It’s a 13-minute video on the @ValleyOakPaper channel.
Trinity Stamps Birthday Witch
With the lunar eclipse happening on October 28, I thought a witch flying in front of an eclipsed moon was a fitting motif.
Lovely Layers Quail
This is also the very first video on my brand new YouTube channel, @ValleyOakPaper. I’d love it if you watched and subscribed. To begin with I’ll be releasing weekly cardmaking videos there.
Halloween Gift Card Mugs
This is a quick and easy way to dress up gift cards for Halloween. The paper I used is scrapbook paper pad from Michael’s. I paired it with glitter paper in matching colors, also from Michaels.
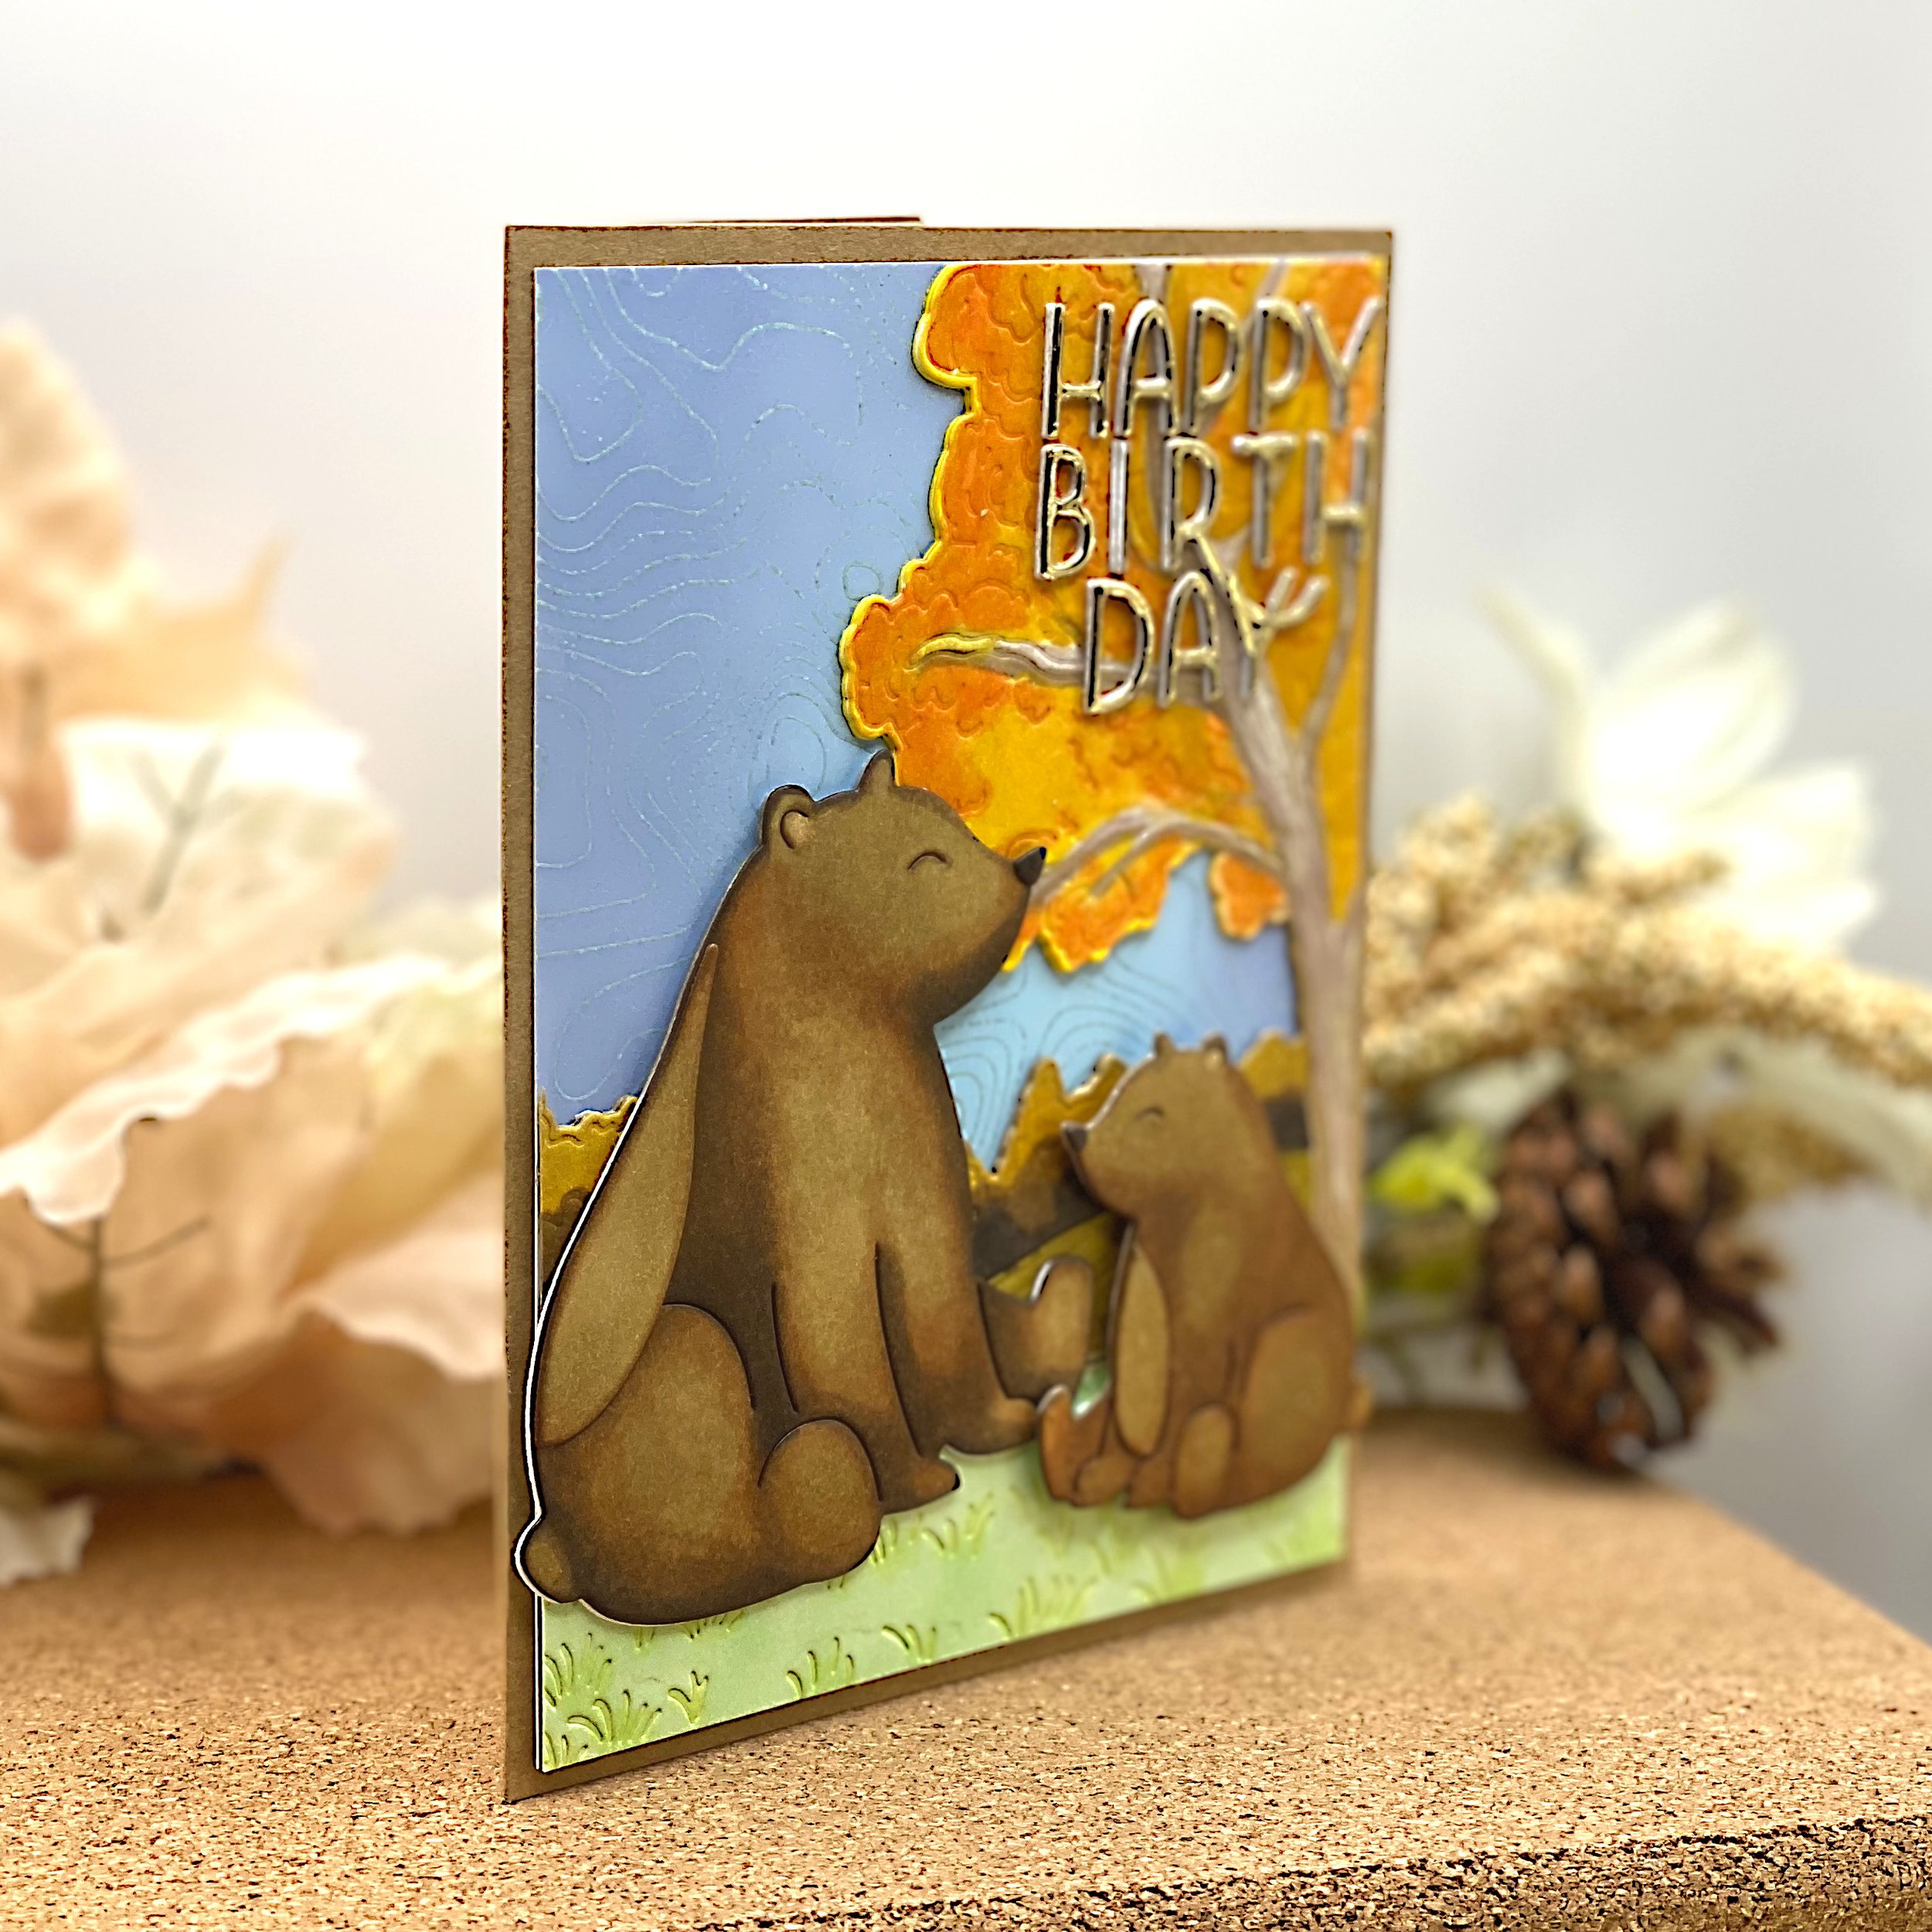
Birthday Bears
The mama bear and her cub are from a Sizzix die set by Lisa Jones. It’s called Nature Friends and also includes a bunny, a hedgehog and a badger.
Pumpkin & Plaid
The theme was supposed to be making your own plaid, but as you’ll see I cheated.
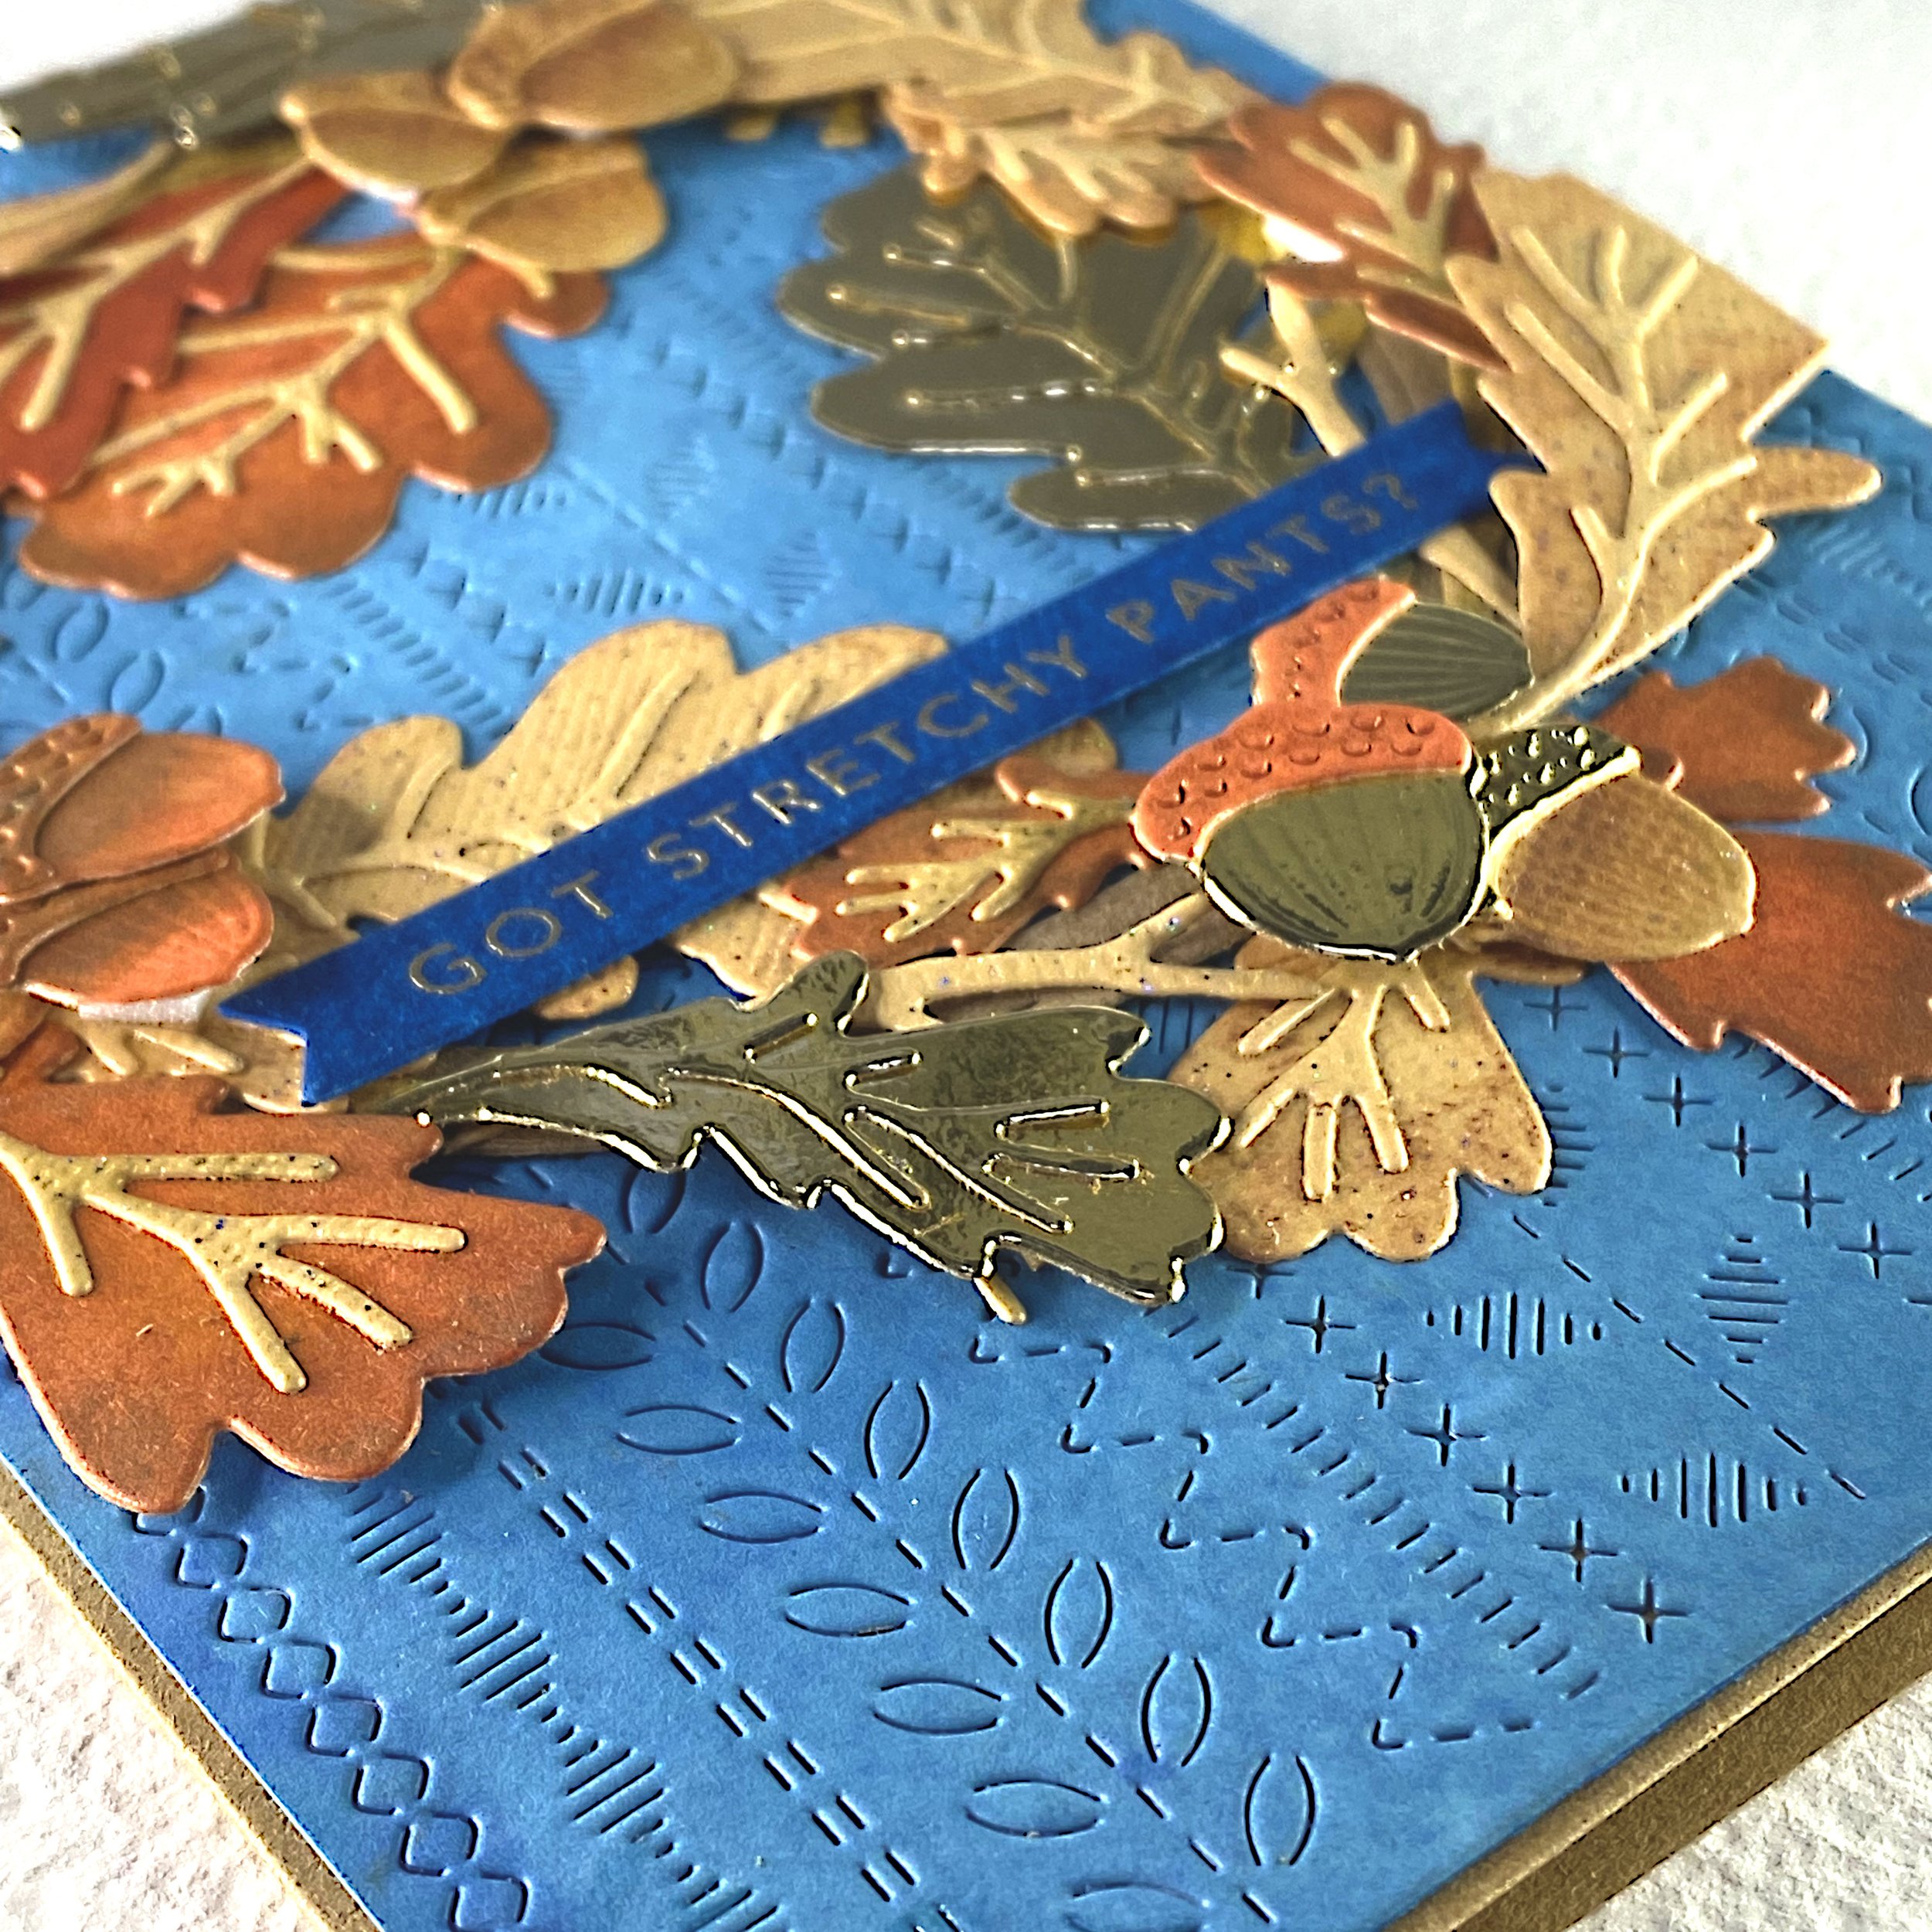
Oak Wreath
The next day I created the texture with the Pinkfresh Studio’s Stitches Cover Plate. This had the added bonus of flattening the cardstock after its bath.
Bring on the Heat Embossing
I knew I wanted hot colors for the landscape itself, but I die cut the landscape from white. Then I used Distress Oxide Inks to color them.
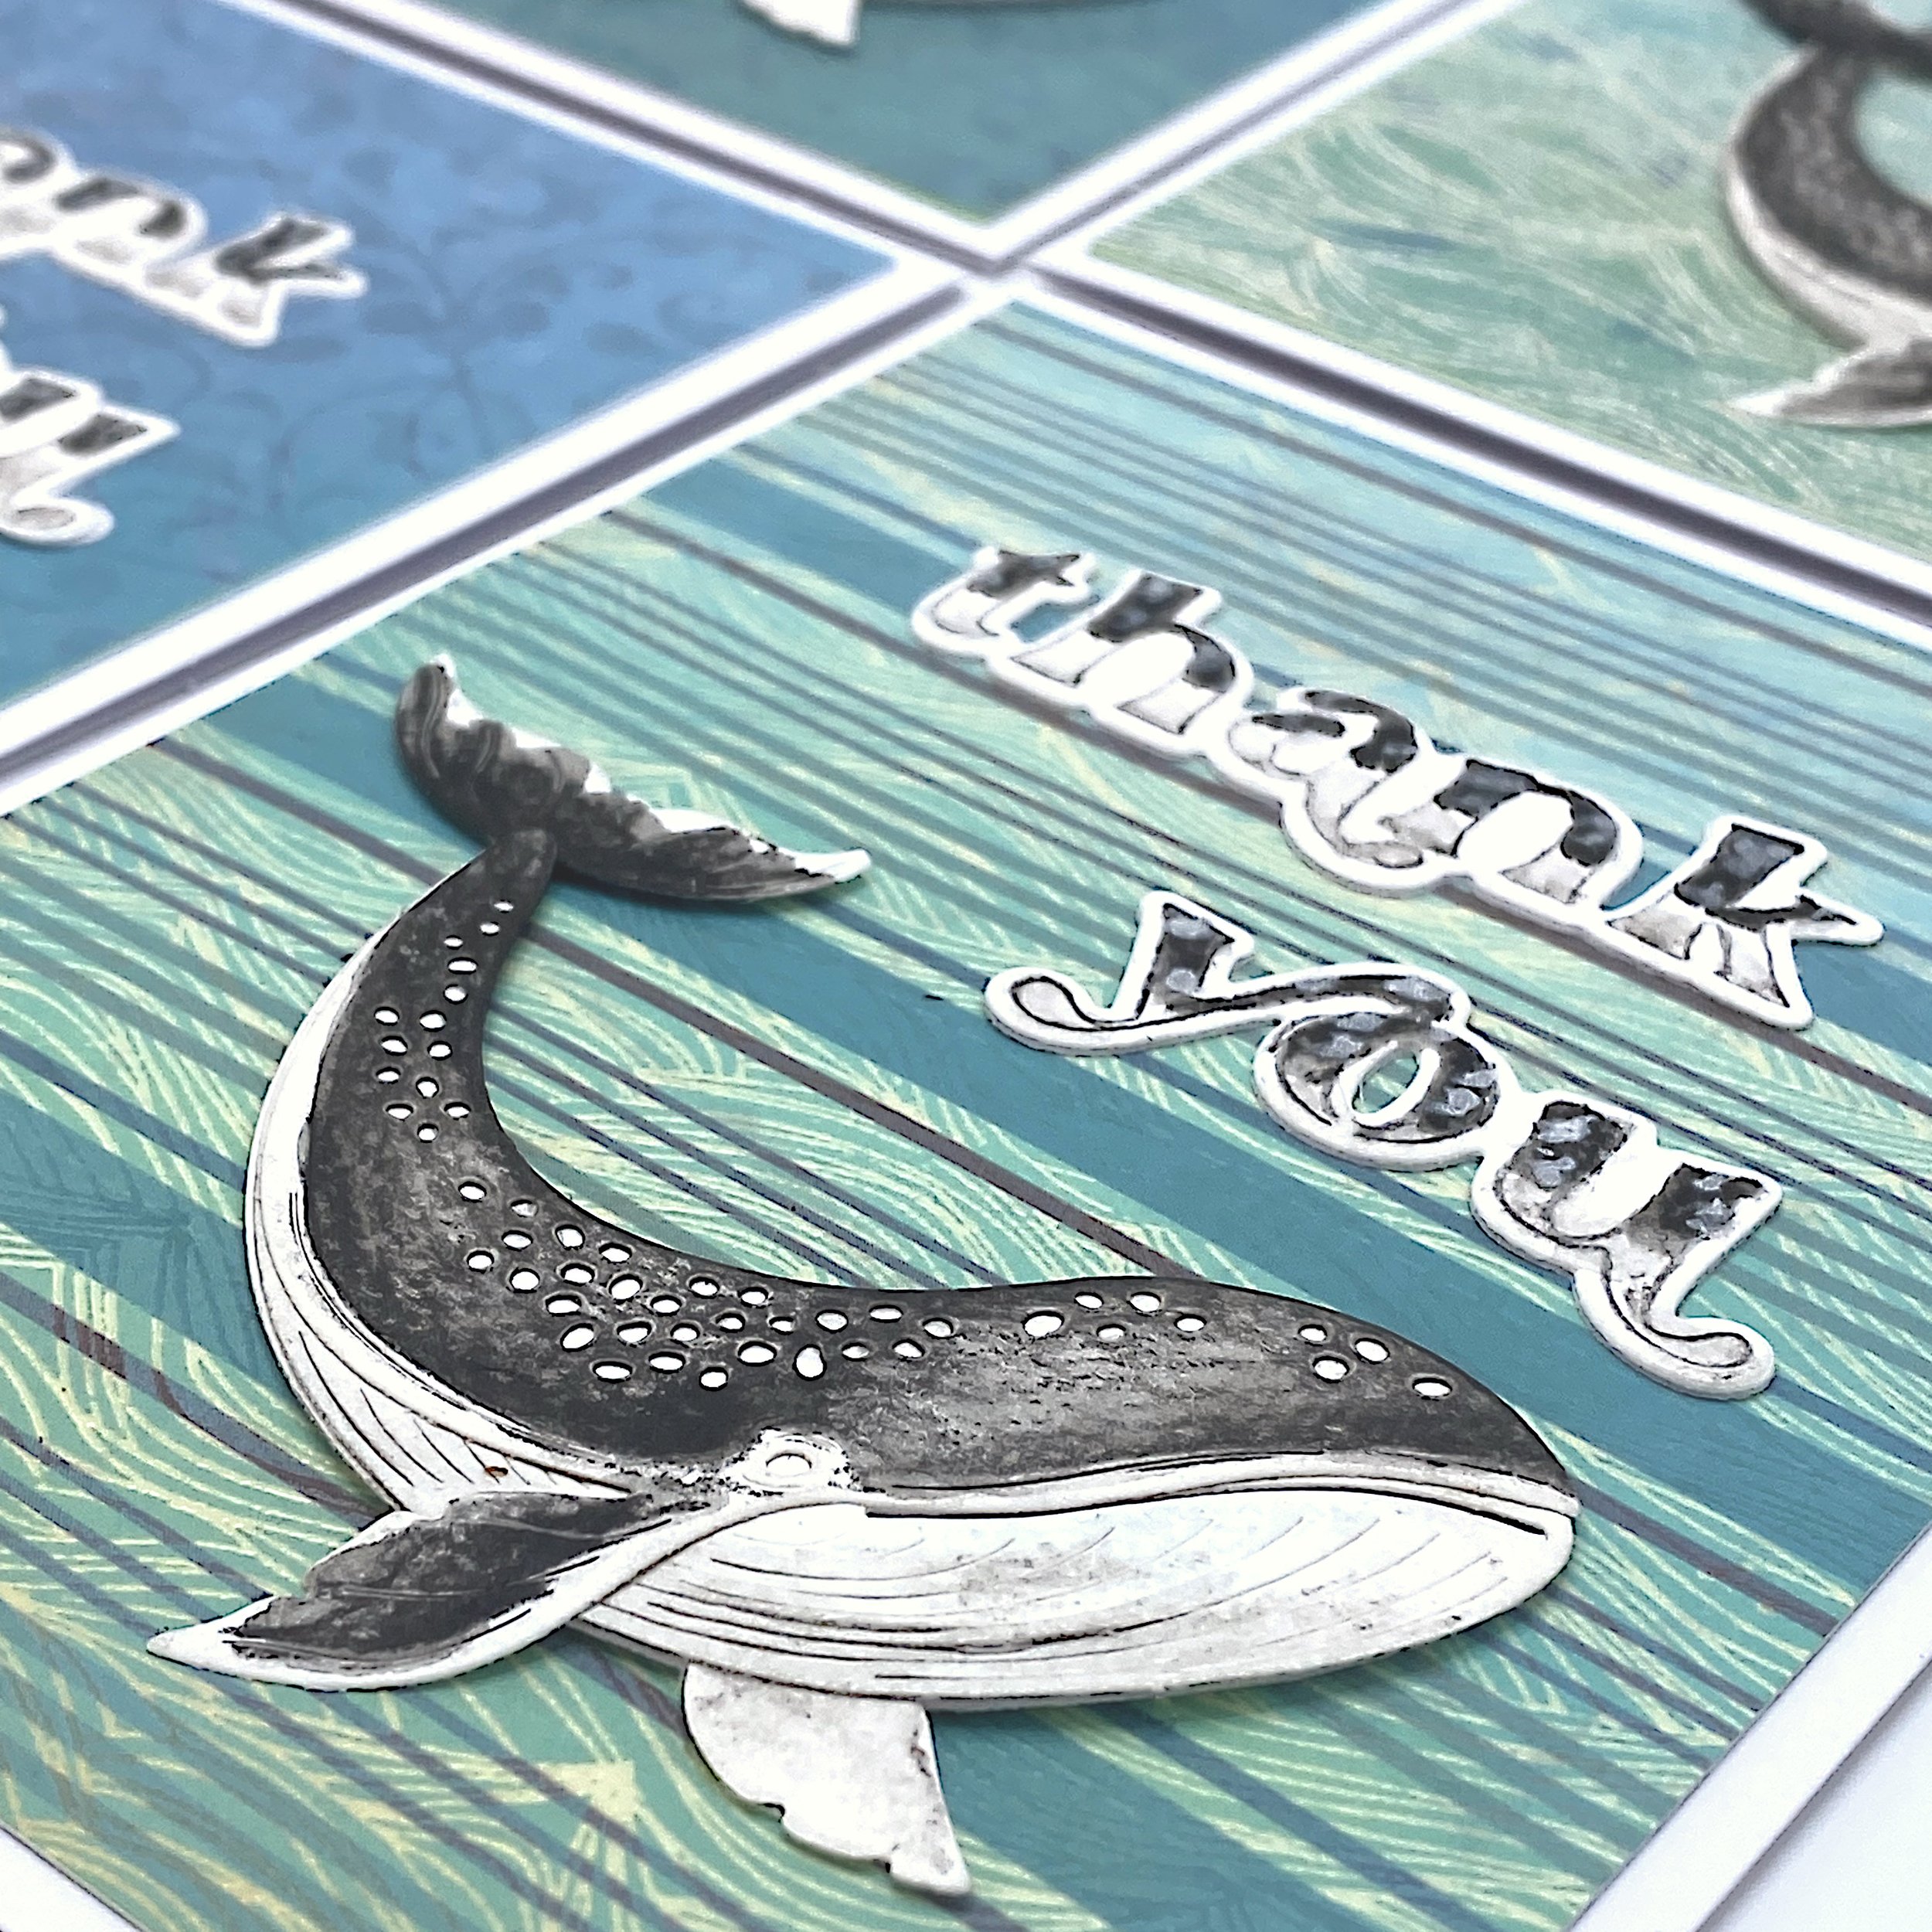
Whale Thank-You Cards
I cut out the parts of the whale from inexpensive watercolor paper and colored them with Distress Watercolor pencils following photos of humpback whales. The upper part and tail are colored with Black Soot. For the shadows under the whale I used Hickory Smoke.
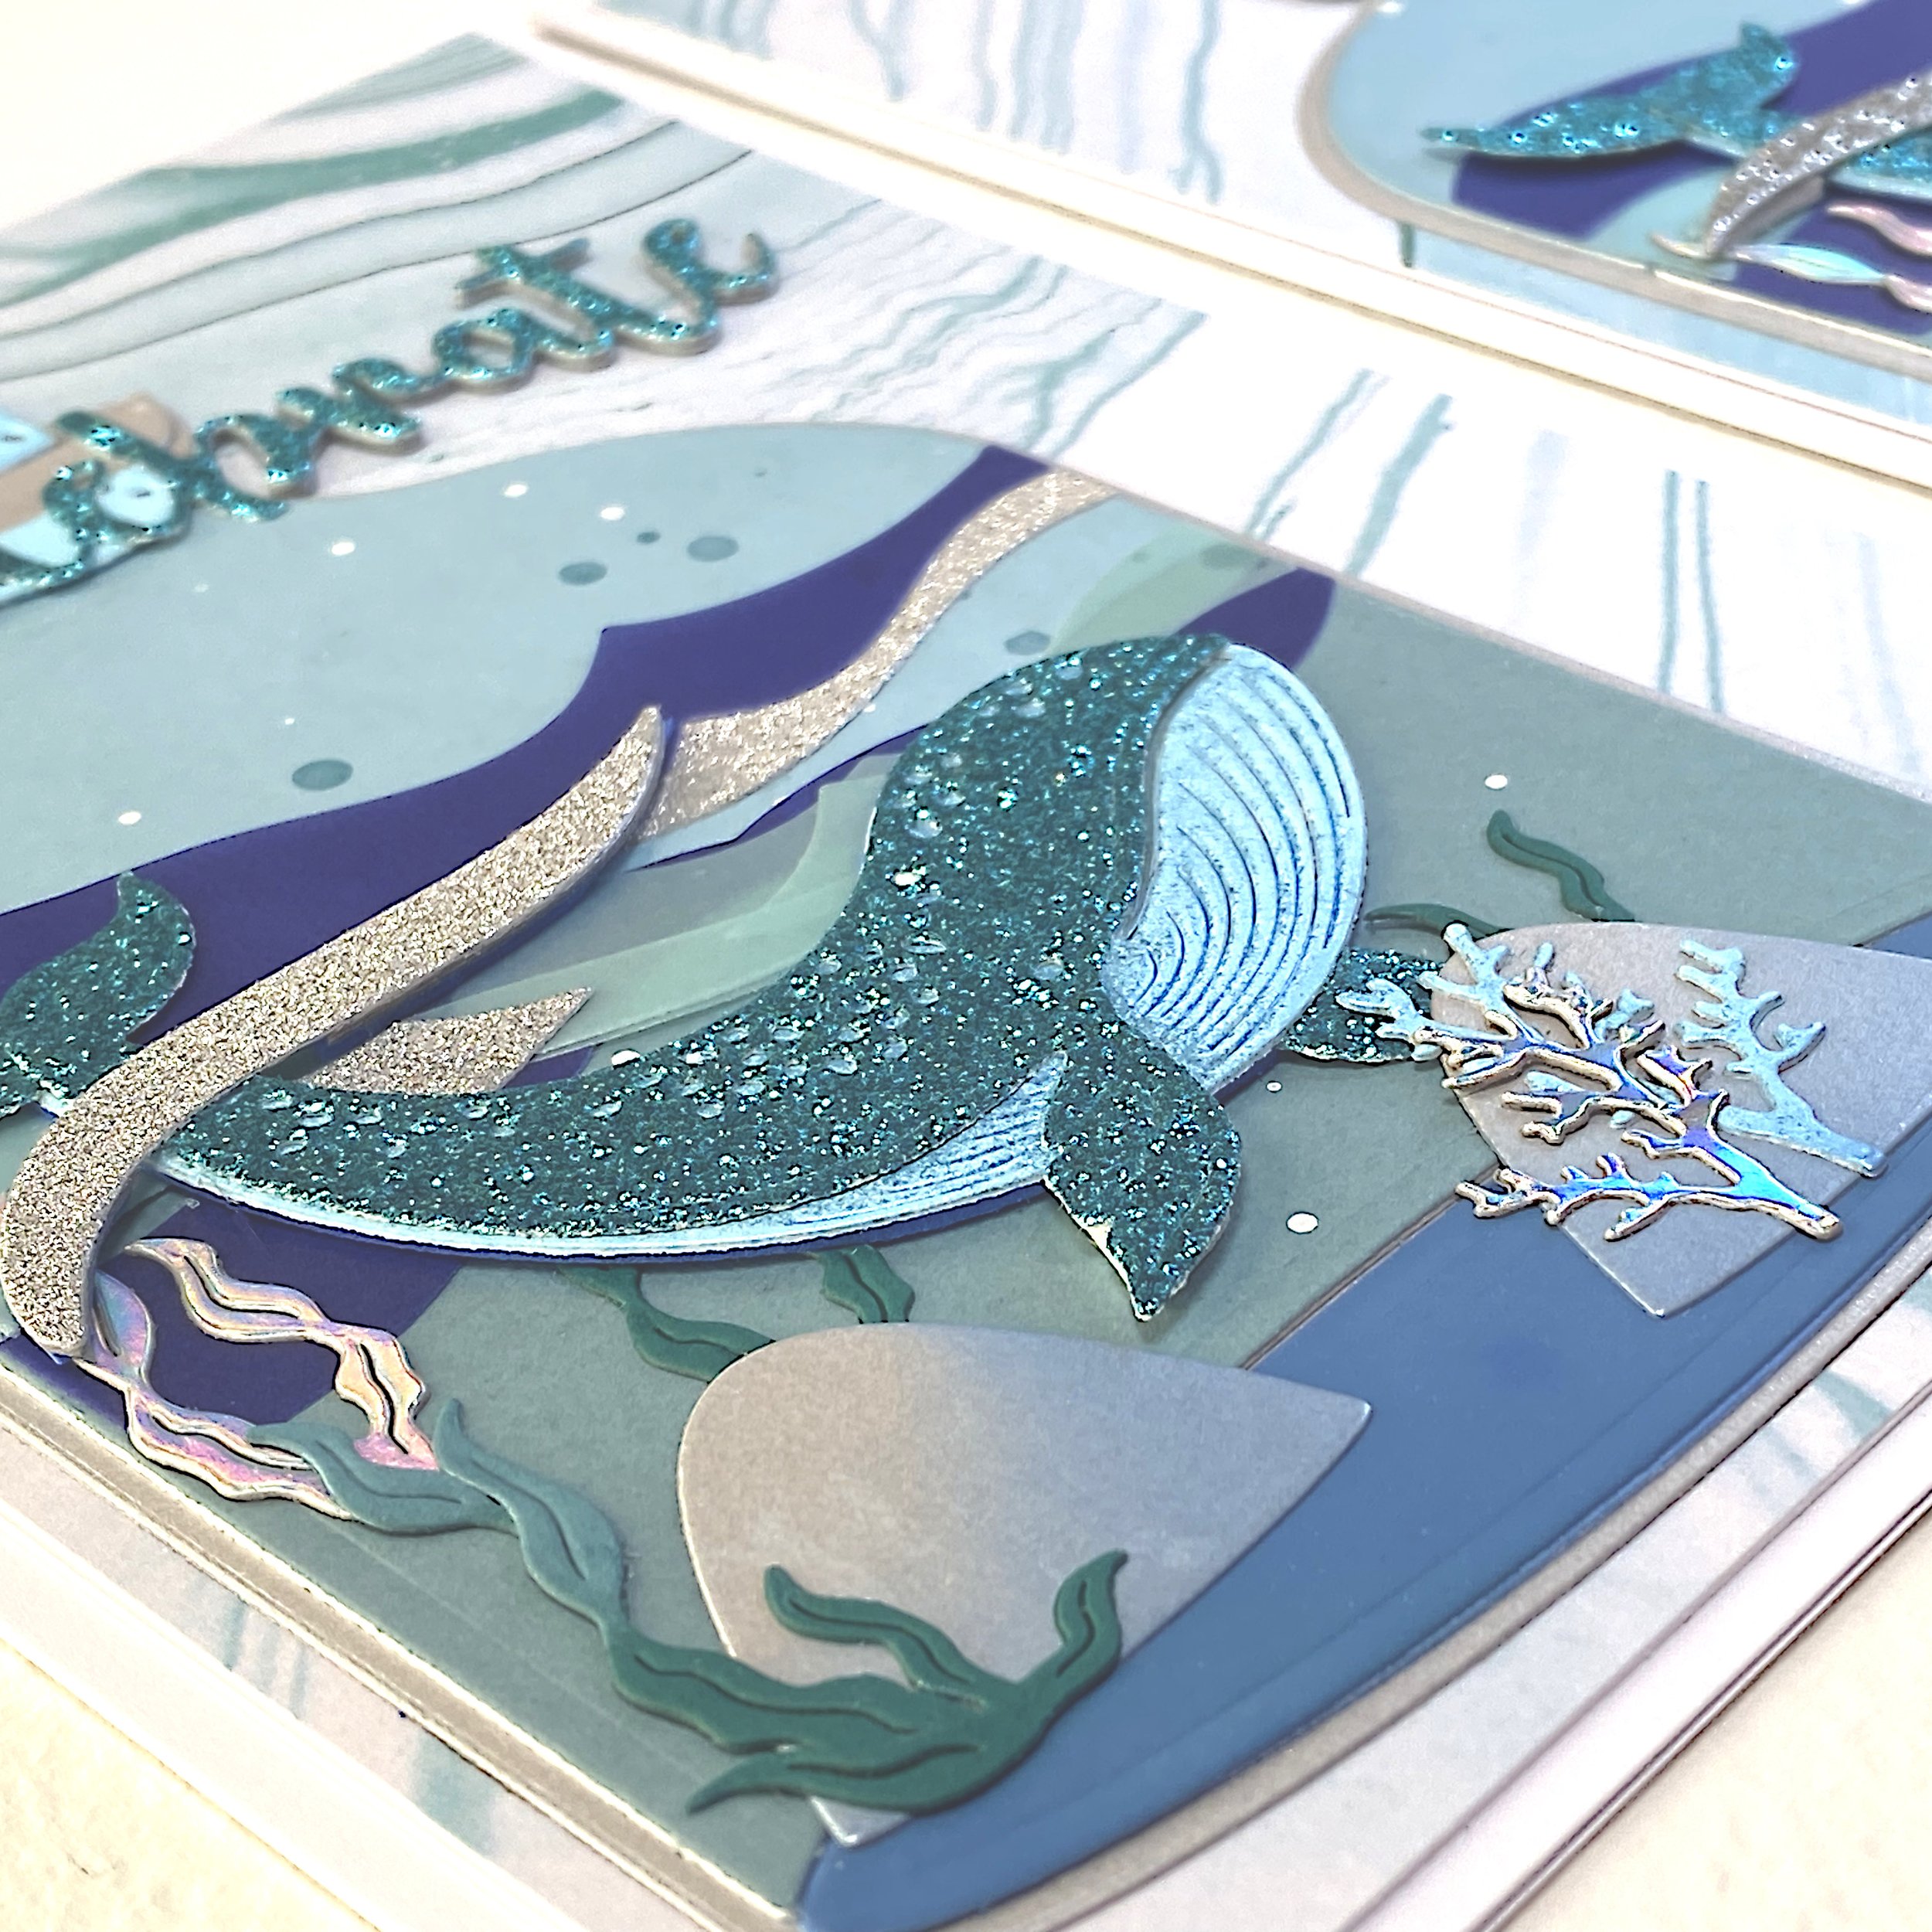
Whale in a Bottle
The bottle die is 5.5” tall. That means that you can use it to create a shaped A2 card. Unfortunately that also means that it’s a little too big to fit comfortably on an A2 card. So that’s why I chose to make this a 5 by 7 card instead.
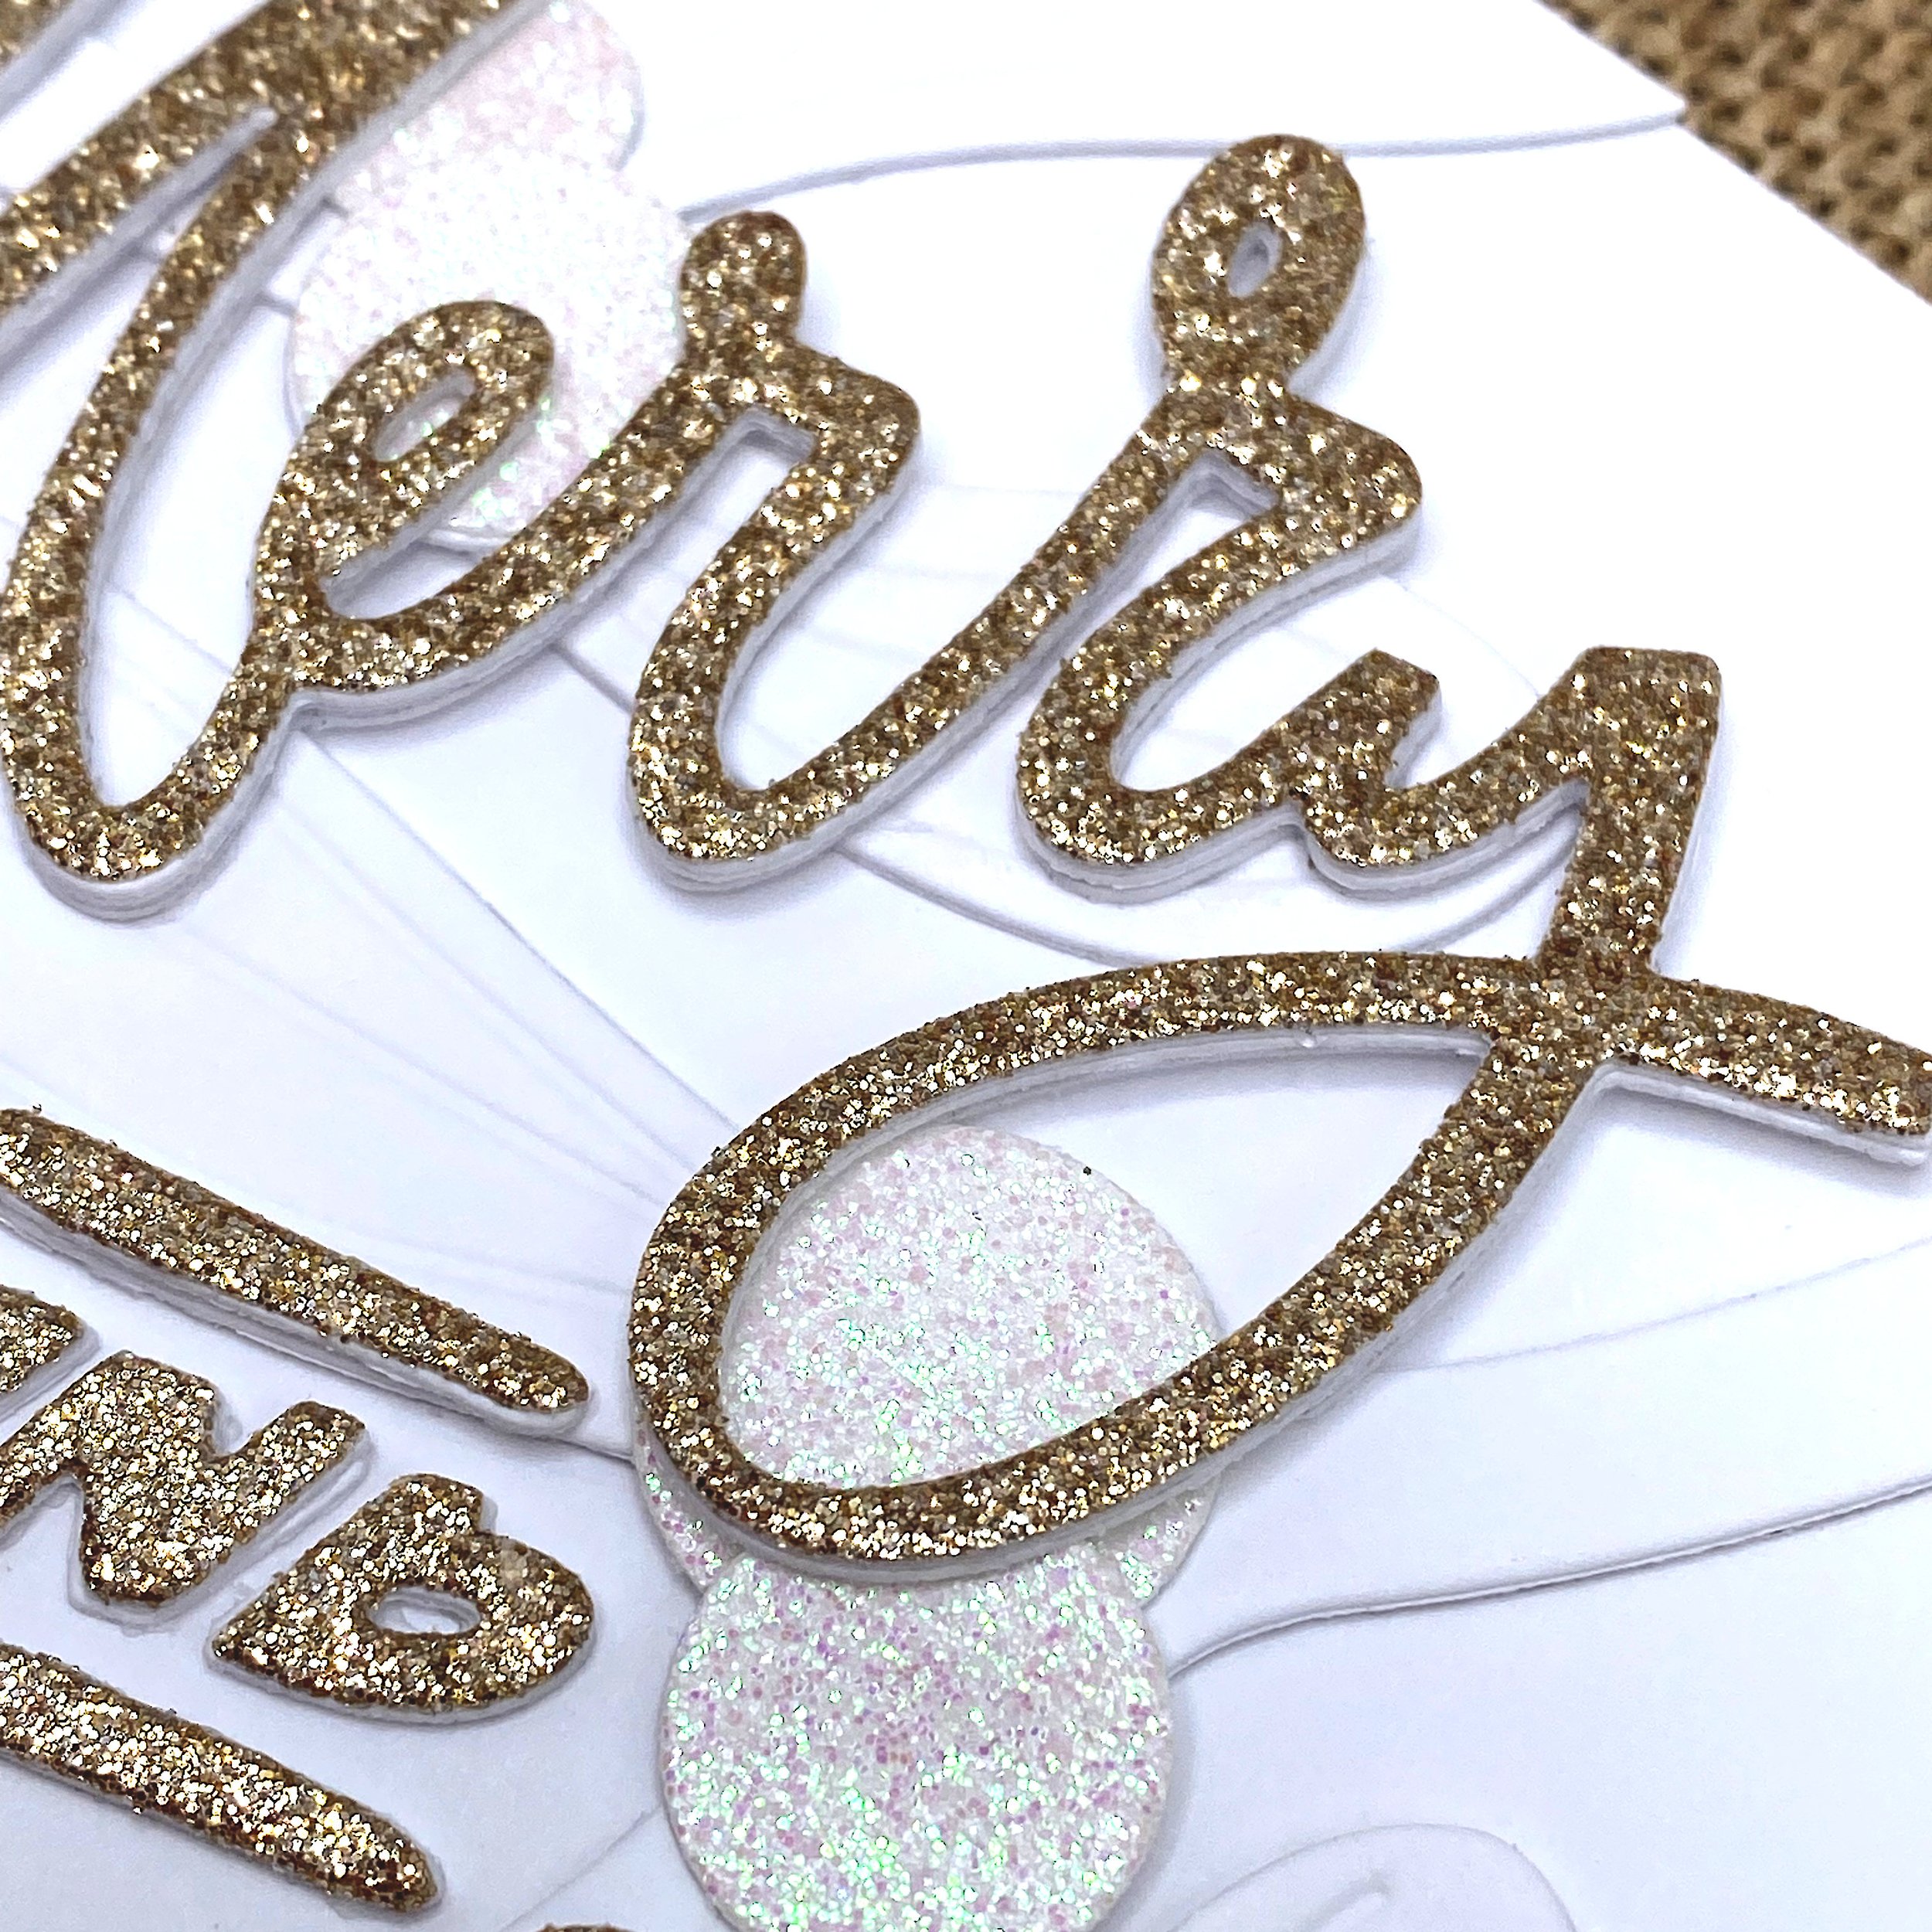
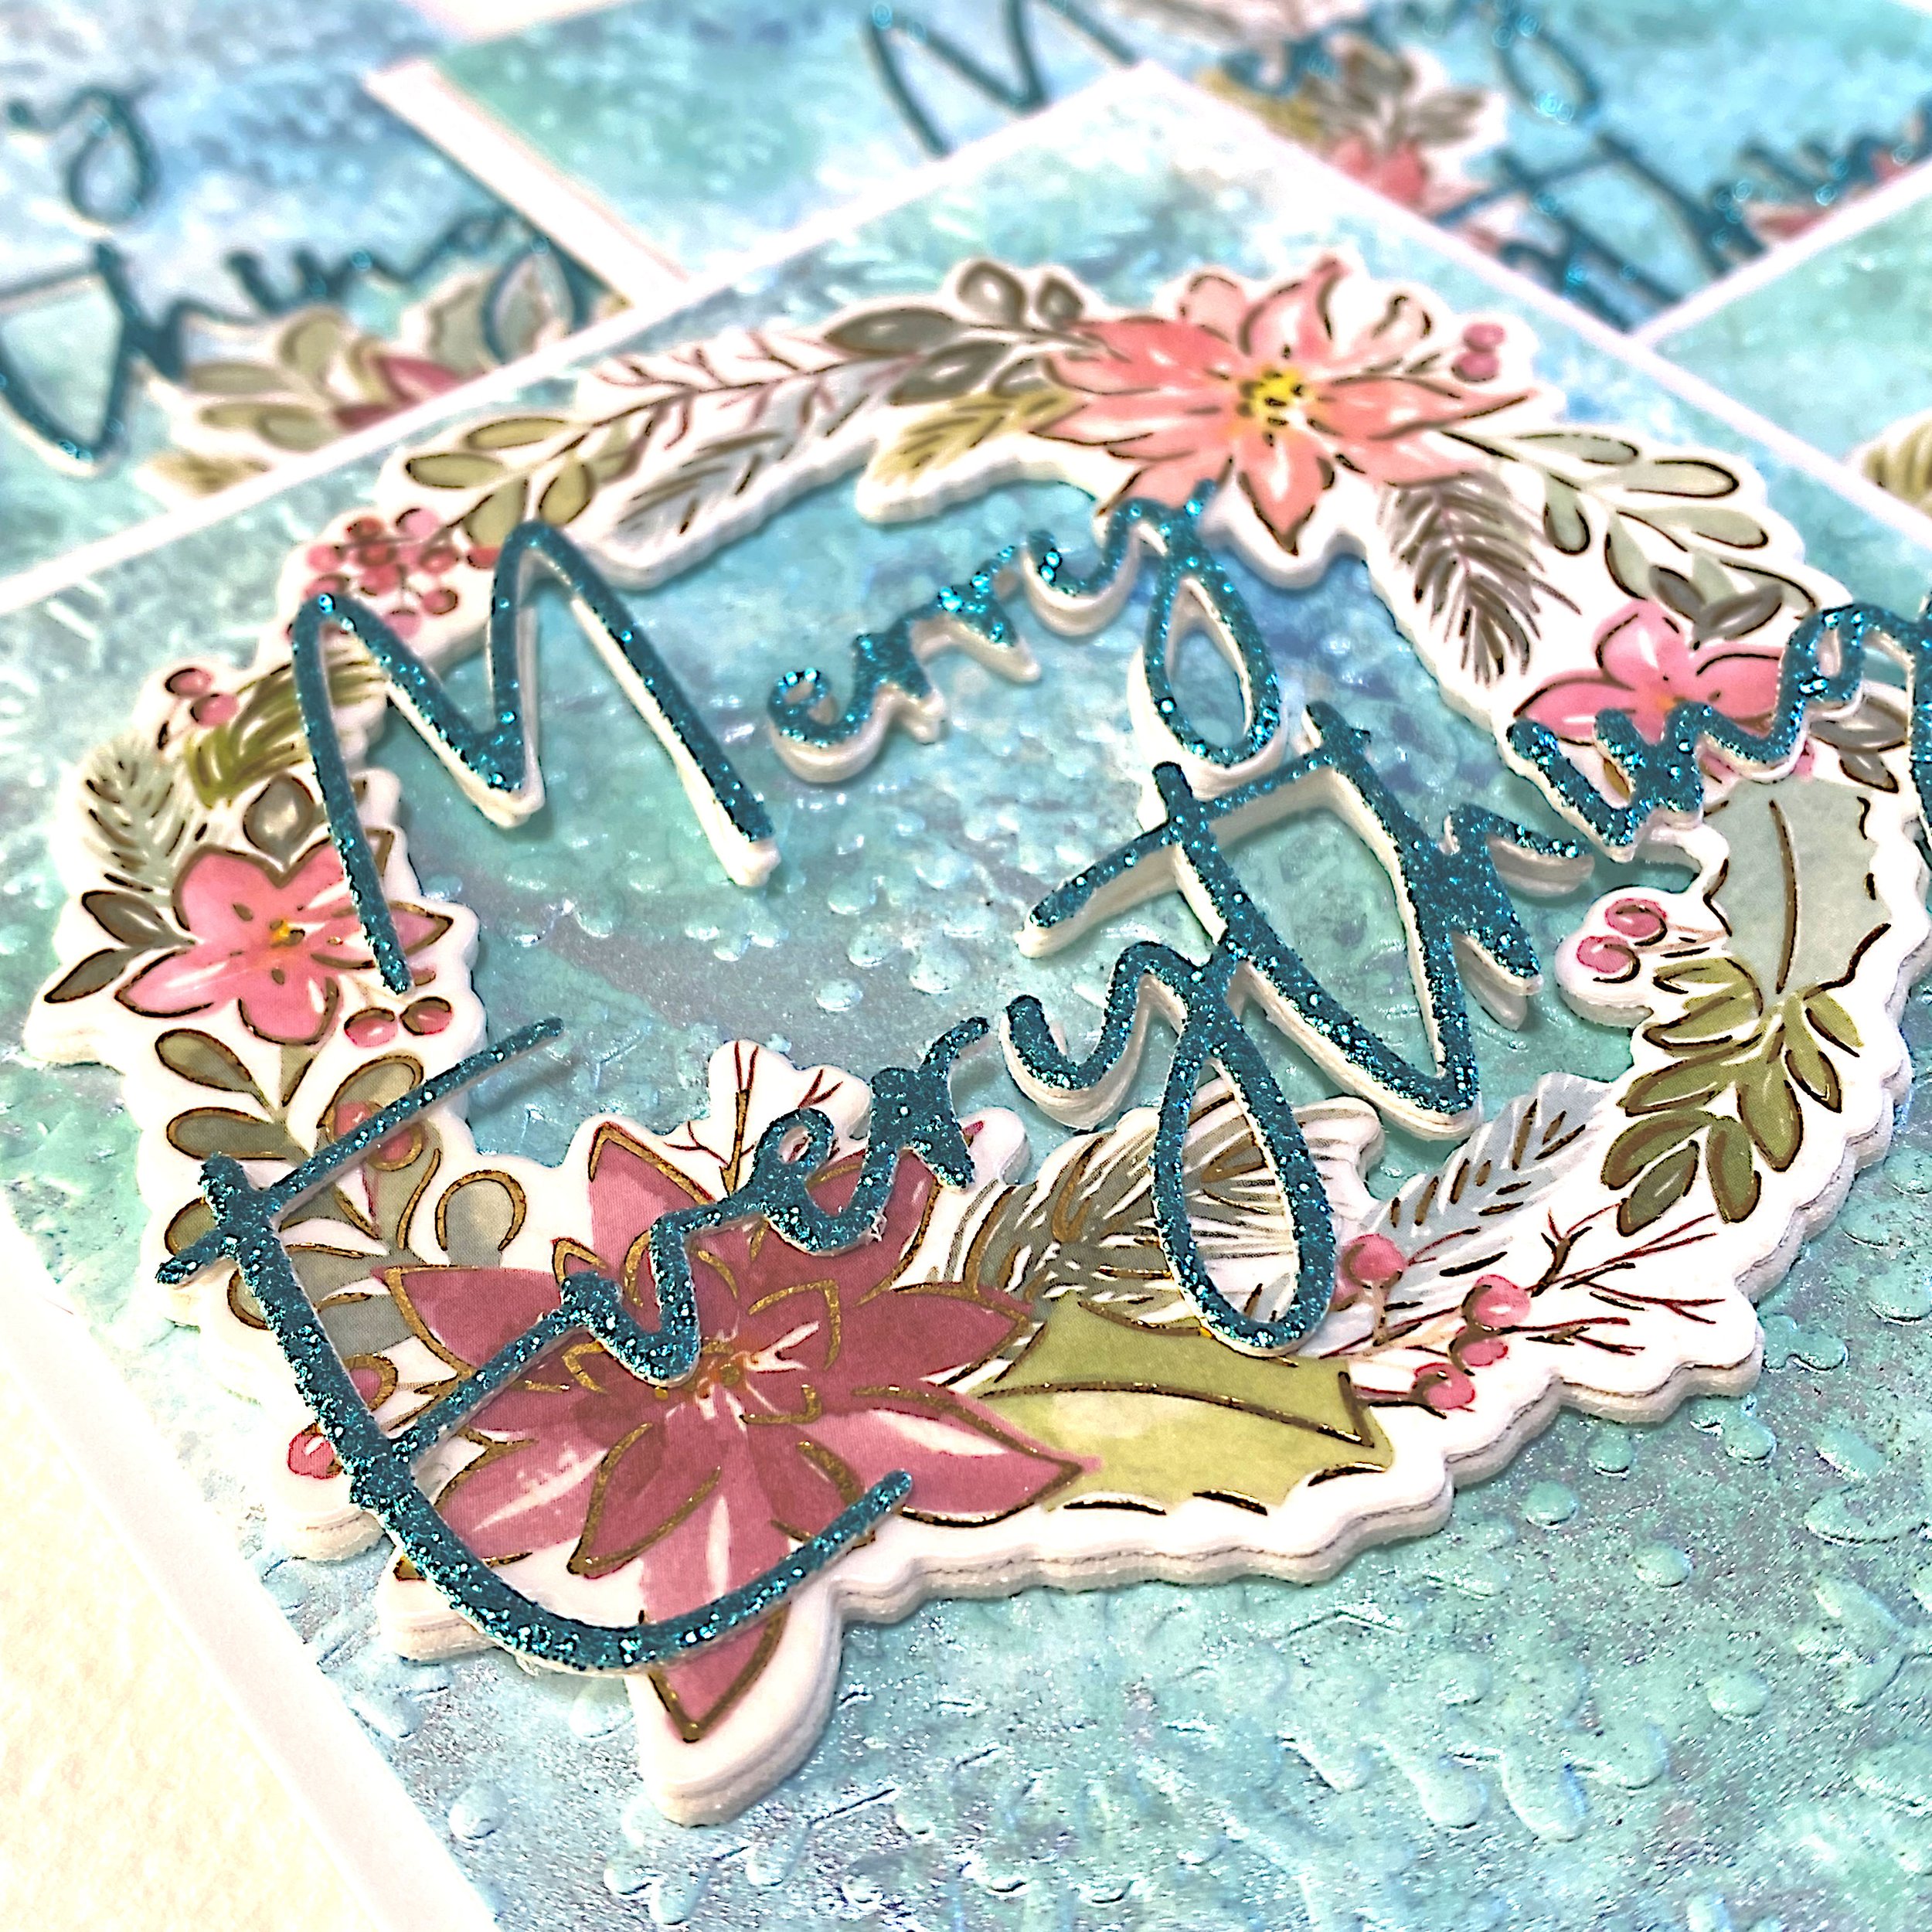
Merry Everything
Ink smooshing is a very popular technique that creates backgrounds with random blotches of ink. A couple of tips: You can smoosh your ink pads onto your craft mat. That’s where the name of the technique comes from.
Coloring Koalas with Alcohol Markers
The main feature of these two cards are from the Spellbinders Playful Koalas stamp and die set. I stamped the koalas, birds and greenery in Memento Rich Cocoa. This is a solvent-based dye ink that enables you to color stamped images with alcohol markers.
Interactive Father’s Day Card
Once the glue has set, turn the piece right side up. You should be able to tug at the sliding tab and get the center of the sliding mechanism to fold up. If the mechanism works smoothly, you can remove the release paper from the foam tape and place the mechanism on the card base.
Vintage Typewriter Father’s Day Card
This is a relatively simple card, but it gets the message across and who doesn’t love a vintage typewriter? I got the idea for this card when I was looking at the die set on the Spellbinders web site.
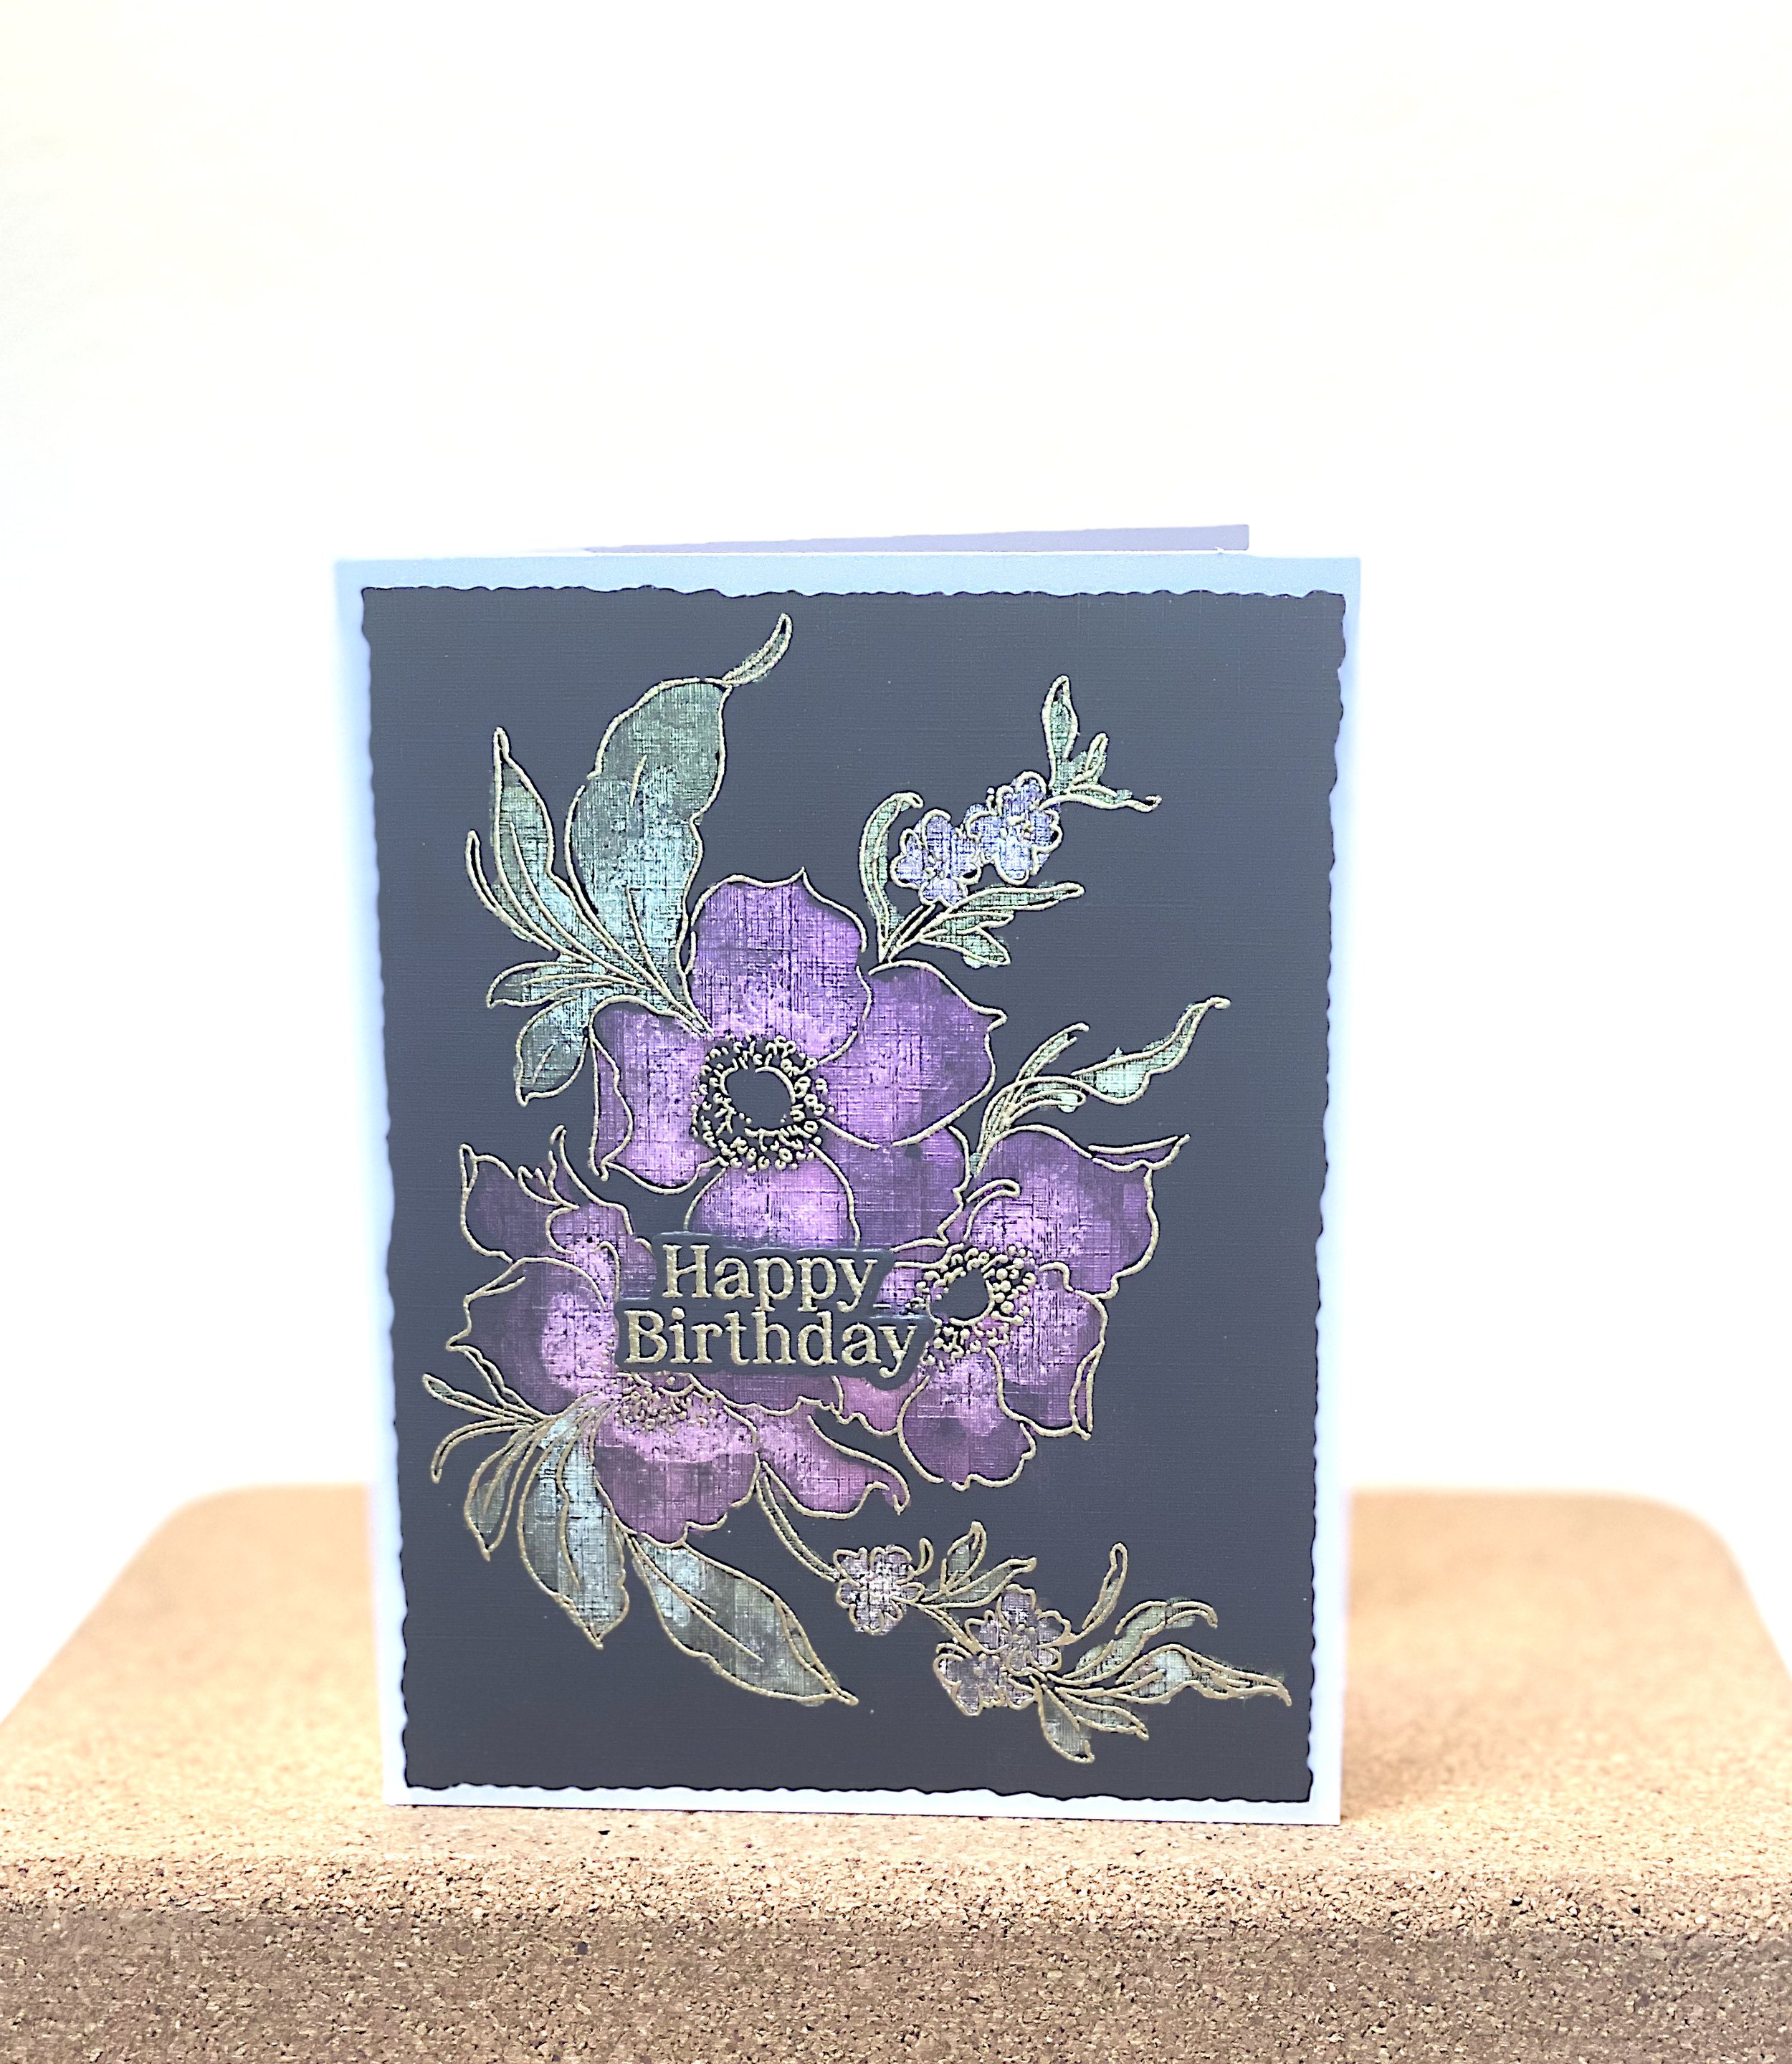
Emboss Resist
To watercolor with the spray stains, I made sure I shook the bottles until there was no mica sludge left at the bottom. Then I unscrewed the spray mechanism and touched the stem where I wanted the color. I used brushes to push the paint where I wanted it. The first layer was very blotchy, so I followed up with a second layer.

