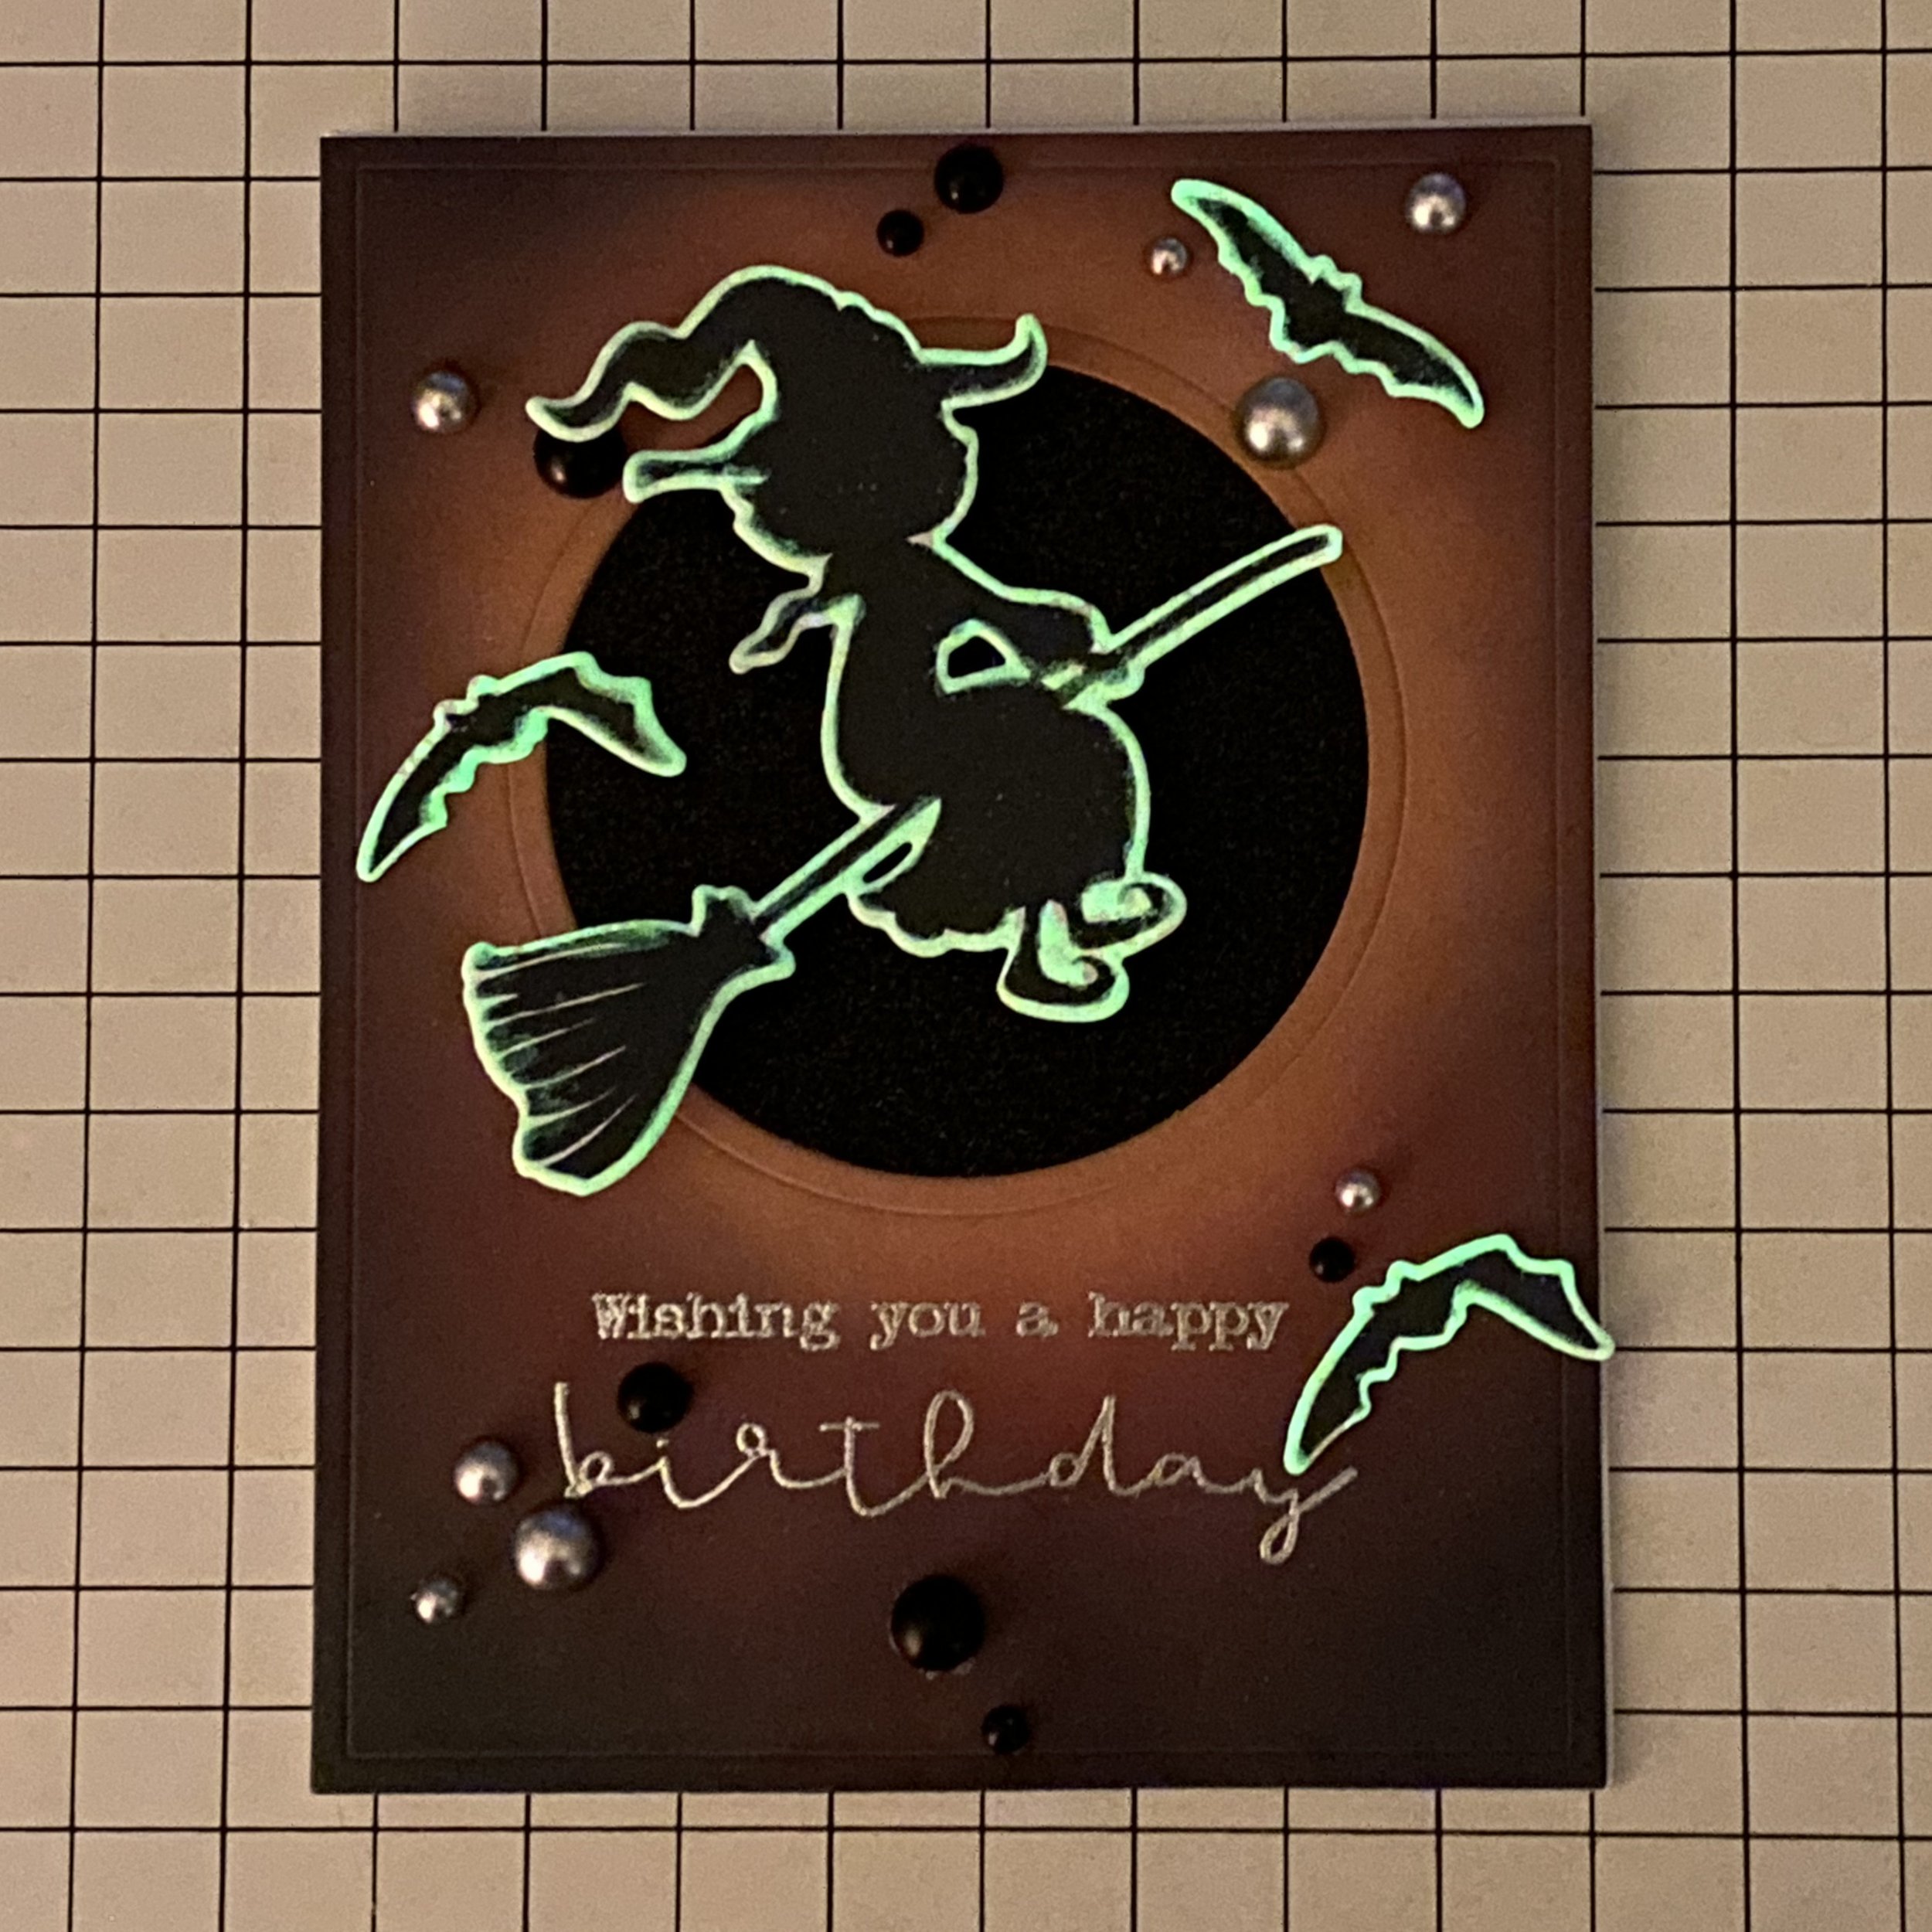
Trinity Stamps Birthday Witch
With the lunar eclipse happening on October 28, 2023 I thought a witch flying in front of an eclipsed moon was a fitting motif.
The main feature of this card is the little witch in the Trinity Stamps Fly By stamp set. I used an action wobbler to place her in front of the eclipsed moon. The moon was created with the Trinity Stamps Modern Embossed Window Panel #1 . The sentiment is also from Trinity Stamps. It’s called Simply Sentimental Birthday. You can watch the 10-minute video on YouTube.
Background
Die cut the Modern Embossed Window Panel #1 out of white cardstock. Ink blend with Distress Oxide Inks in:
Then set the panel aside to dry.
Main character
Start by die cutting the witch out of scrap cardstock and use the negative space to align the stamp in your Tim Holtz stamp platform. Pay particular attention to the broom handle. Then you can stamp the witch and the bats in Black Soot Distress Oxide. You may want to stamp a couple of extra bats for decoration.
Heat set the stamped images, then die cut them.
Use a Tim Holtz Embossing Pen on the edges of the witch and the bats and emboss with Ranger Glow Up embossing powder. Repeat 2-3 times to build up the layers for extra glow.
Sentiment
Return to the ink blended window panel and check if it’s dry enough to heat emboss on. You do that by sprinkling embossing powder on it. If the powder slides off, it’s dry enough. Heat set the ink until it’s completely dry.
Then you can stamp the birthday sentiment with Versamark ink straight and centered under the window. Emboss it in Ranger Super Fine Gold.
Assembly
Cut a 4” by 4” square of black glitter cardstock. Glue it to the back of the background, centered on the opening.
Center an action wobbler on the back of the witch. Color it with a black Sharpie, so it doesn’t show against the black background.
Use extra glue to adhere the other end of the wobbler to the black glitter cardstock, so it looks as if our witch is flying across the eclipsed moon. Give the glue a little time to set up before moving on to the next step.
Add another layer of cardstock to the back of the card front and adhere to a white cardbase.
Decorate the card front with the bats and pearls in black and matte silver.


