Vellum Snowflake Frame
Paid Promotion for Kat Scrappiness
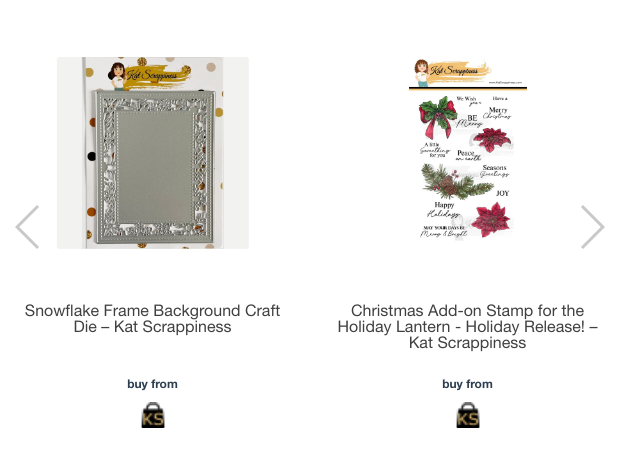
I started out by stamping and heat embossing the foliage arrangement (twice) and two sentiments from the Kat Scrappiness Christmas Add-On Stamp for the Holiday Lantern with Ranger Super Fine Embossing Powder in Silver. Then I colored the arrangement with my Ohuhu Alcohol Markers. See above for the markers I used.
I die cut my sentiments and my two arrangements with the coordinating die set. I also cut extras from heavy cardstock and stacked them.
Background
I cut the Kat Scrappiness Snowflake Frame twice from vellum printed with snowflakes. Then I turned one frame 180°, for a fuller look. I glued the frames together in the bottom left and top right corners, because I knew I was going to cover them with my conifer arrangements.
Next I cut down a teal piece of cardstock so it fit under the middle part. I glued it to the vellum in the bottom left and top right corners. Then I added foam tape to the back of the teal cardstock piece and adhered it to a grey-green cardstock piece that was 4 ¼ by 5 ½”. Finally I adhered the whole thing to my card base.
Final Assembly
I glued the two colored foliage arrangements to the bottom left and top right corners of the snowflake frame. The main part of the sentiment, “Merry Christmas”, I popped up on some foam tape in the center of the card. Then I nestled the first part of the sentiment, “We wish you a…” in under it.
Finally I added Kat Scrappiness Pretty Pink and Baby Blue Jewels to the berries in the foliage arrangements and around the sentiment.
I’m really happy with how this card turned out! I love all the different tones of teal and the pink jewels liven things up.


