Kat Scrappiness Christmas Lantern
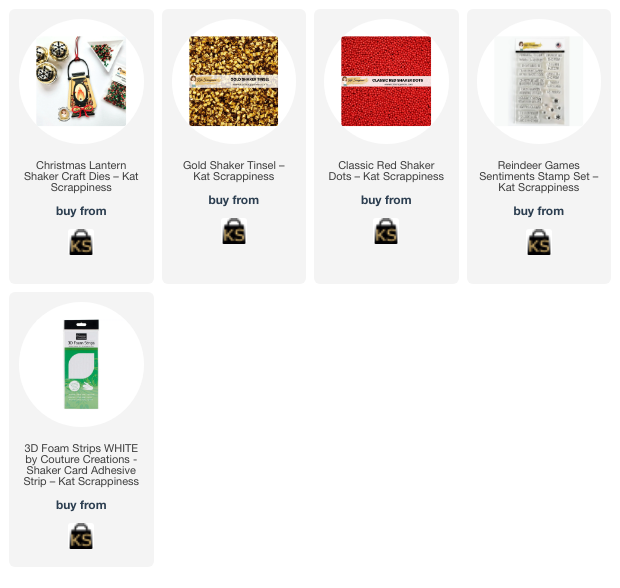
Visual product list at the bottom of this post
One thing I love about Kat Scrappiness is that she has lots of shaker dies! This older Christmas Lantern is one of them.
New Shaker Card Material
With this card one I wanted to try out a new material for the shaker. Traditionally we use acetate or vellum as the front of the shaker element. Acetate is super shiny and attracts dust like crazy. You can see through it very well, though. Perhaps a bit too well in some cases. I’ve never used vellum because I don’t think it’s transparent enough. It’s hard to appreciate the movement and shine through it.
The new material is the semi-transparent carrier sheet that Spellbinders dies are shipped with. You have to be careful when removing the dies, so you don’t create creases. But if you can steer clear of that problem, I think it’s great! It’s more see-through than vellum but doesn’t highlight every speck of dust like acetate. It’s just a bit of a soft filter on the shaker movement.
Lantern
Cut List for the Christmas Lantern
This lantern has lots of optional parts and I used many of them. I started by creating the back of the lantern. The base layer is black cardstock. On top of that I layered semitransparent film for the chimney and gold flames and red foil parts.
Moving on to the shaker window, I sandwiched the semitransparent film between two layers of heavy white cardstock. Then I added ⅛” foam strips to the back to create the well. I poured Gold Shaker Tinsel and Red Shaker Dots into the well and closed it with the lantern back.
I added the handle to the lantern and placed the red foil window layer on top. I finished up the lantern itself by adding the lantern foot and vent.
Frame
I cut the wood grain frame from brown cardstock and added some more color to it with Tea Dye Distress Oxide. Then I stamped and heat embossed a sentiment from the Kat Scrappiness Reindeer Games Sentiments Stamp Set in gold.
Background
For my background I used the snowflake stamps that are part of the Reindeer Games Sentiments Stamp Set and stamped them randomly across a black cardstock panel.
Assembly
I glued the black background onto a white card base. Then I glued the frame onto it. Next I glued the back of the shaker element to the background, taking care to place the top of the handle on the top horizontal of the frame. Finally I added the foliage and bow die cuts to the top of the handle with a foam square.


