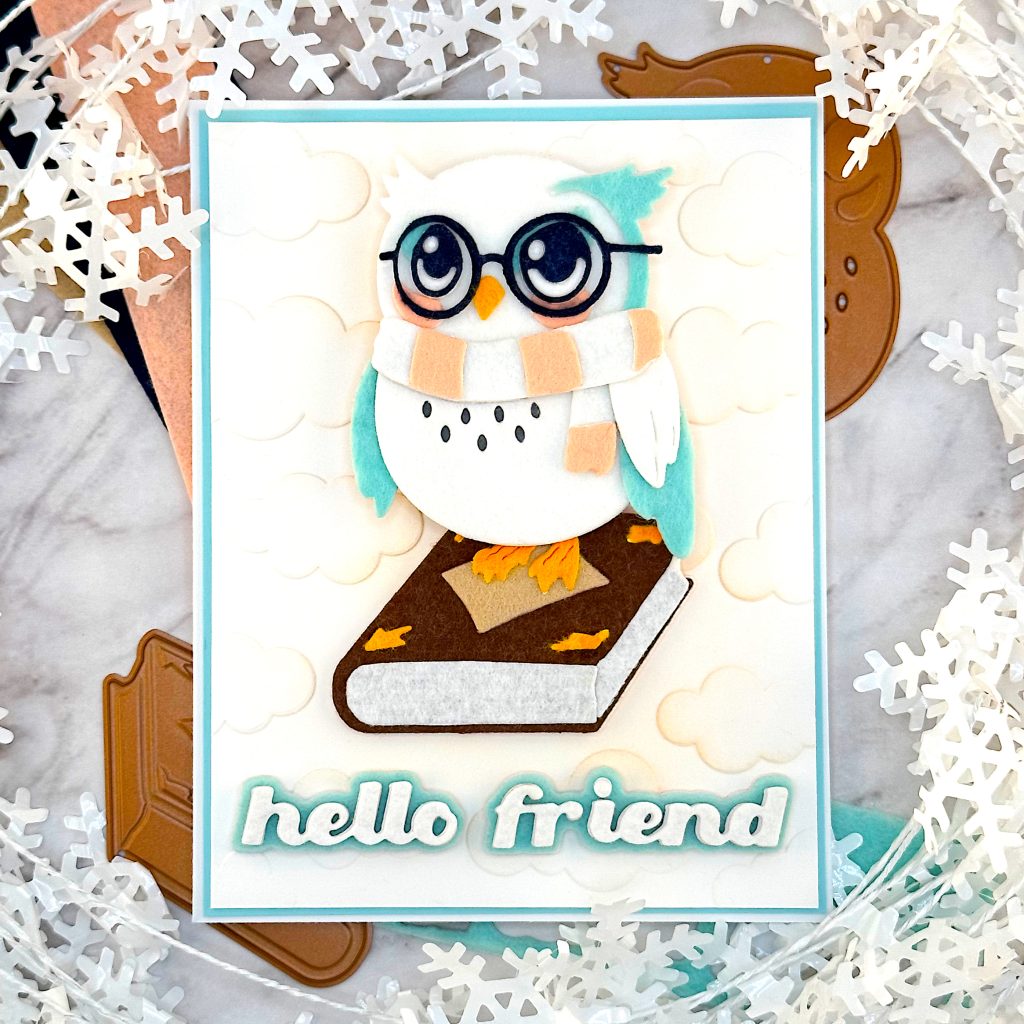
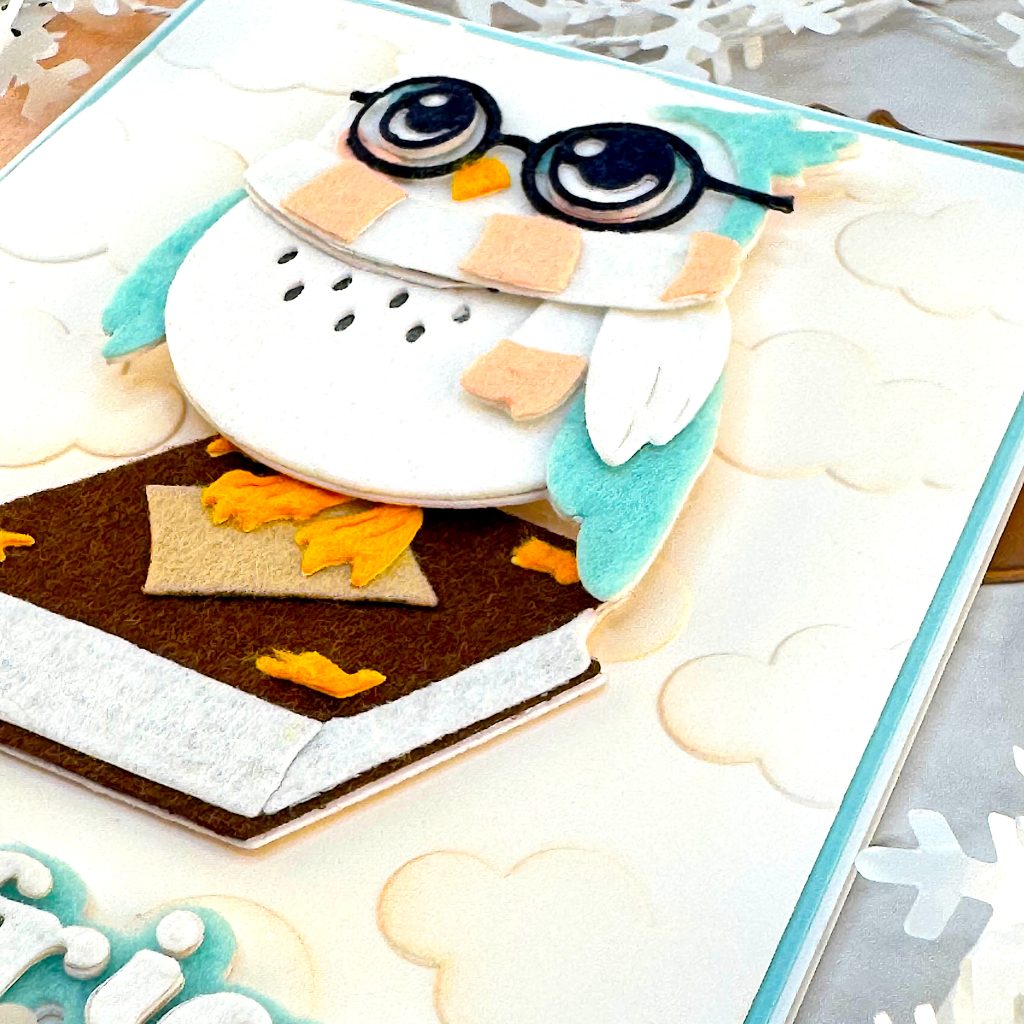
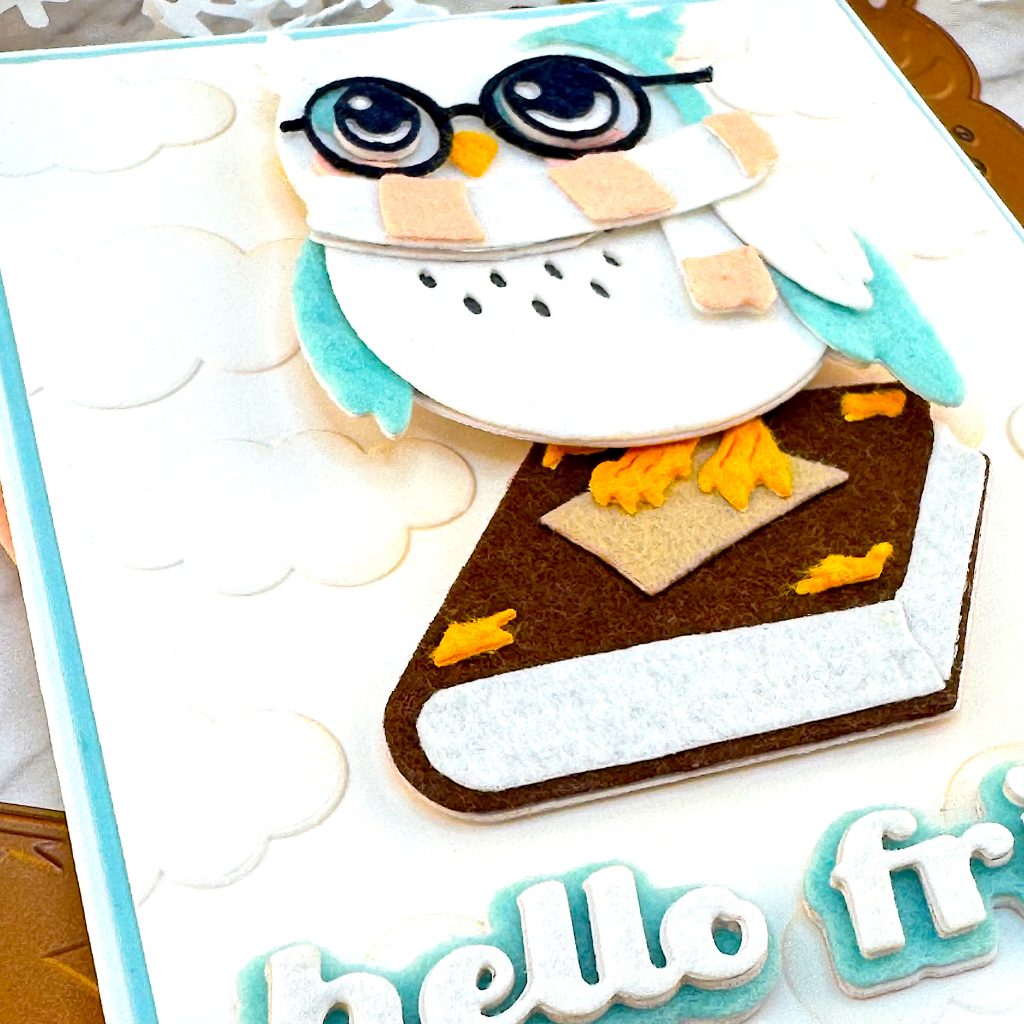
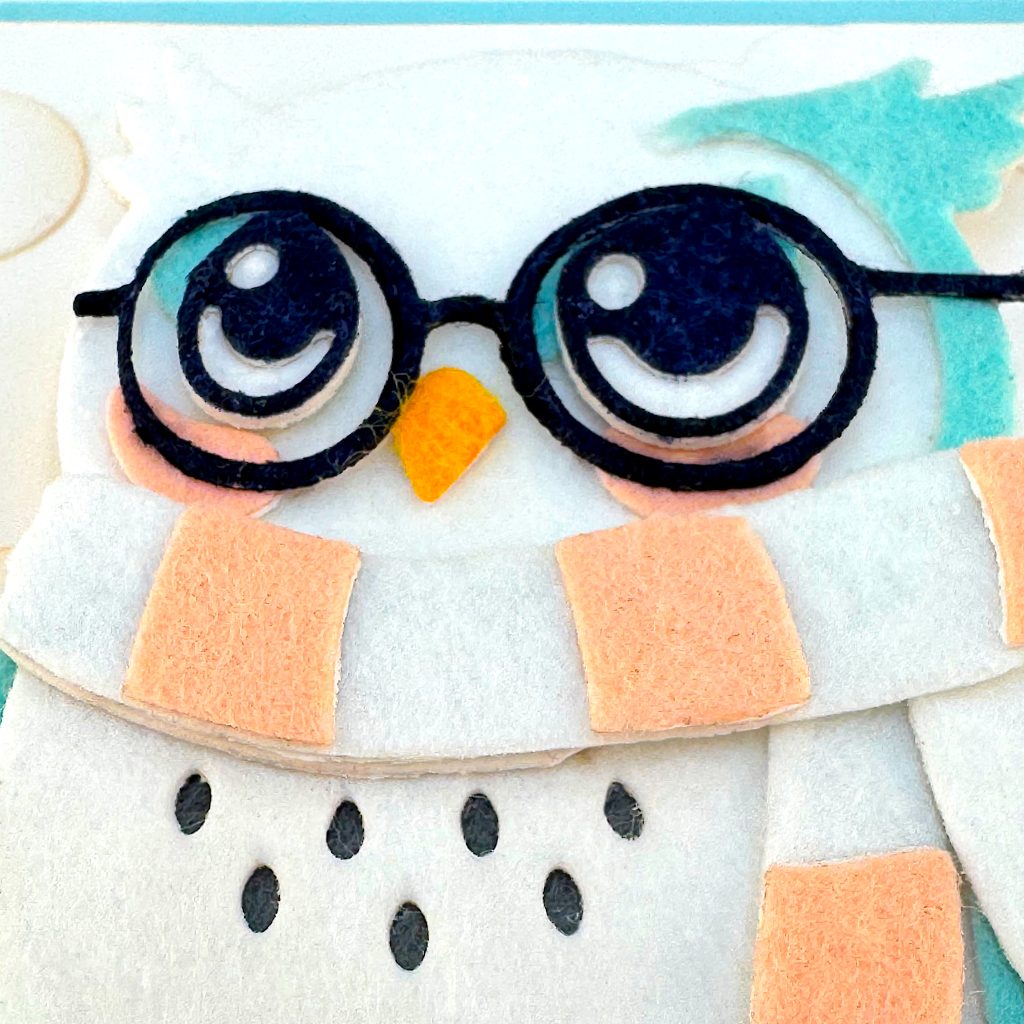
Felt on cards seems to be having a moment. I wanted to use it on an upcoming project, so this is a practice card. For detailed instructions on how to put together this owl, see my post Wise Vintage Owl. This post is mostly about what I learned about using felt in cardmaking.
Pros and Cons
The fuzzy texture of felt definitely adds something new to a card. It invites the recipient to touch it. But there’s also a learning curve to it. The biggest drawback I’ve found so far, is that it’s a magnet for dirt. Cat hair, eraser rubber, glitter — everything sticks to it and is very hard to get off.


Die Cutting Felt
When die cutting felt, it’s easier to get a clean cut if I use double-sided tape to adhere the felt to thin cardstock. Hammermill was too thick. Scrapbook paper was great. Applying it to white paper also helps thin felt in light colors appear brighter. On this card I didn’t use paper behind the pages of the book. That’s why the white of the book pages isn’t as white as the body of the owl.
Because of the thickness of felt plus thin cardstock, cards with a lot of layers can get pretty chunky.
Gluing Felt
Gluing things to felt is very different from gluing things to paper. Paper to paper sets up very quickly, but the result can be wavy. Felt to felt or felt to paper takes several minutes. While the felt doesn’t get wavy, if it gets saturated with glue it gets stiff and can get shiny. Not a great look.
I used Art Glitter Glue and it worked fine. In the past I’ve tried special fabric glues, but I was unimpressed by them.
Buying Felt
When it comes to buying felt, stiff felt is definitely easier to handle than soft felt. Both are equally nice to touch on the final card.
The felts I used in this project were from Arteza and HTVRONT. The Arteza colors were nicer, but I ended up using mostly the other brand, because it was stiffer. The thickness of the felt mostly matters if you’re not using a backing layer of paper or thin cardstock.
