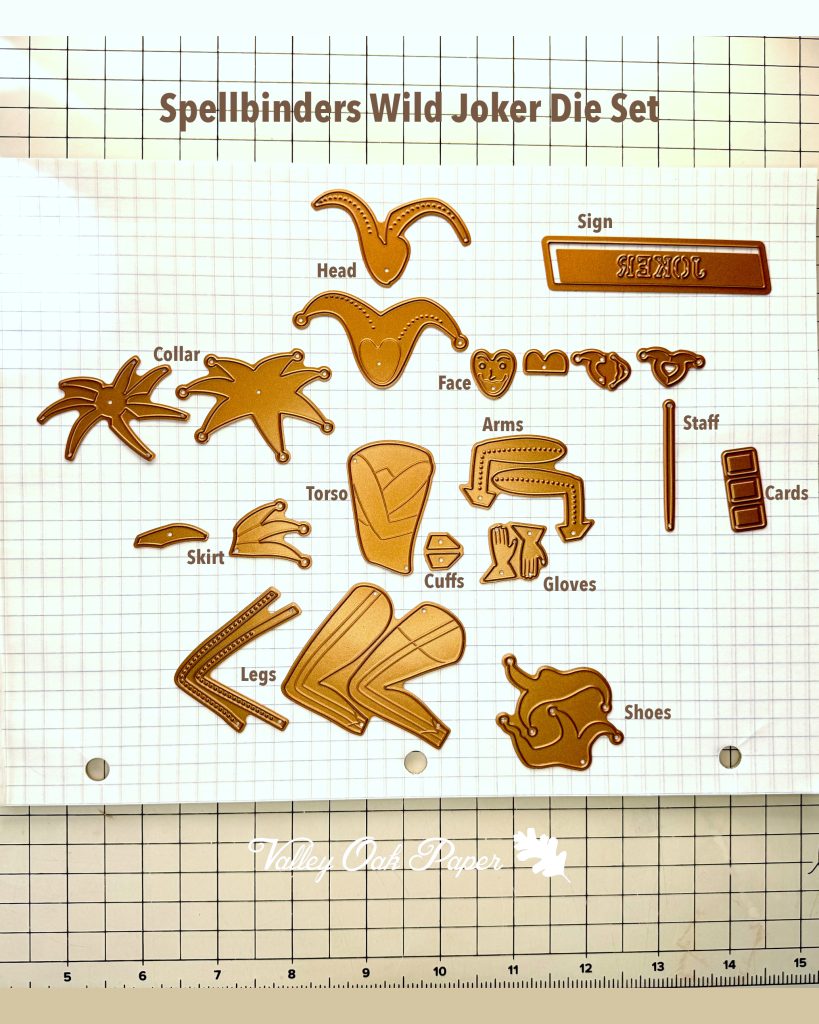
The Joker evokes many different responses from the Joker in the Batman movies to the kitschy Pierrot figurines of the 80s. The Spellbinders Wild Joker Die Set is Jaycee Gaspar’s take on the theme. It’s rooted in classic playing card depictions of court jesters.
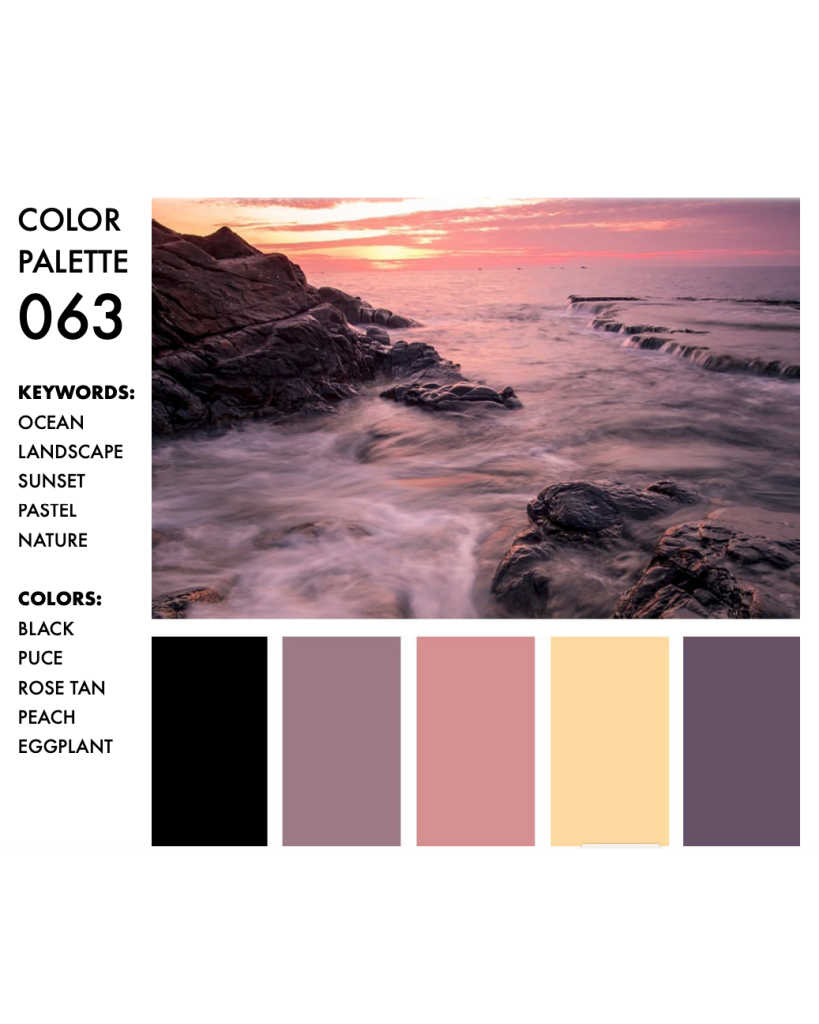
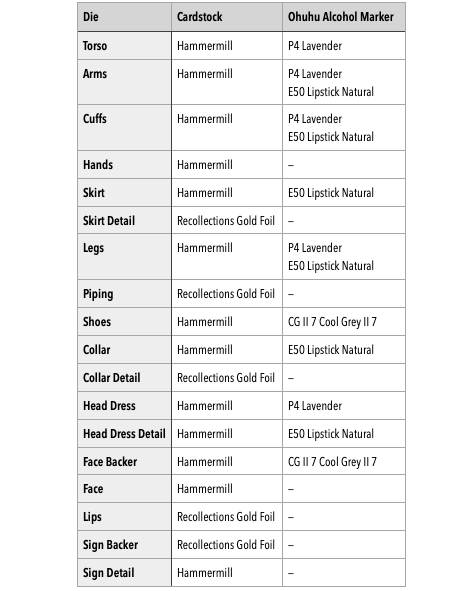
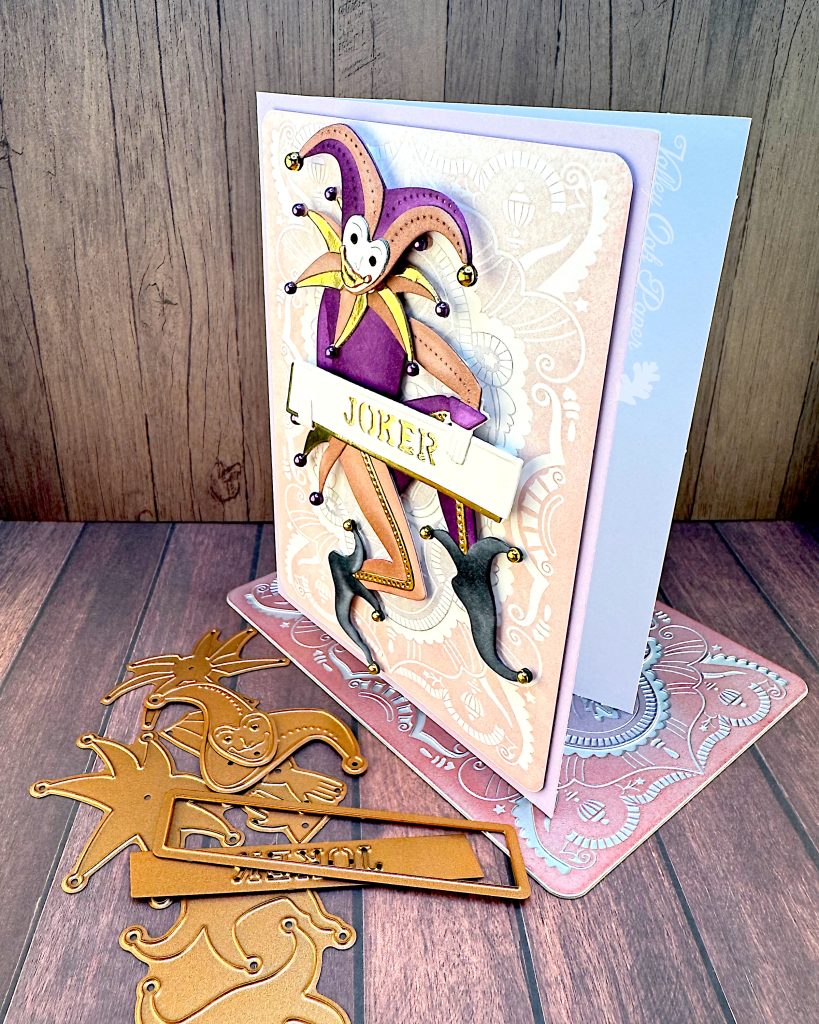
For this card I selected a muted pastel palette. It’s palette 63 from volume 1 of the Color Cube. Most of the color comes from my Ohuhu Alcohol Markers. Once I had selected my palette and I had figured out the die set, I die cut all the parts I needed. See the cut list below. Then I colored the white cardstock with my Ohuhu alcohol markers and glued the detail layers to the base die cuts. There are score lines that indicate where the detail layers go, so it’s not hard.
Sentiment
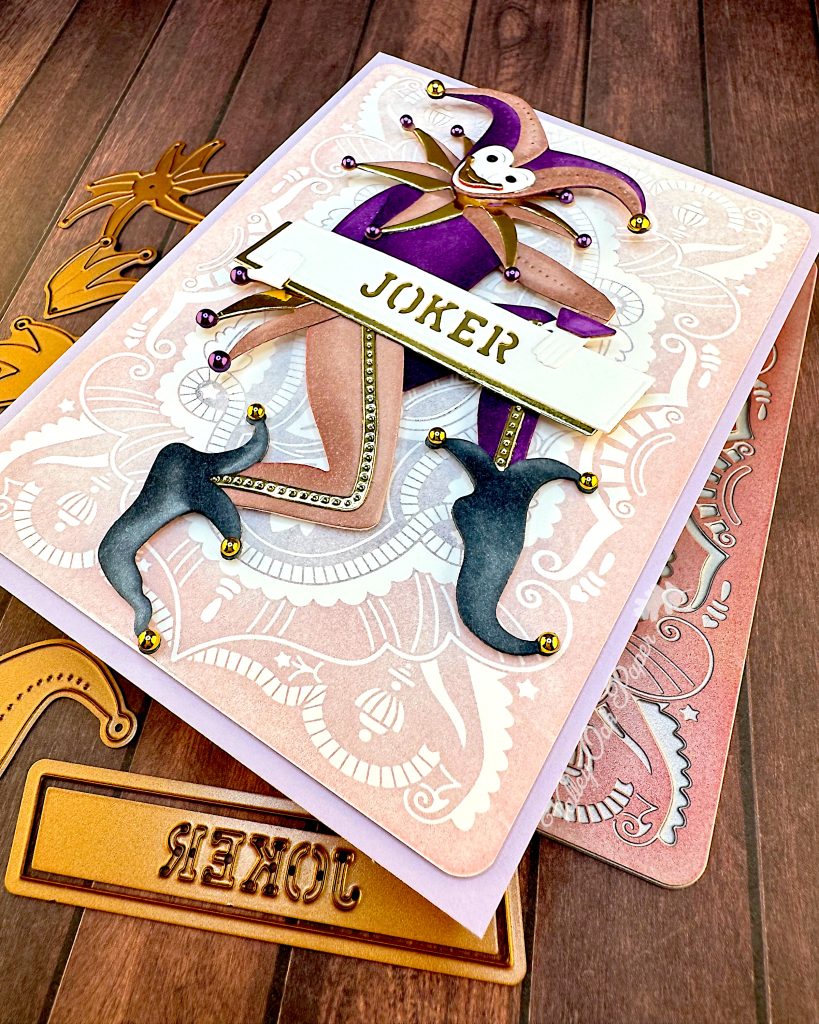
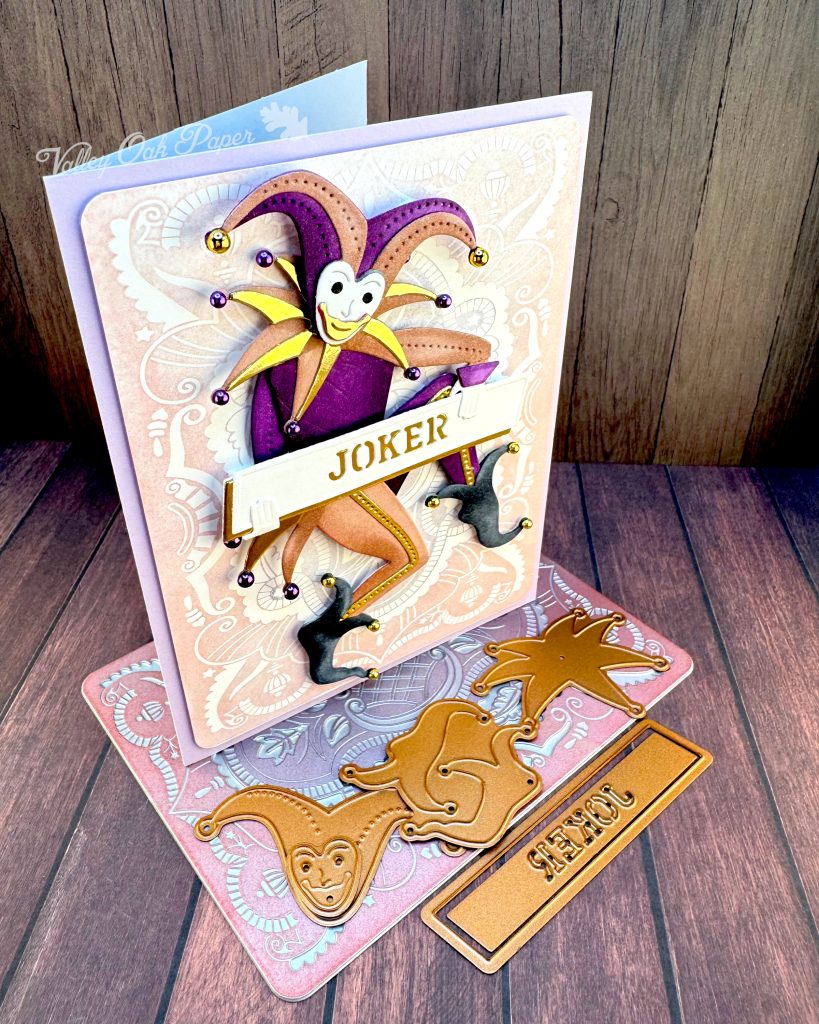
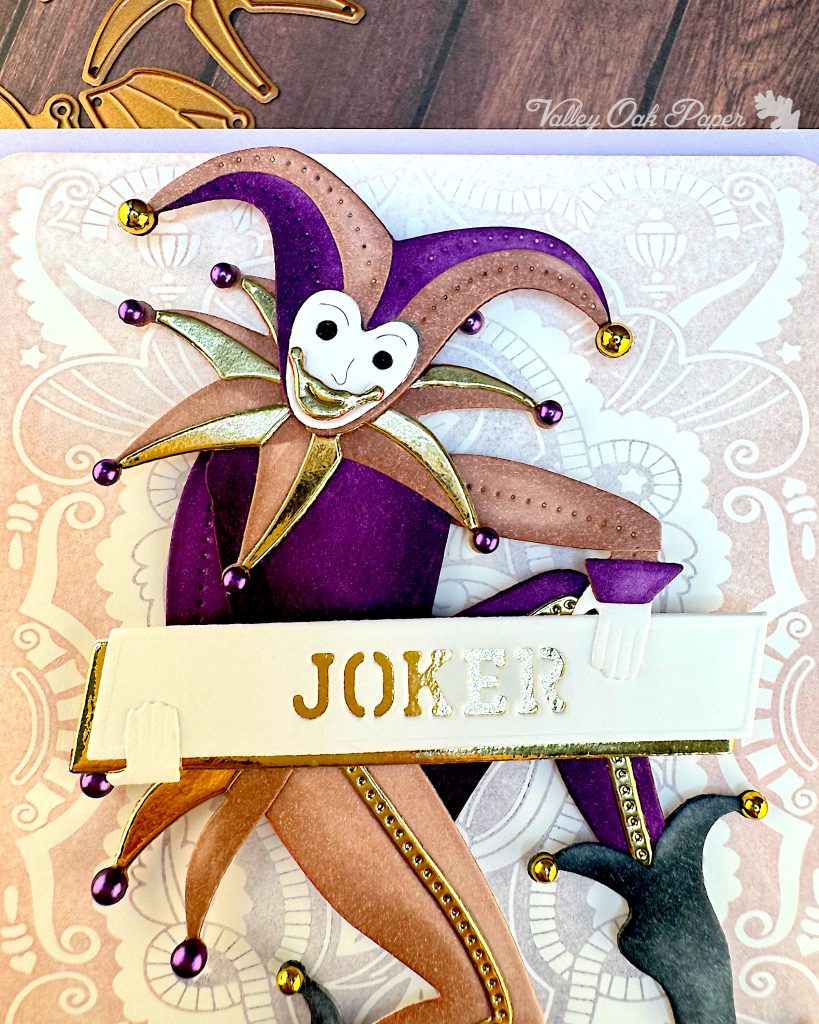
The Joker sentiment is part of the die set. I decided to offset the base layer so that it shows to the bottom and left of the detail layer. Then I added a layer of Accent Opaque behind it for stability.
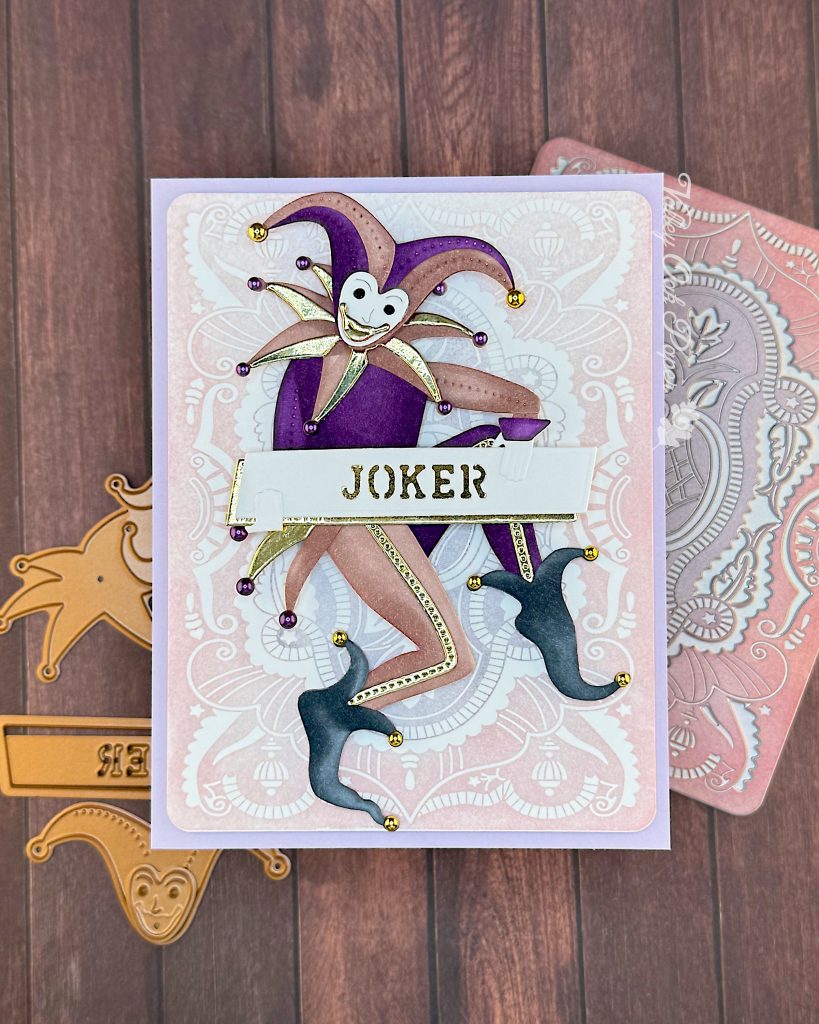
My idea for this card was that the Joker would hold the sentiment in his hands. To achieve that, I had to do some creative cutting and folding. I started by folding his right hand under the sign and gluing his right arm straight down behind his torso. I cut off the part that stuck out to the side under the sign.
Next I glued the left arm behind his torso and sticking straight out. I cut off the arm near the elbow. Then I glued the left hand to the sign in line with the part of the arm I had previously cut off. I glued together the hand with the cut-off arm and cuff. Then I glued the arm pieces together and cut off the excess.
Rest of the Figure
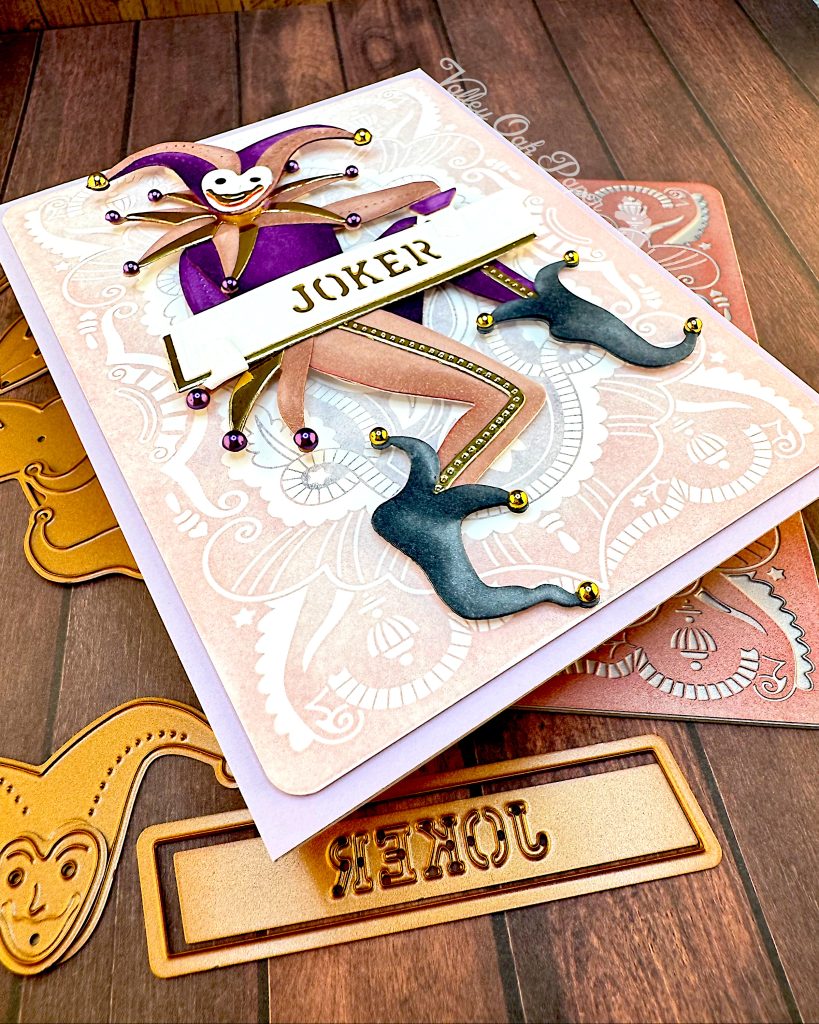
I glued the legs together and added the skirt. Then I inserted the top of the legs between the Joker sign and the torso and glued it in place.
Moving up, I glued the collar to the top of the torso. If you look really carefully you can see the score lines in the torso that I ignored. Then I popped up the head on some foam tape.
Background
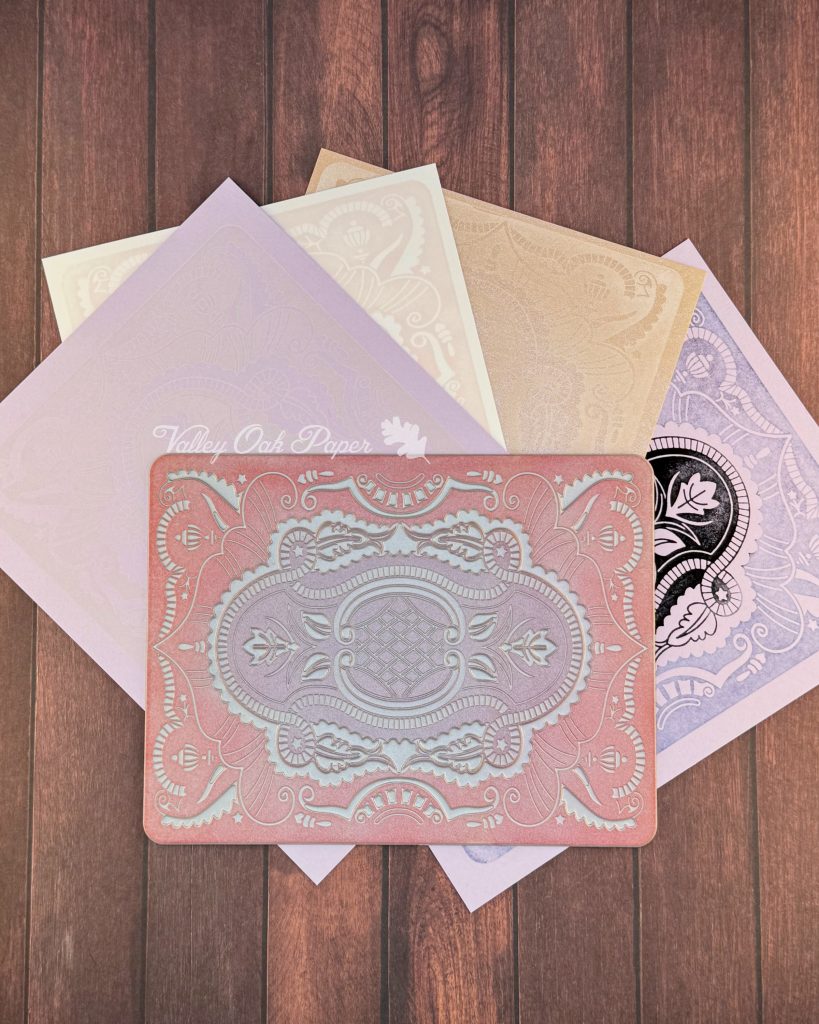
I knew that I wanted to use the Deluxe Deck Press Plate for the background. So I created a couple of different versions of it. The one I chose was actually a cleanup impression. I had cleaned the plate with Archival Cleaner after creating an impression with Black and Mulberry BetterPress Ink. But I thought it wasn’t completely clean, so I took an impression of it. Turns out I was right. 😂
I cut down the impression so that the image filled all of it. Then I added two layers of Accent Opaque 100 lbs to the back, matted it on a pale lavender cardstock and adhered it to my card base.
Assembly
I popped up the joker in the center of the background with the sign held horizontally. Then I finished up by adding black glitter glue to the eyes and gold and berry pearls for the bells.
I really like the palette I chose for this card and I have many more ideas for how to dress up or down this joker. It would be fun to create an all-white card or one with pattern paper. A traditional two-tone diamond pattern, for instance. I think I have a stencil in that pattern.