Background
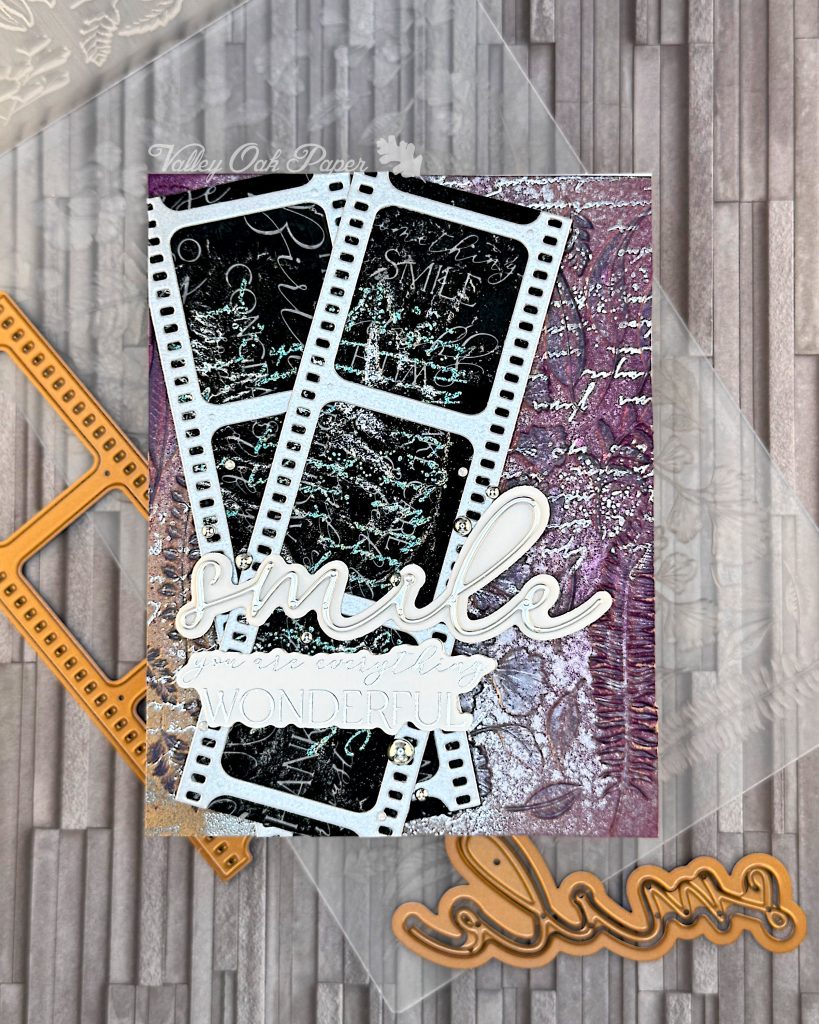
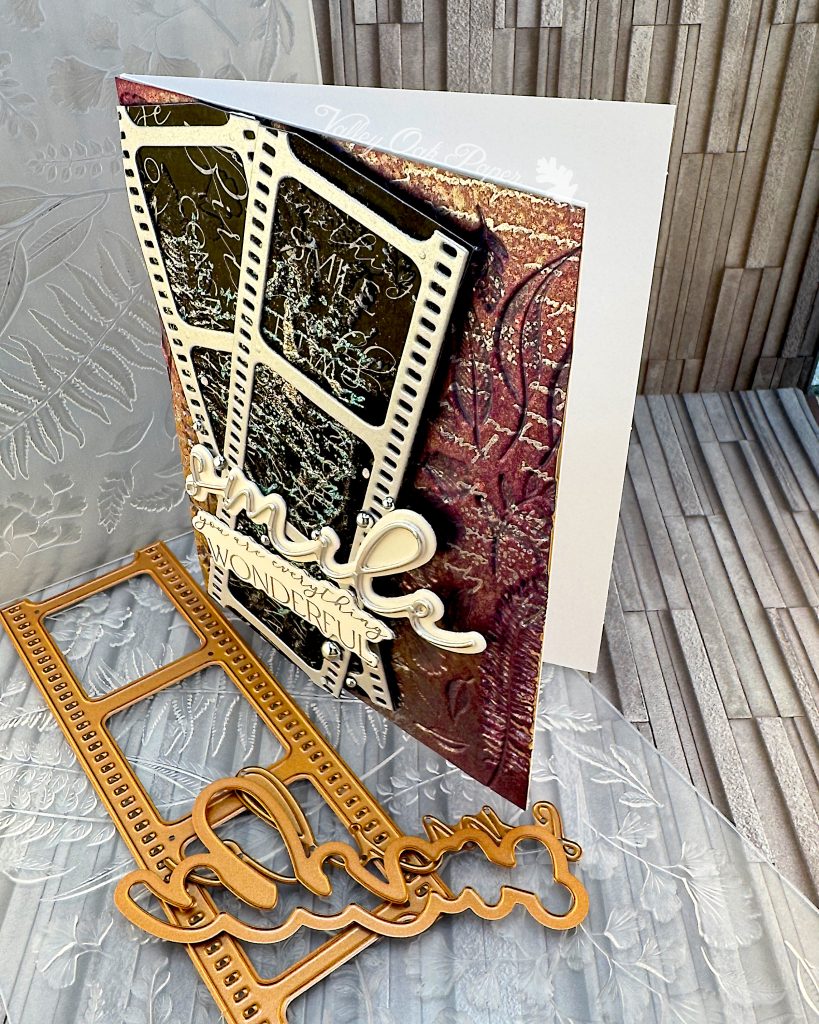
I started with a background from my backgrounds box. It was Kraft cardstock with purple and silver from Distress Mica Sprays. The colors look like Frozen Fog and Fortune Teller.
First I placed the letter from the Spellbinders April 2025 BetterPress Kit of the Month in the top right corner and inked it up with Versamark. After I’d run it through my Spellbinders Platinum 6, I heat embossed it with Ranger Super Fine Detail in Silver. Then I moved the letter to the bottom left corner and repeated the process.
Next I added some temporary adhesive to the flat side of the Spellbinders Field Notes 3D Embossing Folder. I dragged a Distress Oxide Villainous Potion Ink Pad over the raised parts of the folder. I placed the background in the folder and ran it through my Platinum 6 again. I repeated the process two more times. The last time, I inked up the folder with Black Soot instead.
Film Strips
The film strips also came from my Backgrounds Box. They are originally grey cardstock. I had reverse foiled the Spellbinders You Are Everything Sentiments BetterPress Plate with Black Glimmer Foil on the grey cardstock, but wasn’t happy with the results.
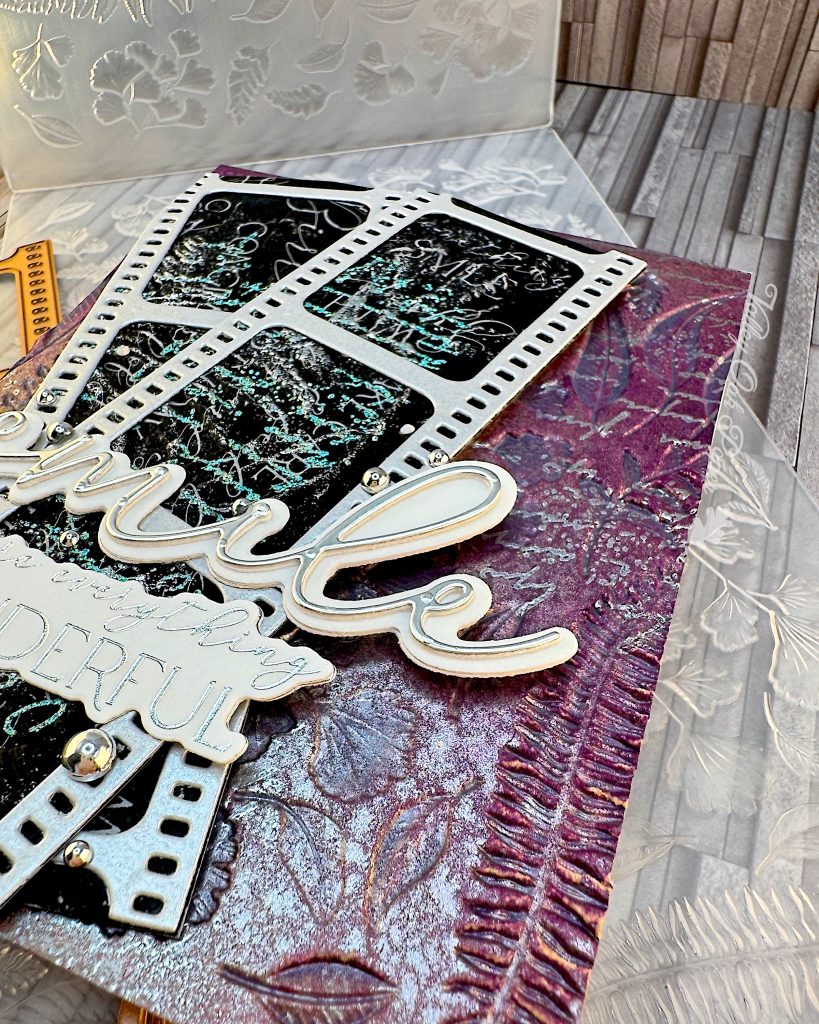
I heat embossed the letter from the Spellbinders Post Edge Expression BetterPress Kit with Ranger Embossing Powder in Verdigris. It’s such a cool embossing powder in tones of teal, grey and gold! This time I only did it in the center of the A2 panel.
Next I dragged my Versamark ink pad across the raised parts of the Field Notes 3D Embossing Folder and dry embossed the cardstock. I then heat embossed it with Ranger Super Fine Detail in Silver to carry the silver theme through my card.
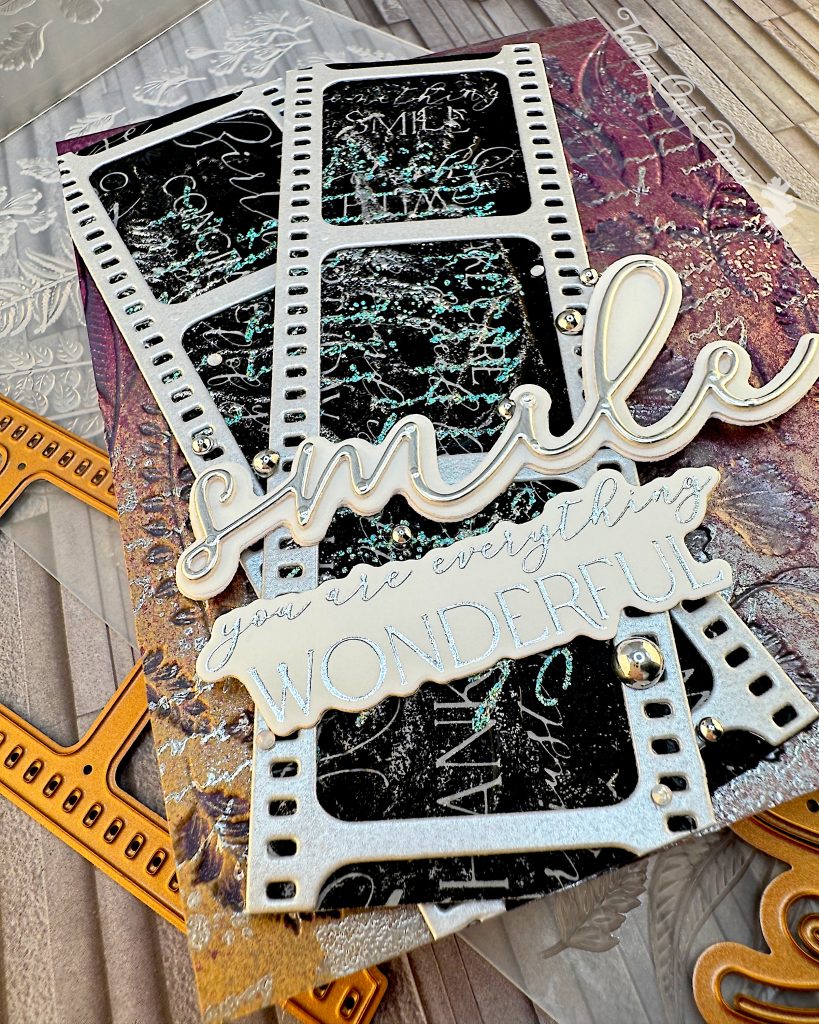
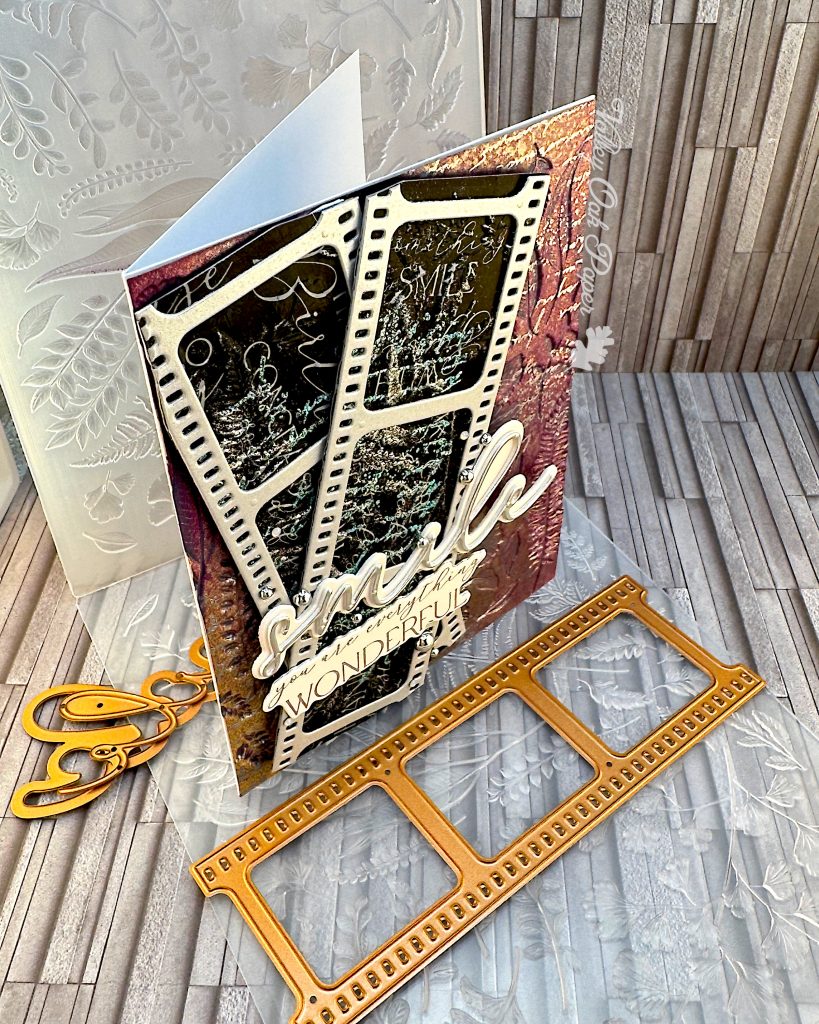
I cut the film strip in the Spellbinders My Life in Pictures Die Set from brushed silver cardstock. Then I cut my black panel into pieces so they fit behind the film strips. I glued them together.
Sentiments
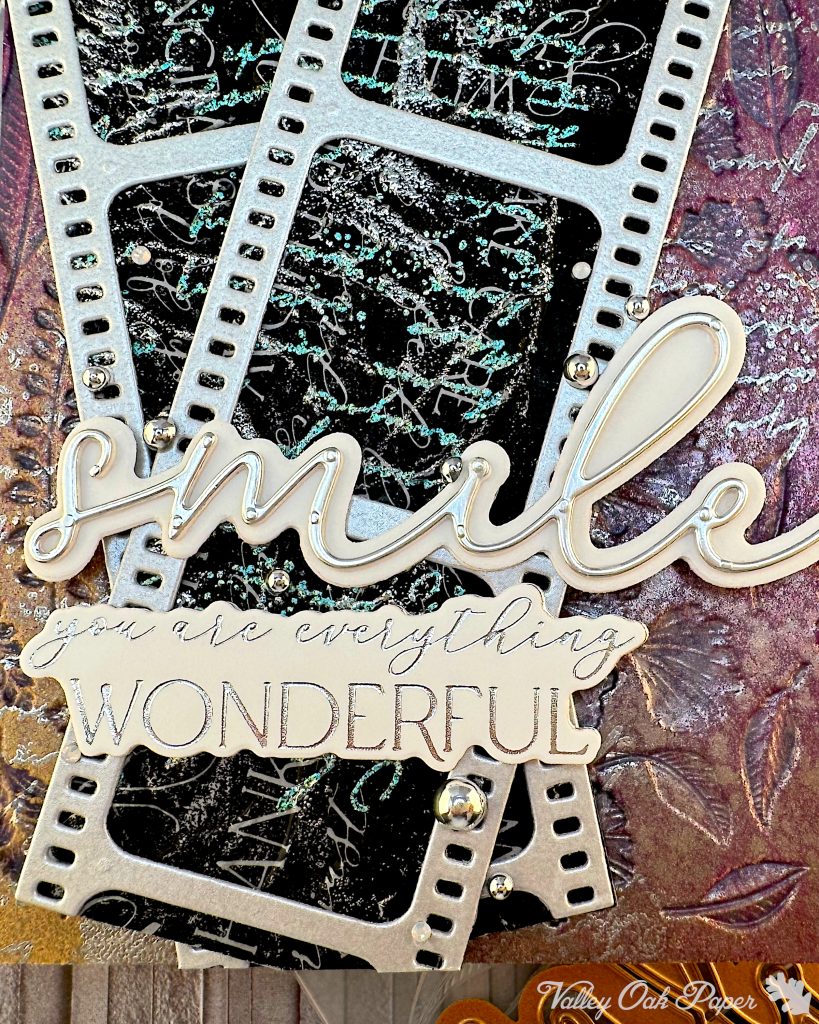
The Smile sentiment with shadow layer is part of the My Life in Pictures Die Set. I cut the word from Spellbinders Mirror Cardstock in Silver with two extra layers in Accent Opaque. First I cut the shadow from white vellum. But the background still made it hard to read the text. So I added two layers of Accent Opaque behind the vellum.
The subsentiment is from my mug of You Are Everything Sentiments. It’s foiled with Silver Glimmer Hot Foil on Hammermill.
Assembly
First I added the background to my card base. Next I added two layers of Accent Opaque behind the first film strip and glued it leaning left on the background. I added one layer of Accent Opaque behind the other film strip and some foam tape at the bottom left and top right. Then I was able to glue it across the first one.
I glued the Smile sentiment to the second film strip and then I placed the subsentiment under it. Finally I added some silver pearls and opal gems around the sentiment.