
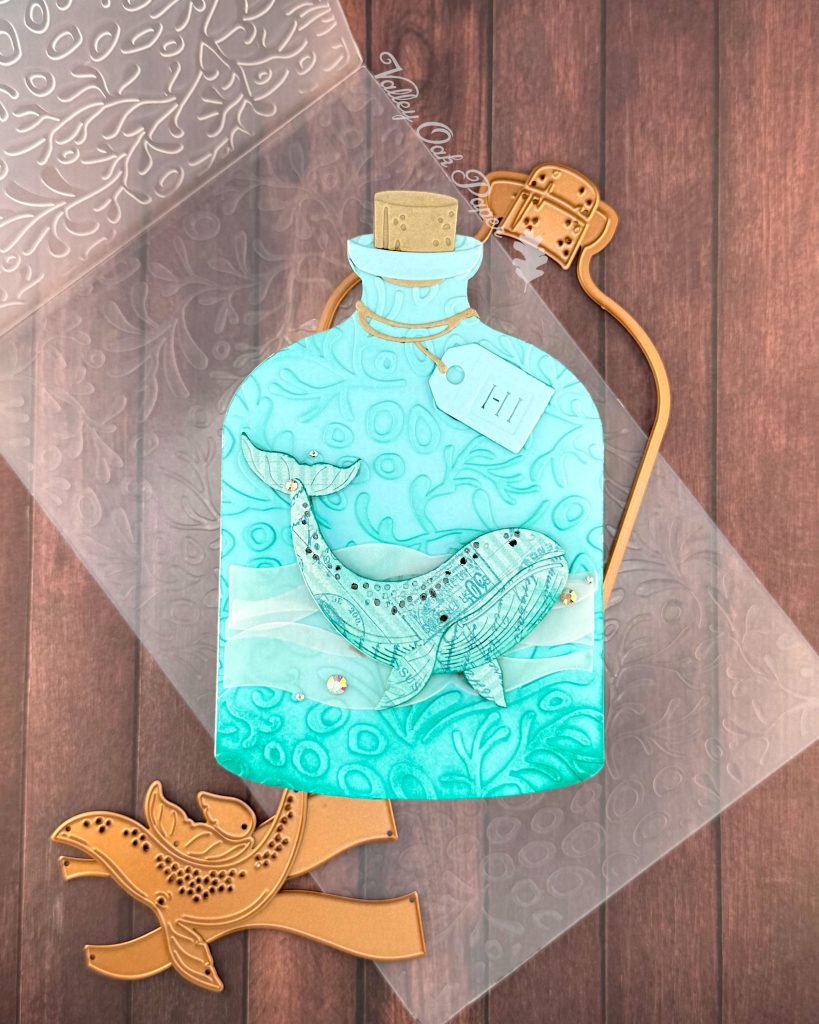
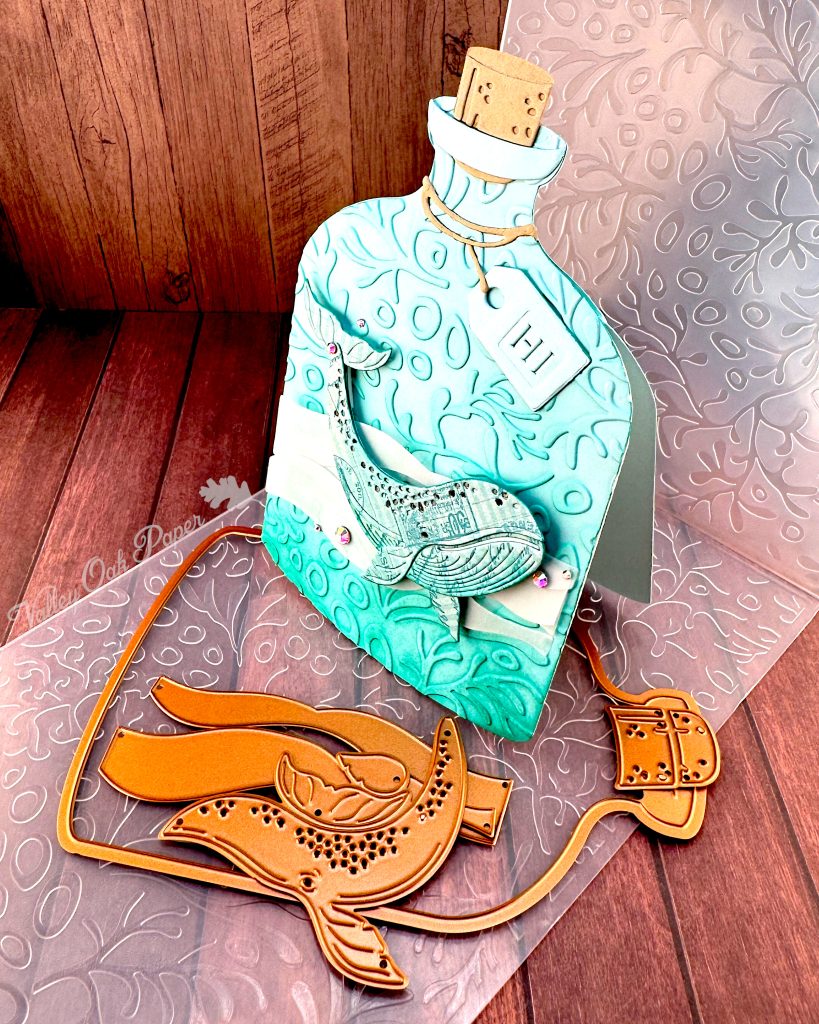
The starting point for this card was the August 2025 Embossing Folder of the Month, Coral Impression. As you can see, I didn’t go with a coral monochrome, but a turquoise one.
Die Cutting & Bottle
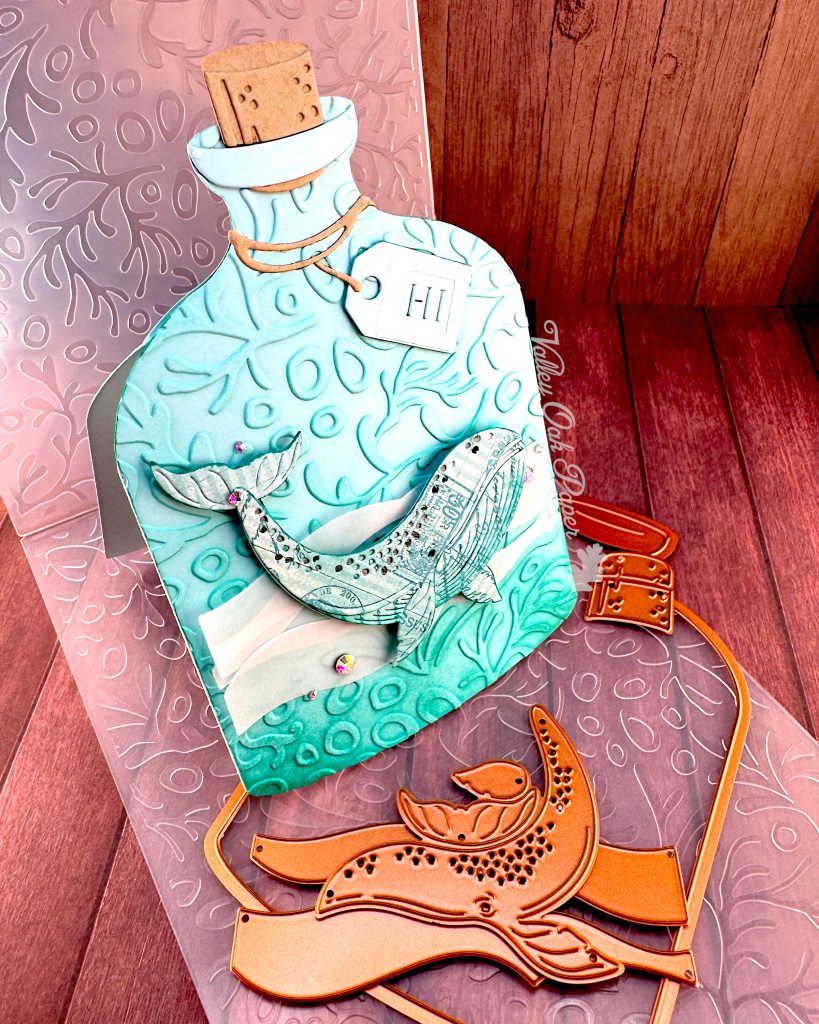
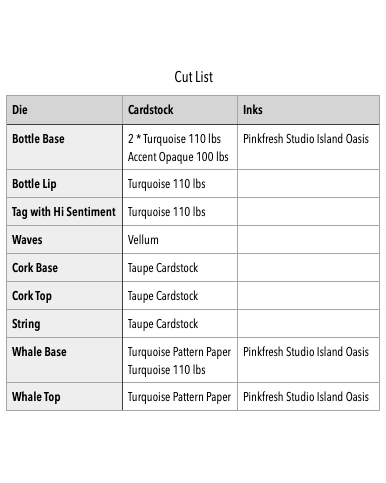
I started by die cutting all the parts I needed according to the cut list below. Then I took one of my turquoise bottles and dry embossed it with the Coral Impression Embossing Folder. To help the pattern stand out, I ink blended the embossed background with Pinkfresh Studio Island Oasis inks. I started with the lightest color at the top of the bottle and moved down to more intense inks.
Next I glued together the cork pieces and glued them to the bottle. I also glued the bottle lip on top of the cork.
I scored the other turquoise bottle die cut across the shoulders at 4 ¼” from the bottom. Then I took the white bottle die cut and cut it off at the same point.
Whale
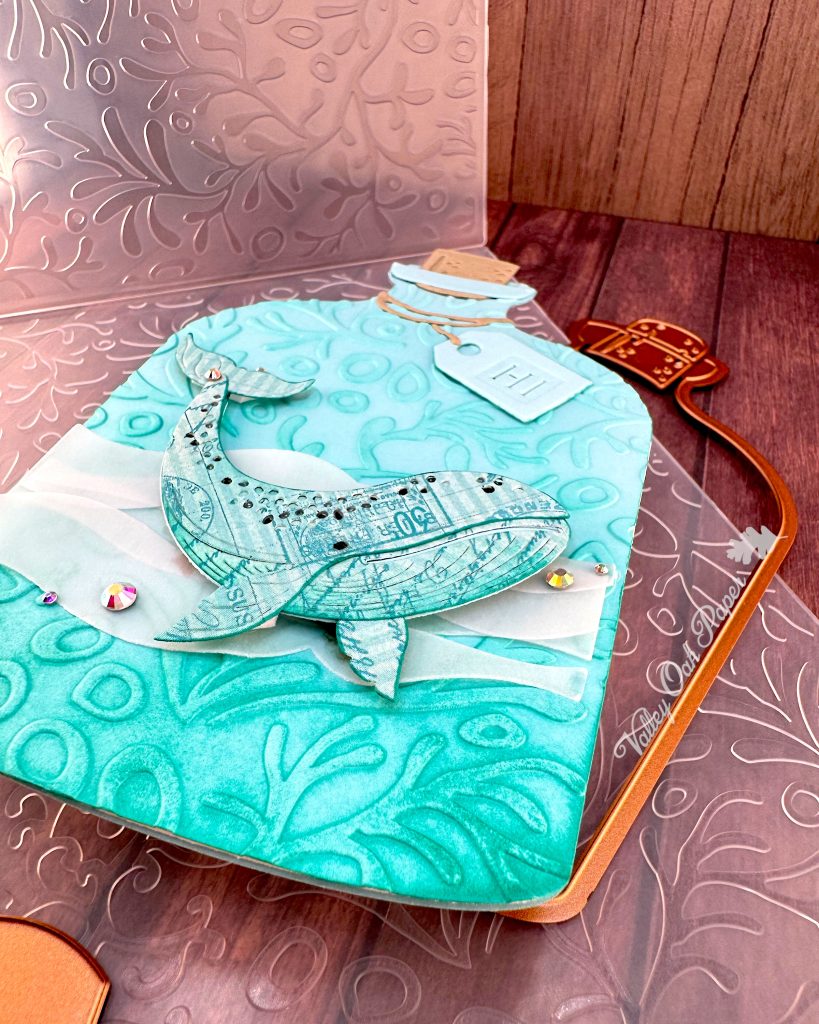
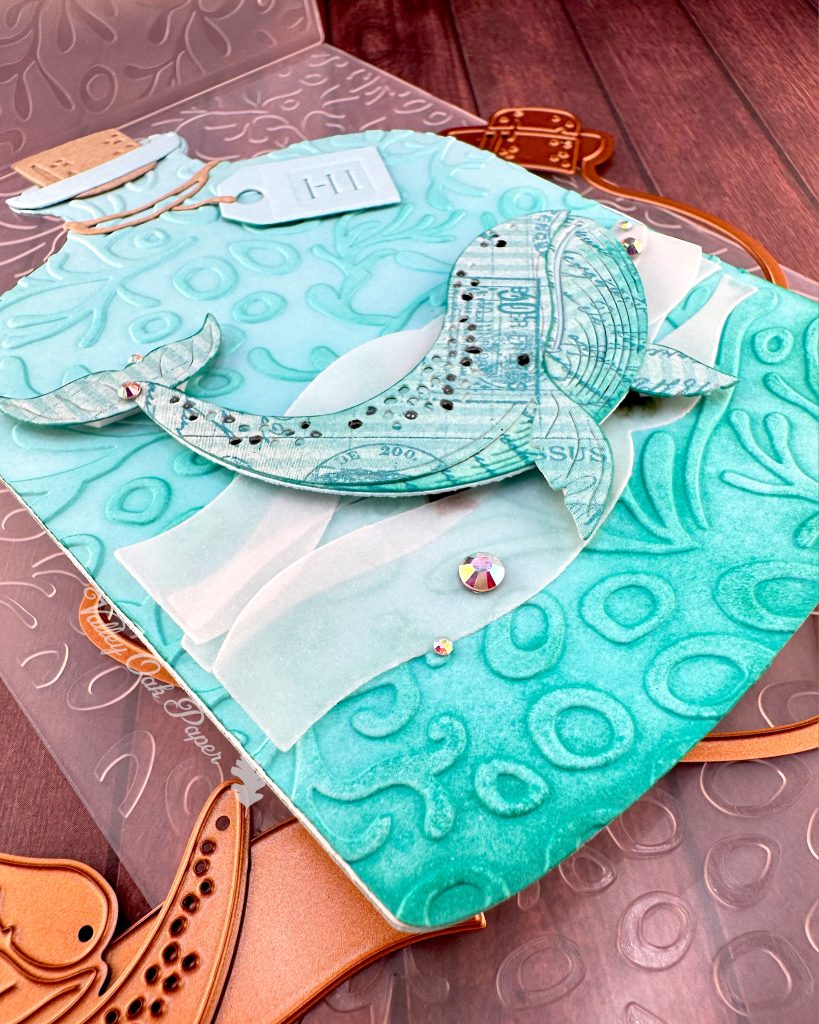
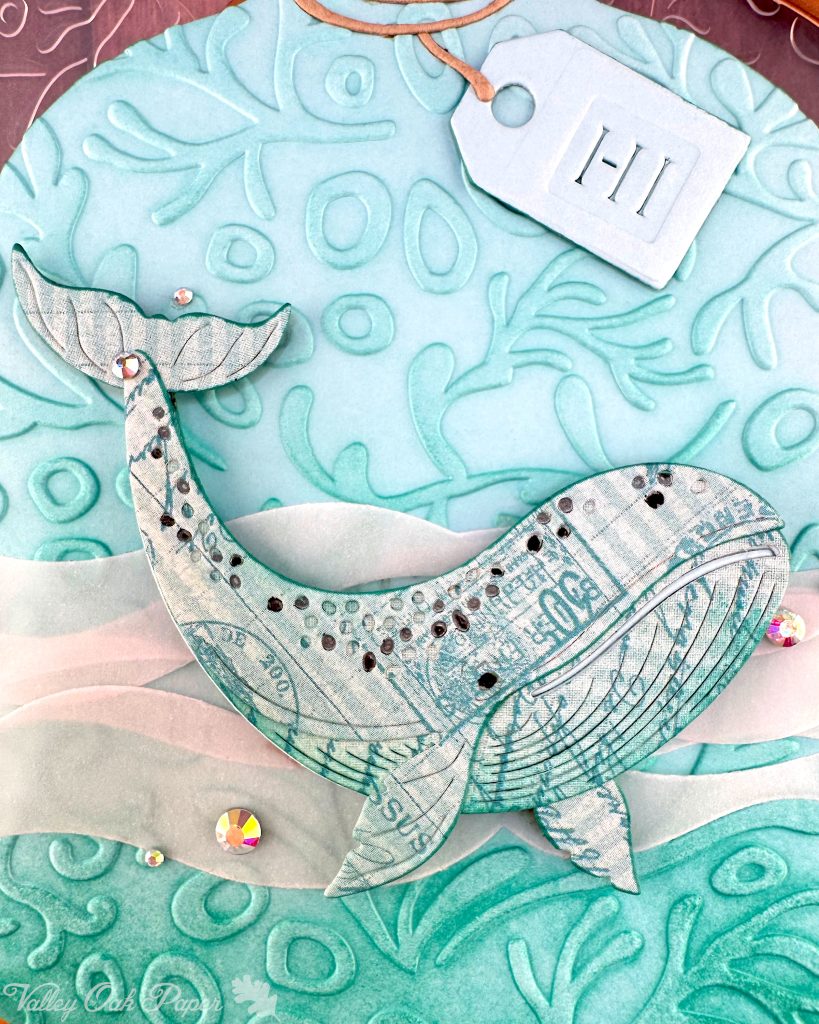
I ink blended around the edges of the whale die cuts with Mermaid Cove ink and glued together the whale. For stability I added a solid color backing piece. Then I colored in the eye and some of the barnacles on the top of the whale.
Sentiment
I glued the string die cut around the neck of the bottle. Then I cut off the end of it. I tucked one end of the off cut under the remaining string and glued the other end to the tag. Then I glued down the tag too.
Assembly
I glued the white bottle die cut to the back of the embossed bottle for stability. Then I glued the other turquoise bottle die cut to the back of the embossed bottle, taking care to only spread glue above the score line. This gave me a shaped card that will stand up on its own.
With the sentiment in place, I knew how much space I had for the whale. I added foam tape to the back of the whale and dry fitted it near the center of the bottle.
I glued the four waves in place under the whale, and then glued the whale on top. Then I finished up by adding some Color Essentials Gems in Spectrum AB.
