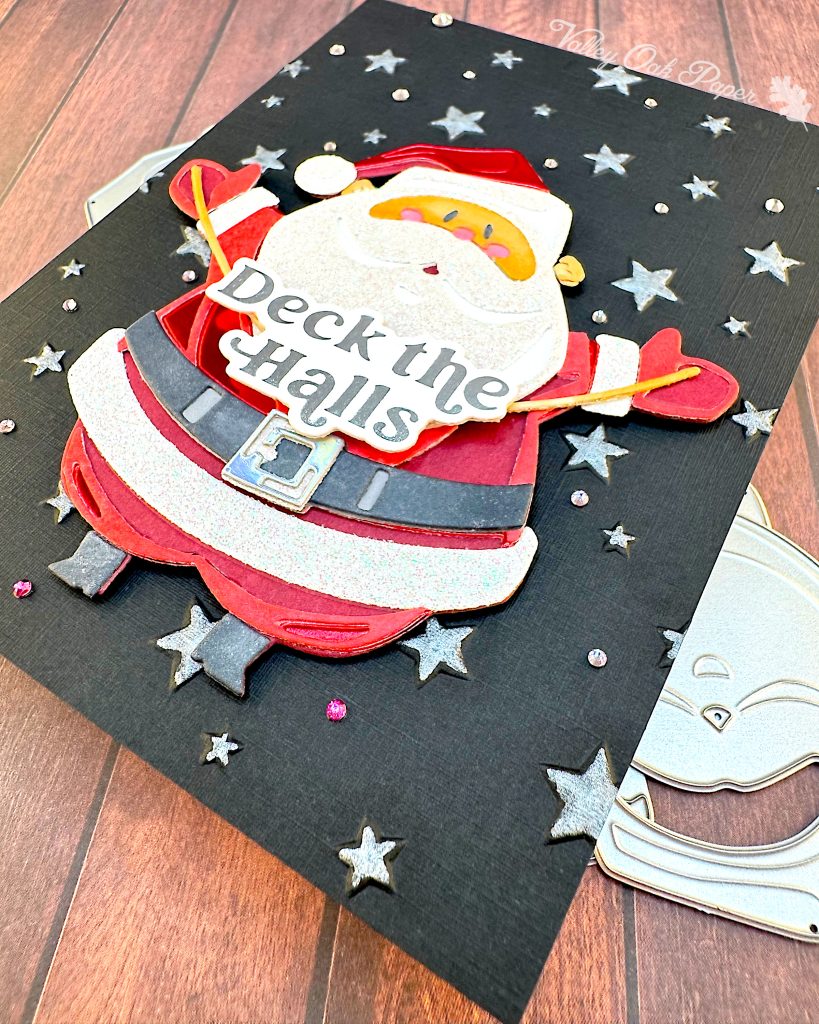
This is the second time I’m using Sizzix Tim Holtz Santa Greetings Die Set. Last time I went Shabby Chic with it. This time I went high contrast.
Die Cutting
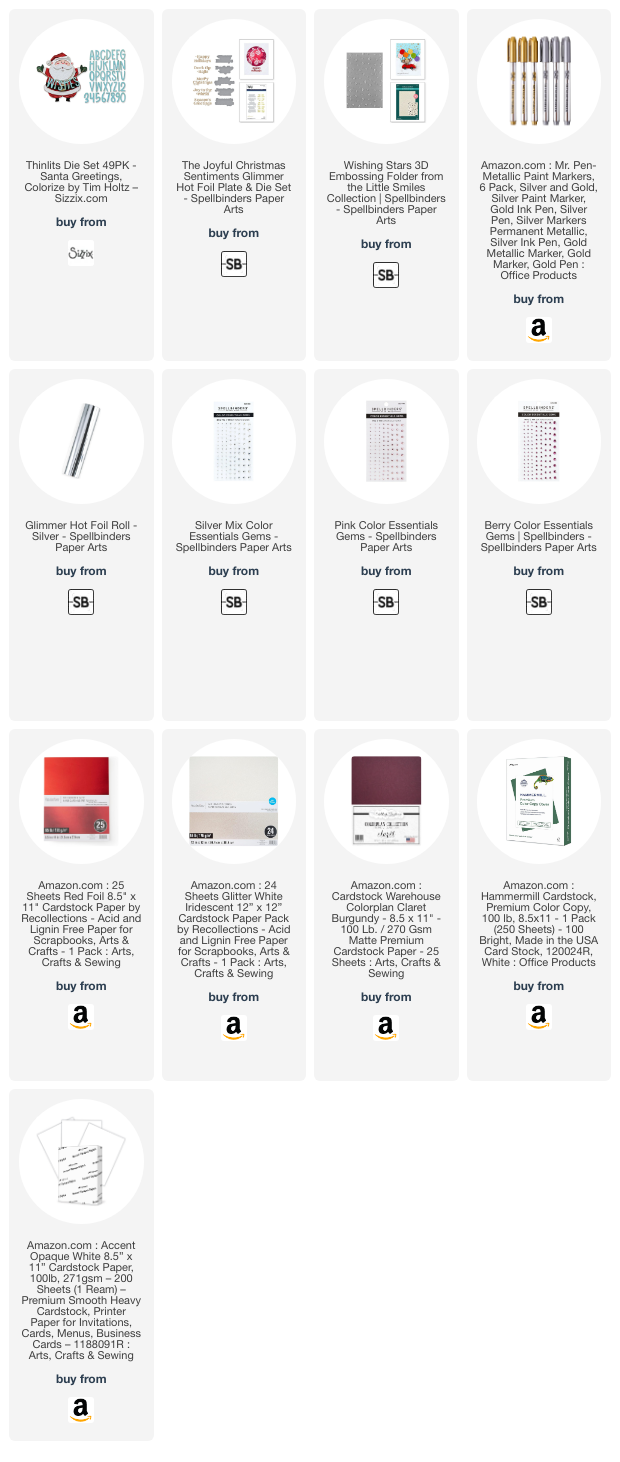
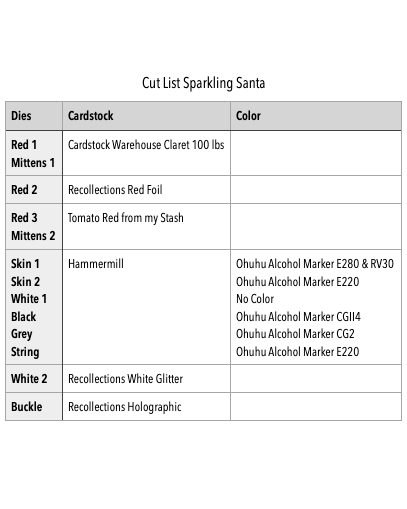
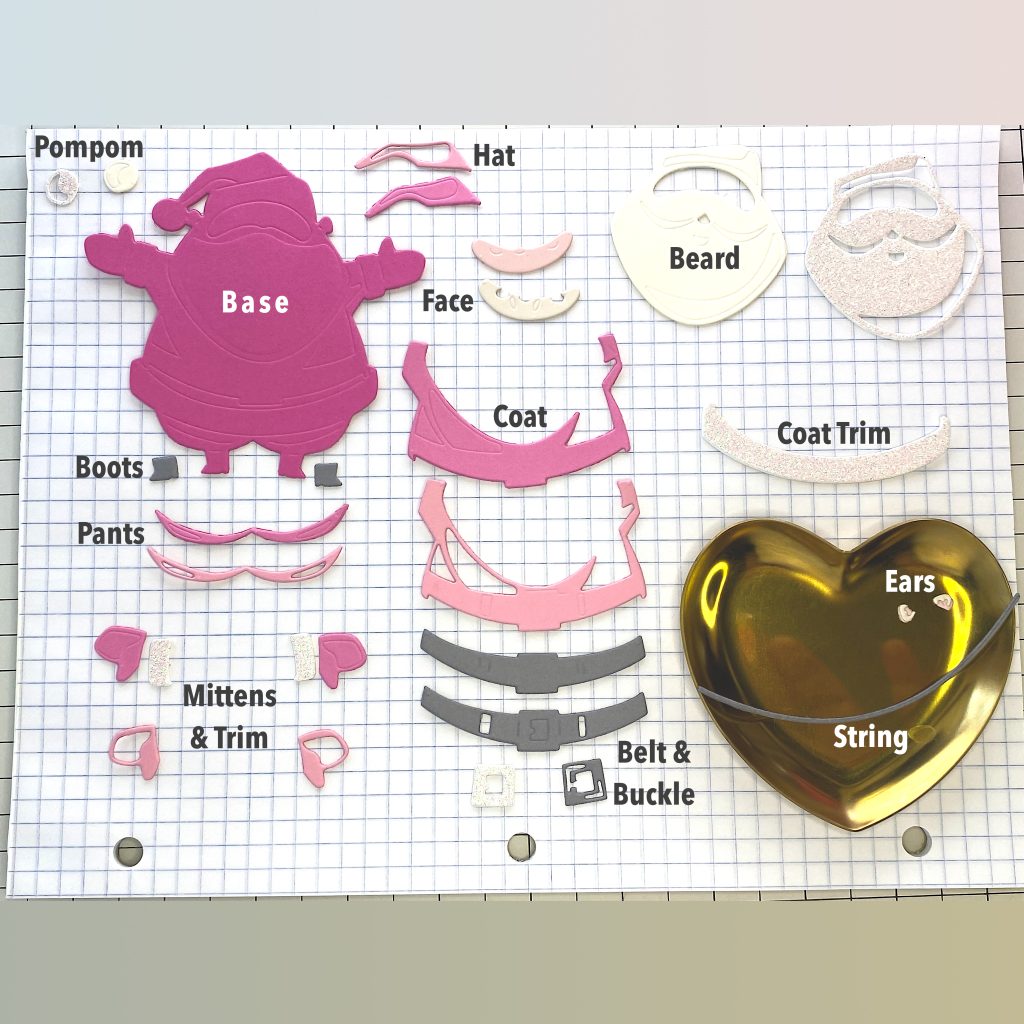
I started by die cutting all the pieces I needed. See the cut list below for details. Then I colored the Hammermill die cuts. It’s very easy to put together. All the dies are labeled on the back and there are score lines indicating where to place the next layer.
Sentiment
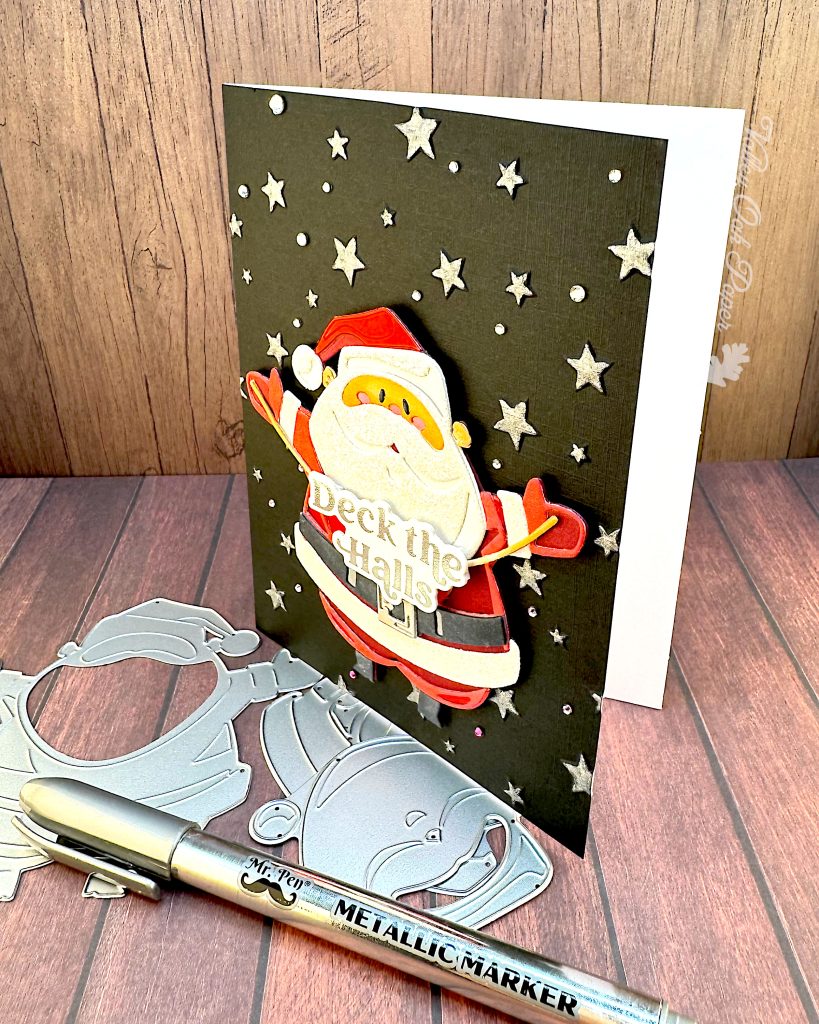
For my sentiment I chose one that I’d previously foiled with Silver Glimmer Foil. It’s from a Simon Hurley Glimmer Set called Joyful Christmas Sentiments. I really like the font.
I glued it to the string between the Santa’s hands.

Background
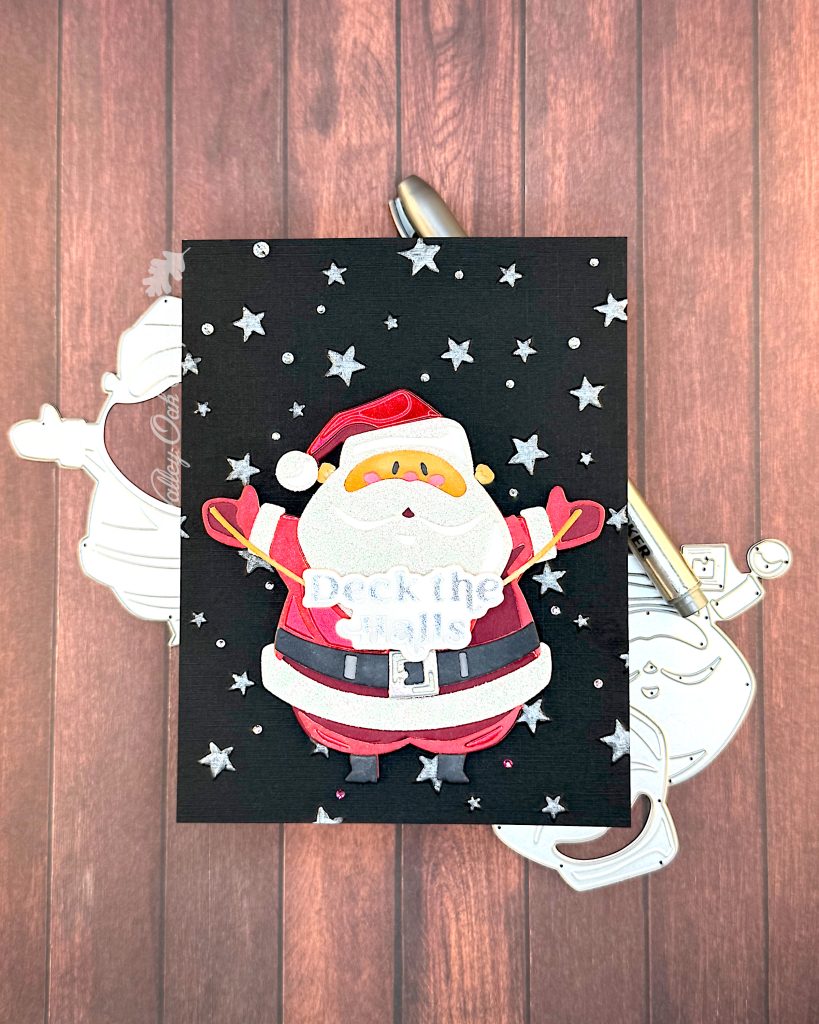
I spent more time on the background than on the Santa. I selected some black, textured cardstock from my stash and embossed it with the recent Spellbinders Wishing Stars 3D Embossing Folder. Then I used a Mr Pen Metallic Paint Marker in Silver to highlight the stars. That took quite a while but I’m happy with the results.
Assembly
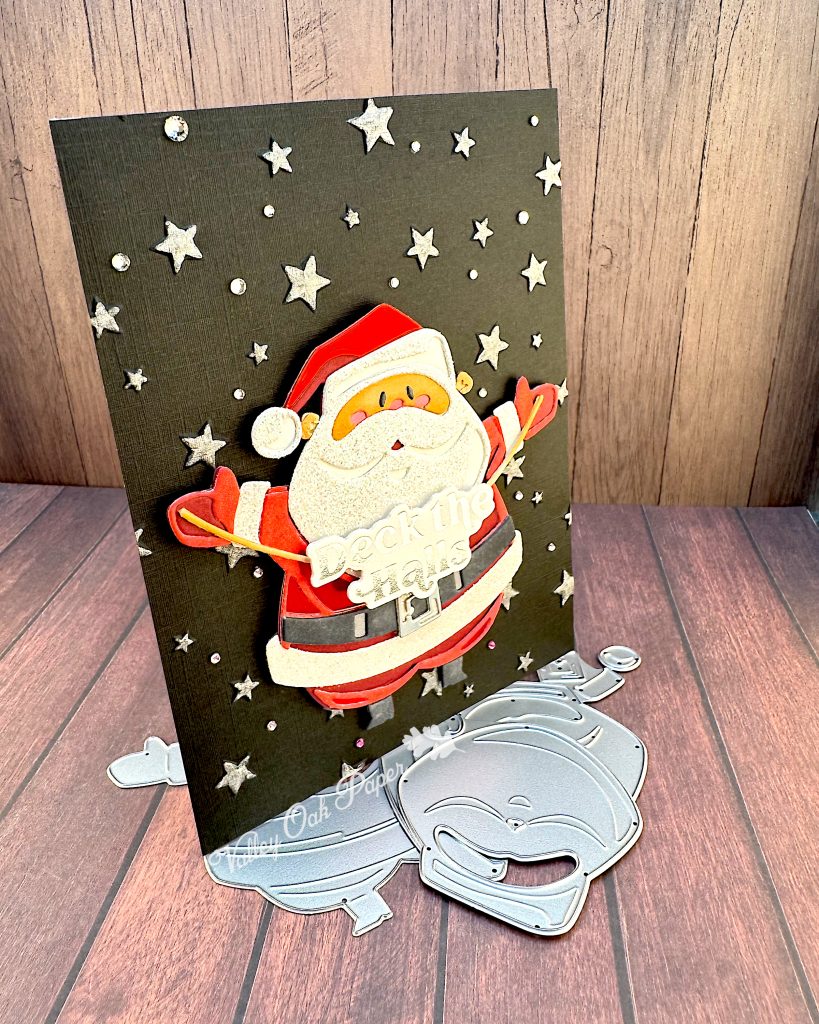
When I was done, I glued my background directly to my card base. Then I popped up the Santa with foam tape in the center bottom part of the card.
I was going to stop there, but I felt that the background lacked something. So I added lots of gems between the stars. The ones above the Santa are all Silver. Those under his outstretched arms are Pink and the ones at the bottom of the card are in the color Berry. I love all the sparkle! It really looks like a dark sky with lots of stars.