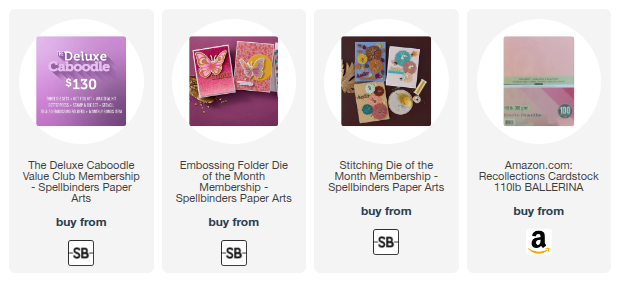
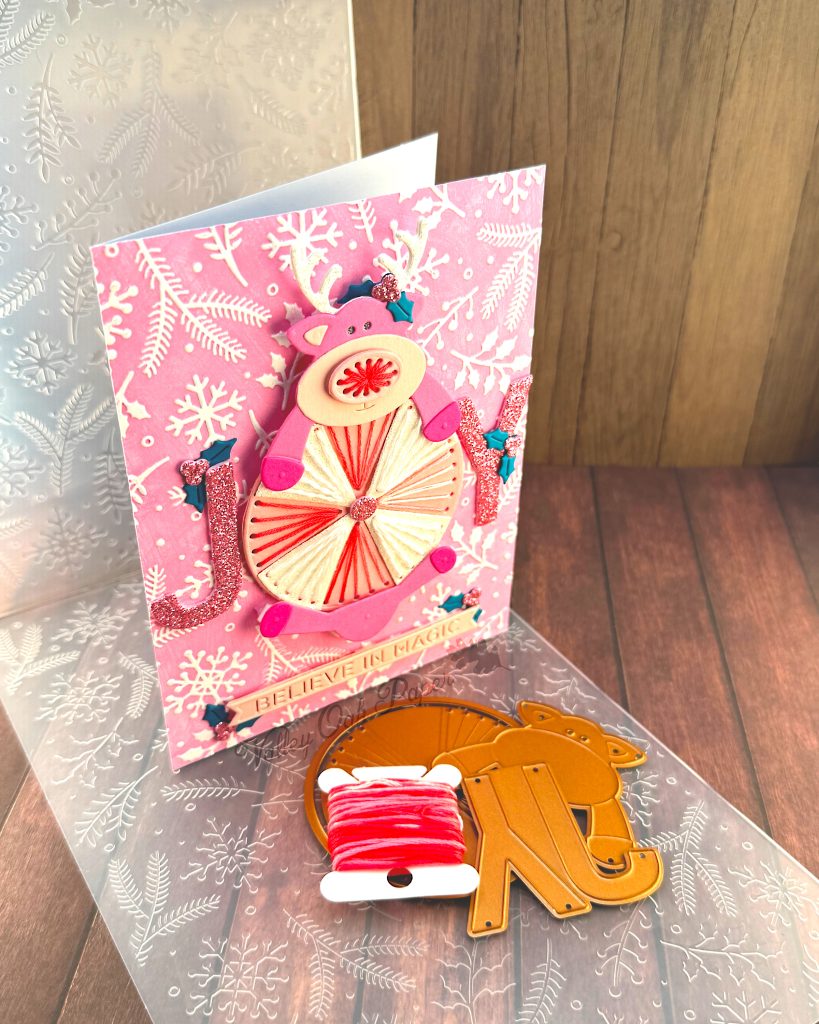
This card combines the Stitching Die, Embossing Folder and Deluxe Caboodle Bonus Item of the Month for October 2025.
Stitching
I started by die cutting the three stitching elements from Peppermint Prancer:
- Circle — 2 * light pink
- Circle Segment 4 * white glitter cardstock
- Reindeer Nose 2 * light pink
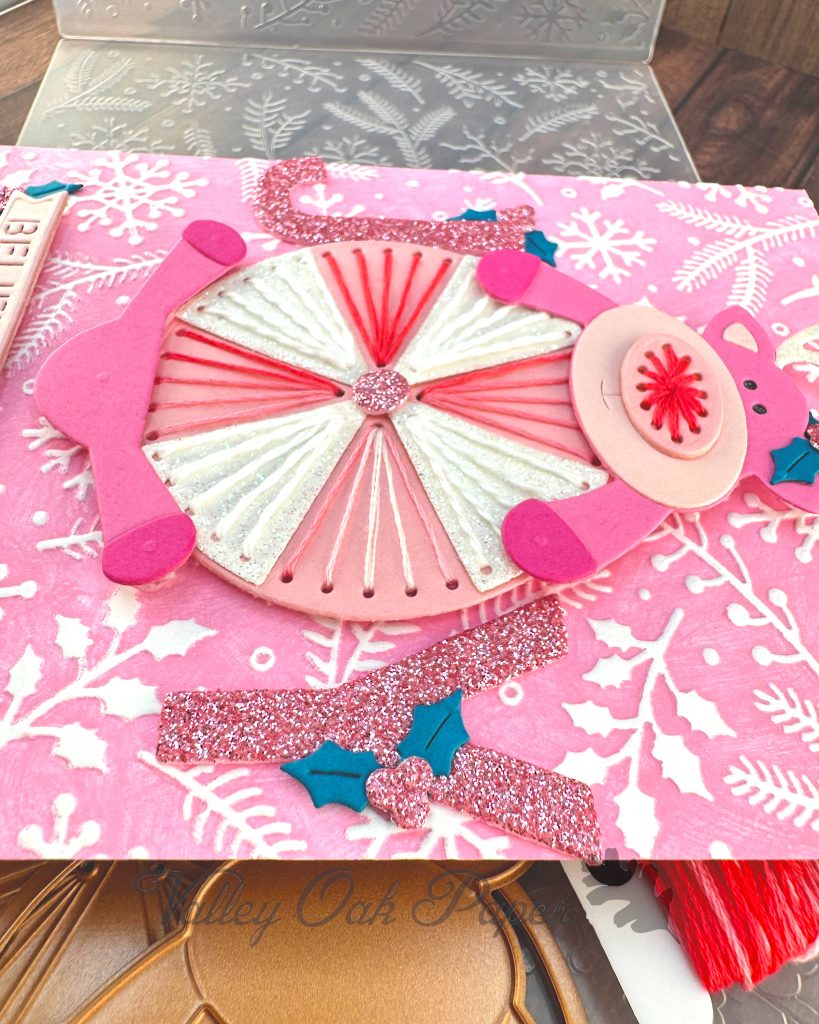
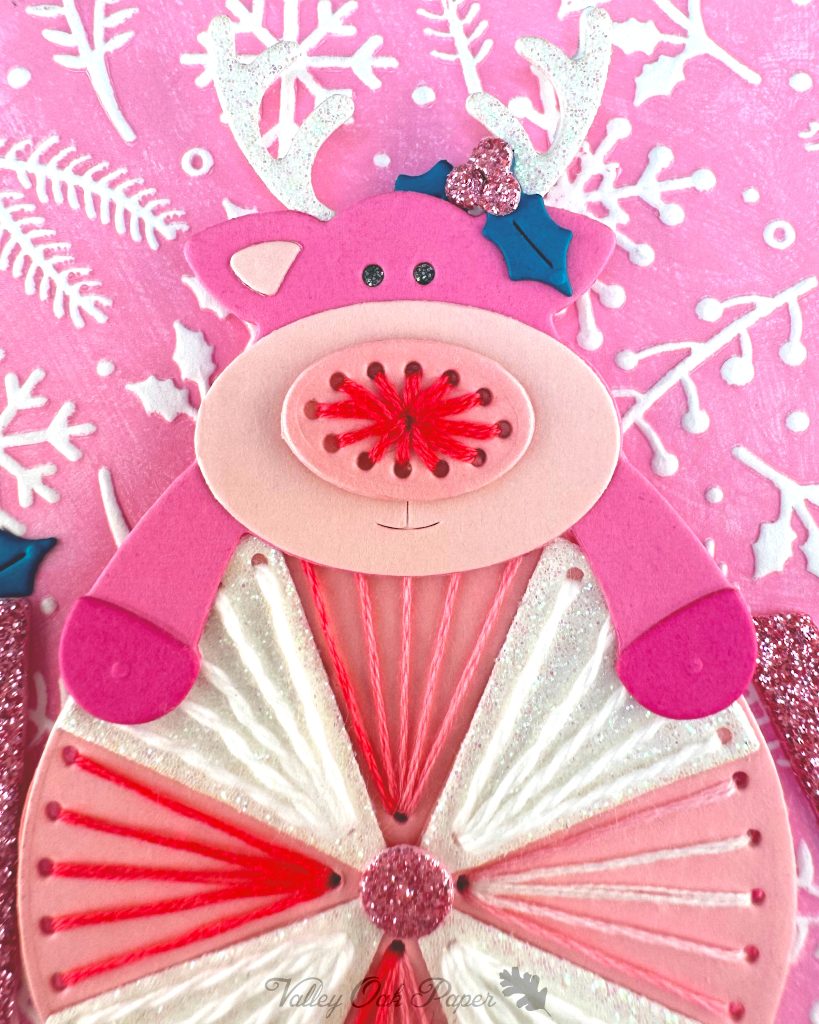
Then I stitched the circle and reindeer nose with three strands of pink variegated floss. The circle segments I stitched with 2 strands of white embroidery floss.
Die Cutting & Assembly
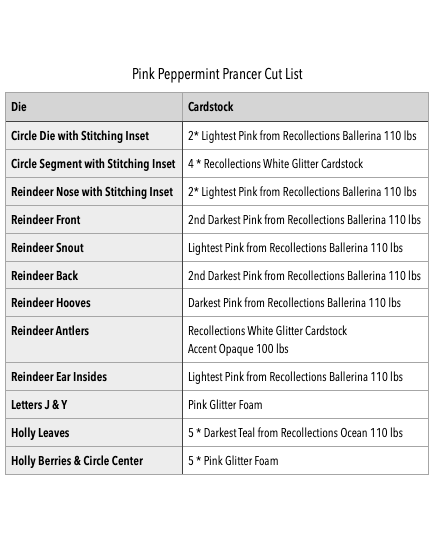
I cut the remaining dies according to the cut list below.
I glued the white circle segments into the open spaces on the circle and added the pink foam center die cut to the center. Then I added thin foam from the Dollar Tree to the back.
I assembled the reindeer front with the stitched nose on top of the snout, and the inner ears and hooves on top of the base. The antlers go behind the head. I also added the back hooves to the rear of the reindeer. To decorate the reindeer I added a sprig of holly with pink foam berries to the antlers.
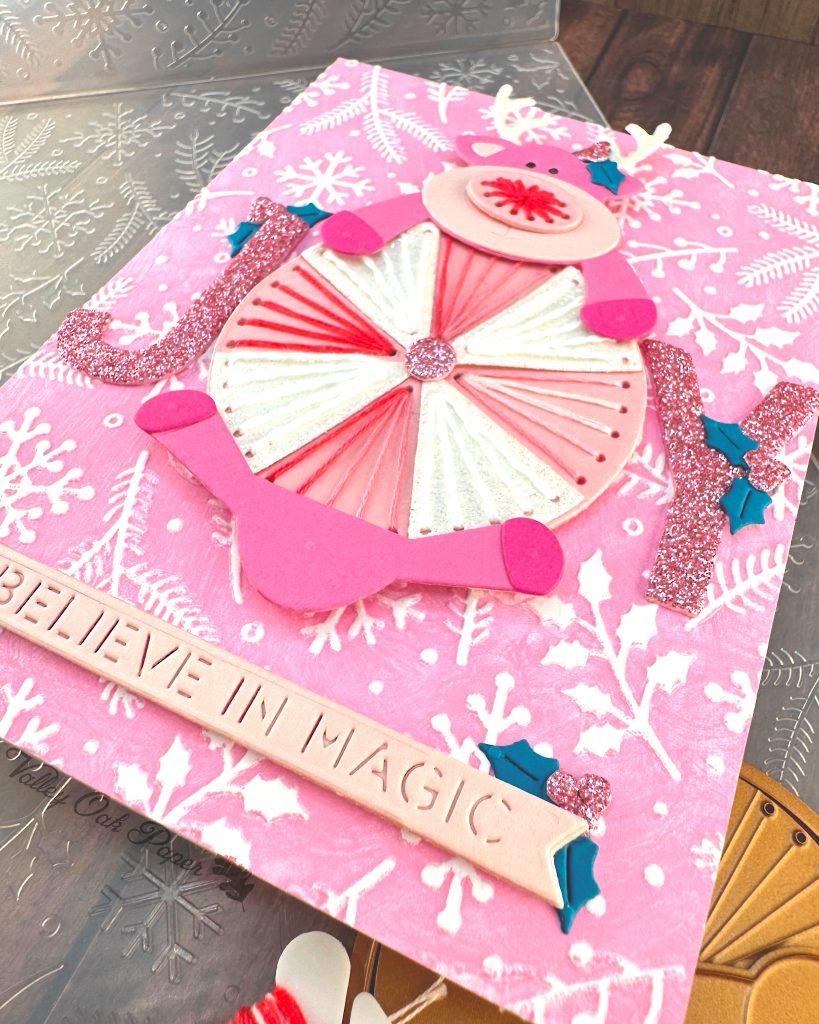
Background
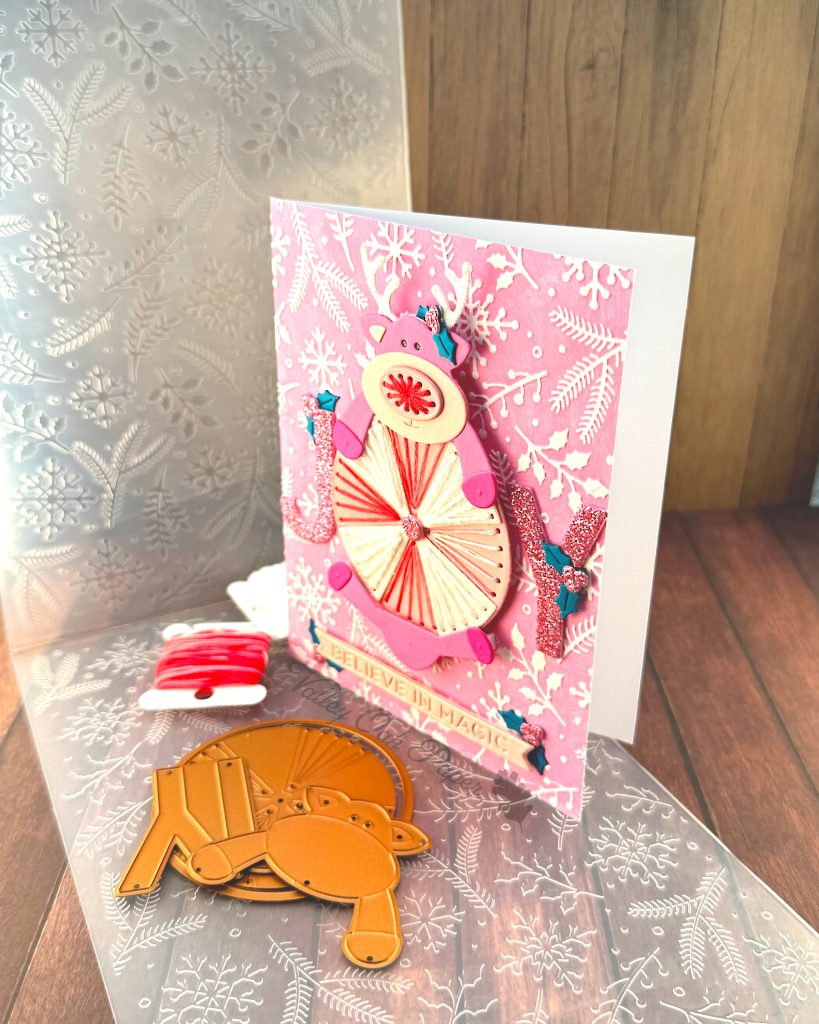
The embossing folder I used for the background is called Holiday Flurry. I colored the flat areas of the front with Distress Oxide ink in Kitsch Flamingo and ran the folder through my Platinum 6 three times. I just love the cameo-like effect you get from this technique.
This time I opted for not doing any matting, so I glued the embossed piece of Hammermill directly to the front of my card base.
Subsentiment
The subsentiment is from the Bonus Item that you get when you subscribe to the Spellbinders Deluxe Caboodle. That means you get the entire collection of the clubs of the month. At $130, it’s a great deal!
I cut the sentiment twice from pale pink cardstock and added foam tape behind it.
Final Assembly
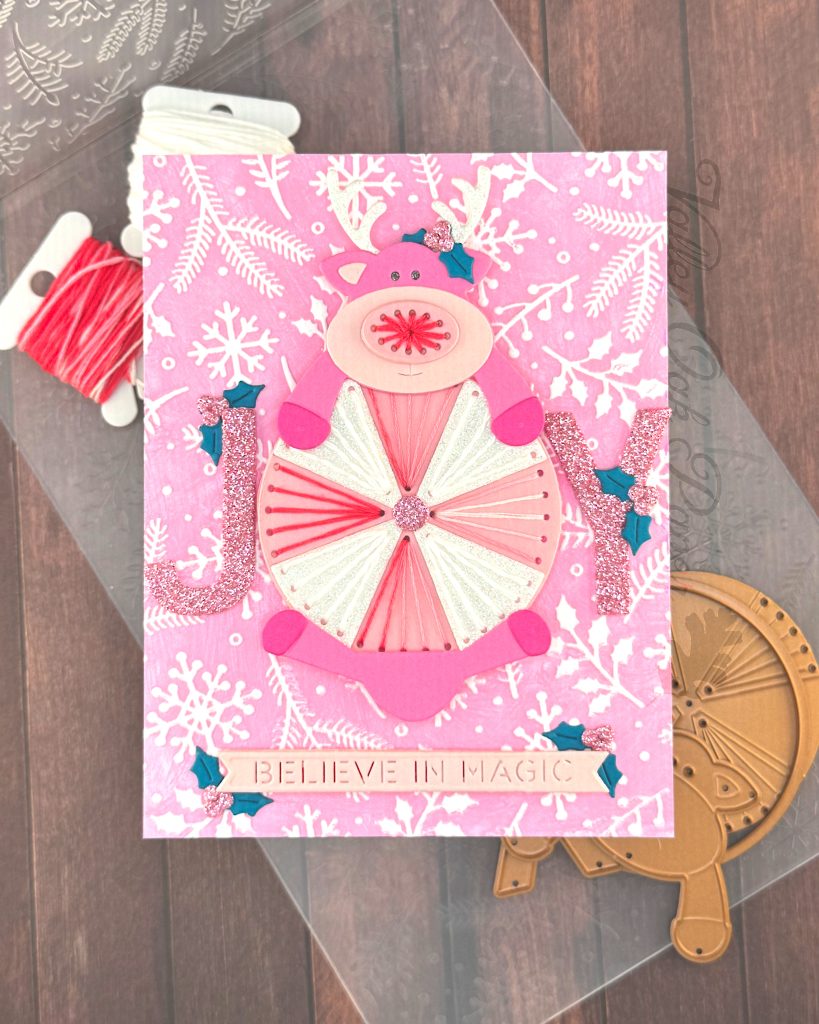
Because I wanted the subsentiment near the bottom of the card, I placed the main JOY sentiment higher up. First I placed the letters J and Y, using a t-ruler. The pink glitter foam is self-adhesive and very sticky. So I treated the letters as stickers, i.e. I peeled back a little bit of the release paper, gently placed the whole letter where I wanted it and stuck down the exposed adhesive. Then I peeled back the remaining release paper, while gently guiding the sticker where I wanted it. I’ve tried just sticking it down and it’s very unforgiving.
Then I placed the large, stitched circle element between the letters. The front of the reindeer rests on a double layer of foam tape on top of the peppermint candy.
According to the packaging the back of the reindeer goes behind the front. I thought that looked cramped, so I placed the back of the reindeer at the bottom of the mint. I’m not sure if that’s an improvement really. It looks as if the reindeer is super long. I may just leave out the back entirely next time.
I adhered the subsentiment near the bottom of the card. Then I added five sprigs of holly around the important parts of the card.