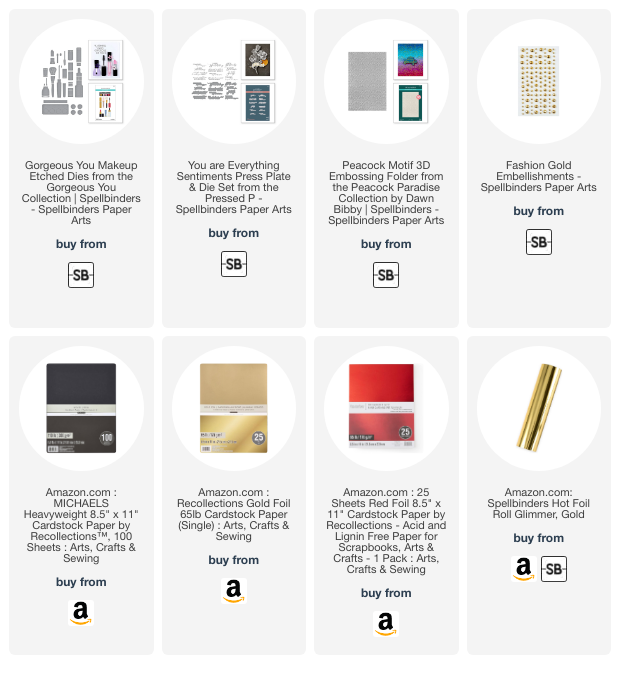


This is such a fun, girly die set! It’s called Spellbinders Gorgeous You Makeup and it’s part of the Gorgeous You Collection. Besides the nail polish, lipstick and makeup brush, it contains a serum bottle, mascara, lip gloss and an eye shadow palette. I think using pattern paper for some of these would be a lot of fun!
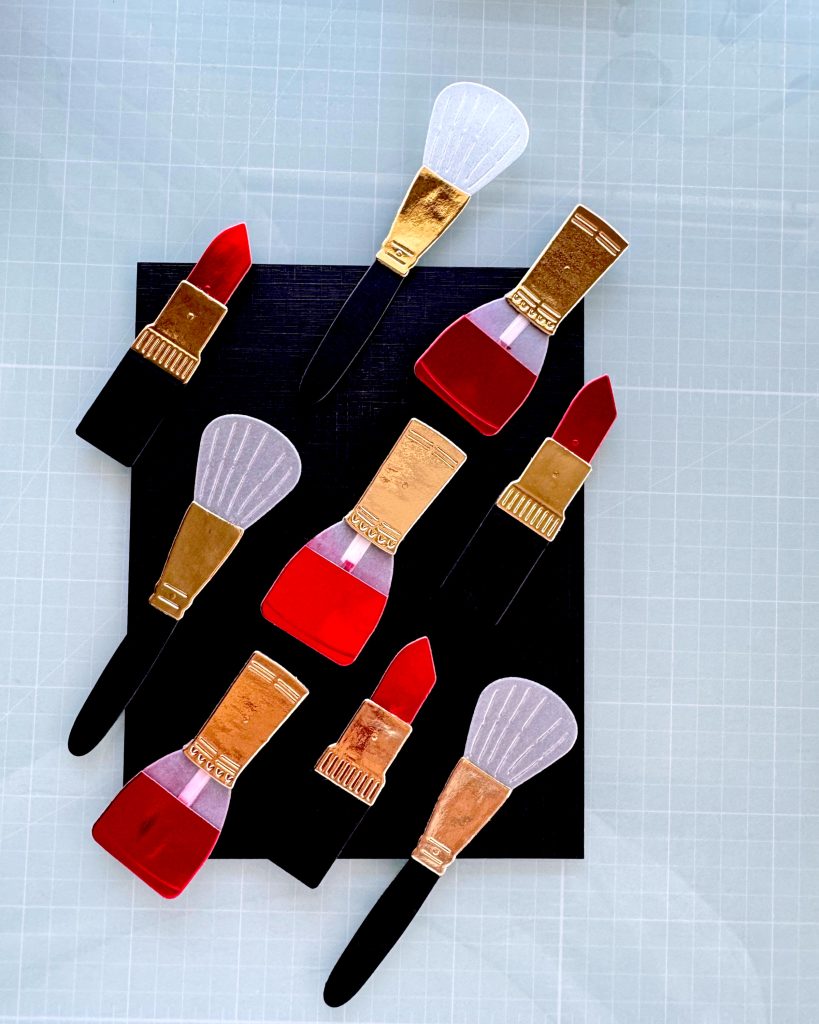
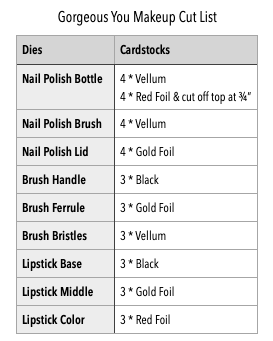
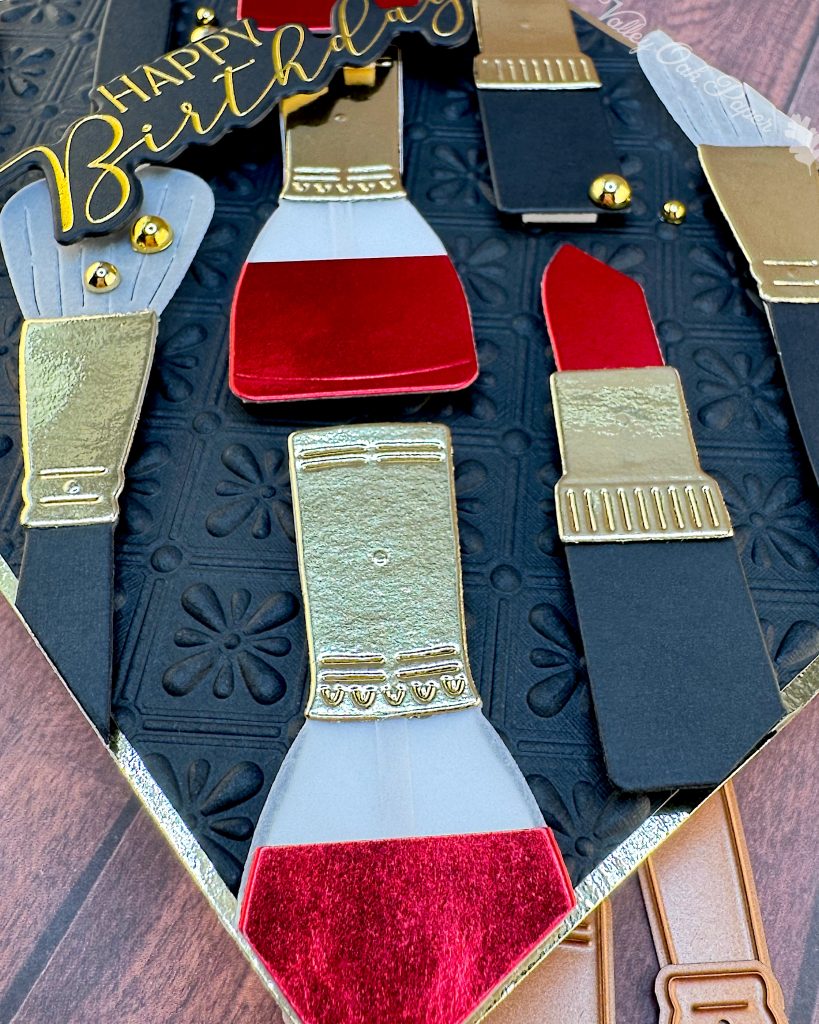
I wanted my card to be very glamorous, so I went with a black, red and gold palette. I also used vellum for the bristles of the brush and the nail polish bottle. See the cut list below for the die cutting. Basically I created three each of the lipsticks and brushes, but four nail polish bottles.
Once I had cut all the shapes, I put them together with glue. Because I wanted to pop them up, I had to reinforce them on the back. I did this with ¼” strips of black cardstock on the lipstick and brush. Take care not to extend the black strip beyond the gold ferrule. It really distracts if you can see it through the vellum. You could of course also just double up the die cuts.
For the nail polish bottles, there’s a die for the contents, but it’s pretty small. Instead of that, I cut the bottle out of red foil cardstock and cut off the top at 3/4″. Then I glued the red cardstock to the vellum bottle. To stabilize the bottles, I traced the outline of the bottle including the cap on Accent Opaque. Then I fussycut just inside the line and glued the white cardstock to the back of the gold cap and the part of the vellum that’s covered by the red foil cardstock.
Background
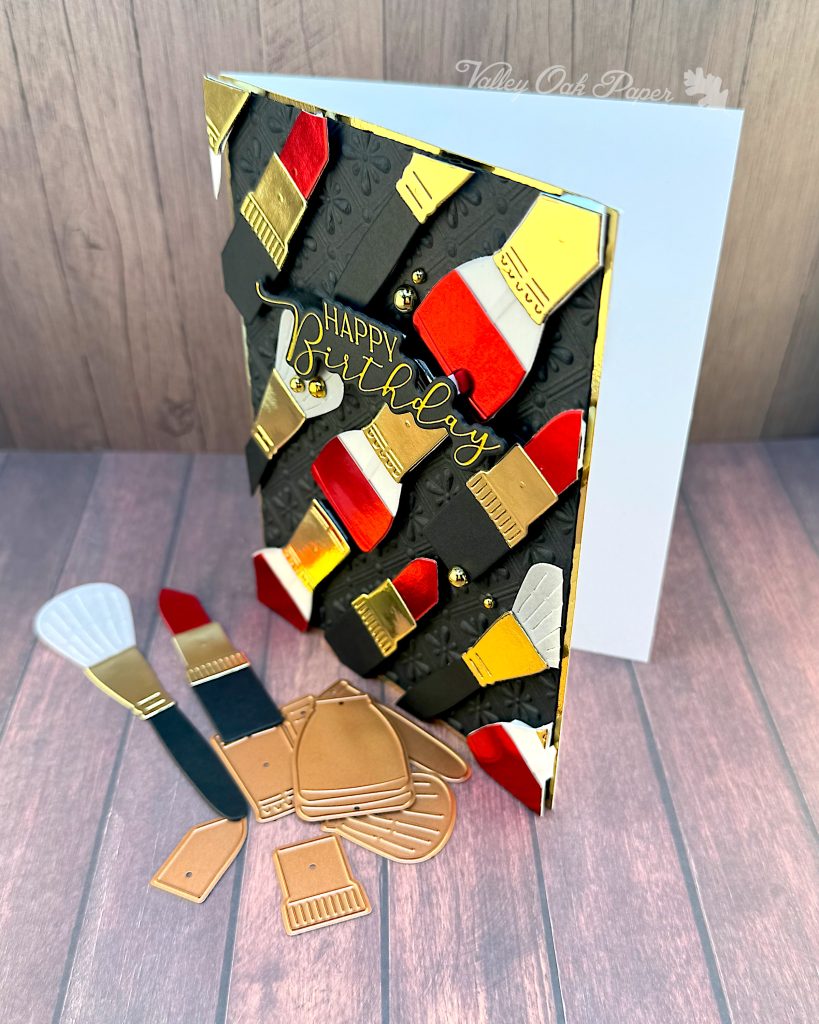
On my white notecard I glued gold foil cardstock. Then I embossed a black A2 panel with a 3D embossing folder, that I’m just now realizing has been retired. It was the 3D Embossing Folder of the Month for March 2023 and it’s called Tiled Motif. A similar effect can be achieved with the Peacock Motif 3D Embossing Folder, or another folder with a small scale pattern.
Once embossed, I cut my panel down to 4″ by 5 ¼” and glued it to the gold foil.
Assembly
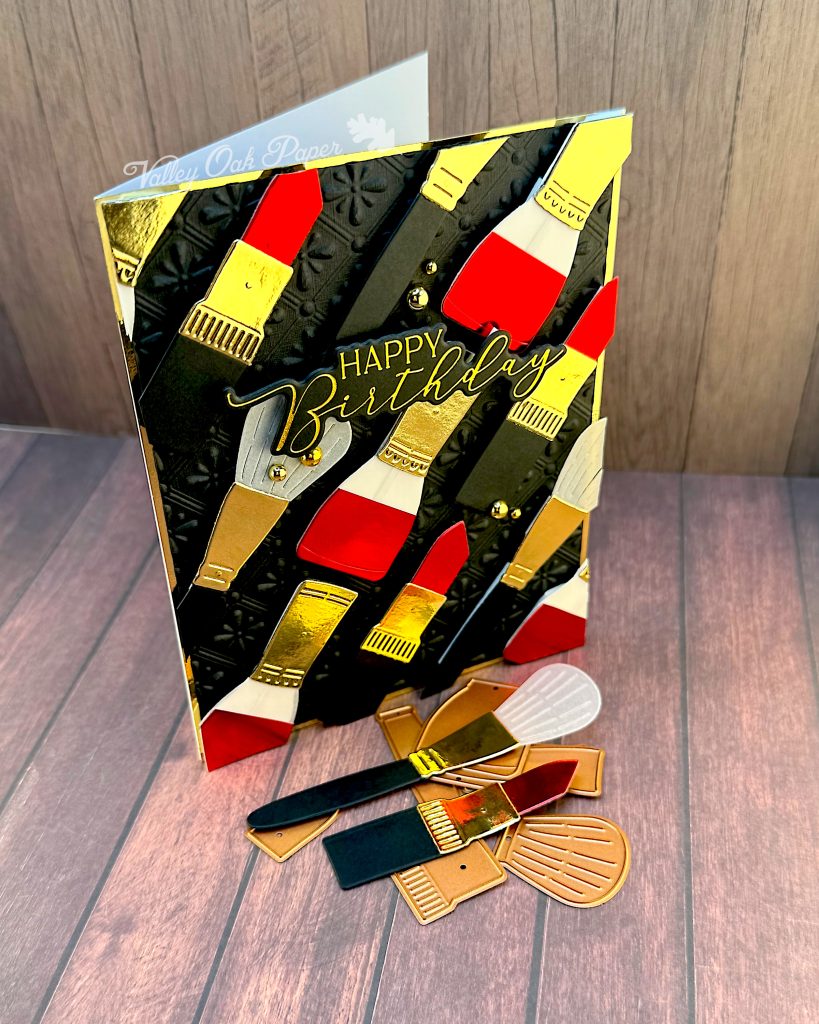
I placed three bottles of nail polish along the diagonal from the bottom left to the top right. Starting with the center bottle, I added foam tape to the back and glued it down. Then I did the same with the bottles above and below it, trying not to get foam tape all the way to the edge.
Next I placed the two lip sticks parallel to the nail polish bottles and below them. I again used foam tape to pop them up. Then I used foam tape to adhere two brushes on the other side of the bottles.
I placed one brush below the lipsticks and one lipstick above the brushes. Then I placed parts of the final nail polish bottle in the remaining corners.
Sentiment
I tried a couple of different options for the sentiment, including black foil on gold foil cardstock. That was gorgeous! But gold foil on black cardstock looked better on this particular card. I centered the sentiment in the upper third of the card, scattered some gold pearls and called it a day.
I’m very happy with how this turned out and already have lots of other ideas for how to use this die set. 🖤