Coloring
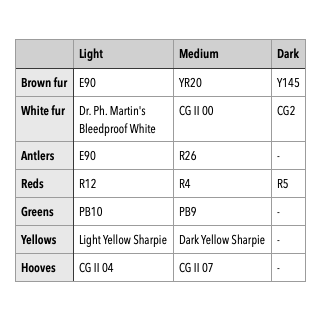
The reindeer images were stamped on Hammermill 100 lbs cardstock with brown alcohol-marker-friendly ink and I colored them with my Ohuhu markers. See the table below for the colors I used. Incidentally I was much happier with the coloring of the reindeer than the Thanksgiving Quokkas. I thought the quokkas were too dark. This combination of markers, E90, YR20 and Y145, was much better.
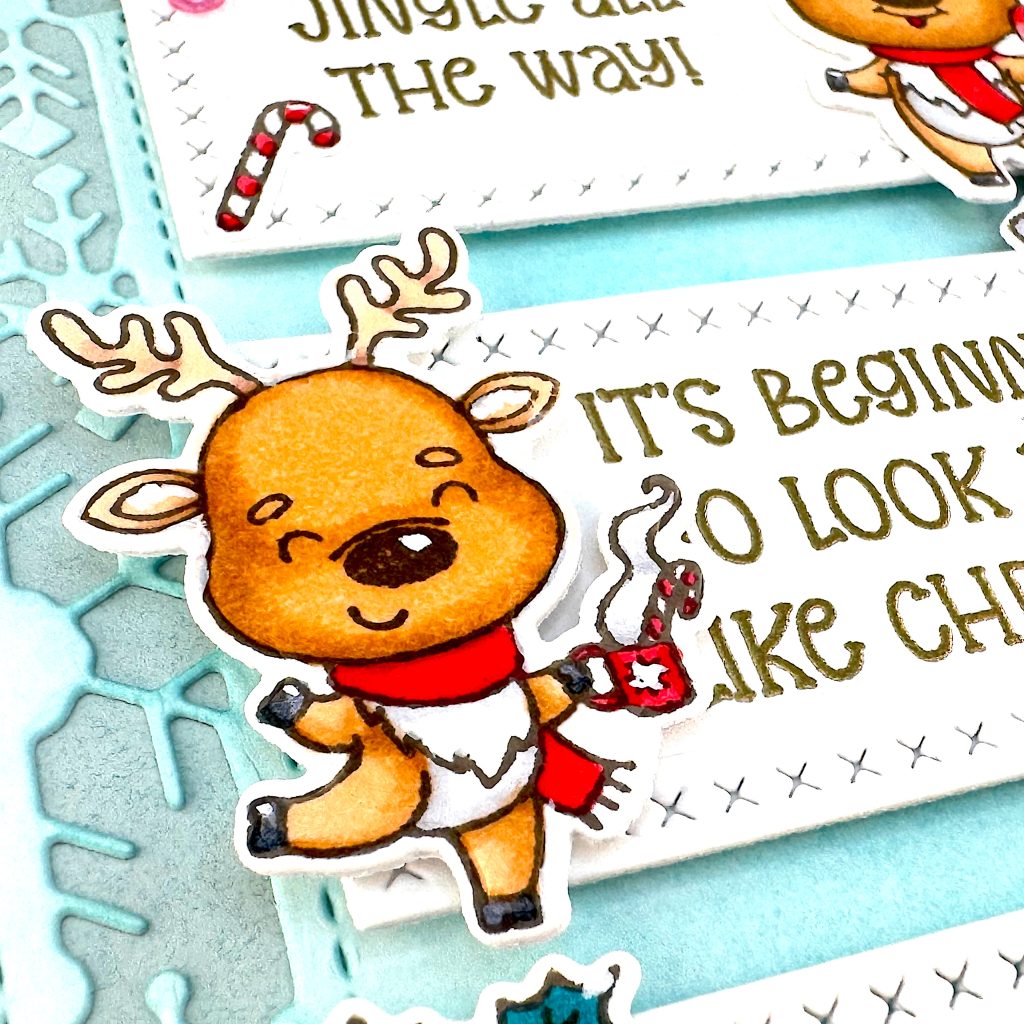
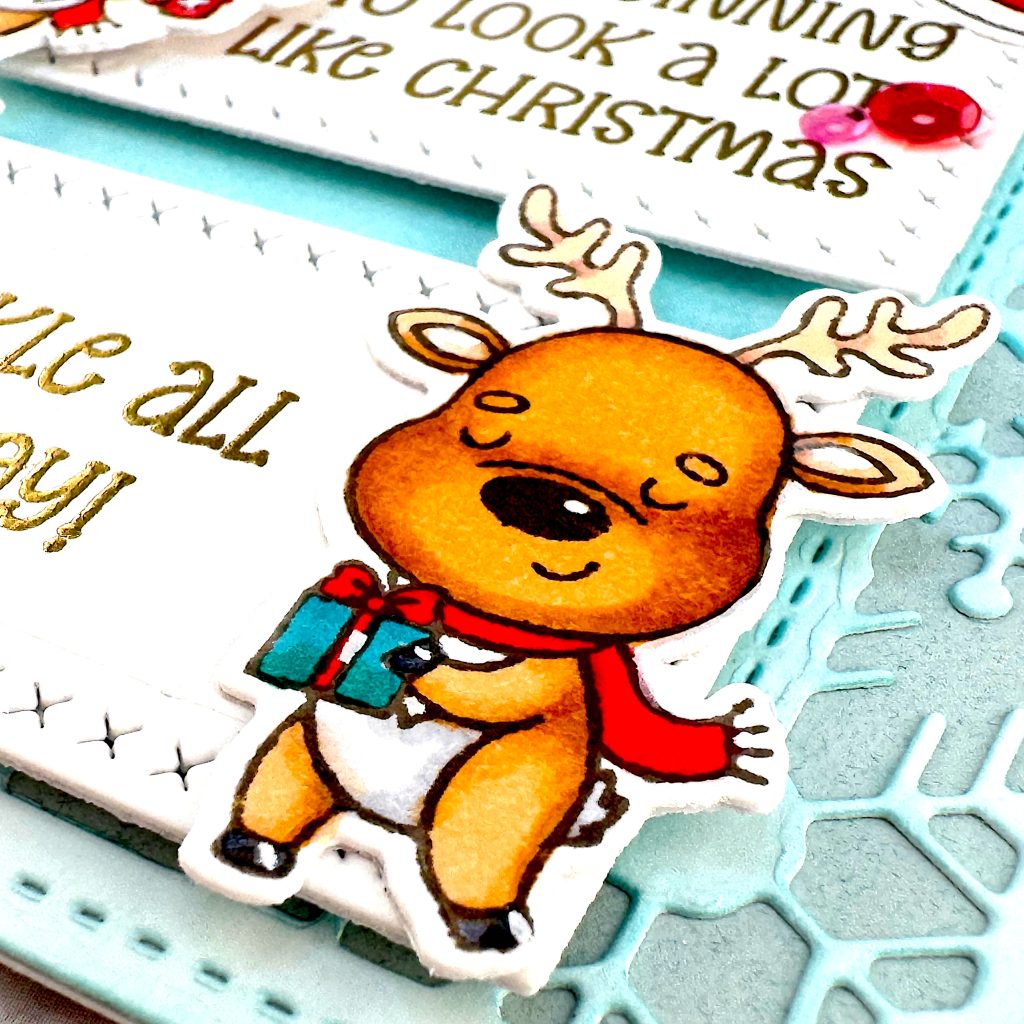
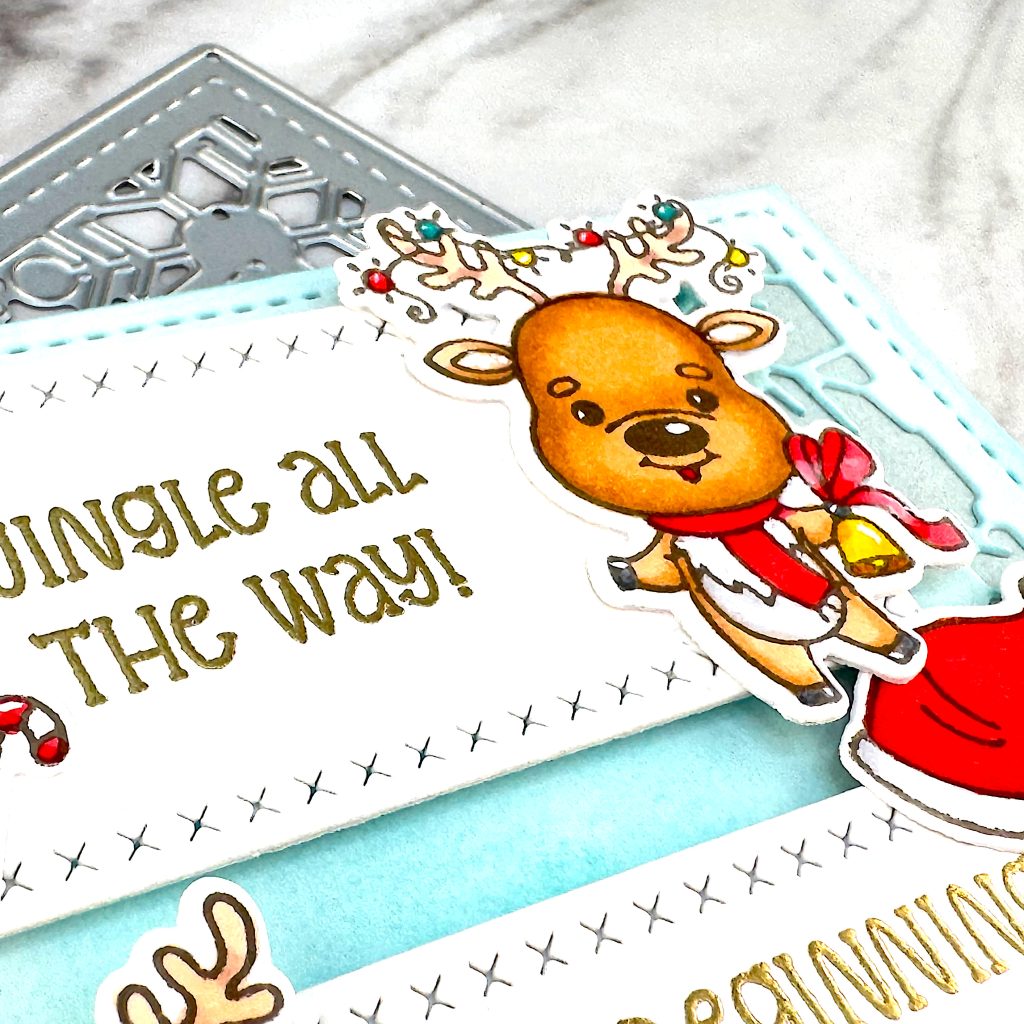
When I bought the skin tones add-on pack, I got the markers with a brush on one side and a fine point on the other. So far I think this combo works better for me, than brush/chisel. In cardmaking most surfaces that I color are pretty small, so a fine point is much more useful than a chisel nib. Look at the hooves and the antlers on the reindeer. They’re tiny!
In fact the only thing I’ve used the chisel nibs for is for swatching. I may well replace my current markers when Ohuhu comes out with a new numbering system.
Die Cutting
When I was done coloring my reindeer, I cut them out with the coordinating die set. I also cut out another layer of sturdier cardstock and stacked it behind them for stability and dimension.
While I was at it, I also die cut my snowflake background from Hammermill.

Background
I ink blended with pale teal dye ink on my background, concentrating on the center. Then I glued it onto a green-gray piece of cardstock from my stash and glued it onto a card base.
Sentiments
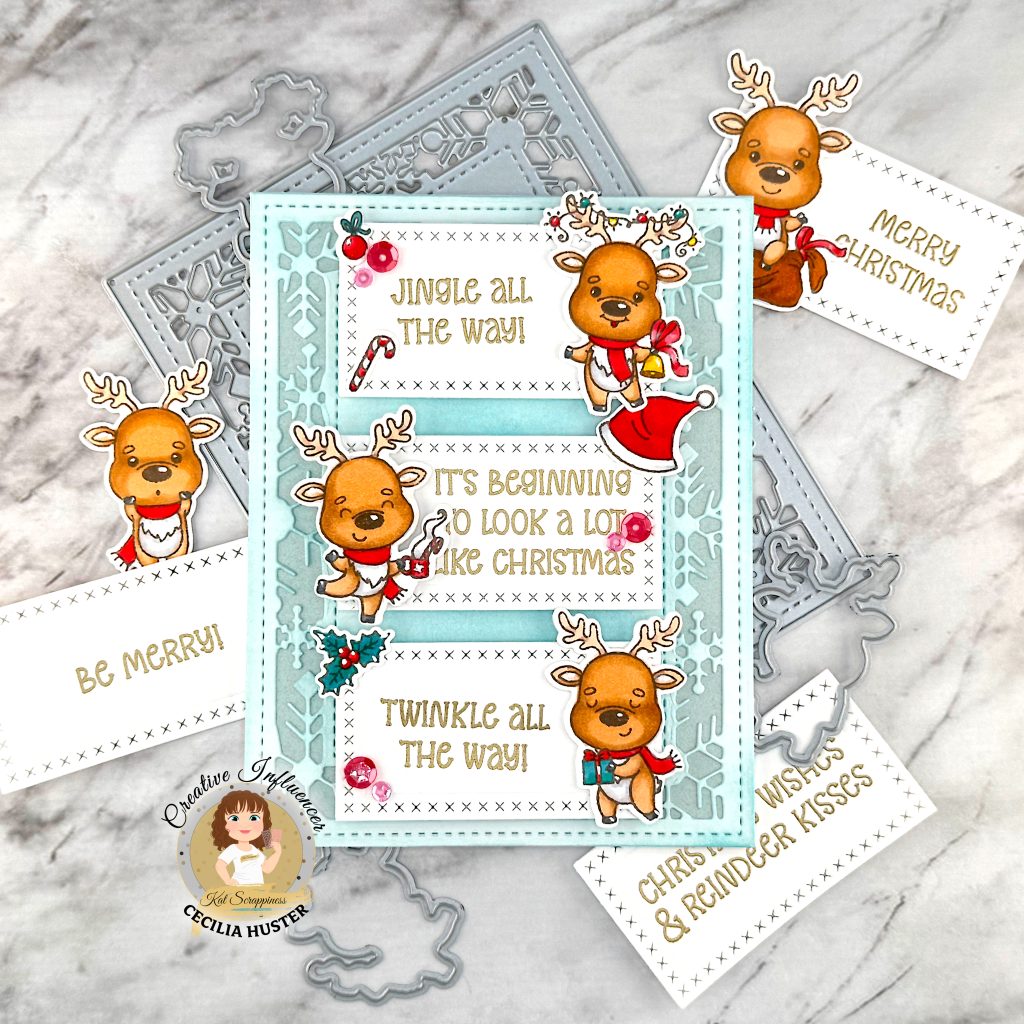
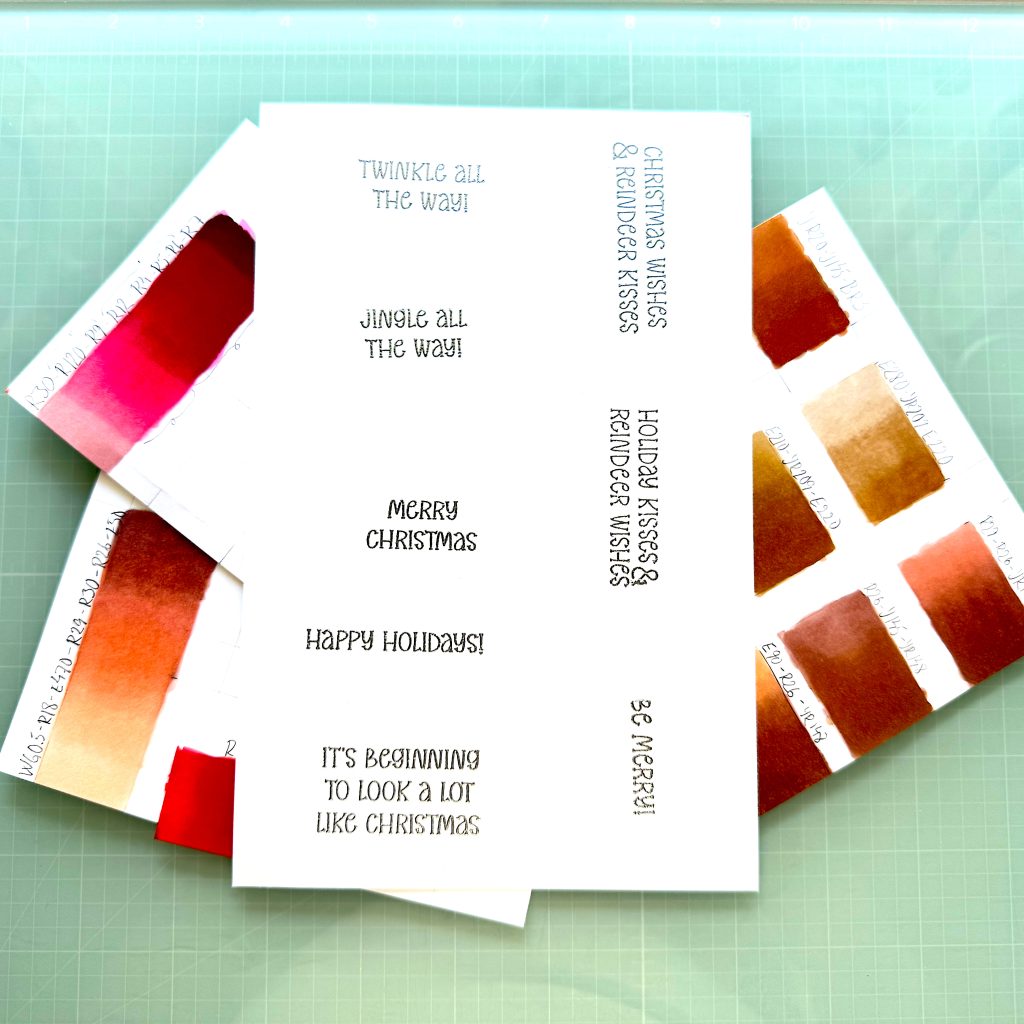
My sentiments are all from the Reindeer Games Sentiments Stamp Set. I knew that I wanted to cut them out with the smallest die from the nesting Cross Stitched Rectangles Die Set, so I selected a handful of sentiments and heat embossed them all with gold embossing powder on Hammermill cardstock. Then I cut them out and composed my card. As you can see from the photos, I ended up with some spares. That’s a good thing.
Assembly
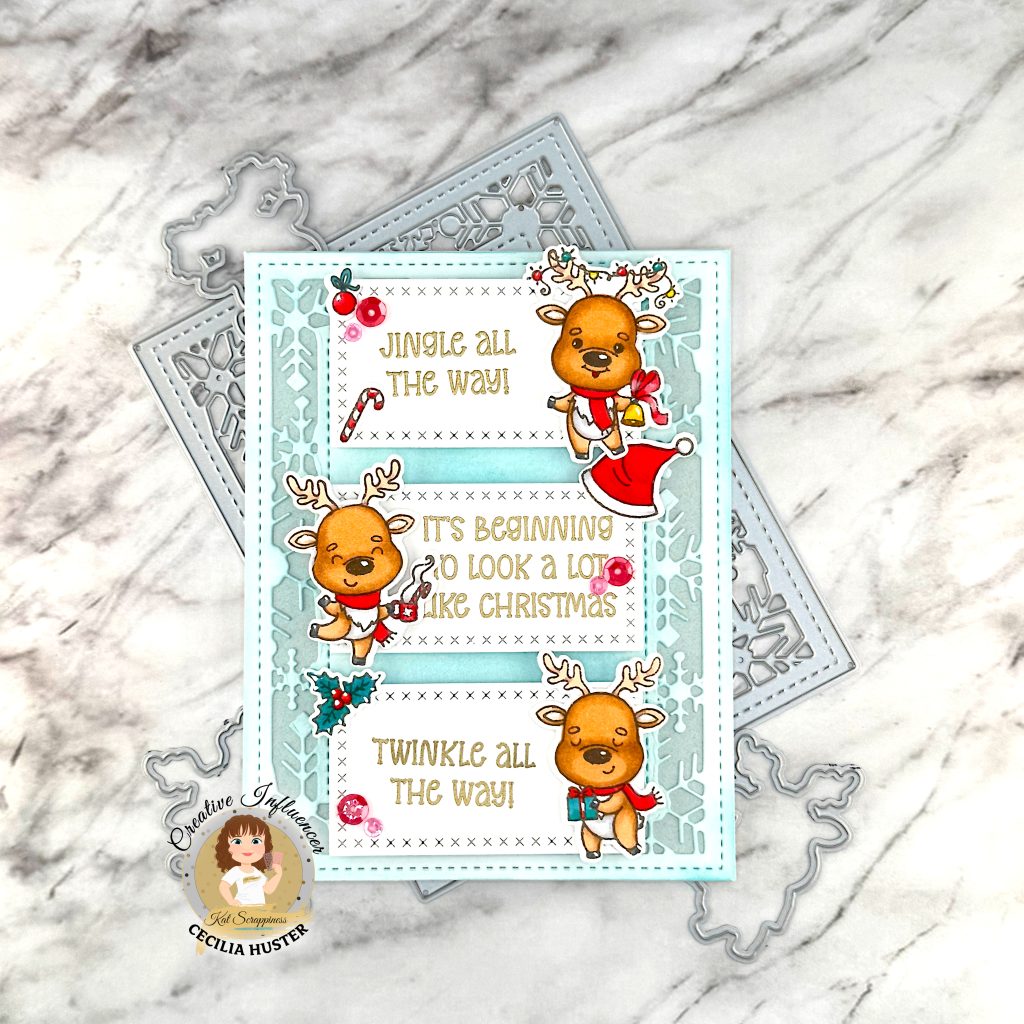
I centered the top and bottom sentiments and adhered them with foam tape. Then it was easy to line up the middle sentiment between them. I selected two reindeer that were facing left and glued them directly to the top and bottom sentiment die cuts. Next I picked a reindeer that is facing right and put foam tape on the back of it, before adhering it to the middle sentiment.
At that point the only dark green color on the card was the present that the bottom reindeer is holding. So I added smaller elements with some dark green to other parts of the card to spread it around a bit more.
Finally I added some red and pink sequins that I got as a freebie with a recent Kat Scrappiness order. That finished up this card. It was a lot of fun to color the reindeer, so you’ll be seeing more of them as December draws near.
Supplies Used
- Reindeer Games Stamp Set https://shrsl.com/4mgsm
- Reindeer Games Coordinating Die Set https://shrsl.com/4mgso
- Reindeer Games Sentiments Stamp Set https://shrsl.com/4mgsp
- Snowflake Frame Background Die https://shrsl.com/4ktqk
- Cross Stitched Rectangles Die Set https://shrsl.com/4mgst
