Coloring With Ohuhu Alcohol Markers
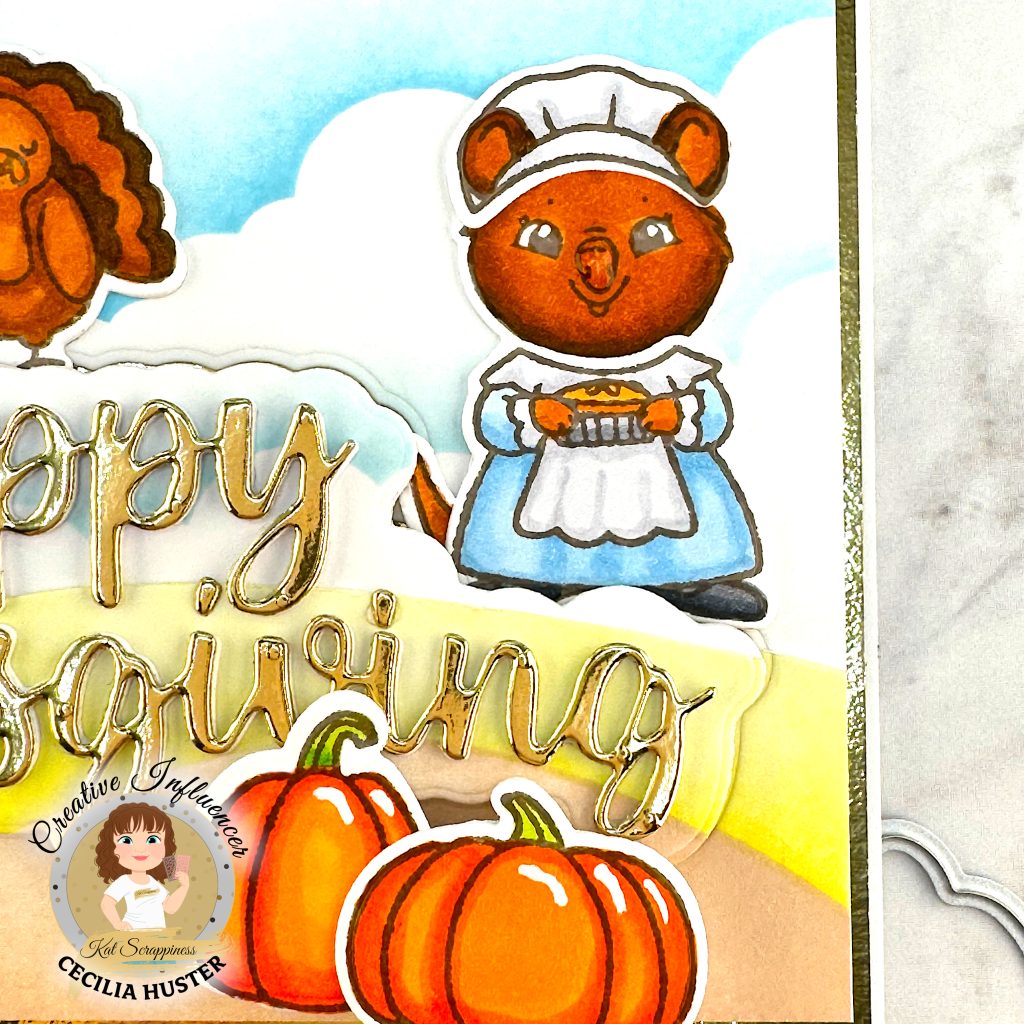
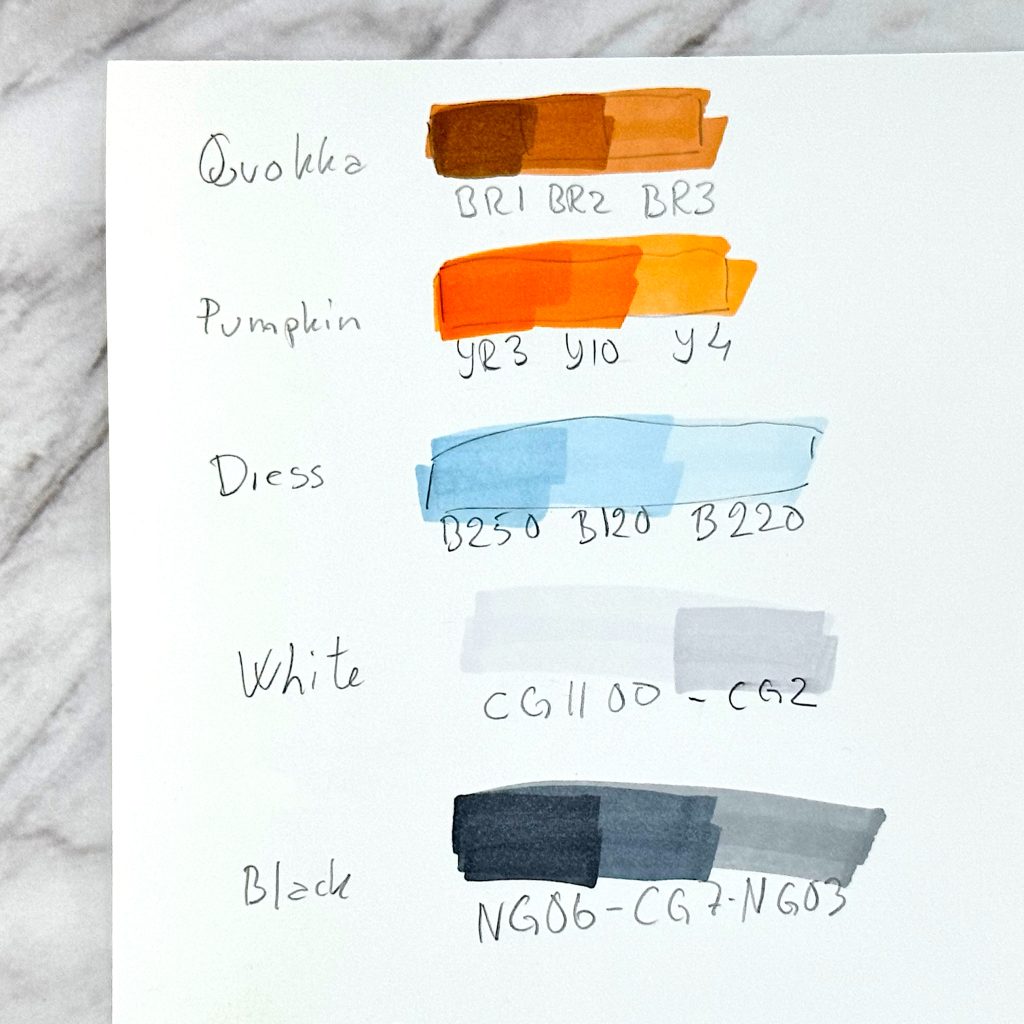
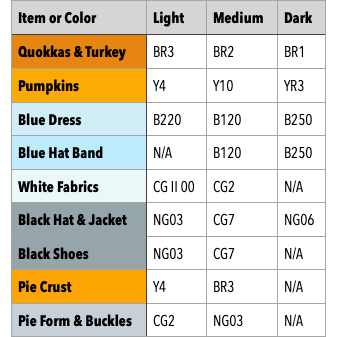
These two little critters are the Kat Scrappiness Dress-Up Quokkas. The markers I’m using for them are Ohuhu BR3, BR2 and BR1. Check out the marker codes I used for each item in the table below.
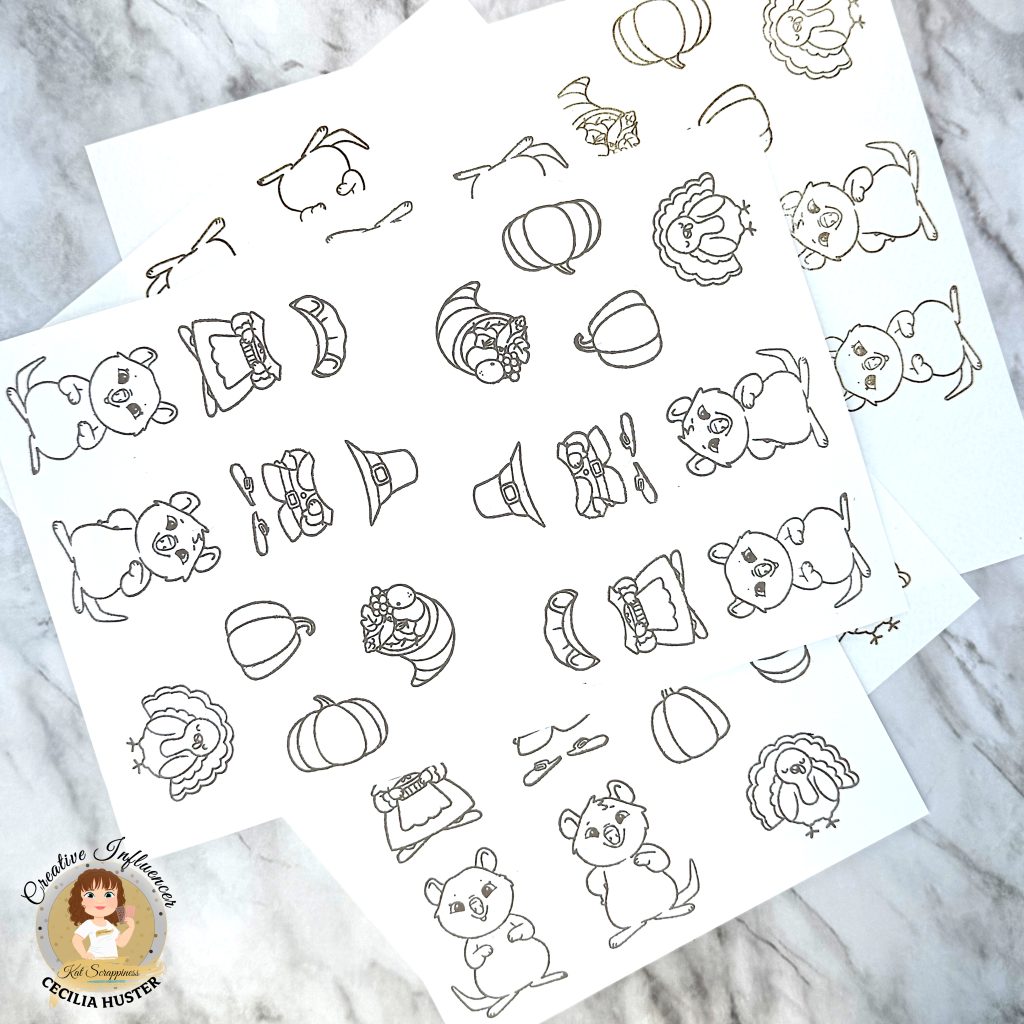
I’ve stamped all my images with alcohol-marker-friendly ink in brown. I’m using the same colors on the turkey. The turkey and other accessories come from Kat Scrappiness Thanksgiving Costume Add-On Stamp Set. I’m using the pilgrim clothes to dress up my quokkas today.
For the pumpkins I’m starting with the darkest color, YR3. For small areas, I find it easier to stay inside the lines if I start with the darkest color. My medium color is Y10 and the lightest color is Y4.
Next I’m coloring the pilgrim dress in light blue tones. Again starting with the darkest color, B250, then moving on to B120 and B220. For the hat band, I use the two darker colors, B250 and B120.
I just noticed that the quokka ears are part of the white pilgrim hat, so I’m coloring them with BR1, BR2 and BR3. Then I quickly color the quokka paws that are part of their costumes. I use BR1 and BR 2 for the belt.
For the white fabrics I’m using CG II 00 and CG2. That’s the apron, the cuffs and collars and the white hat.
Next I move on to the black pilgrim hat. My darkest color is NG06, the medium is CG7 and then I blend it out with NG03. I’m using the same colors on the jacket. Next I color the shoes with only CG7 and NG03.
I color in the pie crust with Y4 and BR3. The pie form is grey: NG03 and CG2. Those are also the markers I use for the metal buckles.
Stenciling the Background
For my background I’m using the Kat Scrappiness Scene Builder Stencil and my new Kat Scrappiness ½” Soft Ink Blending Brushes. I’m using a couple of blue dye inks for the sky.
Then I create a separate foreground by ink blending green and brown onto another piece of cardstock. I use scissors to cut along the stenciled horizon line. Then I add another layer of cardstock behind it, for some more dimension. I also cut off the bottom, but I don’t adhere the foreground to the background just yet.
Die Cutting
I’m using the coordinating die sets to cut out the quokkas, their costumes and accessories. Aren’t these quokkas just adorable? I love them so much! I’m also cutting another layer of most of the die cuts, so I can stack them.
Assembly
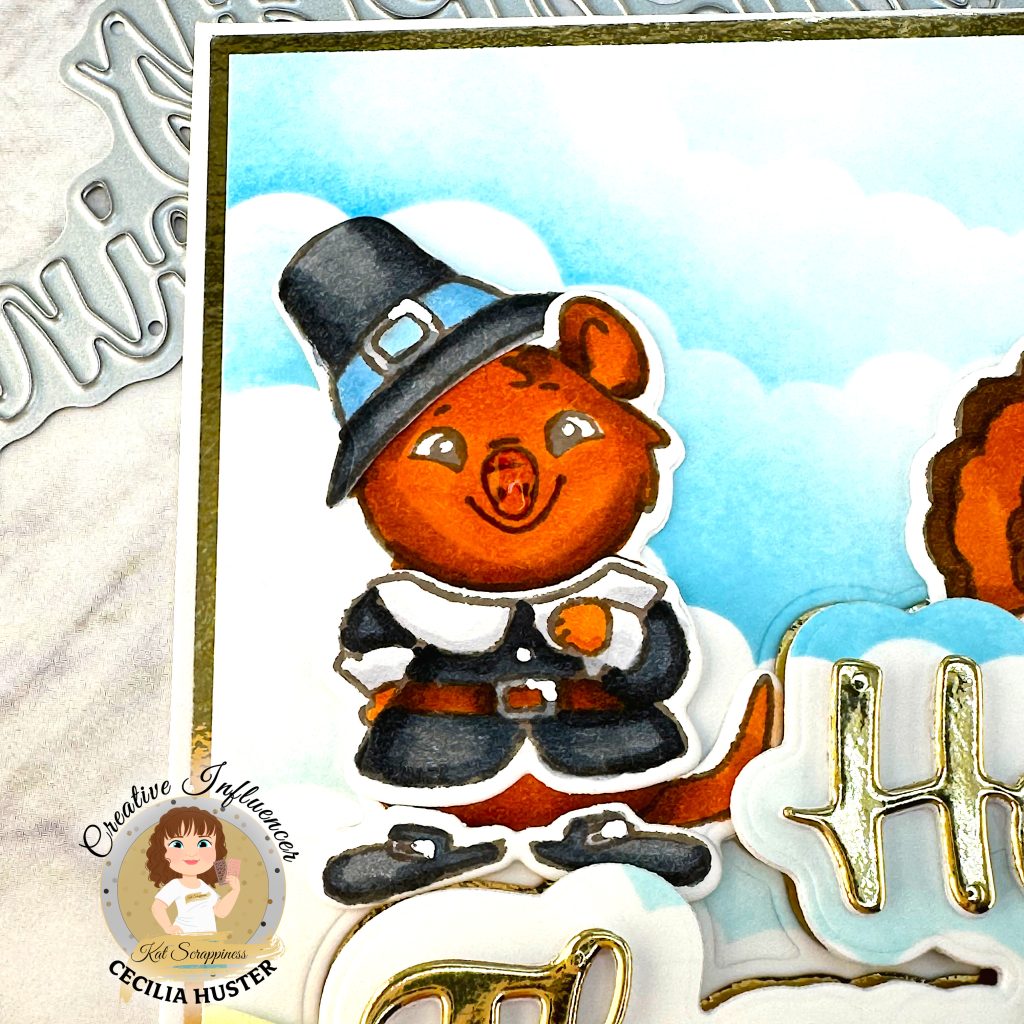
Time to assemble the quokkas! I start by adding the shoes and the jacket to the male pilgrim. I cut off the white part at the bottom of the black hat and then I struggled with how to place it. I ended up putting it at a rakish angle, so that one ear shows.
Then I place the dress on the lady pilgrim. And her hat. It’s easy to place because it includes the ears.
While I was die cutting, I also cut out the sentiment and shadow several times. I want the shadow to be cut out of both the background and the foreground and popped up. First I’m cutting the shadow layer out of the foreground.
Then I’m erasing the pencils lines, before placing the foreground on top of the background, to help me place the shadow die. Now I can glue to the foreground to the background. I can also glue the foreground to the background of the shadow layer.
To pull the card together I’m going to matte it on gold foil cardstock. But first I adhere some more white cardstock to the back of it, for stability. Then I can glue down the background on my foiled cardstock.
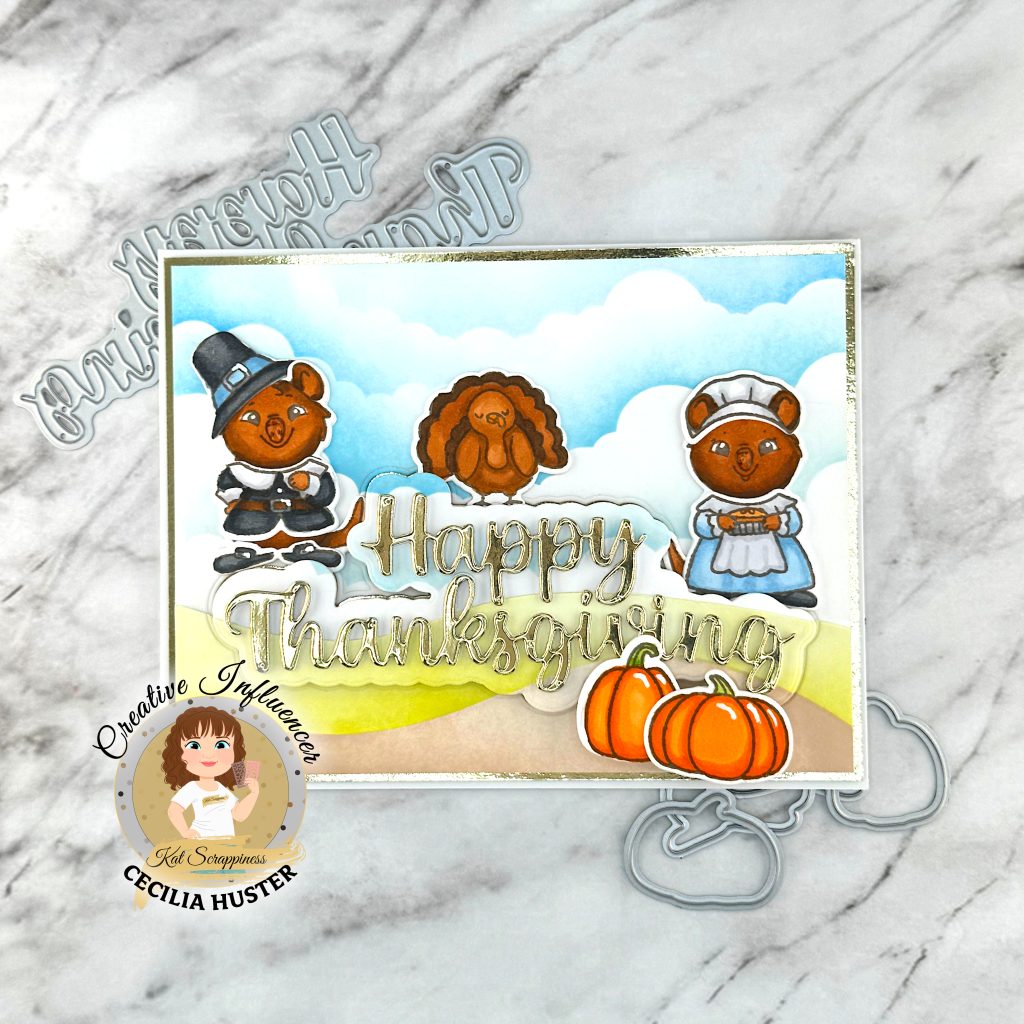
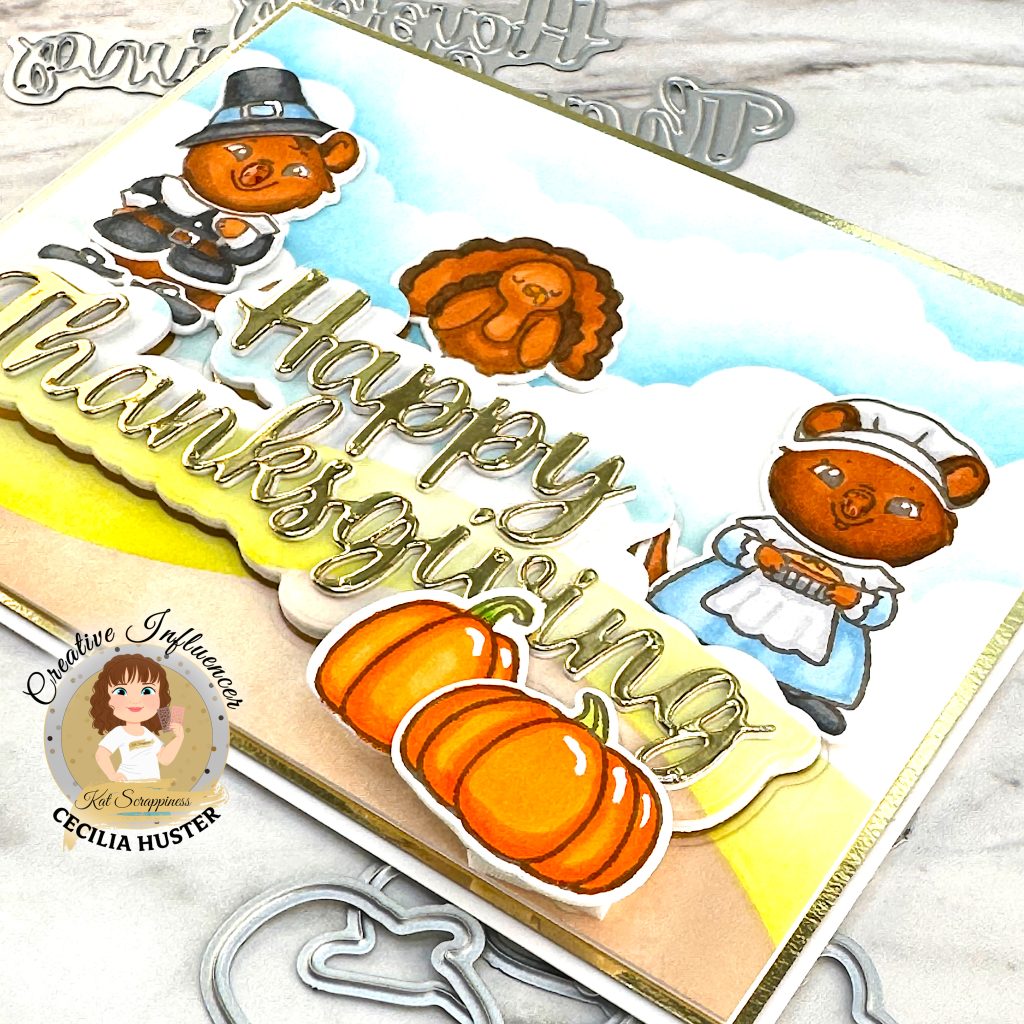
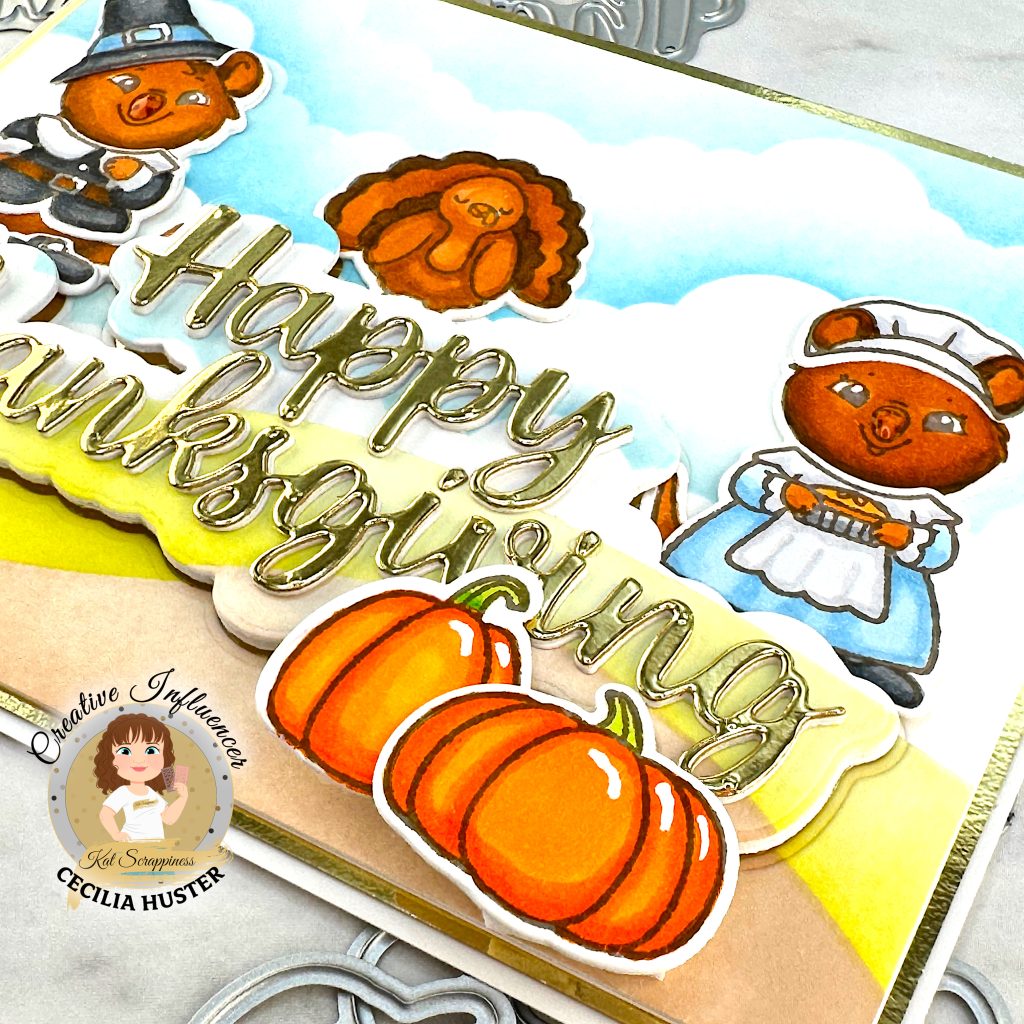
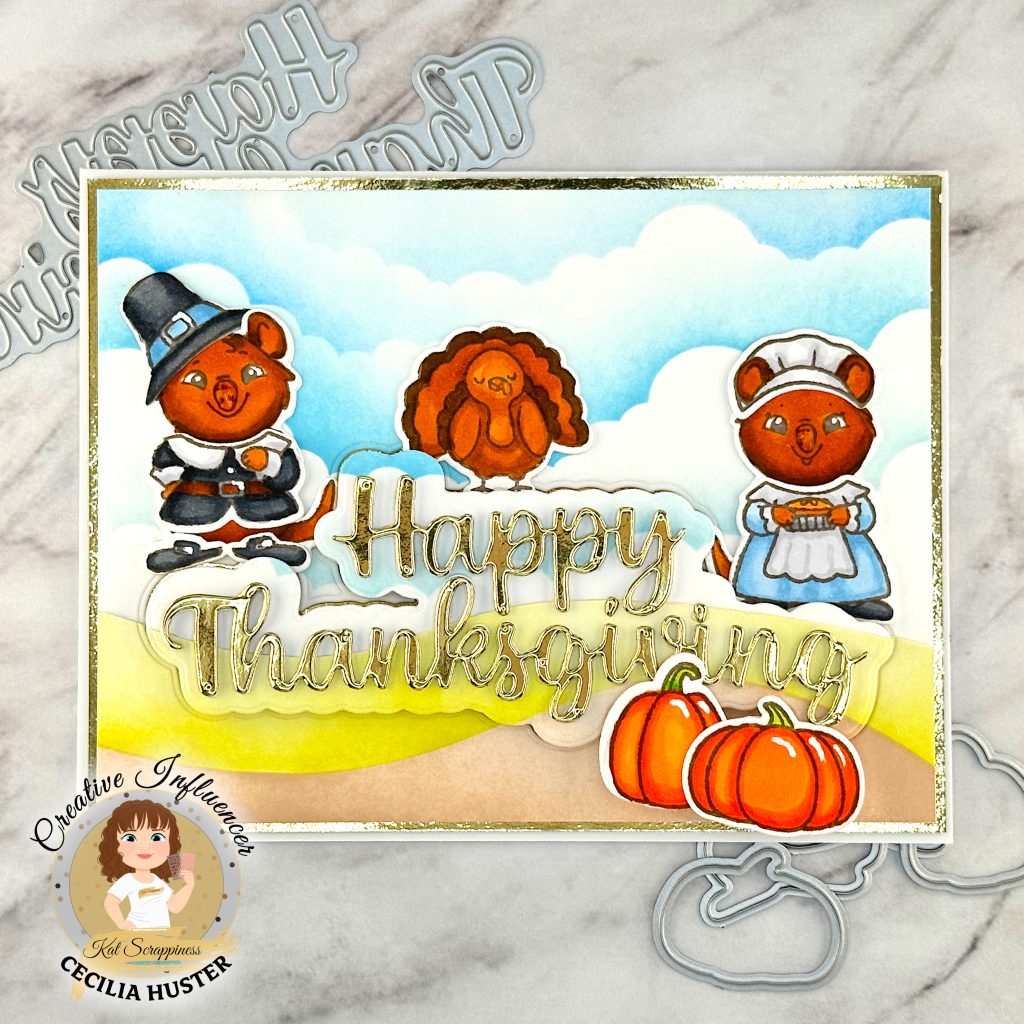
Next I’m gluing down the quokka pilgrims and the turkey to the background. Then I’m using thick foam squares to pop up the shadow layer from the background. That’s so you can glimpse the gold background behind it.
I adhere the card panel to the card base. And then I add the sentiment to the shadow layer. It consists of two layers of white cardstock with gold cardstock on top. Then I add two of the pumpkins on top of the sentiment using double foam squares.
Finally I add the tittles to the Is and a little Glossy Accents on the quokka noses. Here’s the finished card! I’m looking forward to coloring these little cuties again soon.
I hope you enjoyed watching me create this card. Don’t forget to check out the other participants in our cardmaking hop. They have lots of seasonal inspiration for you!
Kat Scrappiness Product List
- Kat Scrappiness Dress Up Quokkas Stamp Set https://shrsl.com/4o4f6
- Kat Scrappiness Dress Up Quokkas Die Set https://shrsl.com/4o4f7
- Kat Scrappiness Thanksgiving Costumes Add-On Stamp Set https://shrsl.com/4o4f8
- Kat Scrappiness Thanksgiving Costumes Add-On Die Set https://shrsl.com/4o4f9
- Kat Scrappiness Scene Builder Stencil https://shrsl.com/4o4gd
- Kat Scrappiness ½” Soft Ink Blending Brushes in Gold https://shrsl.com/4o4go
- Kat Scrappiness Happy Thanksgiving Word Dies With Shadow https://shrsl.com/4o4gn
