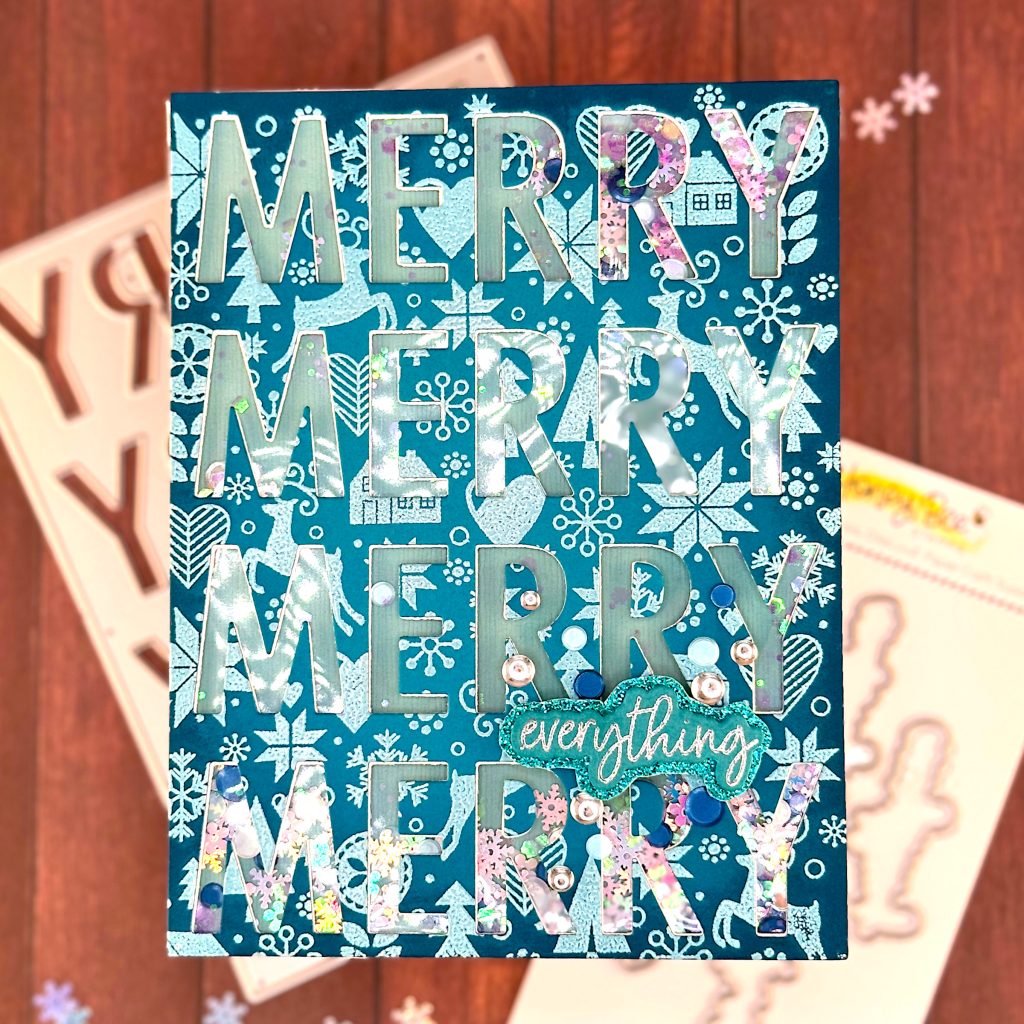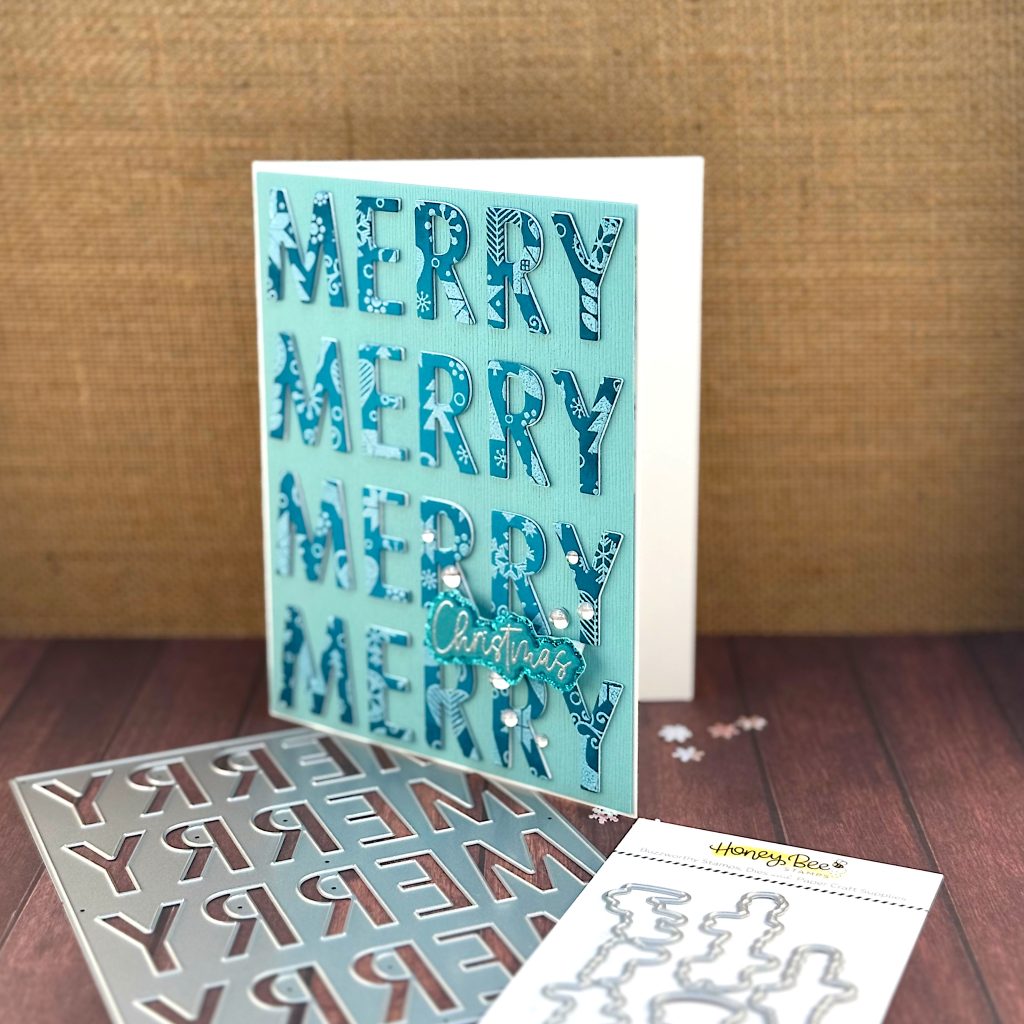


I cut out the A2 Cover Die from an old background. The background was stamped with a Taylored Expressions background stamp and heat embossed in light blue. Then I ink blended on it with Pinkfresh Paradise Ink, concentrating on the edges.
I kept all the die cuts in place. Then I cut it out two more times from Accent Opaque.
Positive Card
I placed one of the negative Accent Opaque die cuts on my light blue background and held it in place with magnets. I removed the first M from the turquoise background and stacked two white Ms behind it. Then I glued it in place on my positive card. I repeated the same process with all the other letters until the final Y. Then I removed the Accent Opaque negative, taking care not to displace the letters.
I stamped Christmas on matching cardstock and heat embossed it in silver. Then I die cut it and created two more die cuts from Accent Opaque. I stacked the sentiment and placed it loosely on the card. But I felt that it got lost. So I took some matching glitter paper and traced the outline of the coordinating die and fussy cut along the line. I glued the word die cut to the new shadow layer and adhered it with two layers of foam tape between the third and fourth rows of MERRY.
I added the card panel to a white card base. Finally I added some embellishments to draw the eye to the sentiment.
Shaker Card
I started by stacking the three negative die cuts from the cover die. Then I created an all-over shaker from the same light blue cardstock as I used on the positive card. I added lots of sequins, including snow flakes and flowers before I closed up the thin acetate.
I stamped “everything” on matching cardstock and heat embossed it in silver. Then I die cut it and created two more die cuts from Accent Opaque. I stacked the sentiment and placed it loosely on the card. But I felt that this sentiment too got lost. So I took some matching glitter paper and traced the outline of the coordinating die and fussy cut along the line. I glued the word die cut to the new shadow layer and adhered it with foam tape between the third and fourth rows of MERRY.
I added the card panel to a white card base. Finally I added some embellishments to draw the eye to the sentiment.
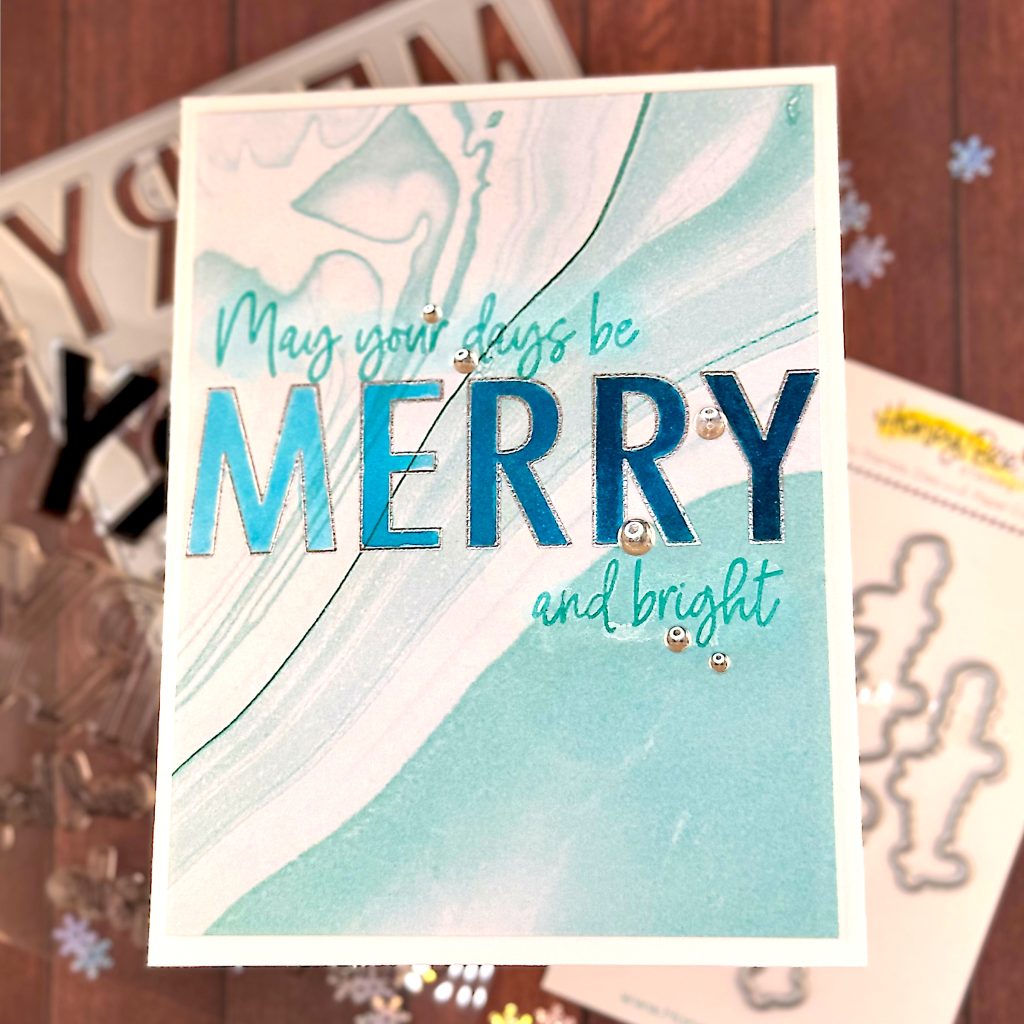
Stamped Card
The coordinating stamp set includes two version of MERRY, a solid one and an outline version. Both can be cut out with the cover die. For this card I chose the outline stamp and heat embossed it in silver on teal pattern paper. Then I used Pinkfresh Paradise Ink to watercolor the letters with a gradient going from left to right.
When I was happy with my gradient, I stamped the rest of the sentiment above and below the MERRY. I heat embossed them twice with Distress Embossing Glaze in Salvaged Patina.
I added two layers of Accent Opaque behind my pattern paper and glued the card panel to my card base. Then I finished up with some embellishments to emphasize the sentiment.

Comments
2 responses to “Merry Giveaway Cards”
I love this set! You did some great things with it!
Thanks so much, Teresa!