-
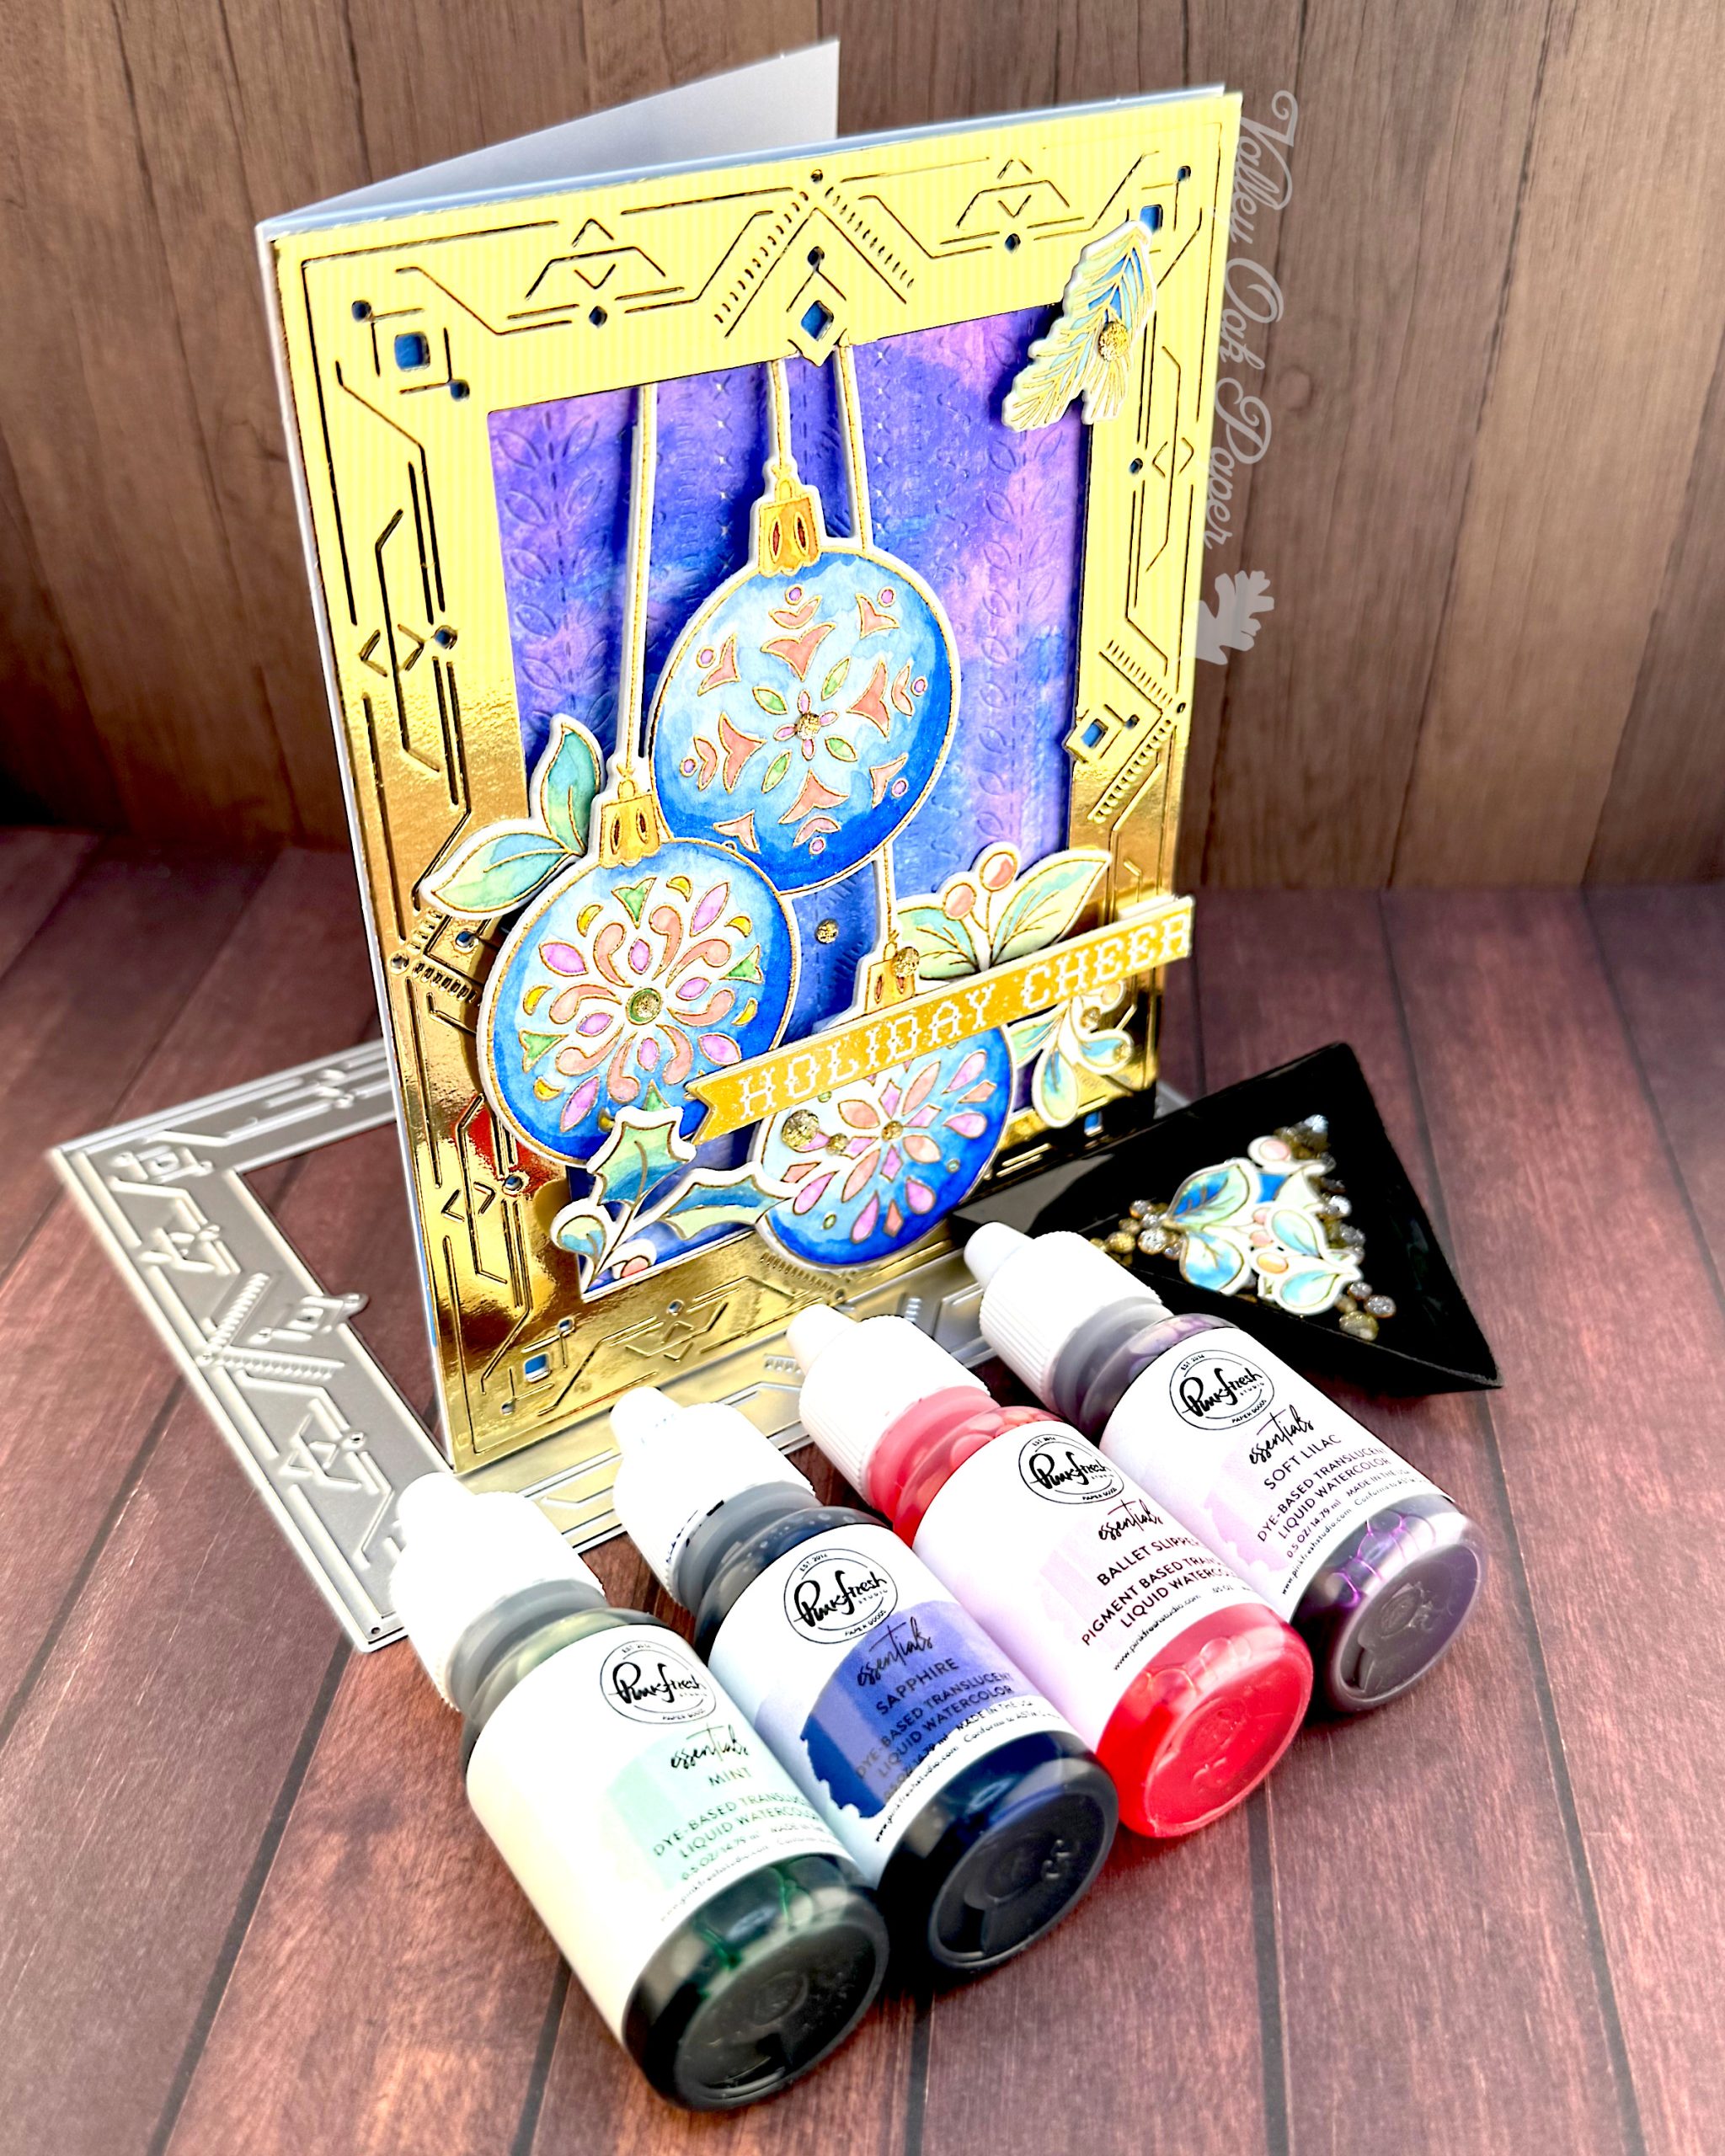
Never Opened
The theme for this card was Something Never Opened. I chose to use my new Pinkfresh Studio Liquid Watercolors for this theme.
-
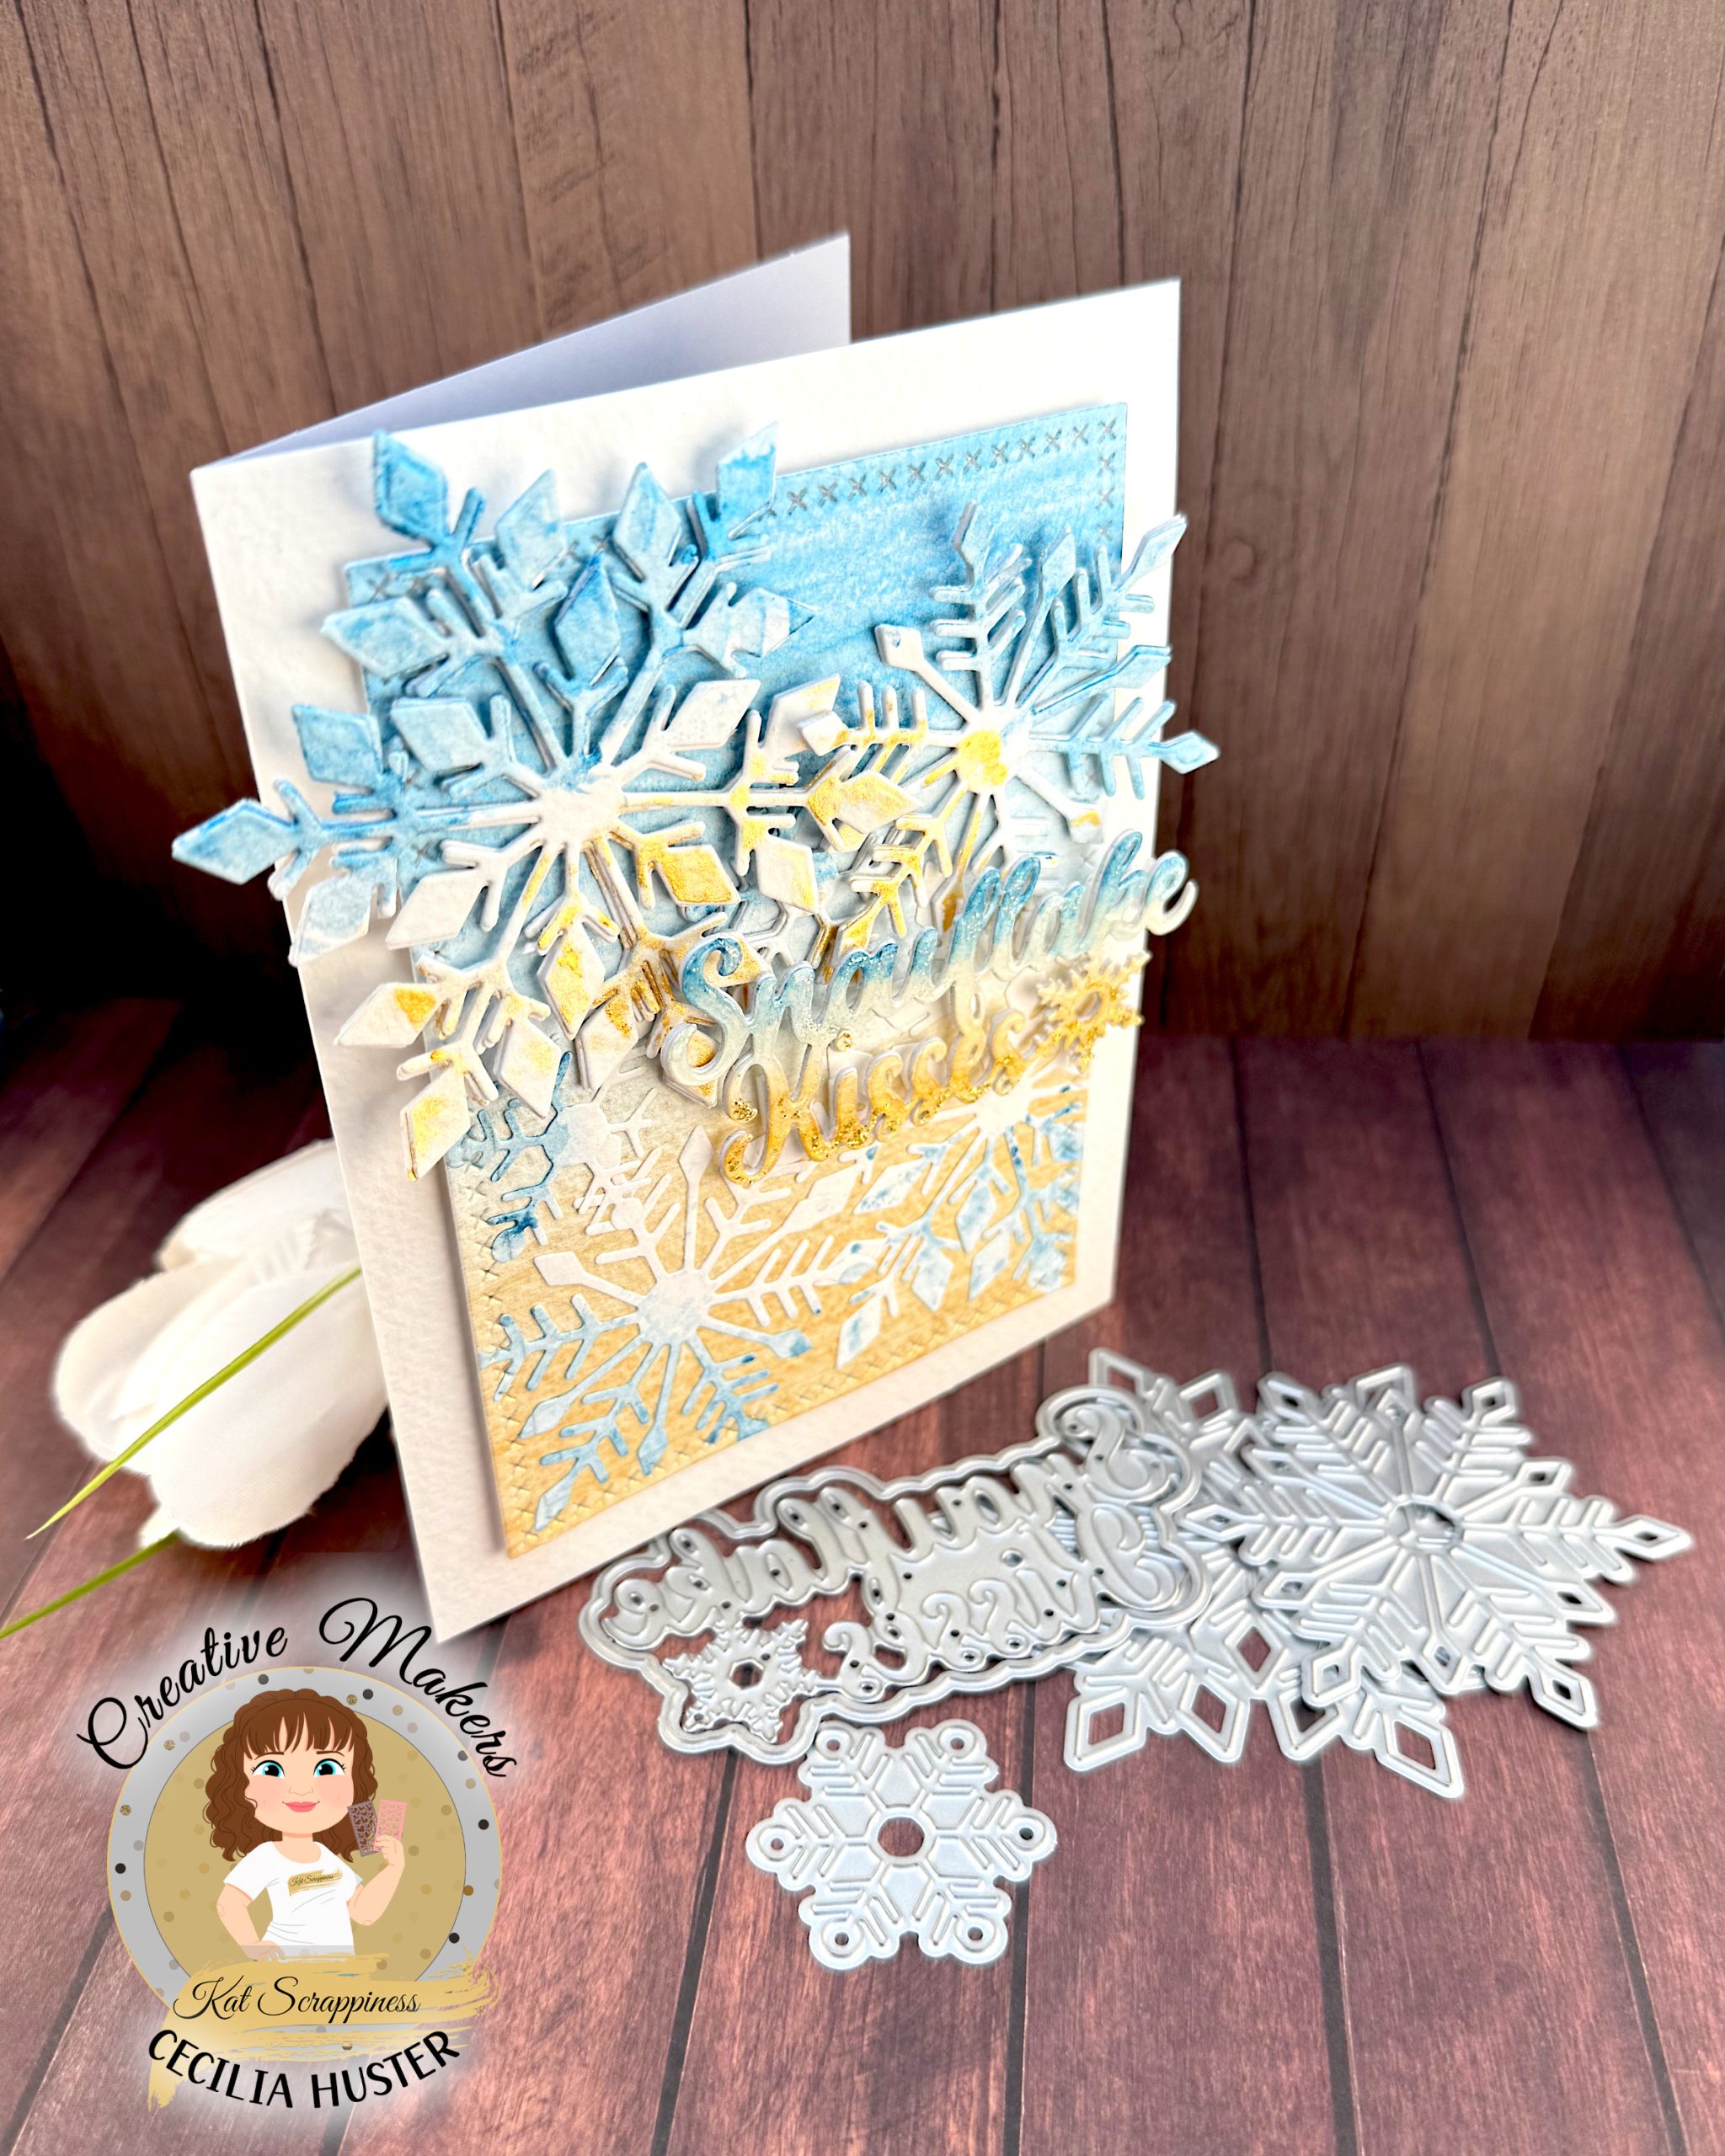
Snowflake Kisses
On the tops of the “snowflake” letters I mixed some Ranger Stickles in Star Dust into the Glossy Accents. On the bottom letters I included some Ranger Stickles in Gold.
-
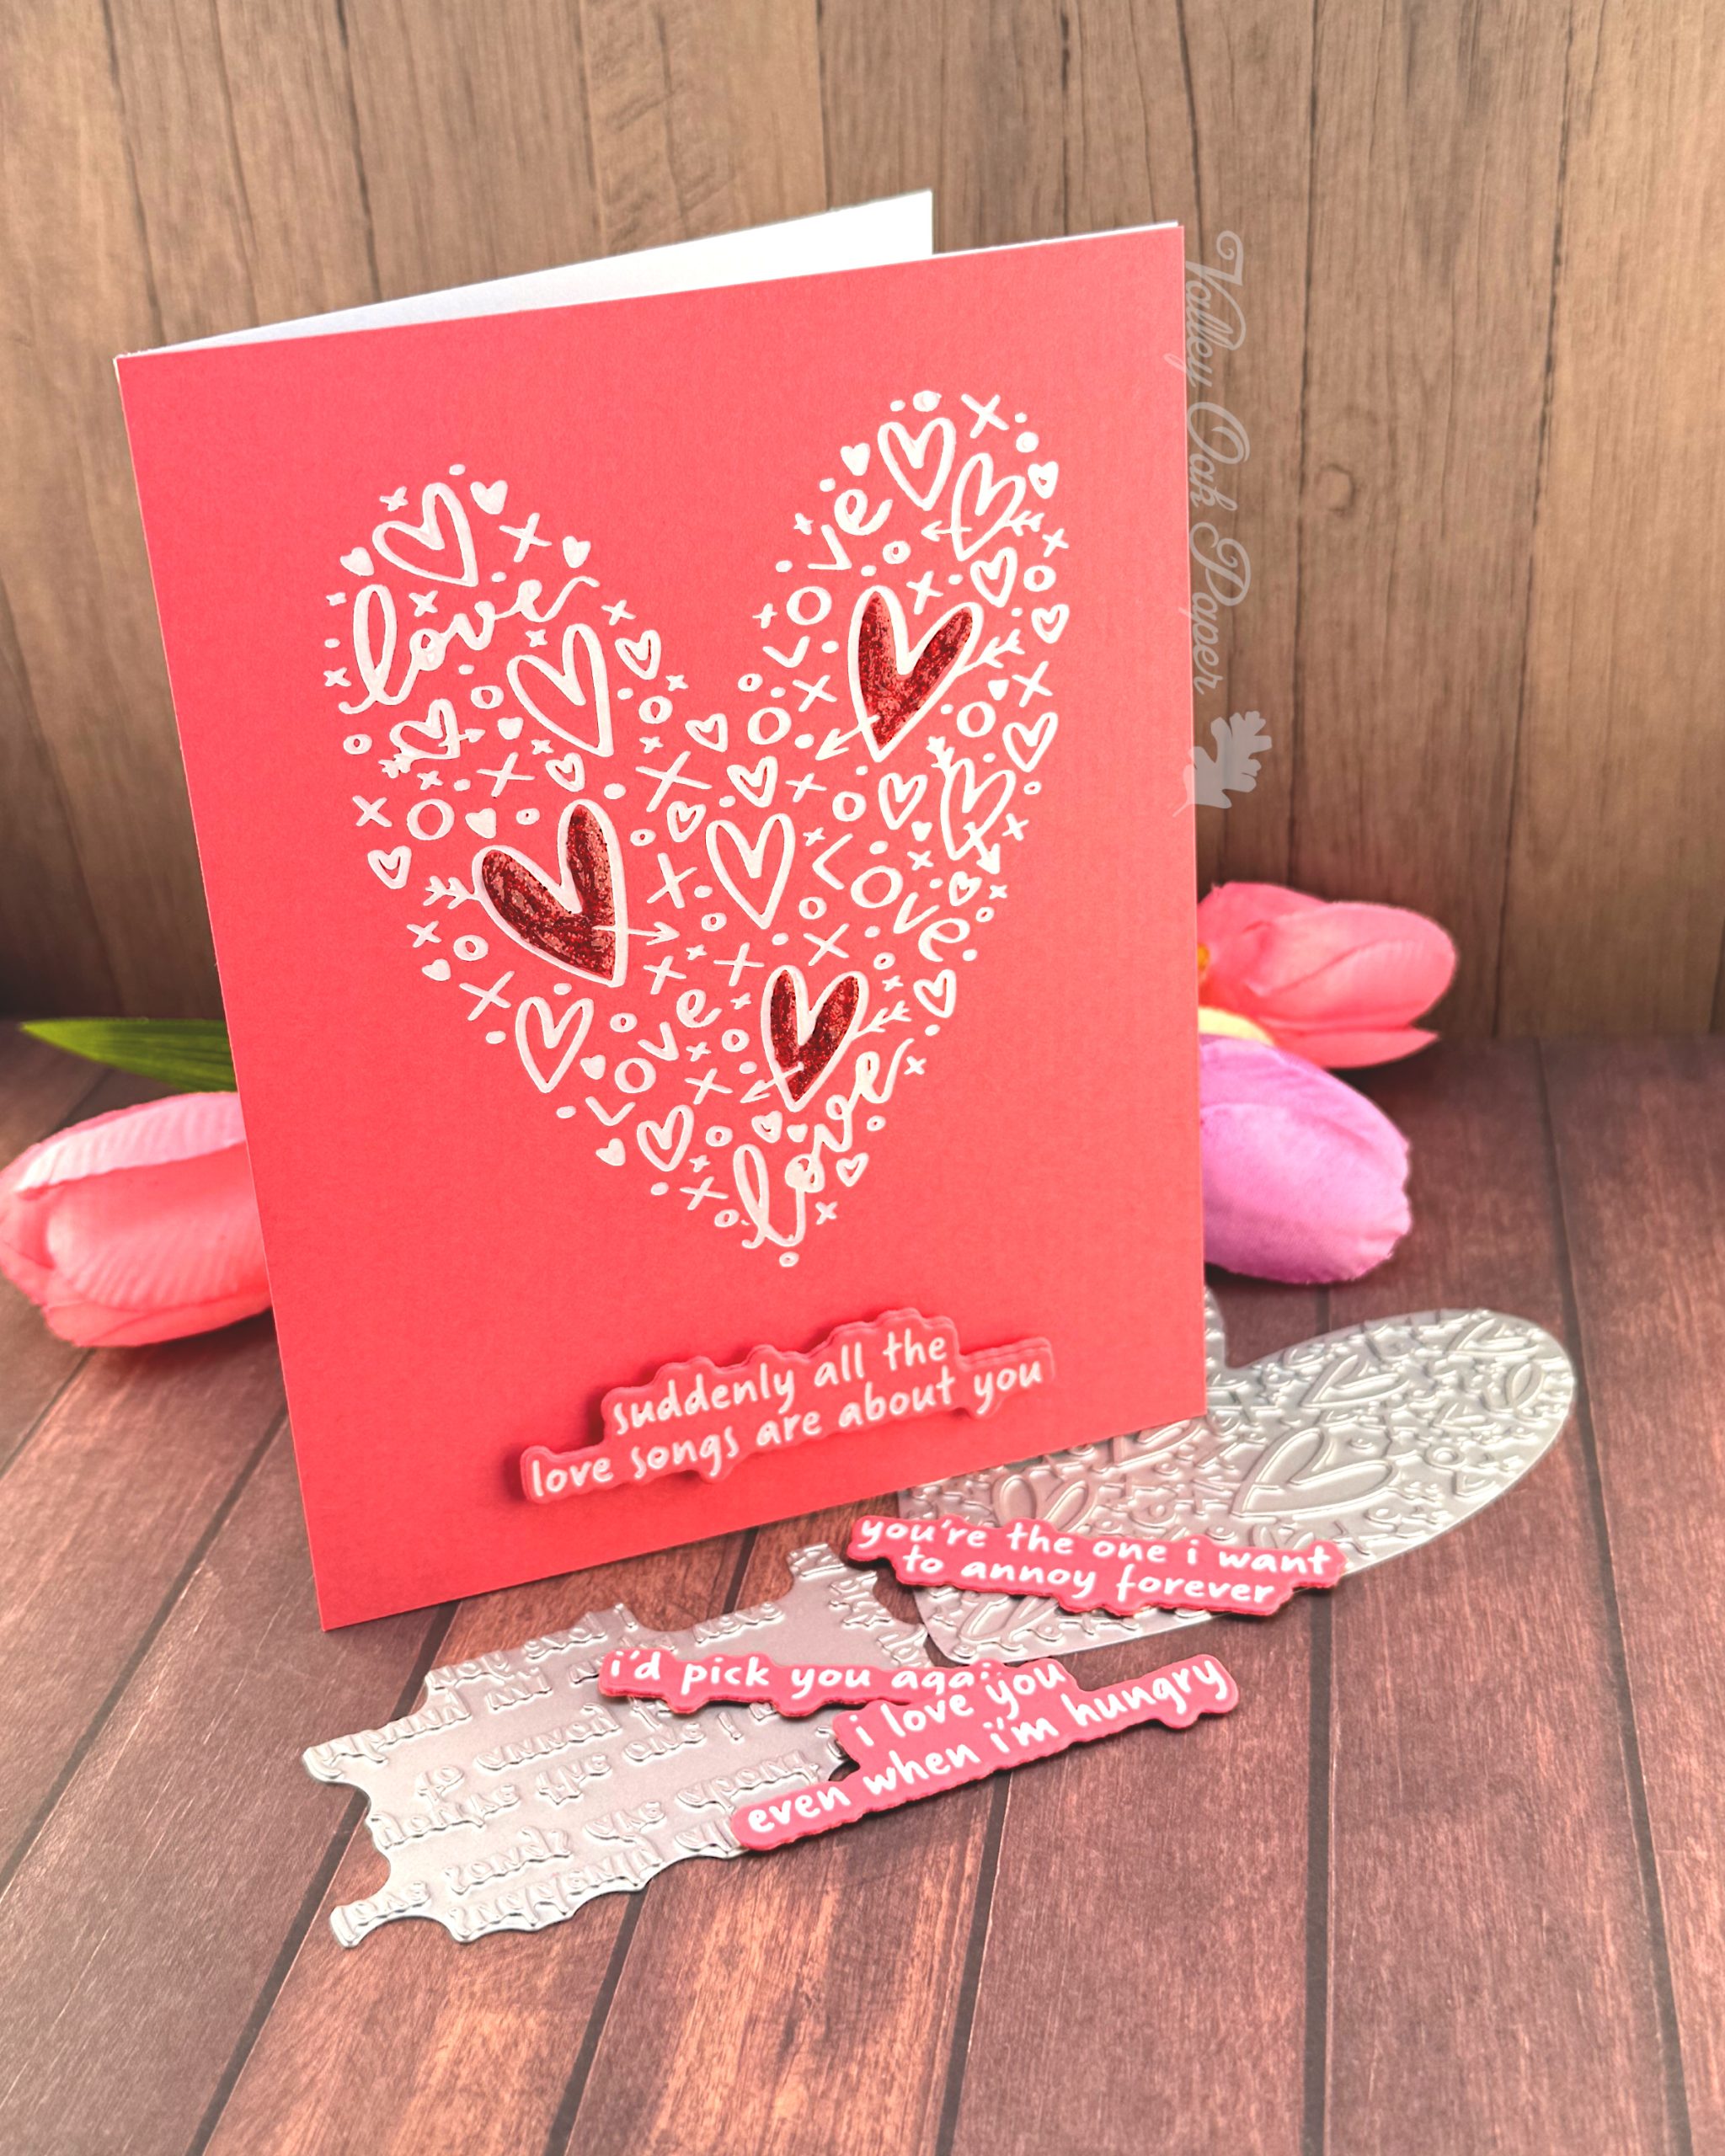
Clean & Simple Love Songs
I added red glitter glue to three of the hearts. I was tempted to do more, but I stayed strong. I think it’s more impactful because it’s only three.
-
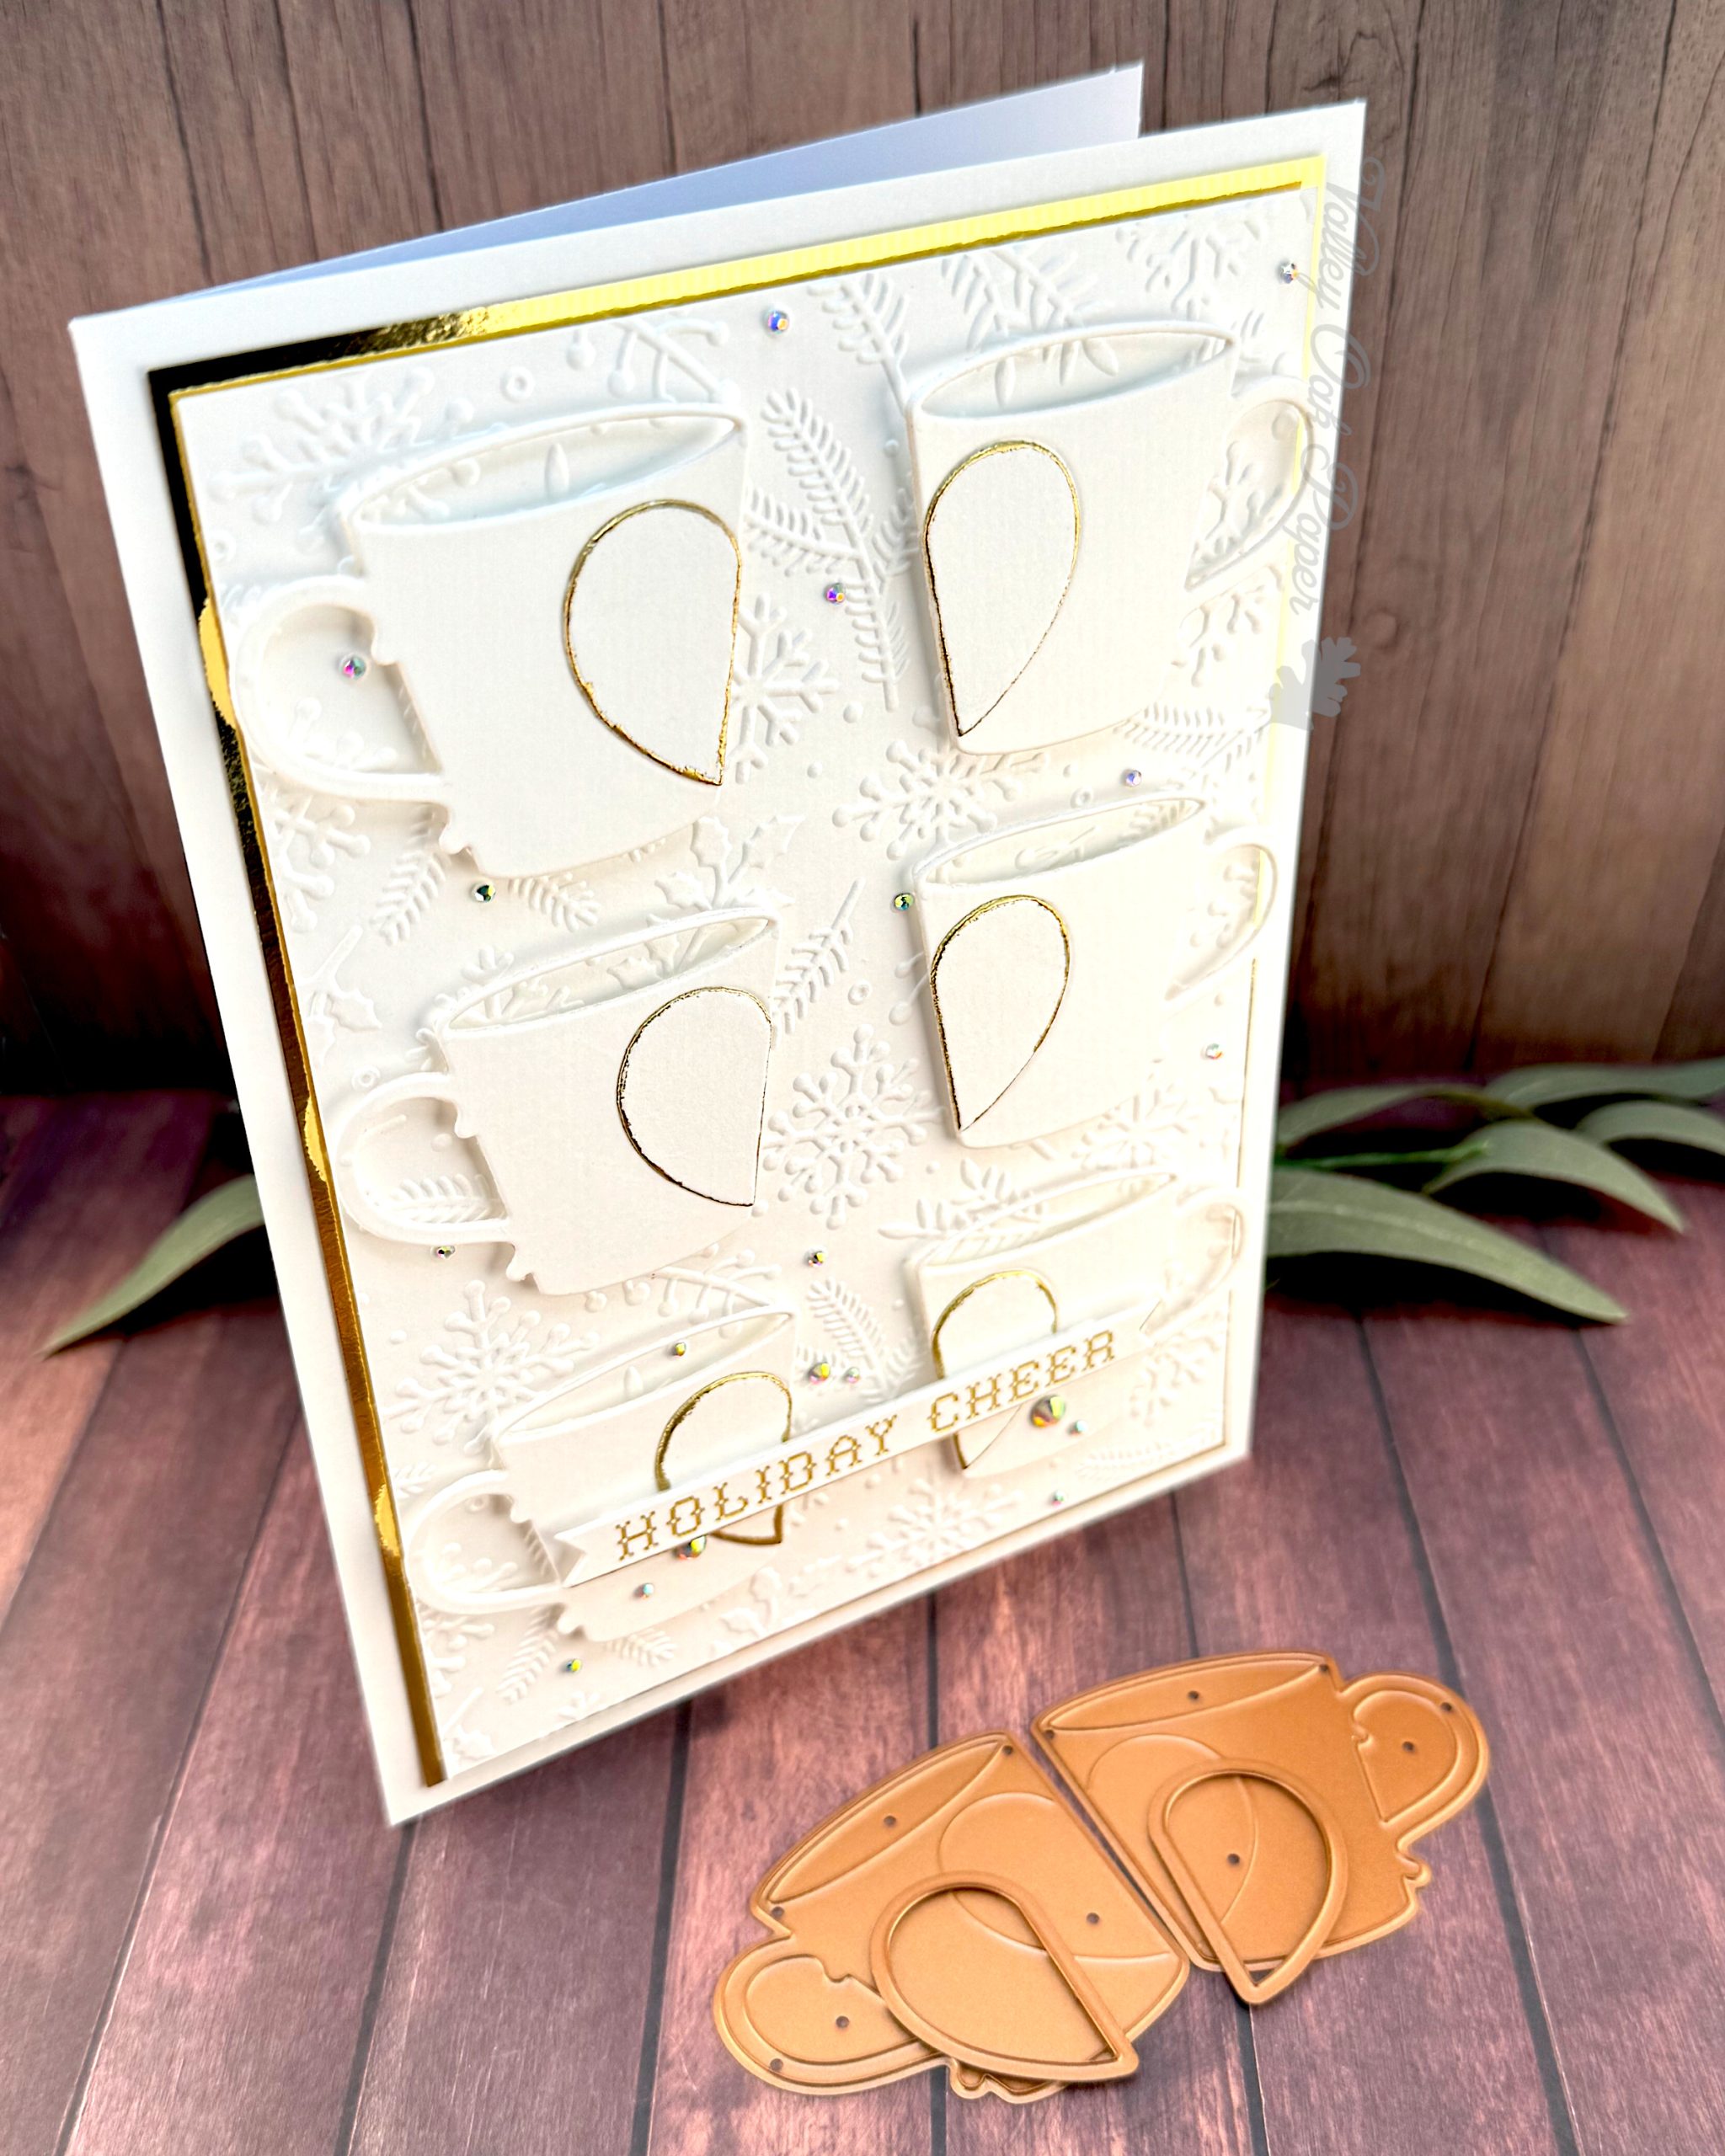
Perfect Blend
Then I added lots of Color Essential Gems in the color Spectrum AB. They’re very pretty with a gold toned iridescence.
-
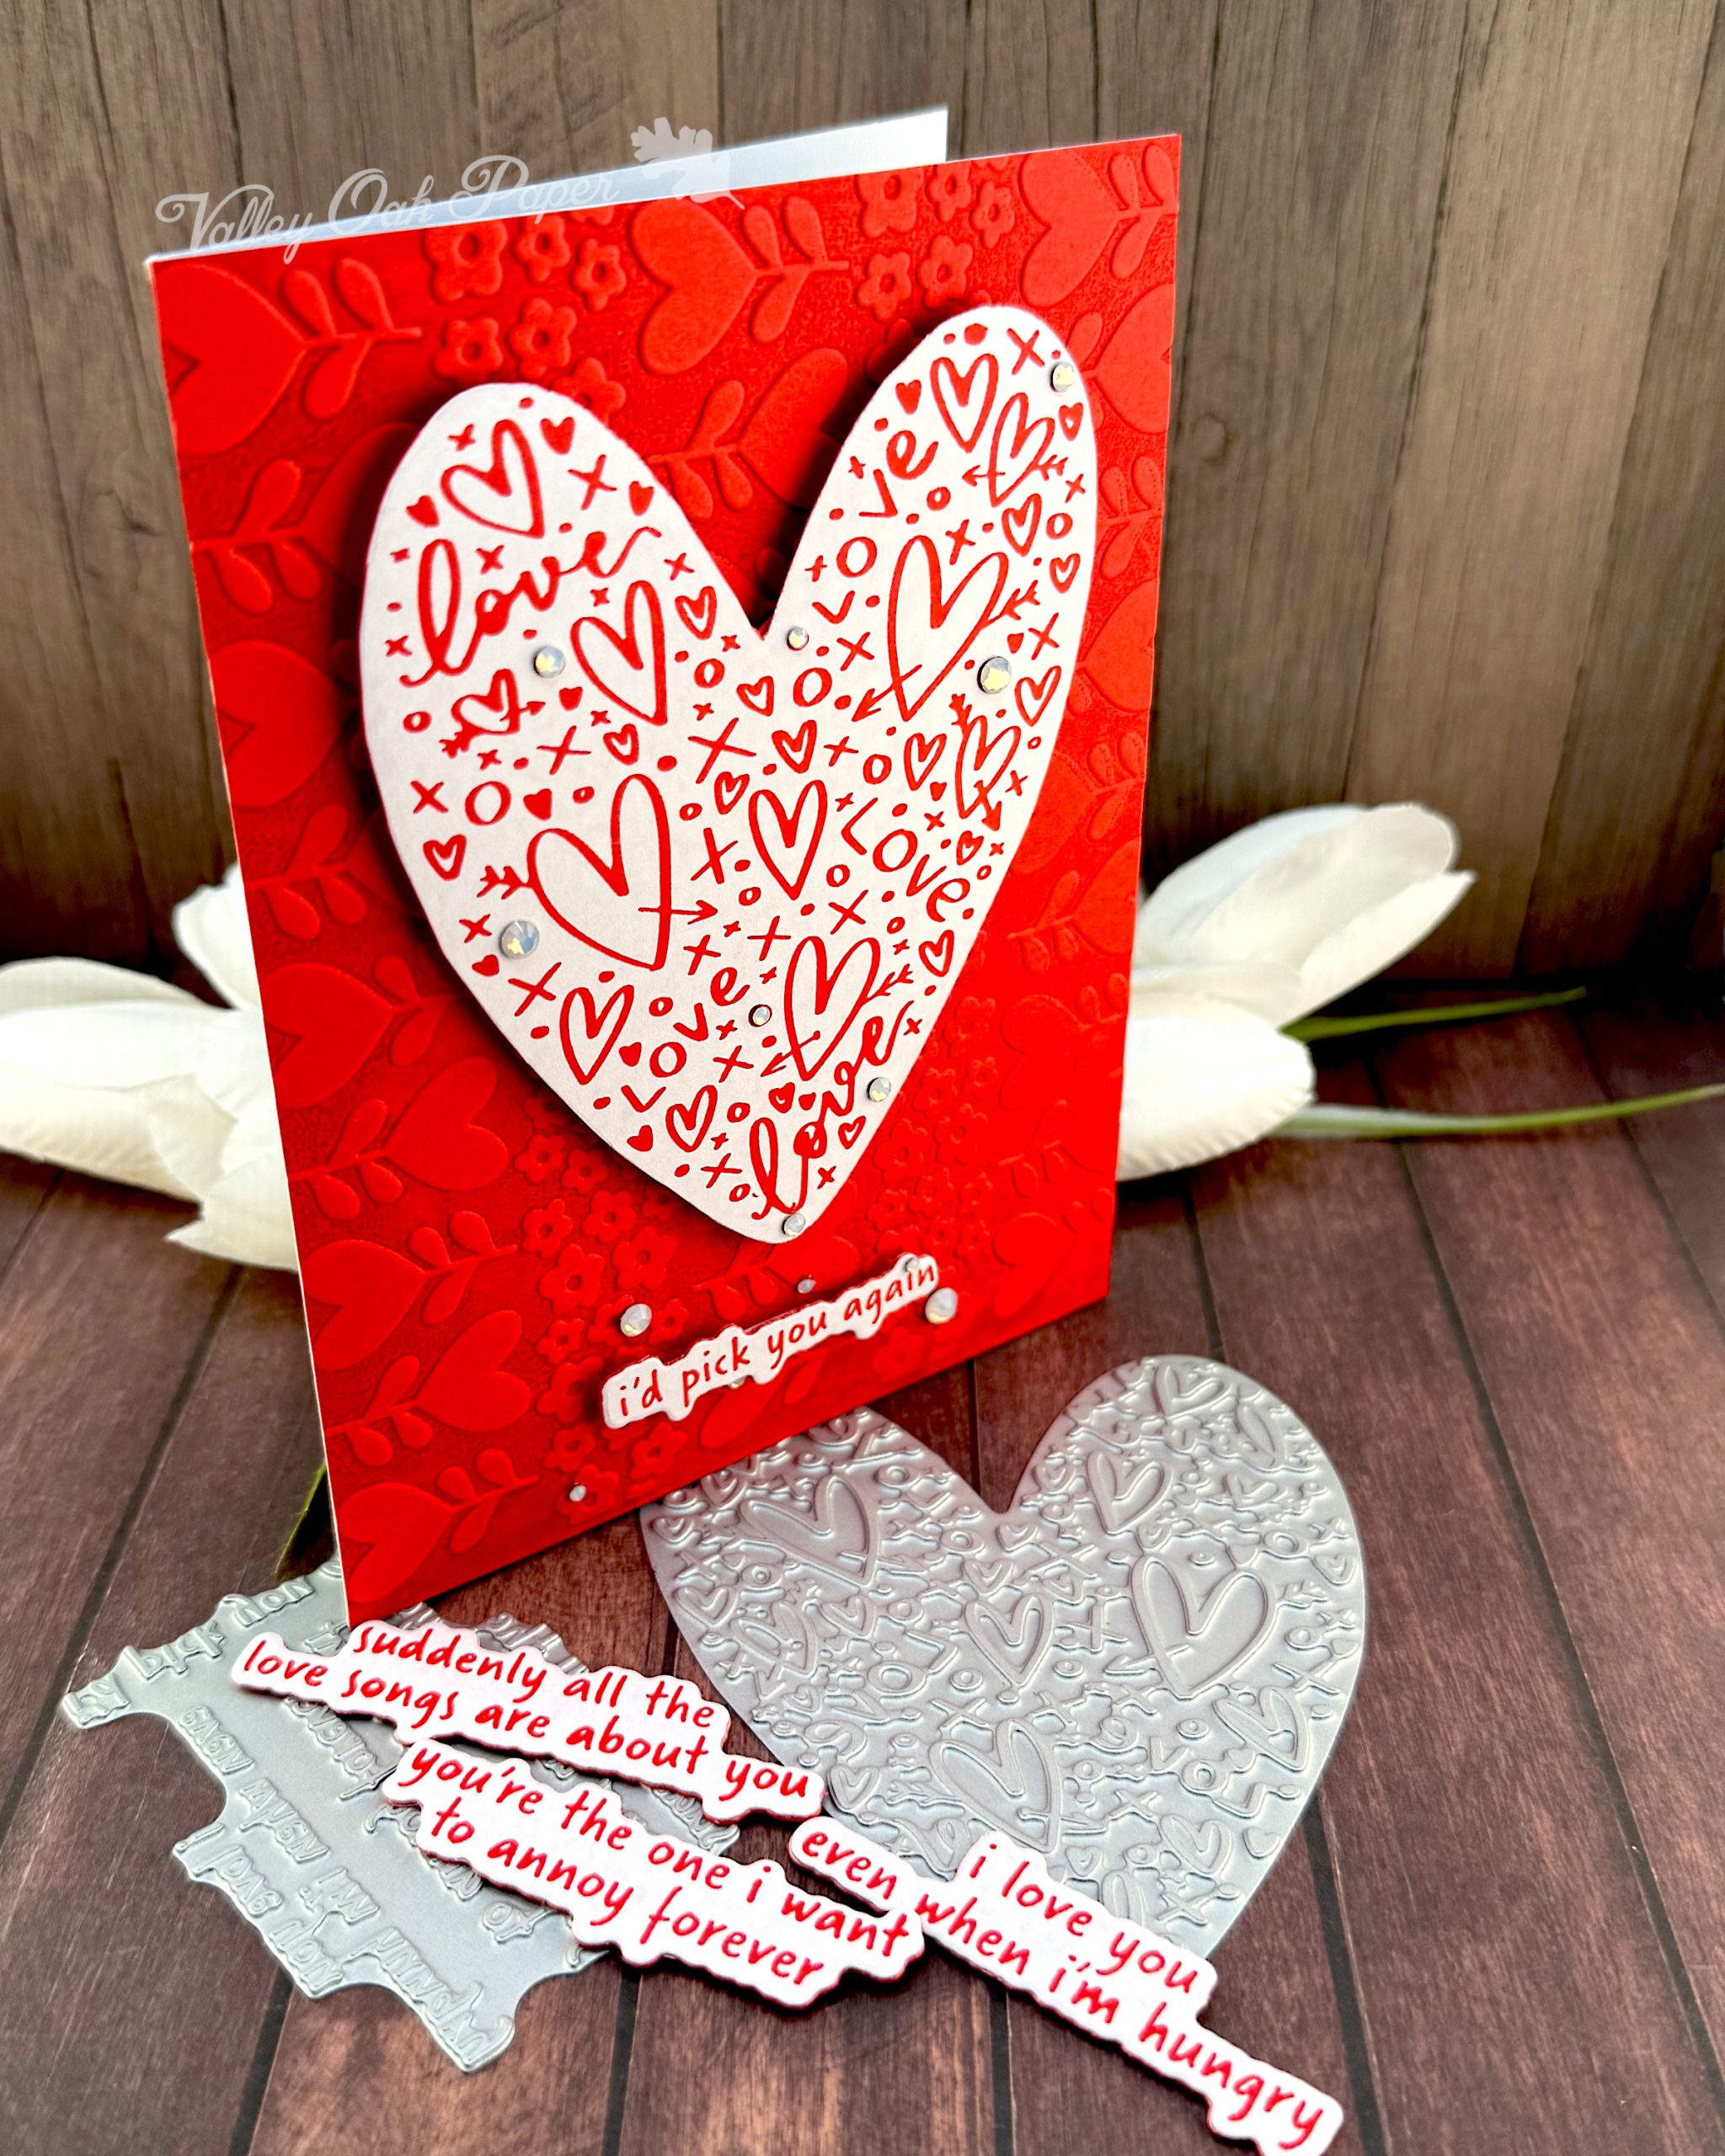
I’d pick you again
The December BetterPress Kit of the Month includes a plate with 4 sentiments and the coordinating die. They’re all about love and can be used independently from the heart. Very useful!
-
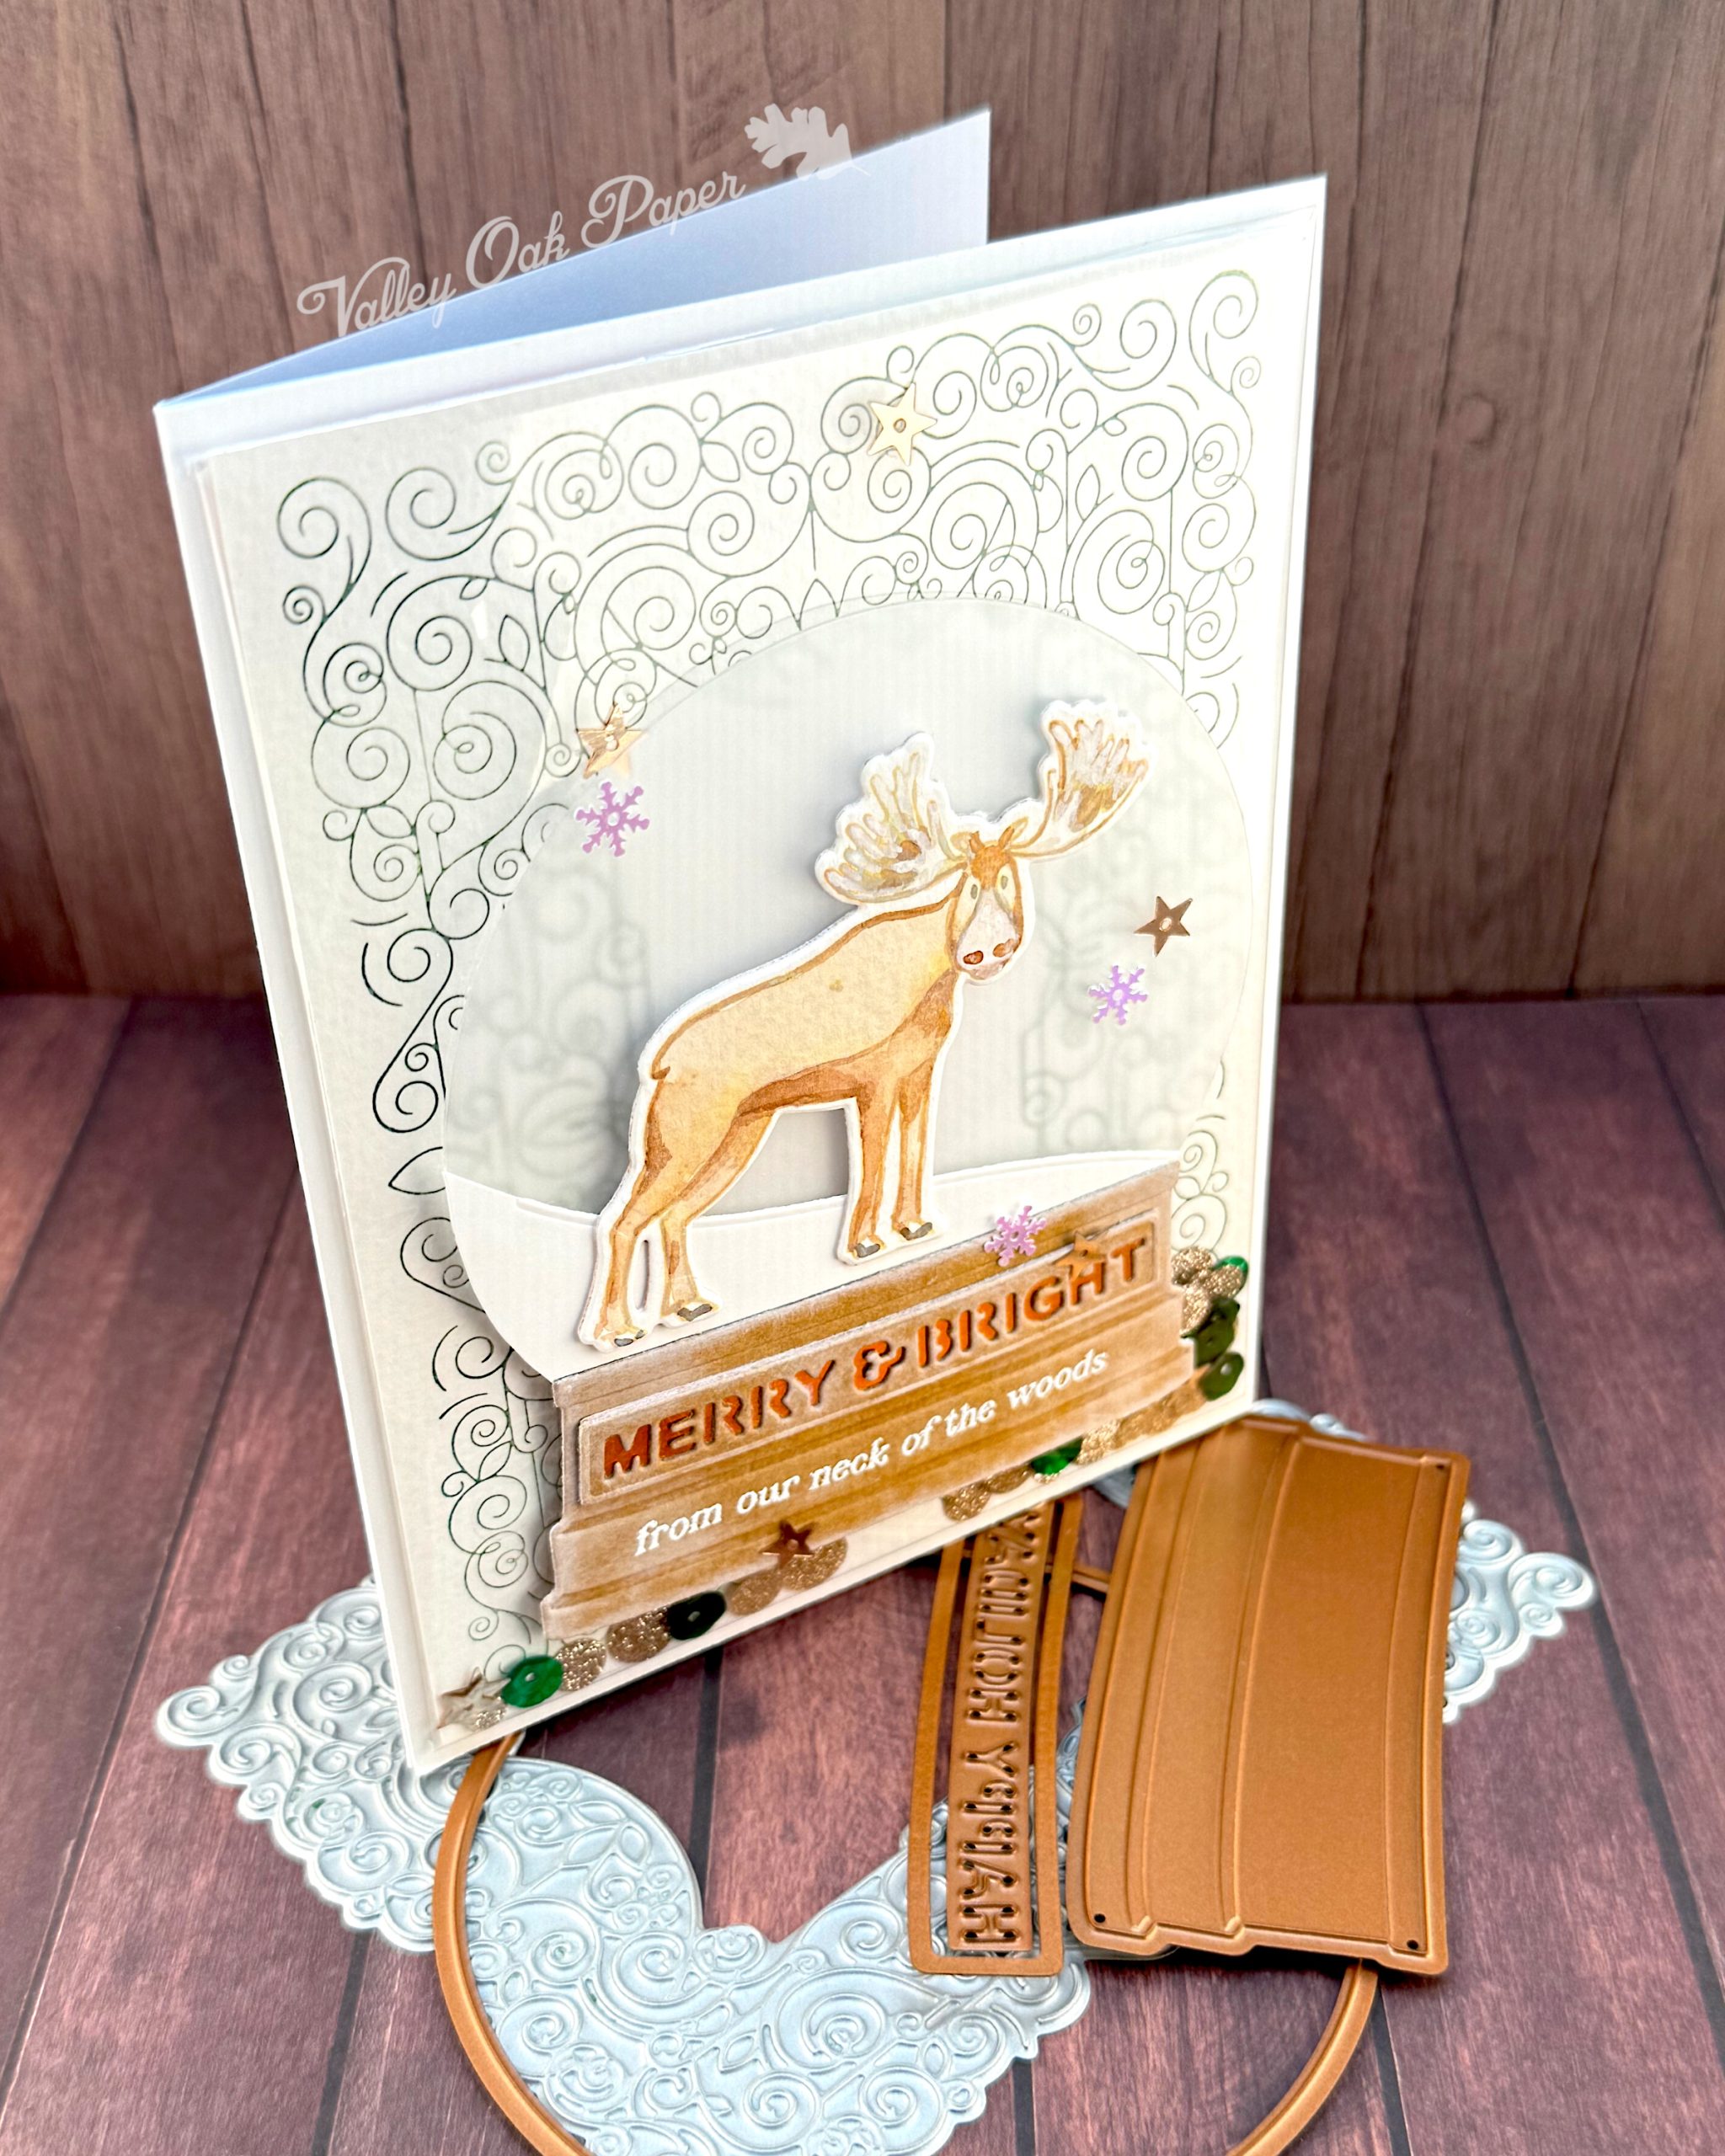
Jaycee’s Infinity Shakers
I started by stamping the larger animals from Simon Hurley’s Woodland Wildlife Stamp Set on watercolor paper with Distress Oxide in Antique Linen.
-
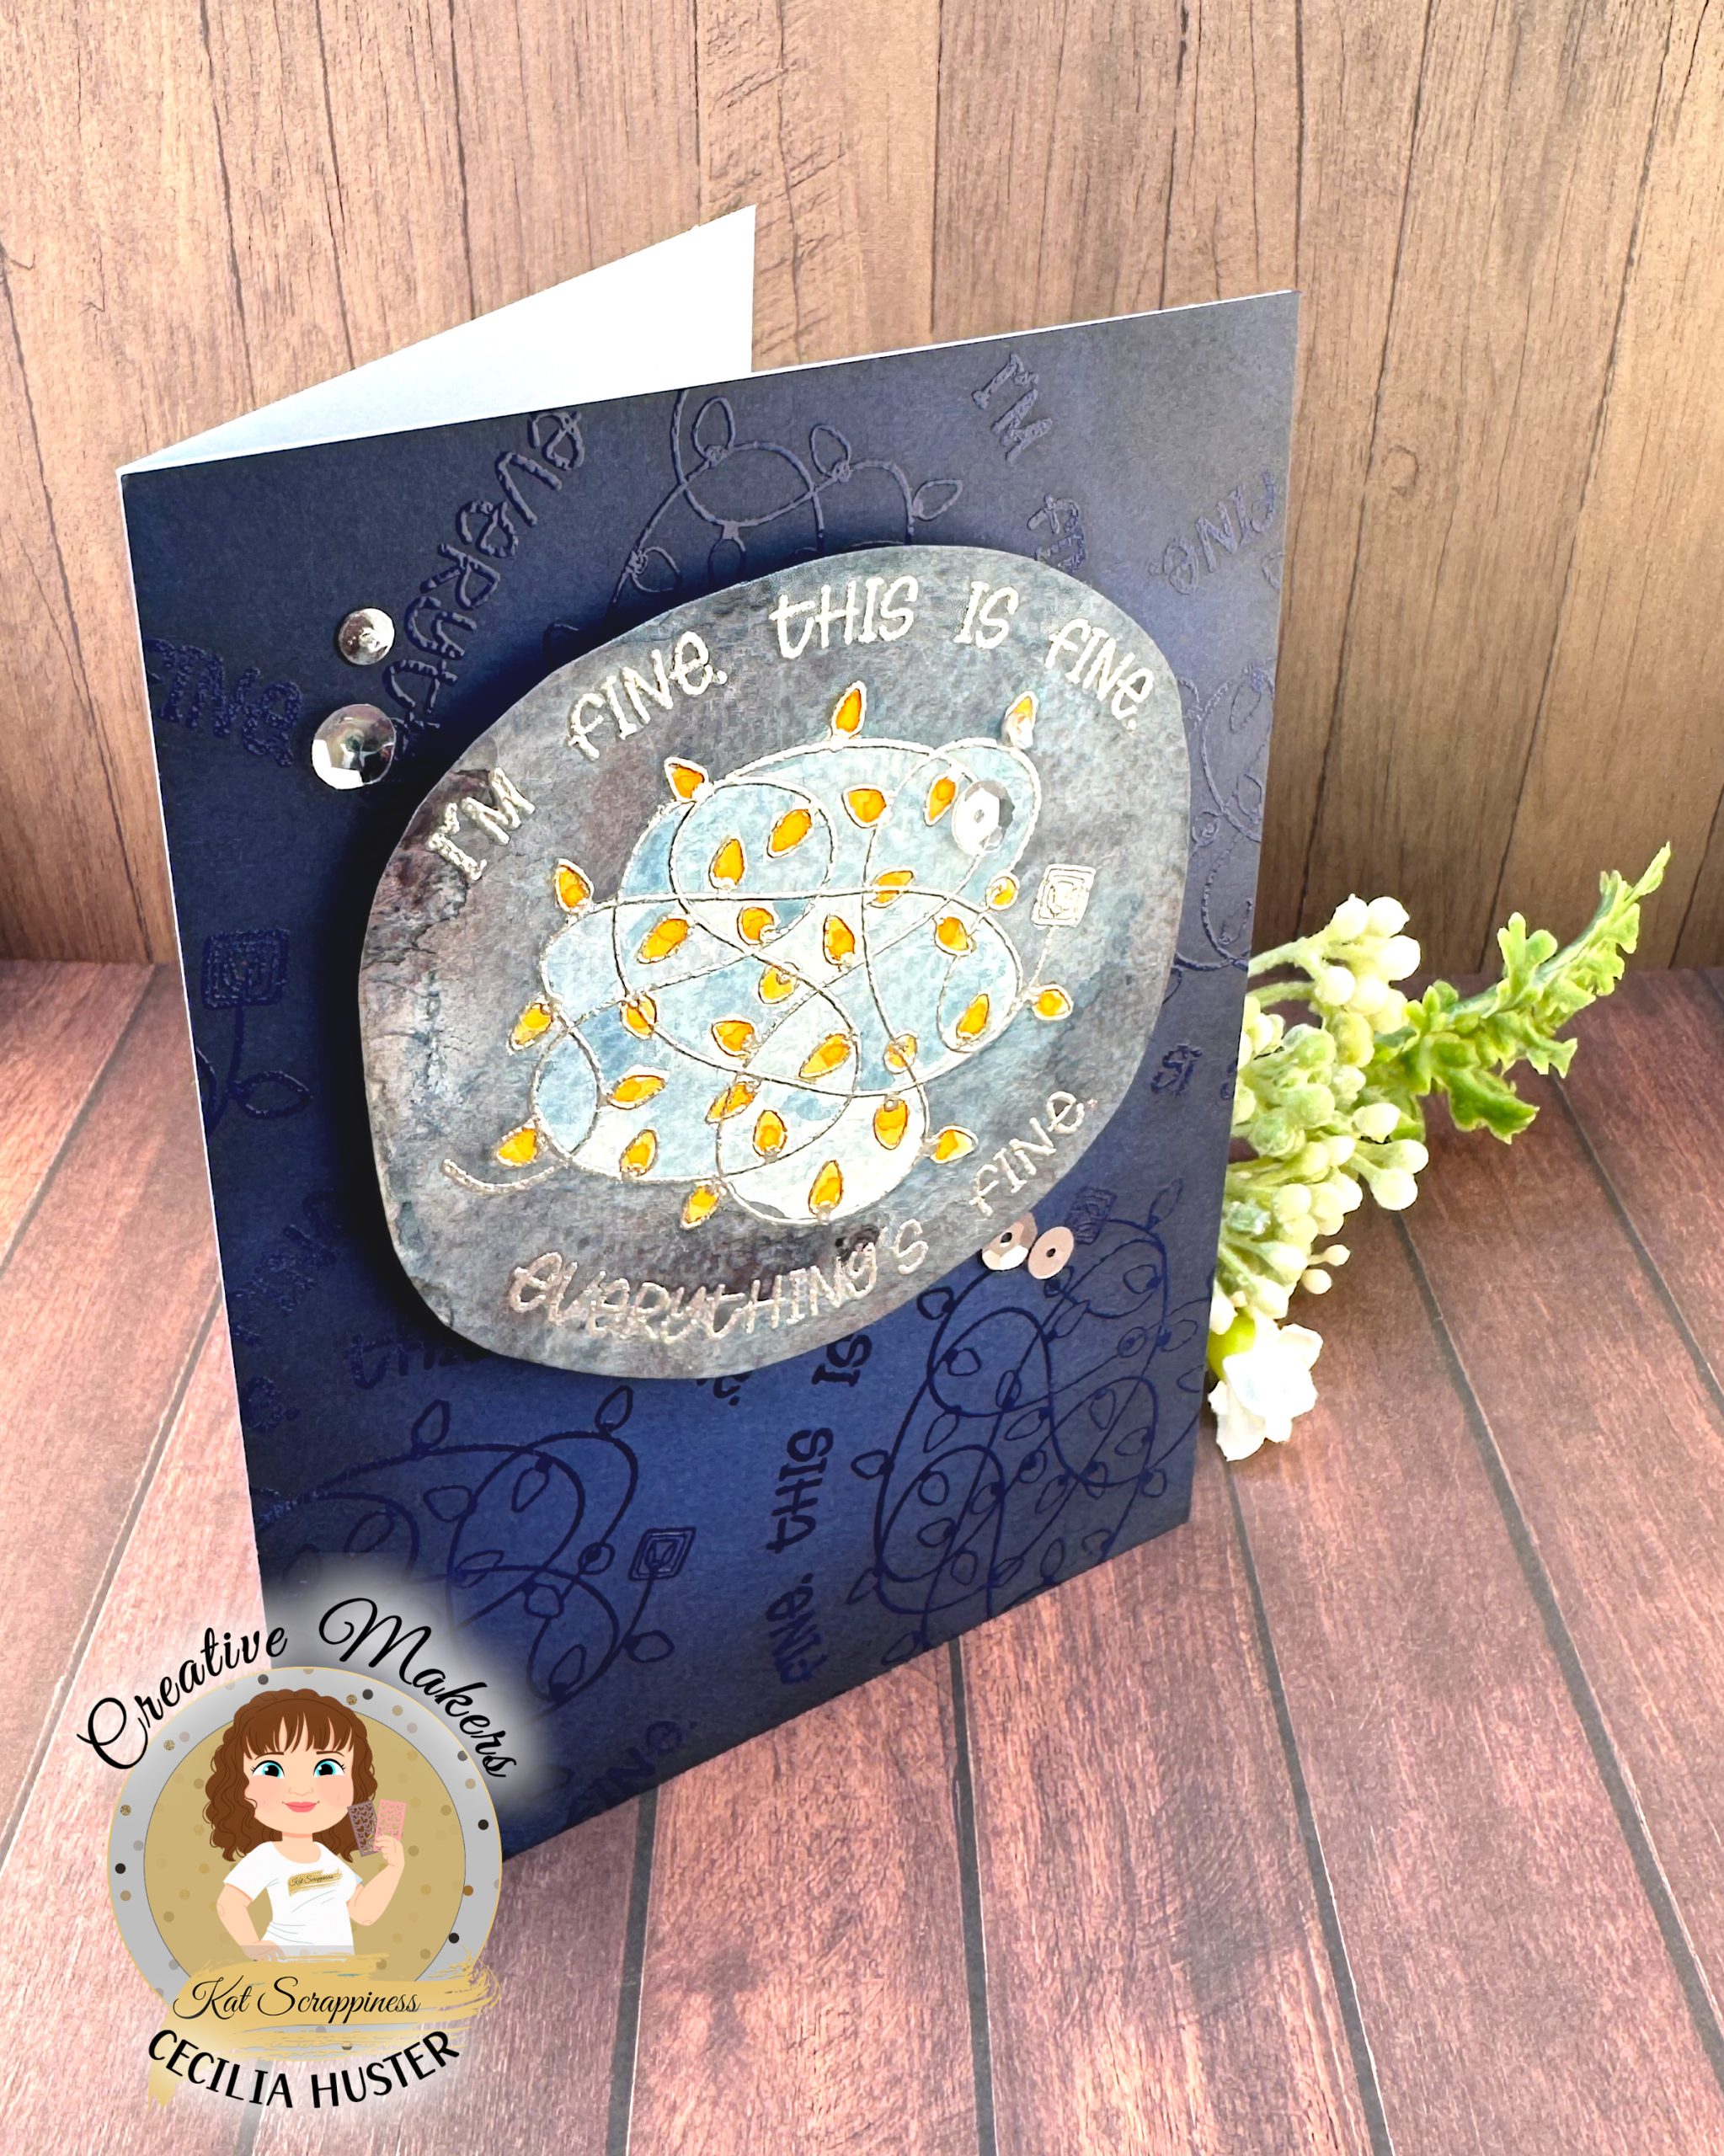
Festival of Lights
I created this card for an Instagram hop on the theme Festival of Lights. It was meant to be about Hanukkah, but I decided to take the name literally this time.
-
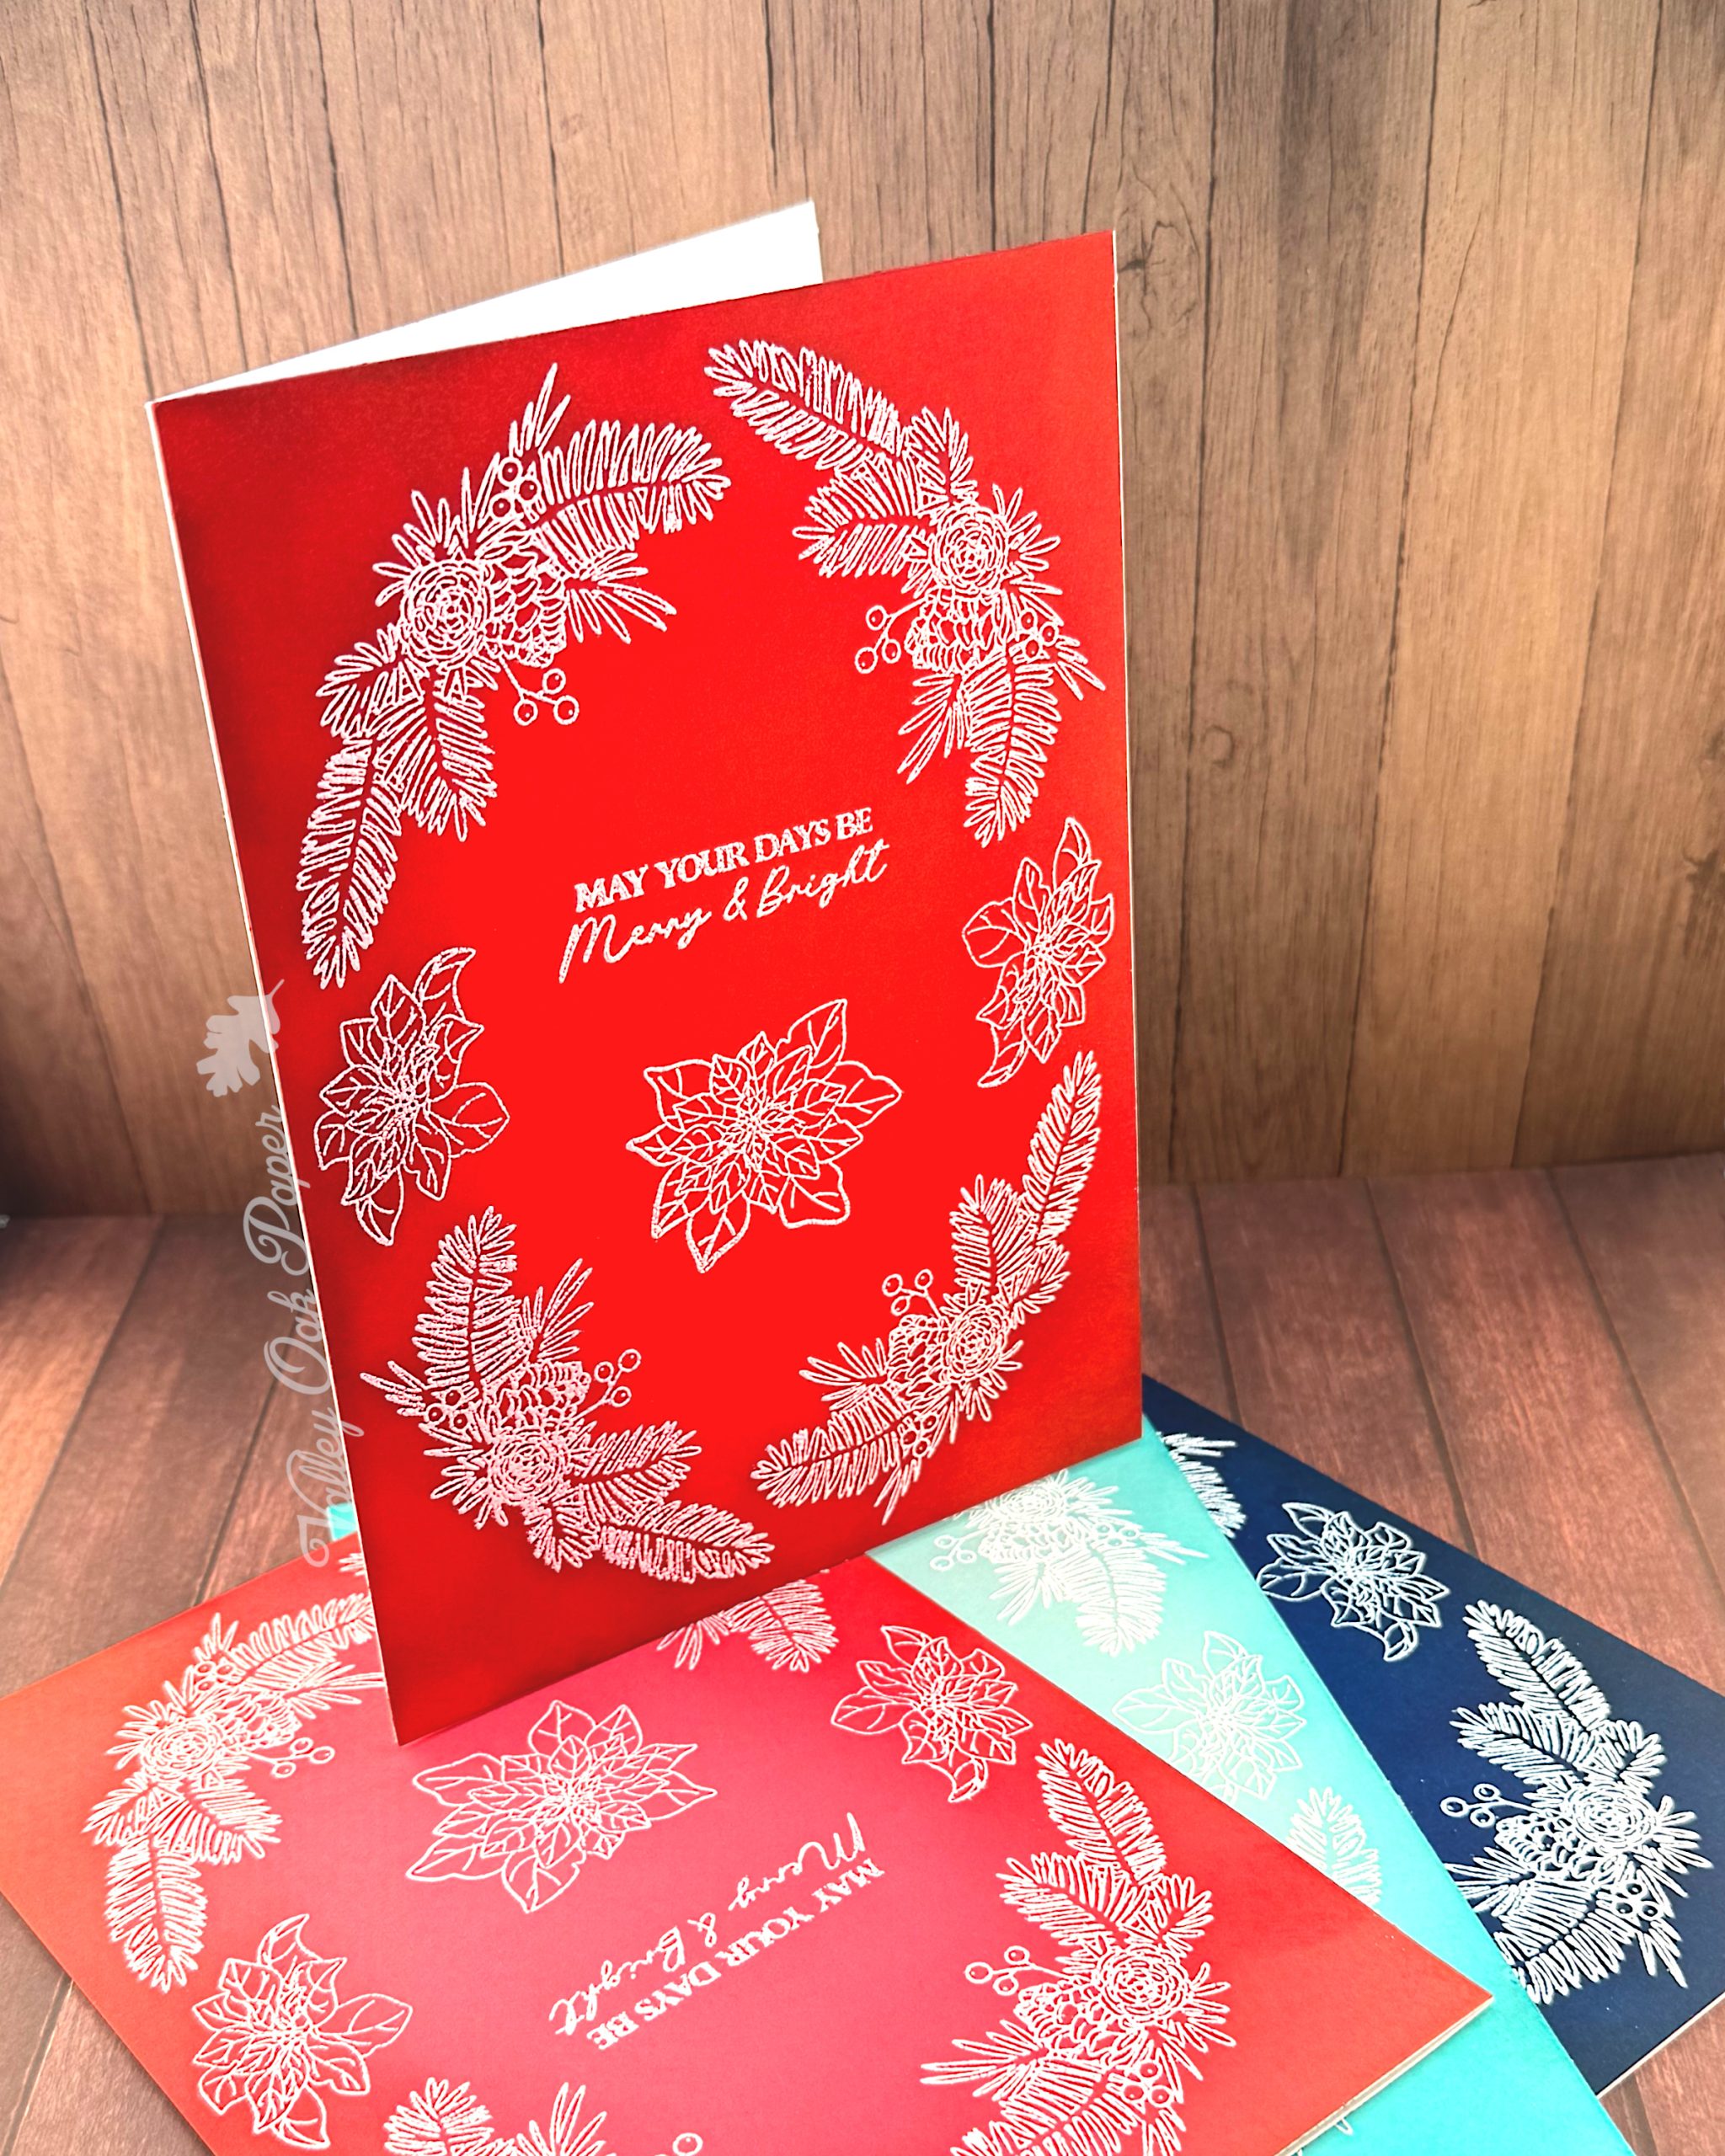
Kristina’s Wreath Stamping
Kristina created an A2-sized card, using a stamp set she designed herself. By this time I had run out of A2-sized card bases, so I created a 5-by-7 card instead.
-
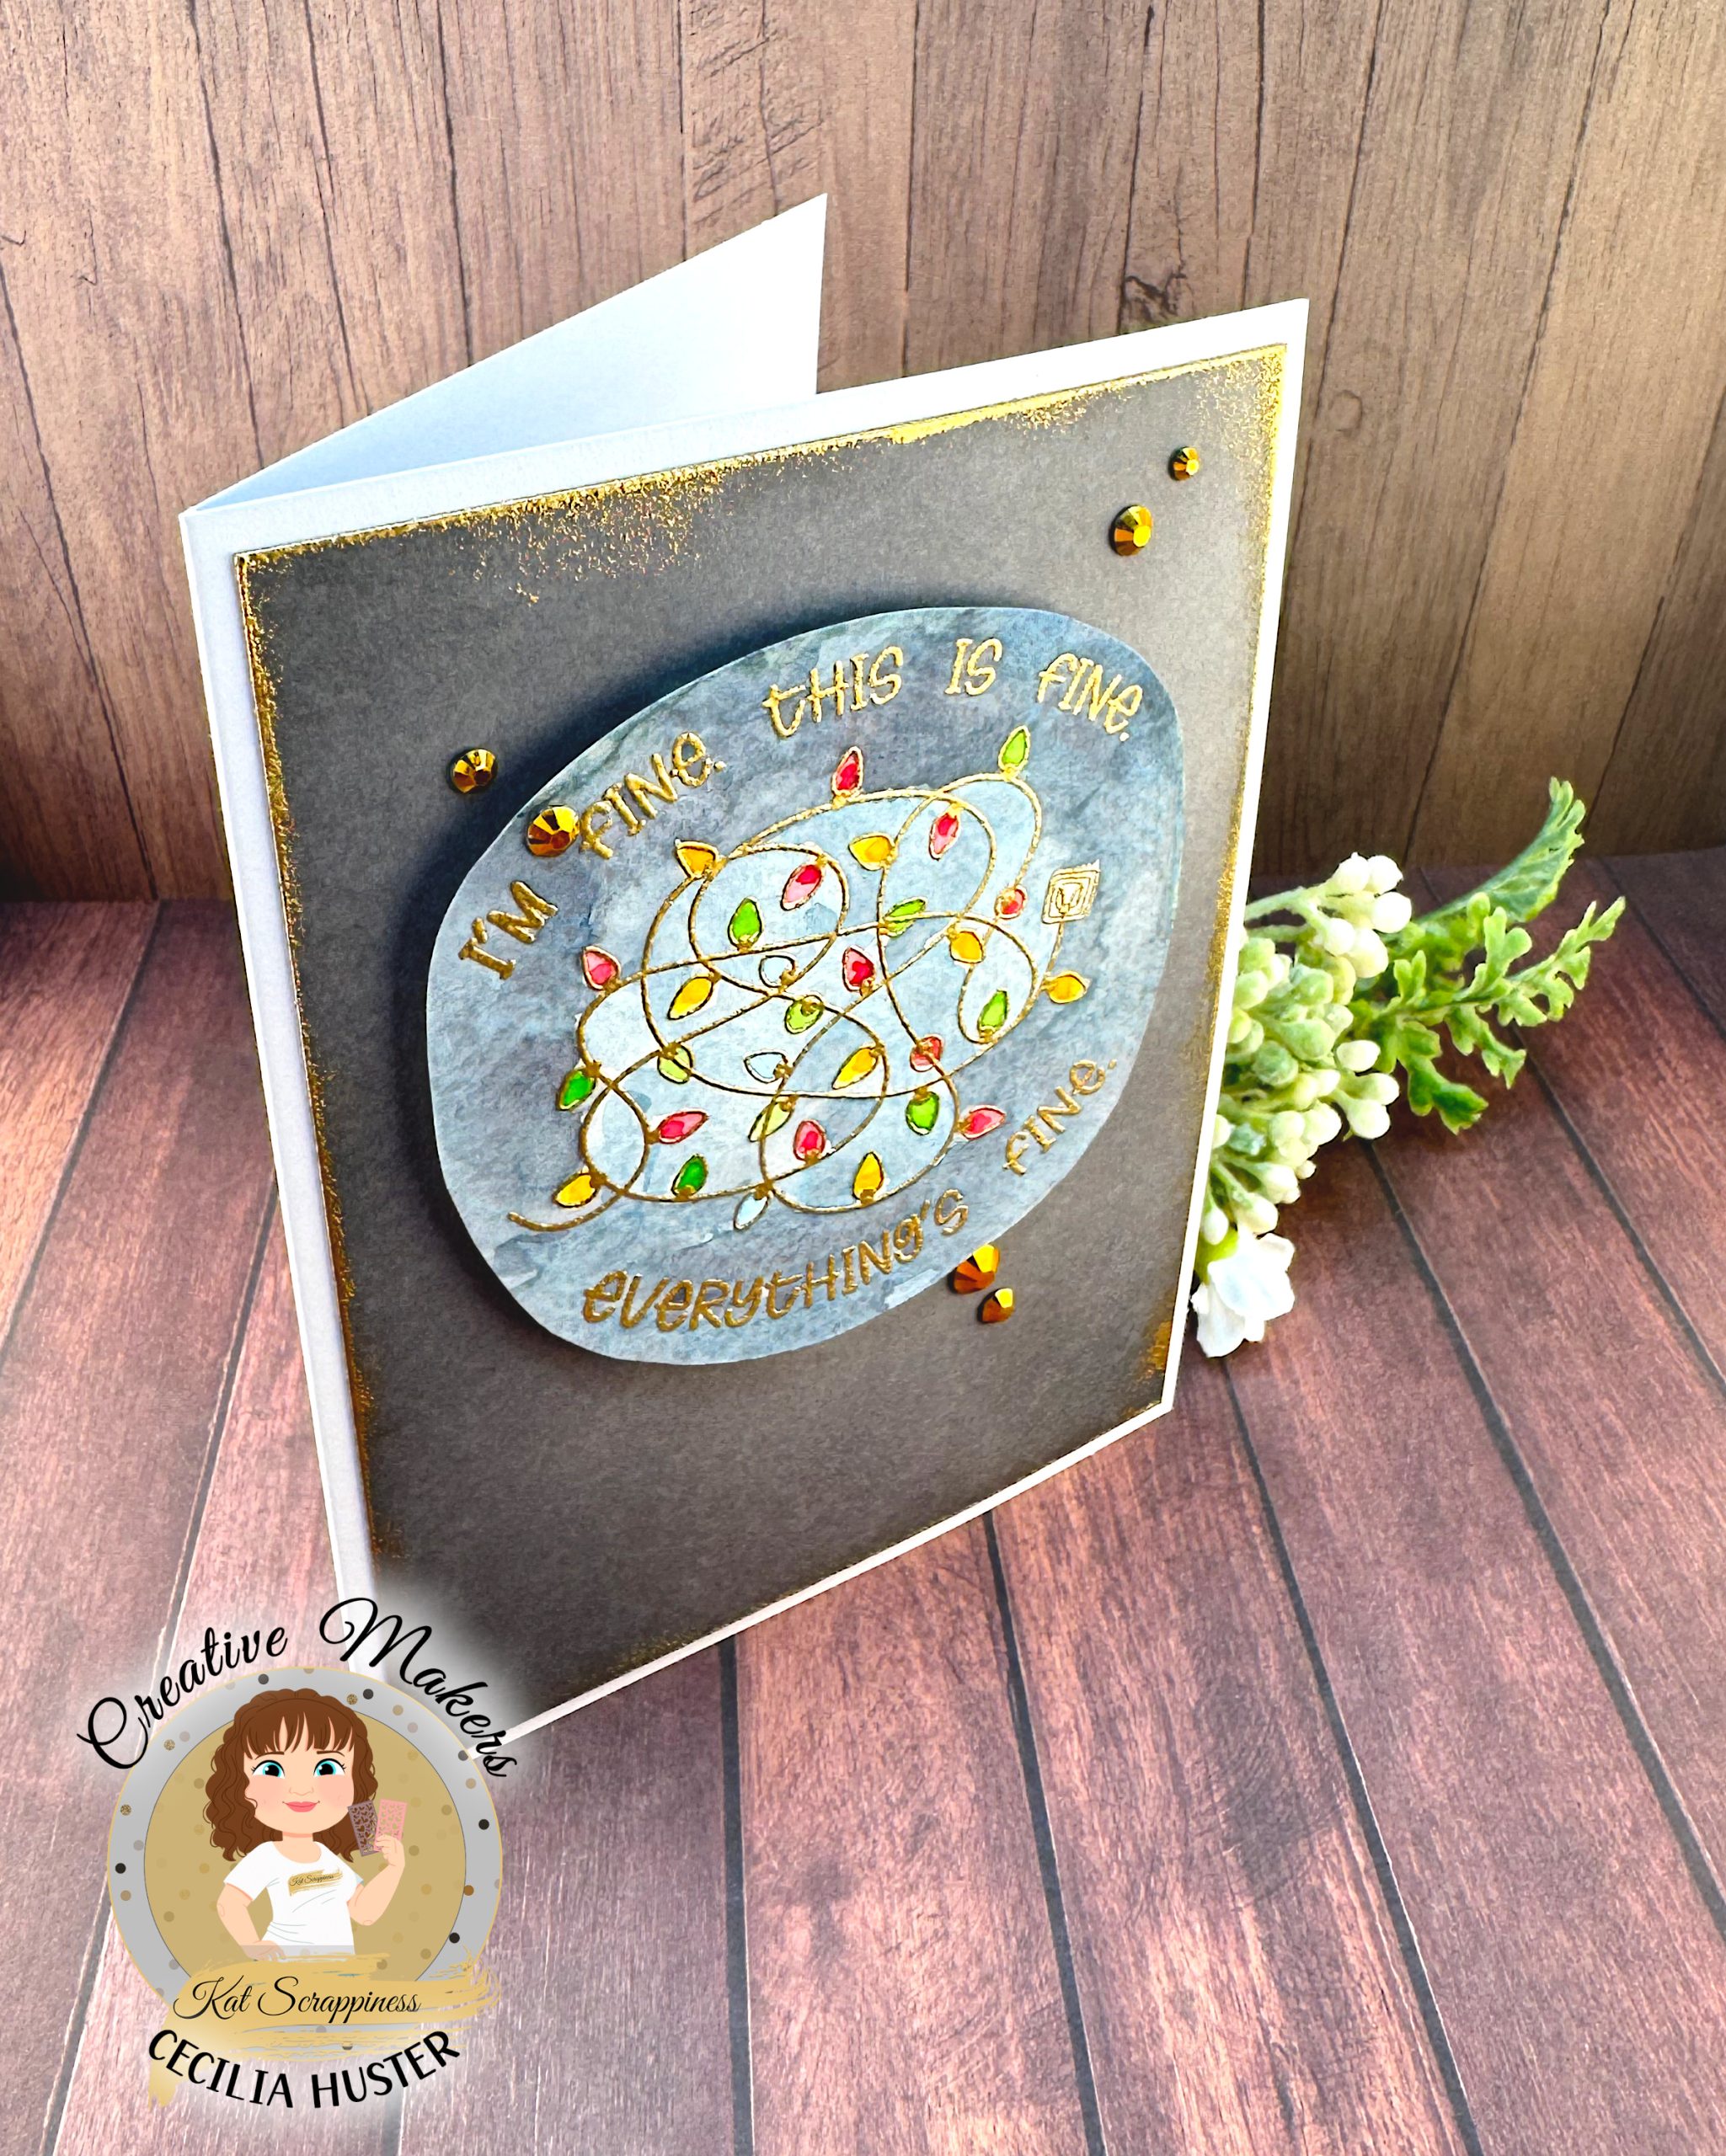
Tinsel Tangle
I dragged the edges across my Versamark embossing ink pad and dipped them in the gold embossing powder. After heat setting it, the panel had a grungy gold edge.
-
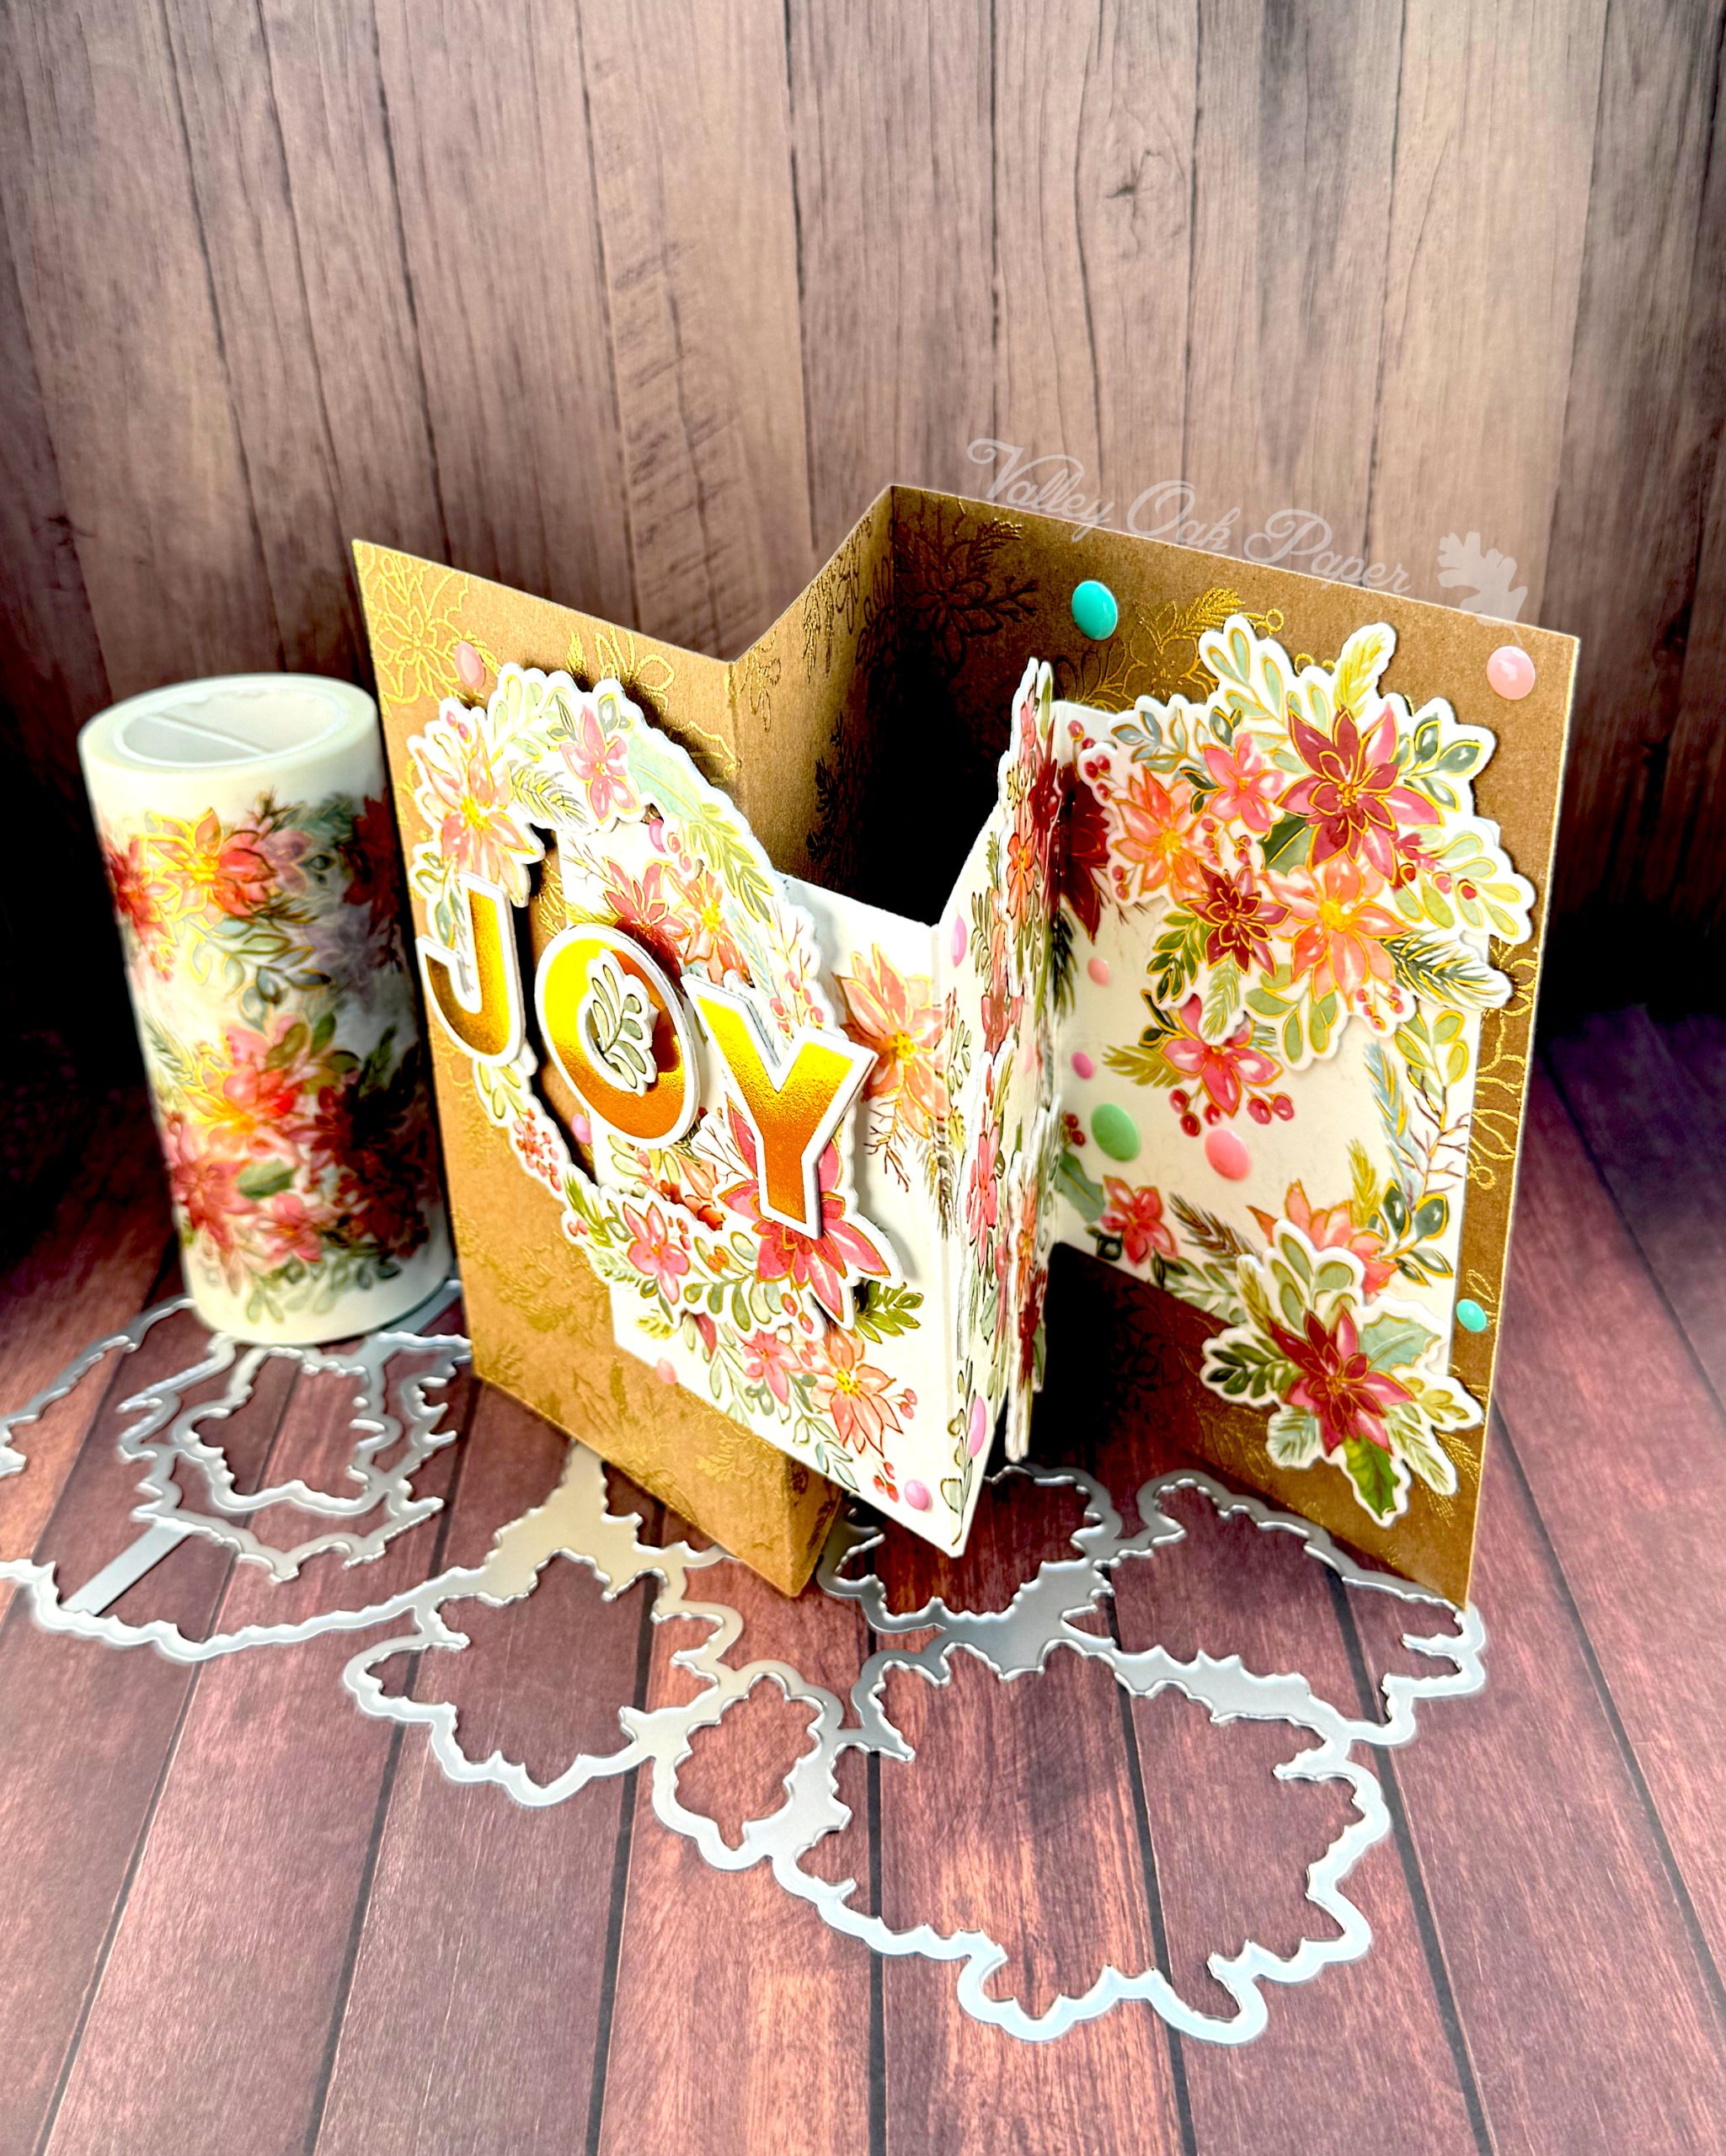
Washi Fun Fold
All Pinkfresh Washi Tapes are the same size. So you can use any washi for this card!
-
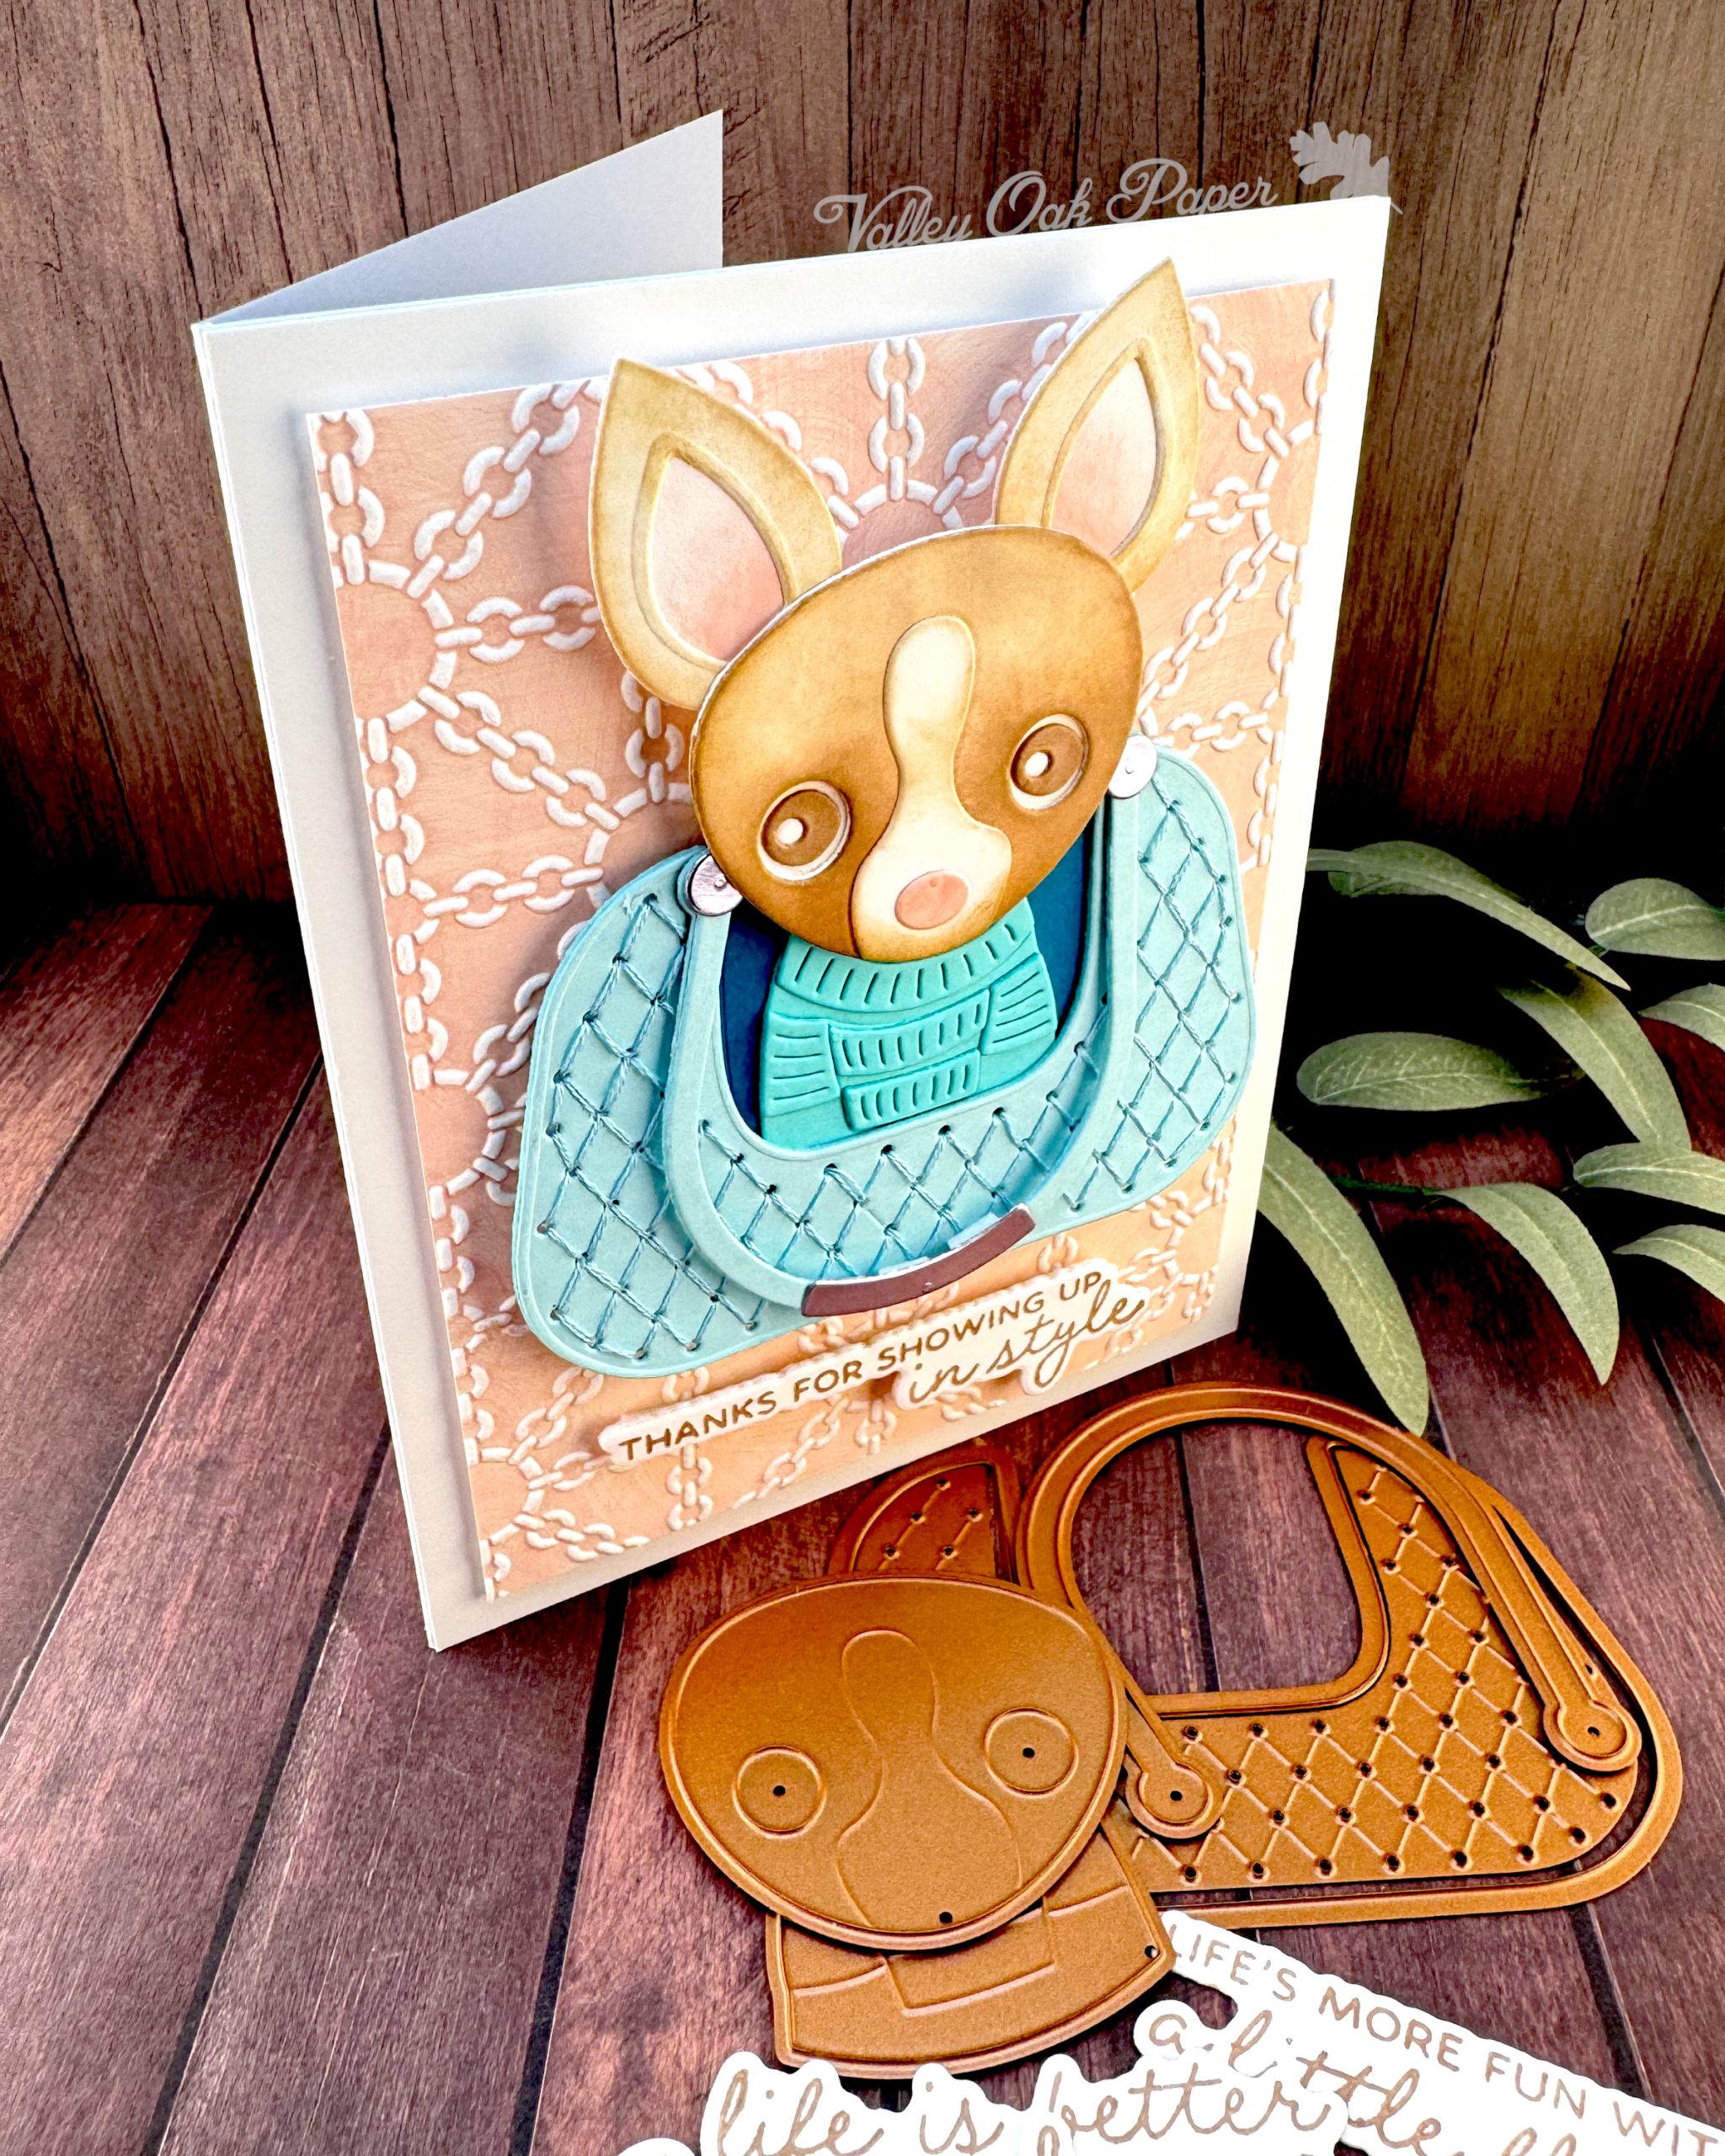
Doggone Style
This little cutie with his fancy purse is part of the November 2025 Stitching Die of the Month from Spellbinders
-
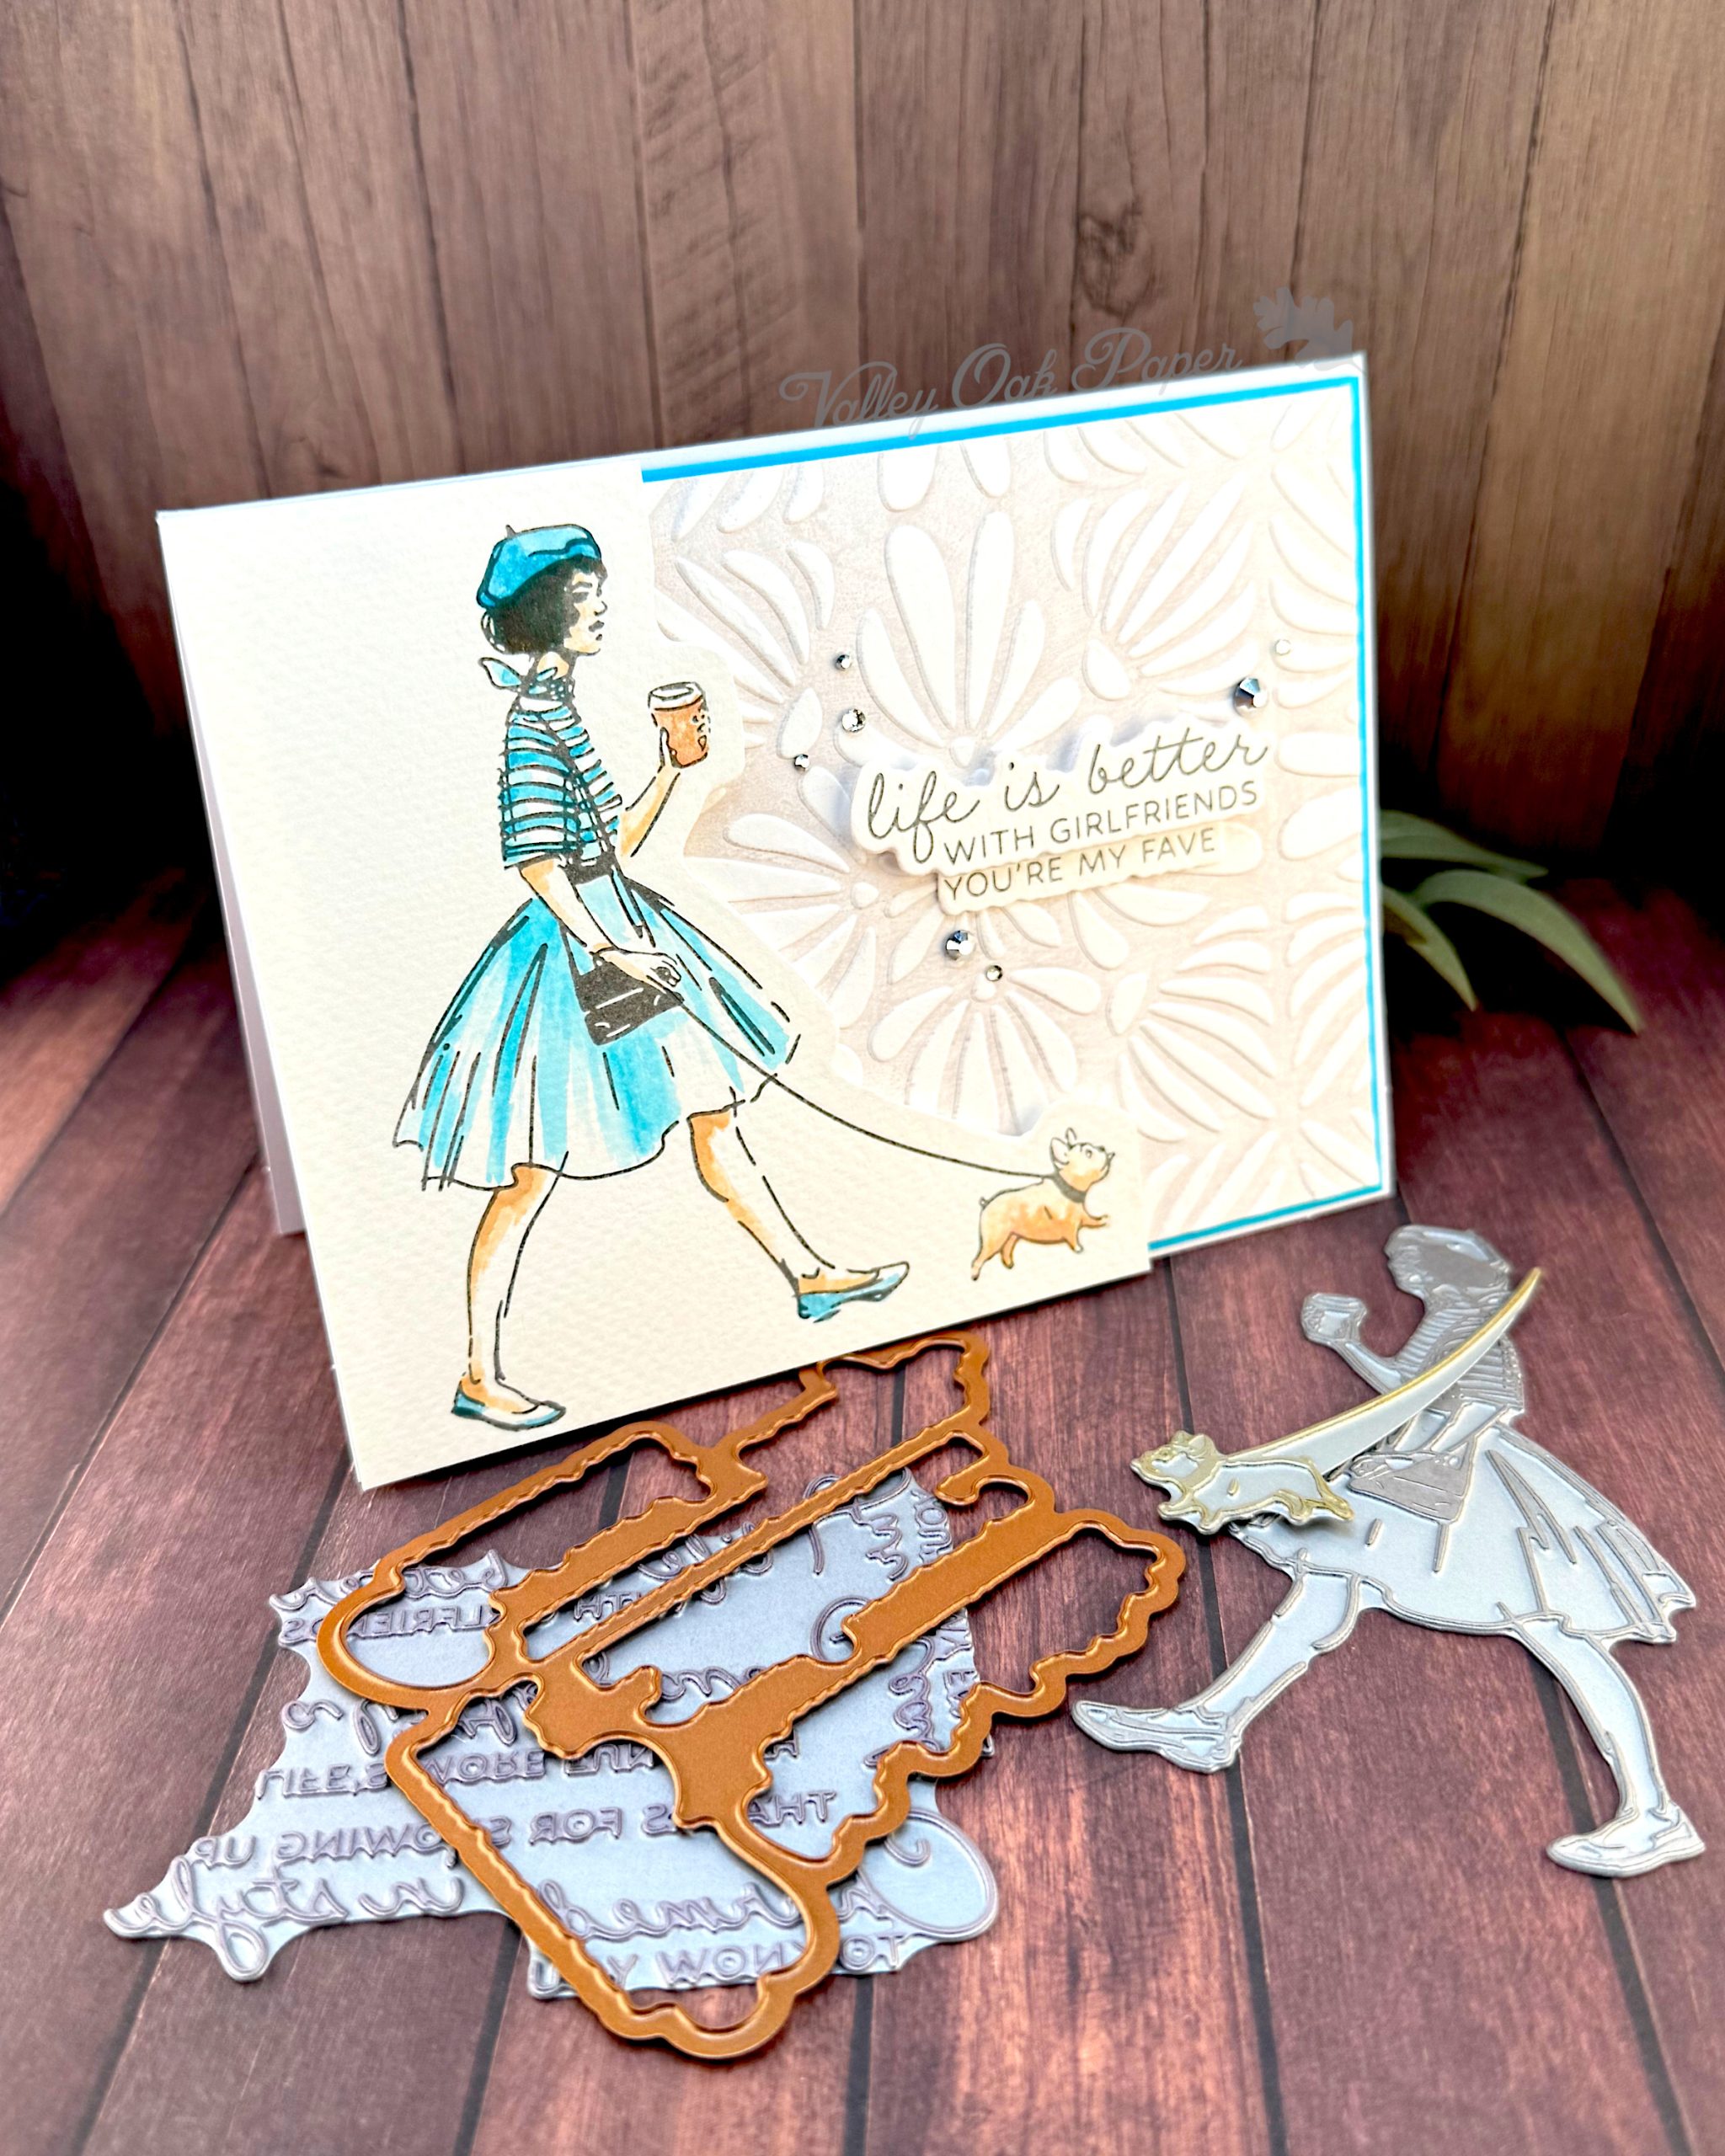
Fave Girlfriend
The sentiments gave me a Breakfast at Tiffany’s vibe, so I watercolored the images in Tiffany Blue and brown.
-
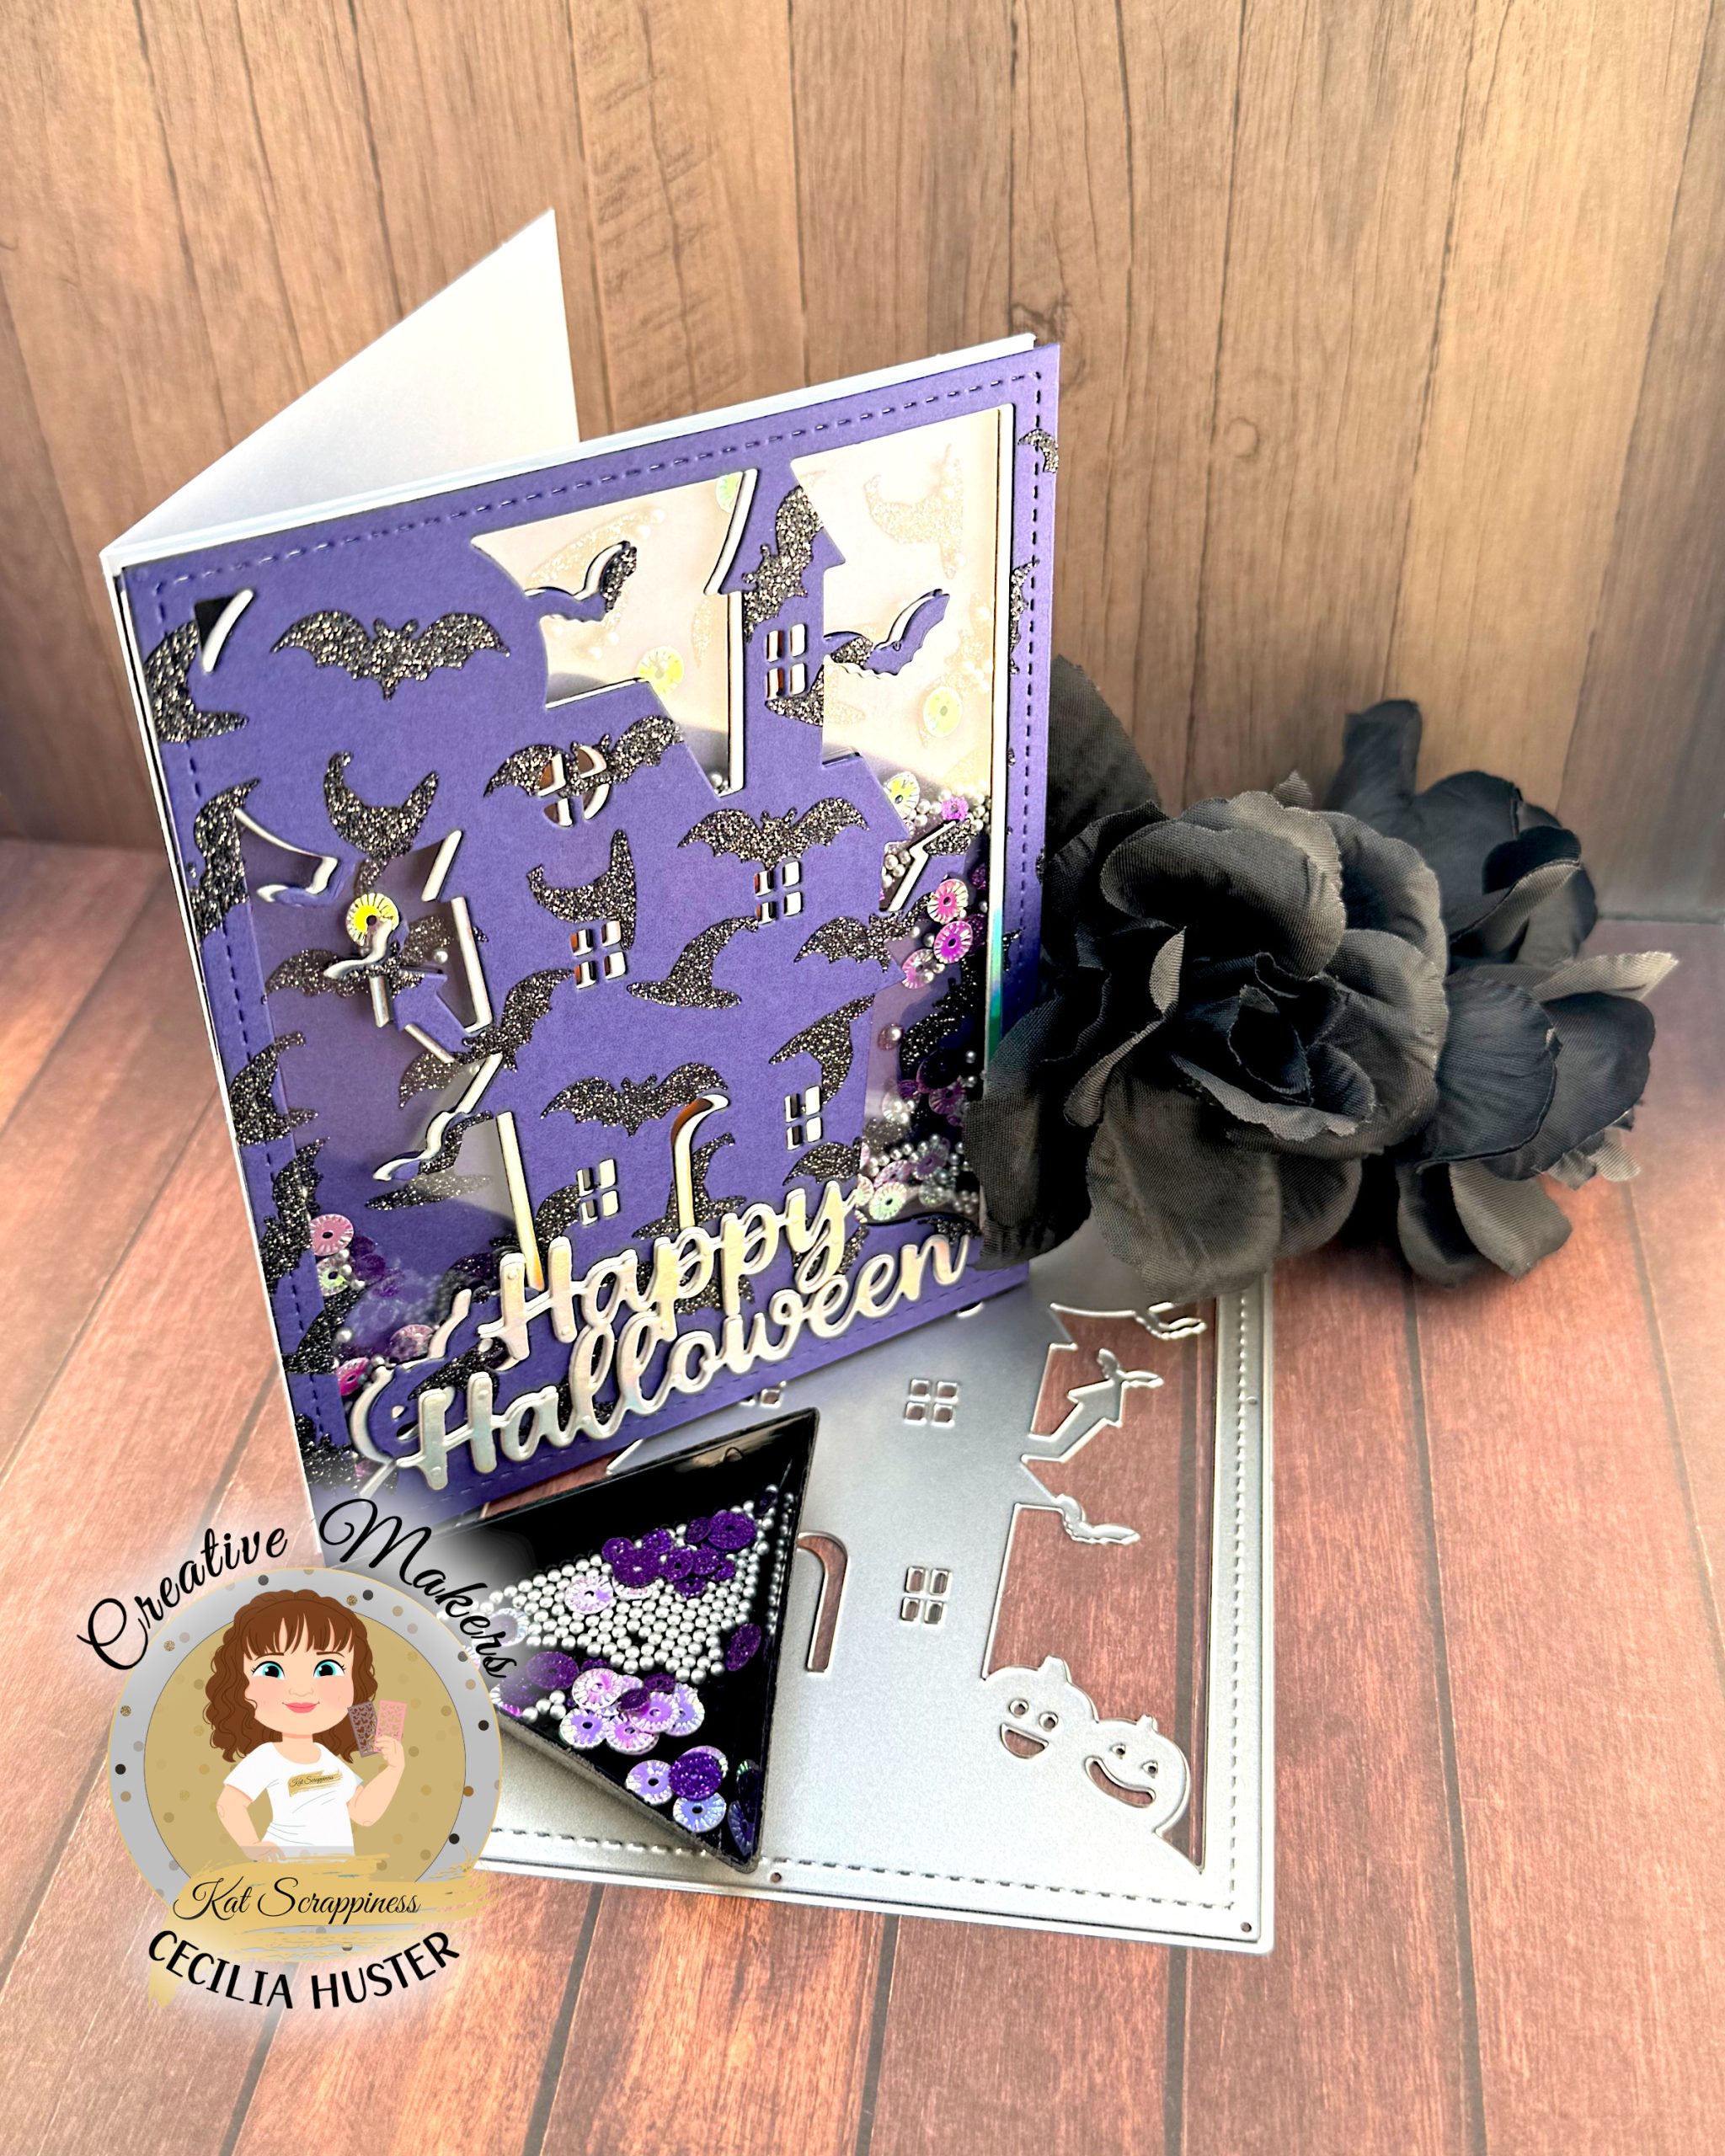
Haunted Mansion Shaker
I filled the shaker well with Kat Scrappiness Silver Bullet Shaker Dots, Sparkling Violet Sequin Mix and Purple Pinwheel Sequin Mix.
-
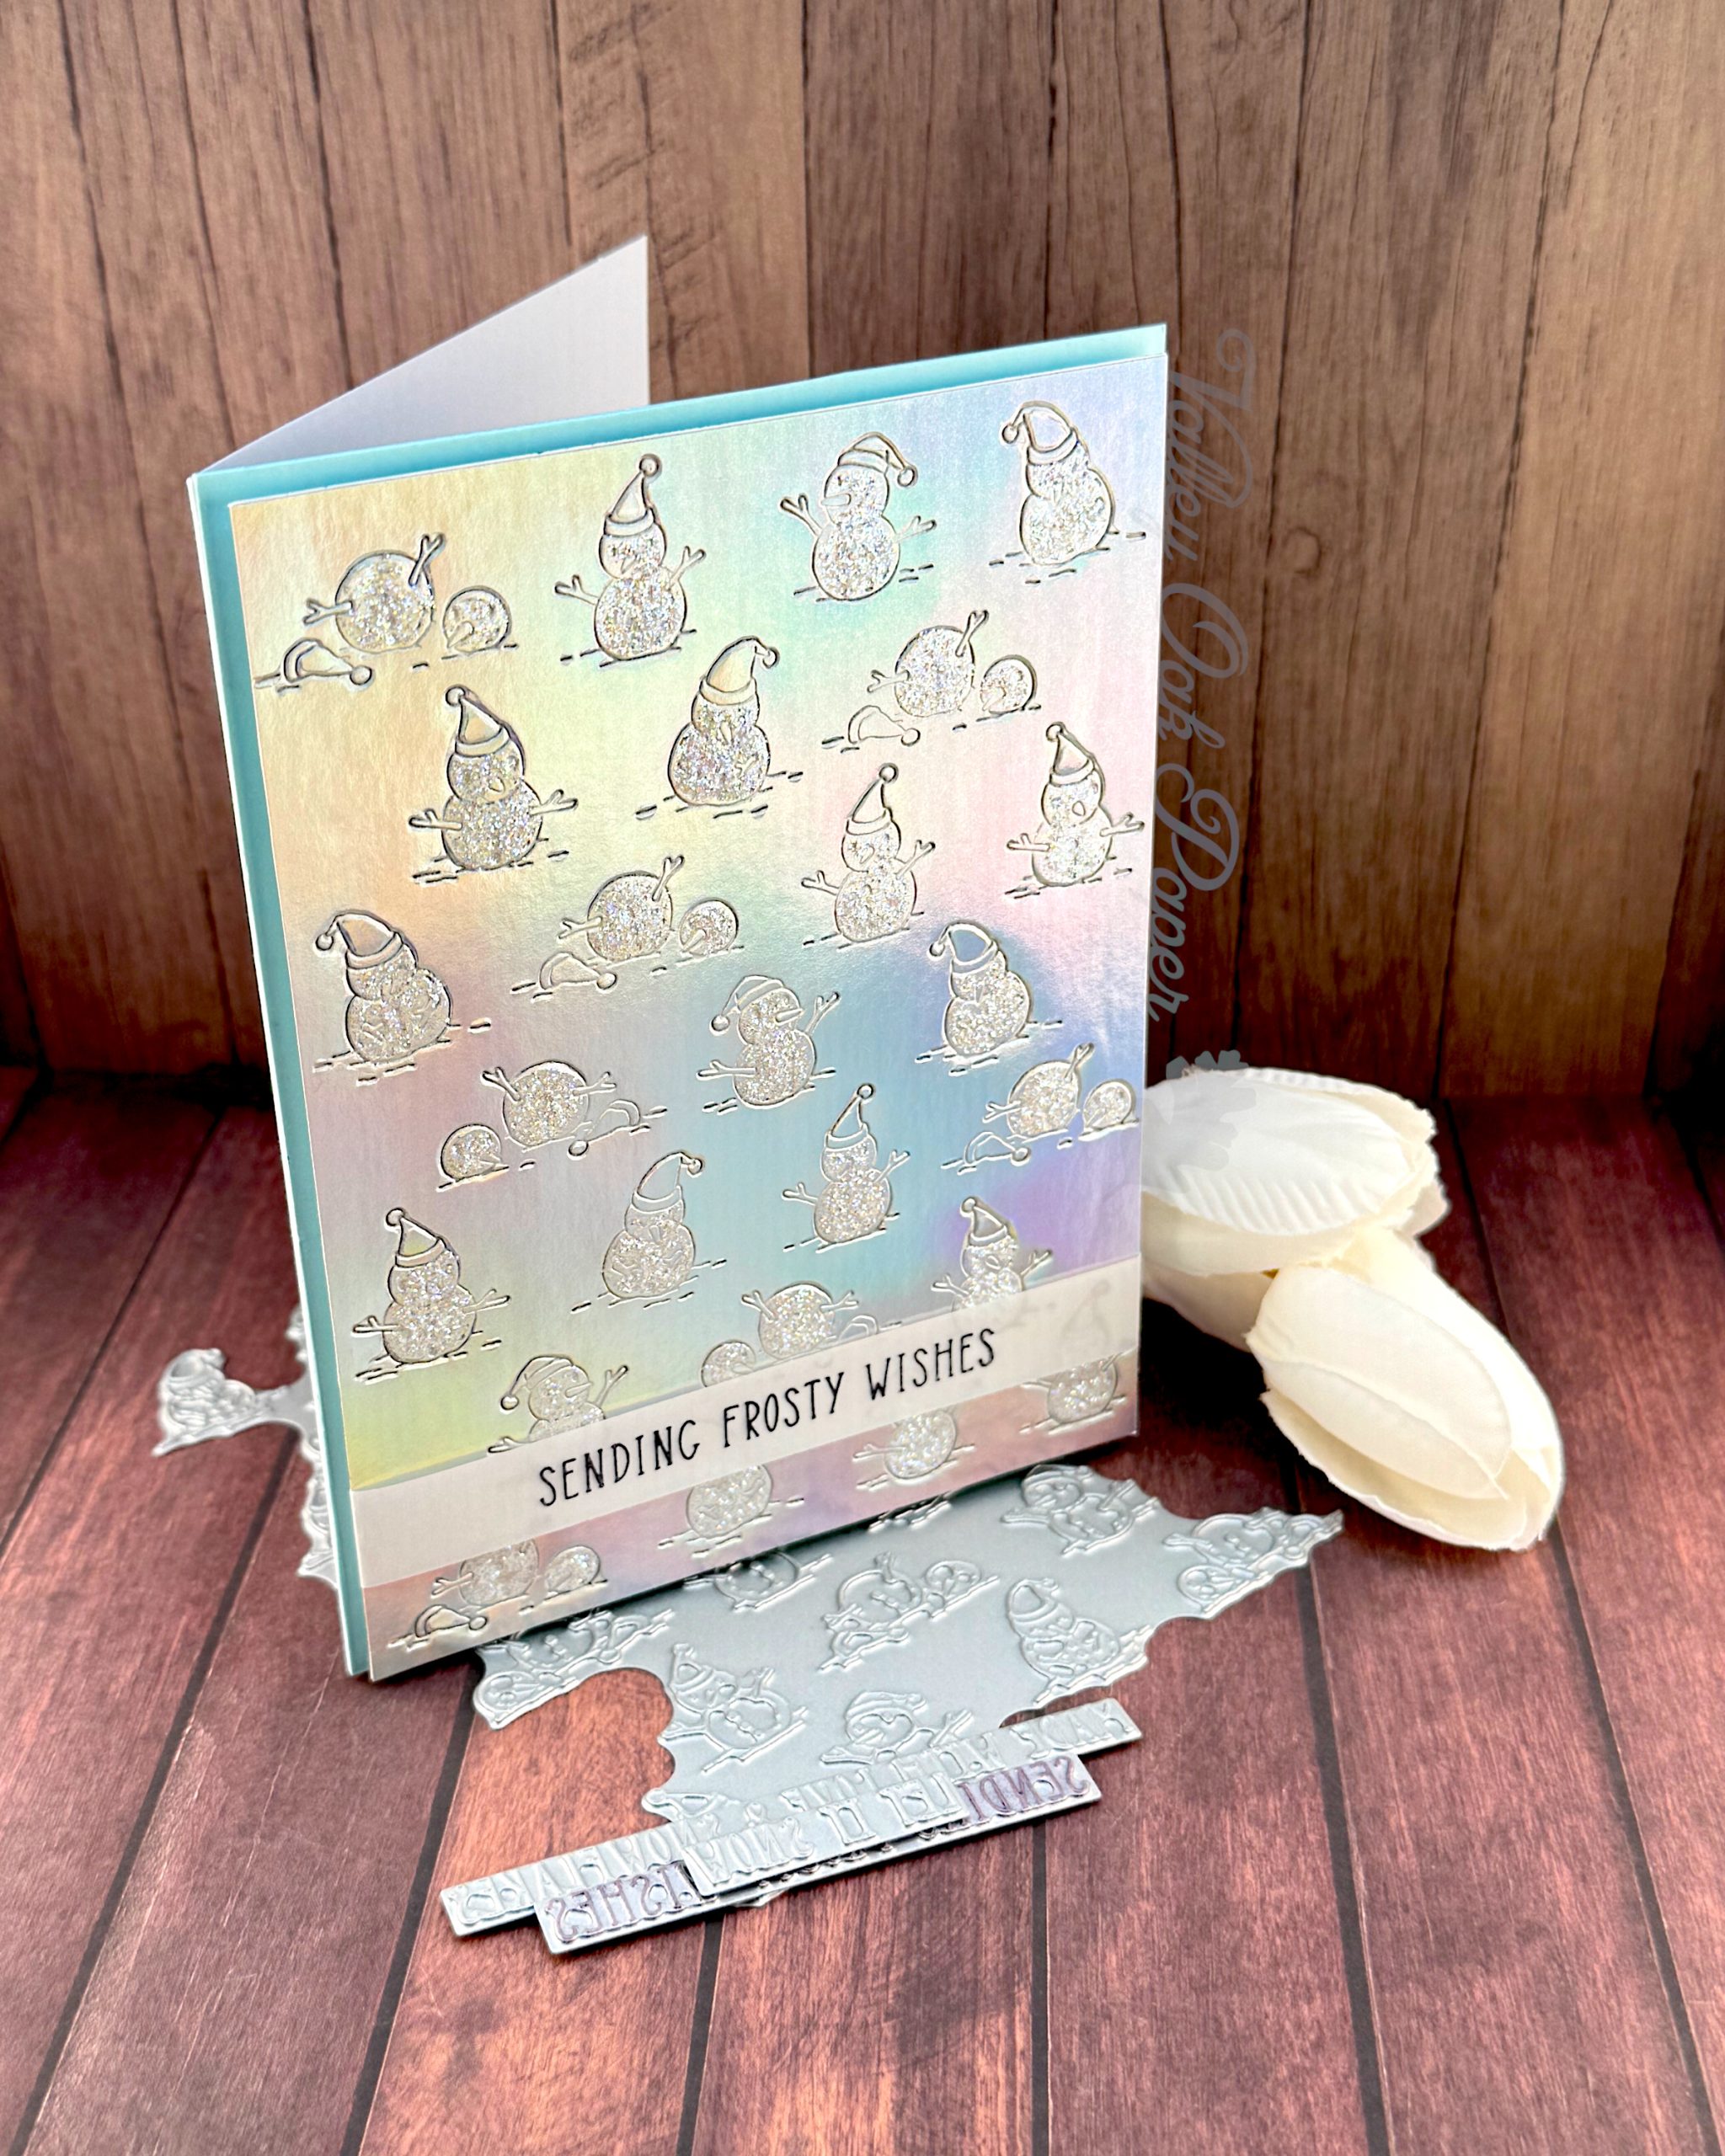
Made With Snowflakes
My vellum strip was longer than the card panel width, so I bent the edges around the panel and attached them with double-sided tape.
-
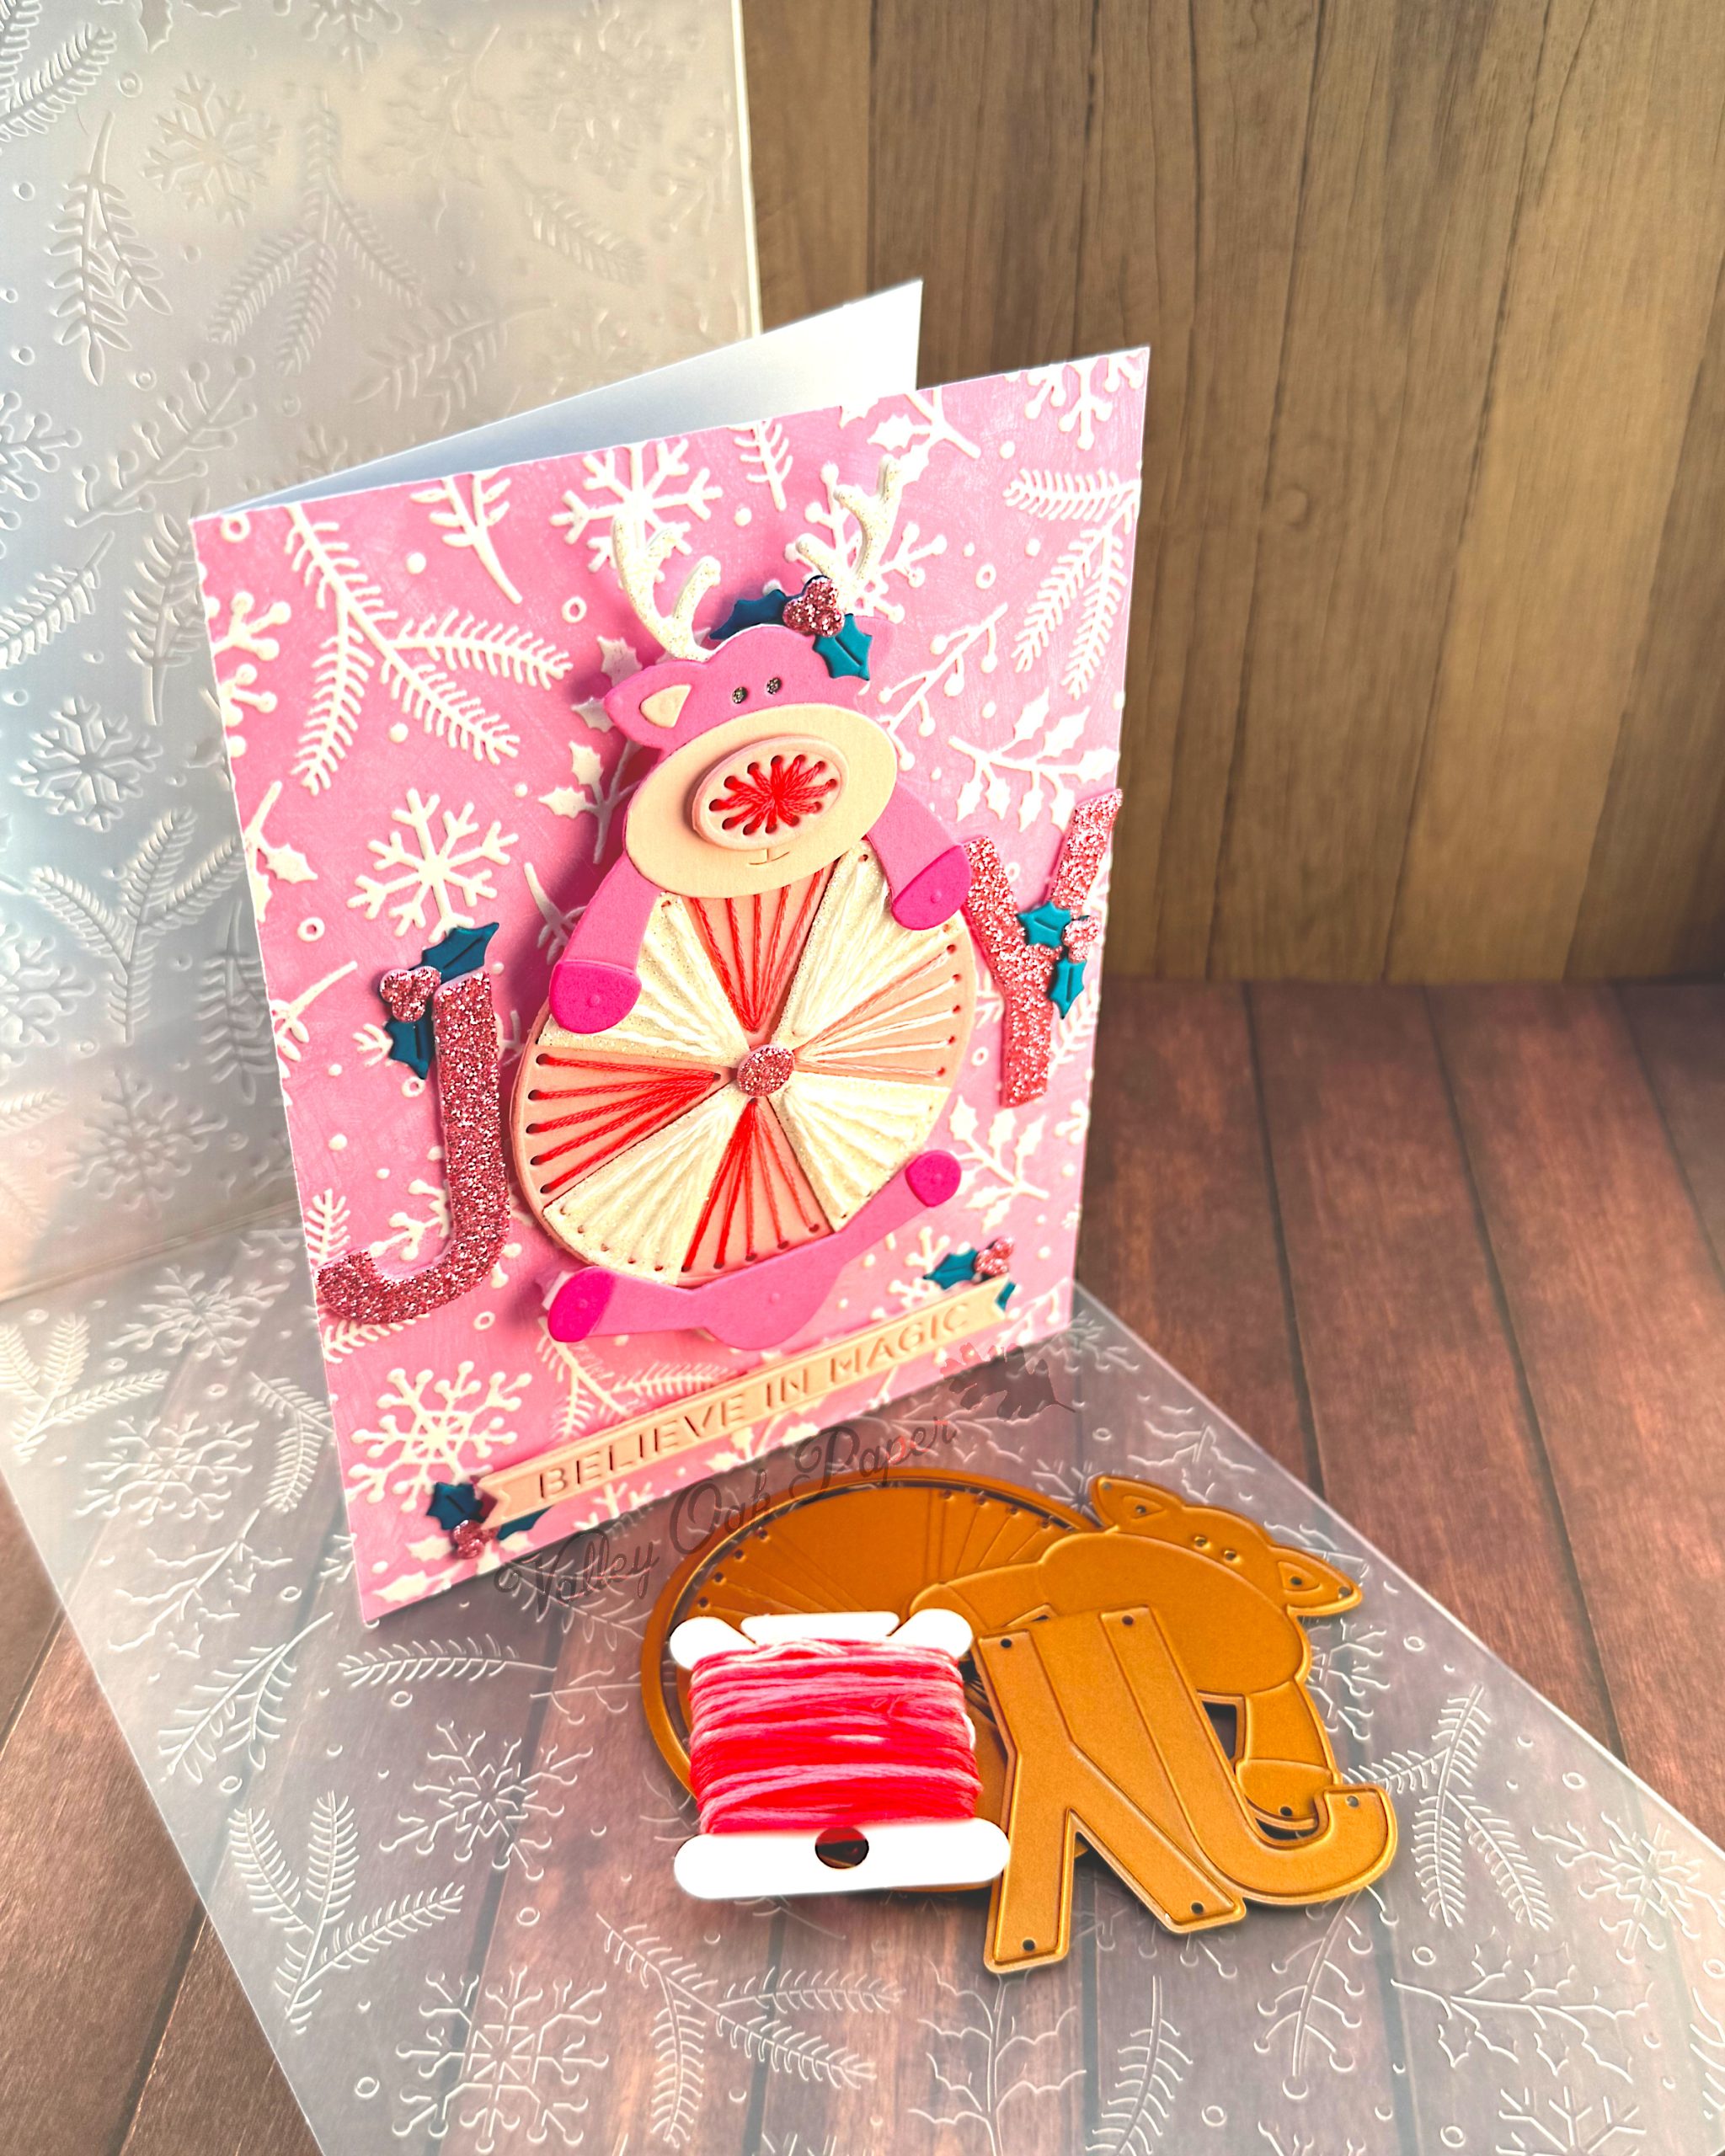
Pink Magic
I stitched the circle and reindeer nose with three strands of pink variegated floss. The circle segments I stitched with 2 strands of white embroidery floss.
-

Craftoween 2025
The die set for day 2 contains 8 dies that create a raven wearing a monocle, bowtie and top hat, while standing on a skull.
-

Santa’s Helpers
The frame I used is Kat Scrappiness Essential Card Builders #3. It creates four rectangular spaces, two small ones and two tall ones. Perfect for staging critters!
-
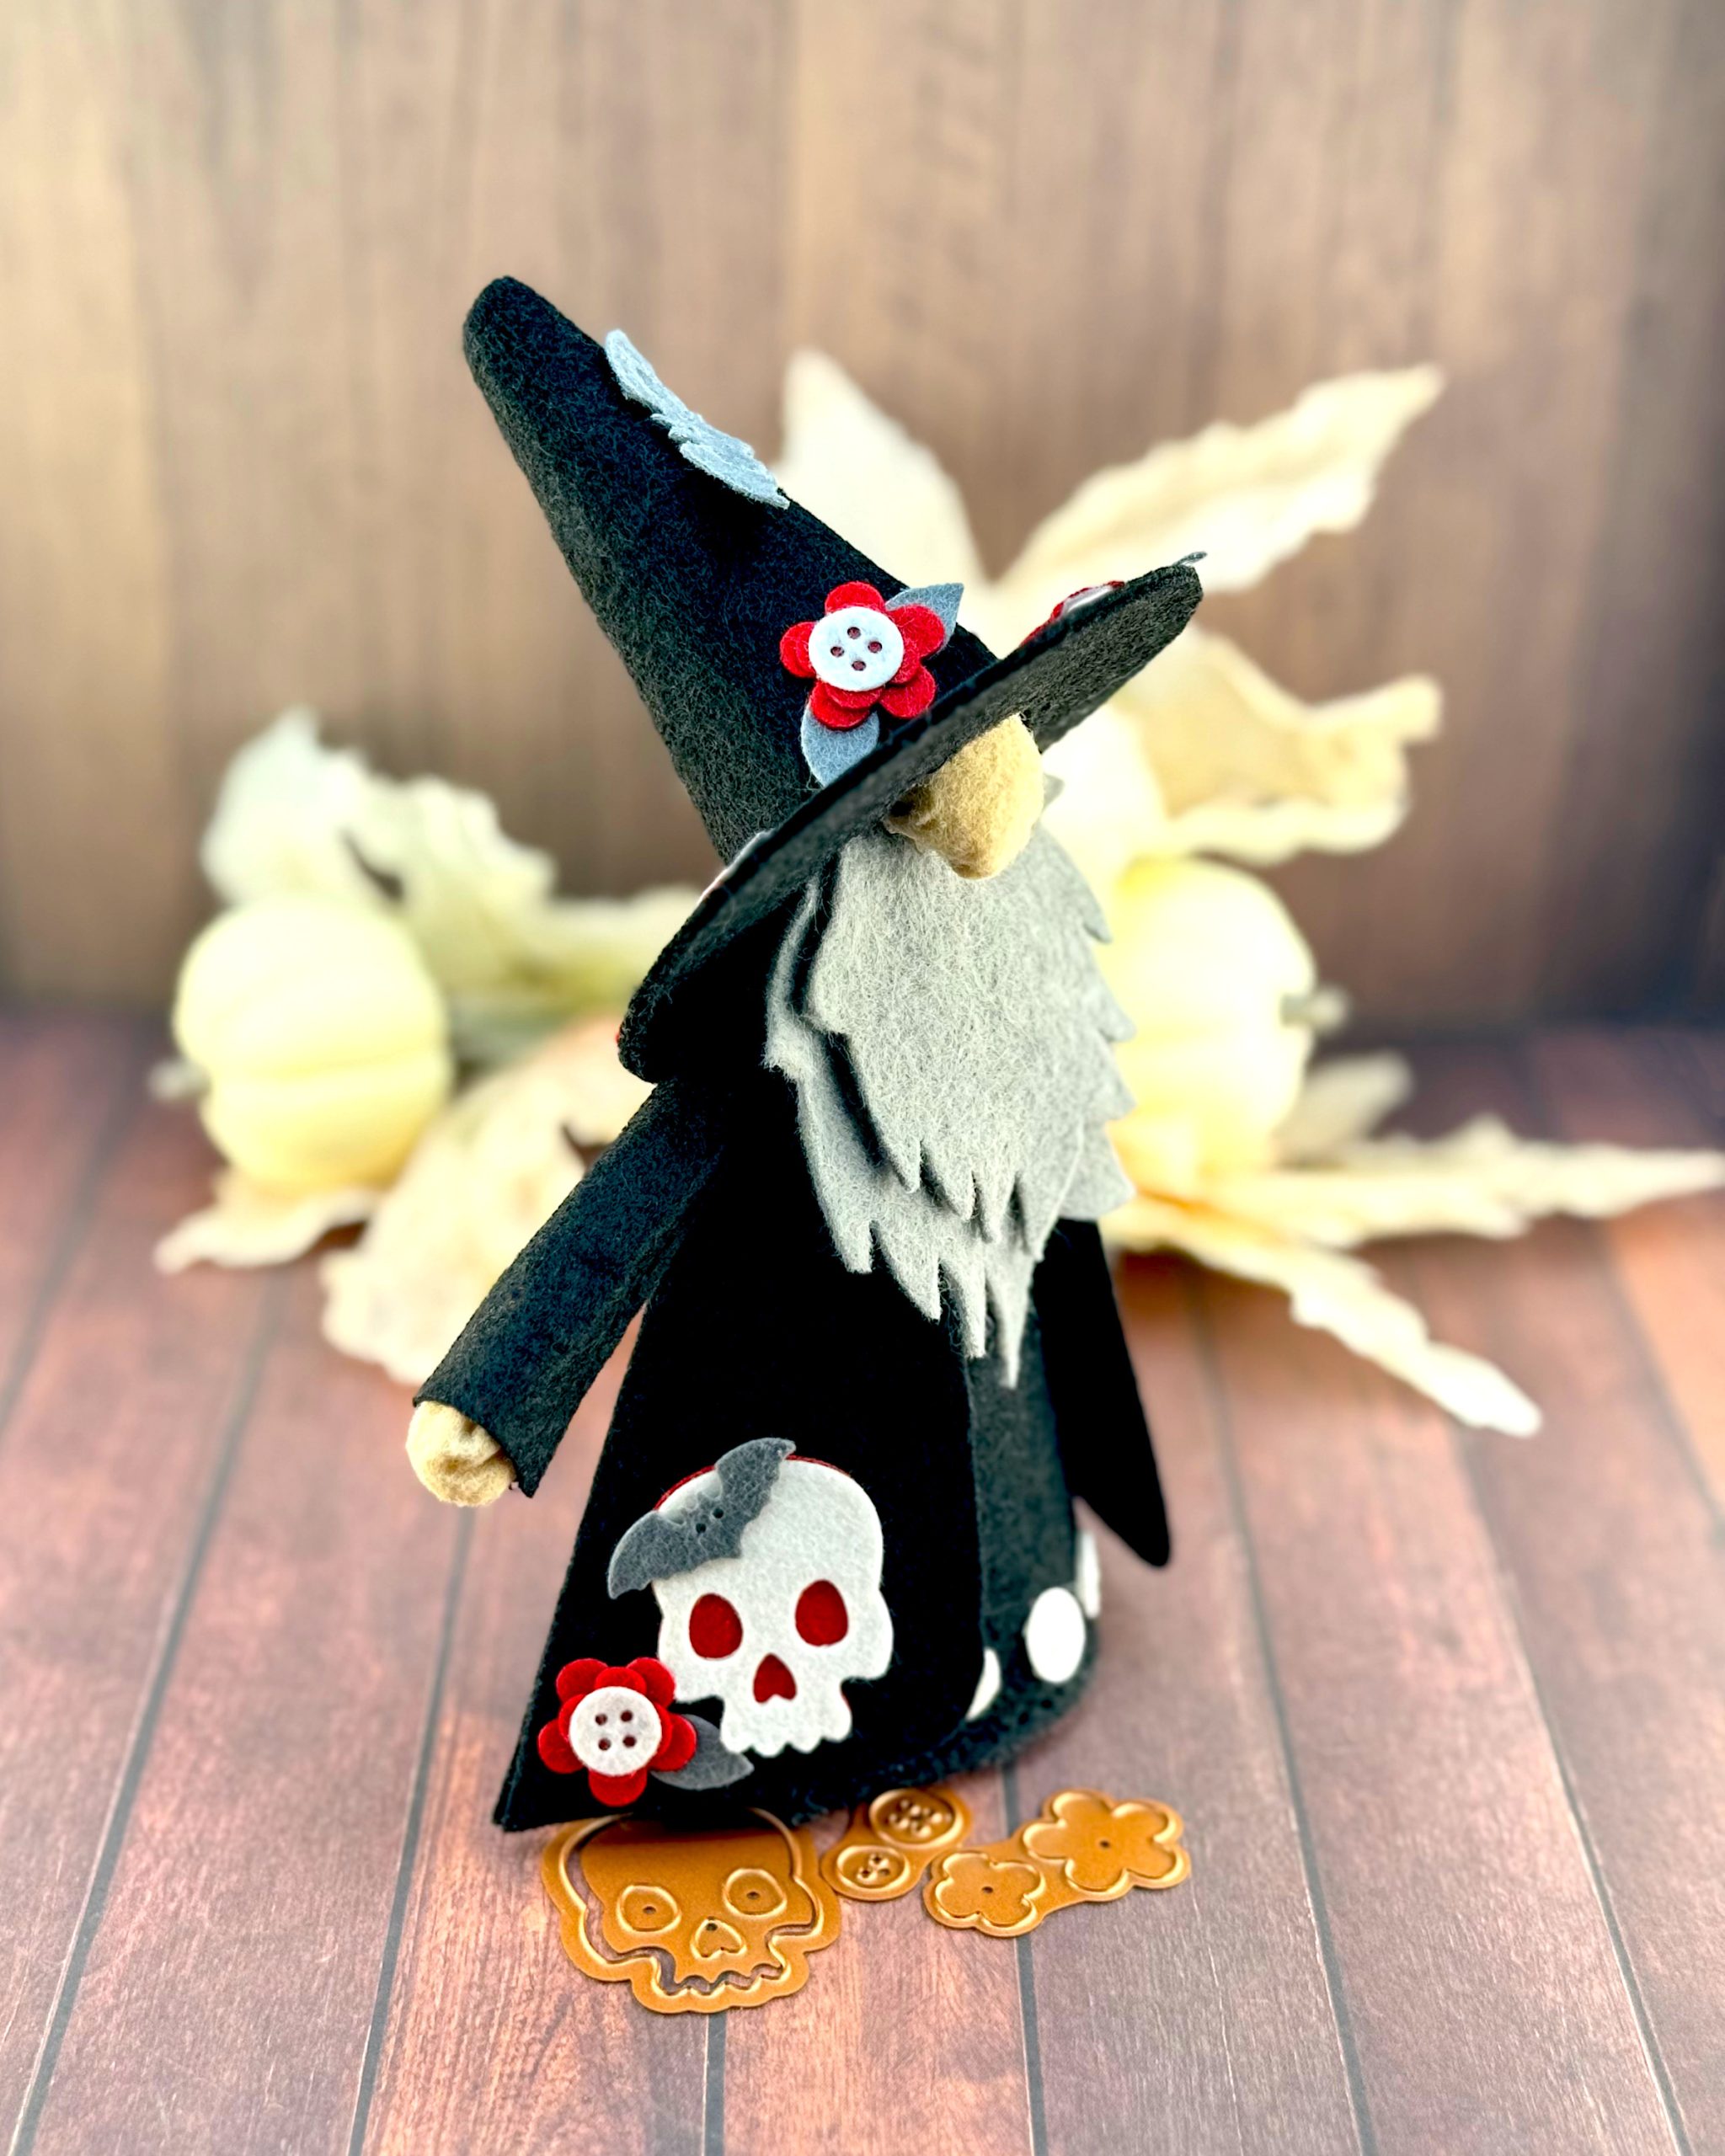
Introducing Fergus
Stitching is faster and more reliable than gluing. Next time I’ll stitch as much as possible.
-
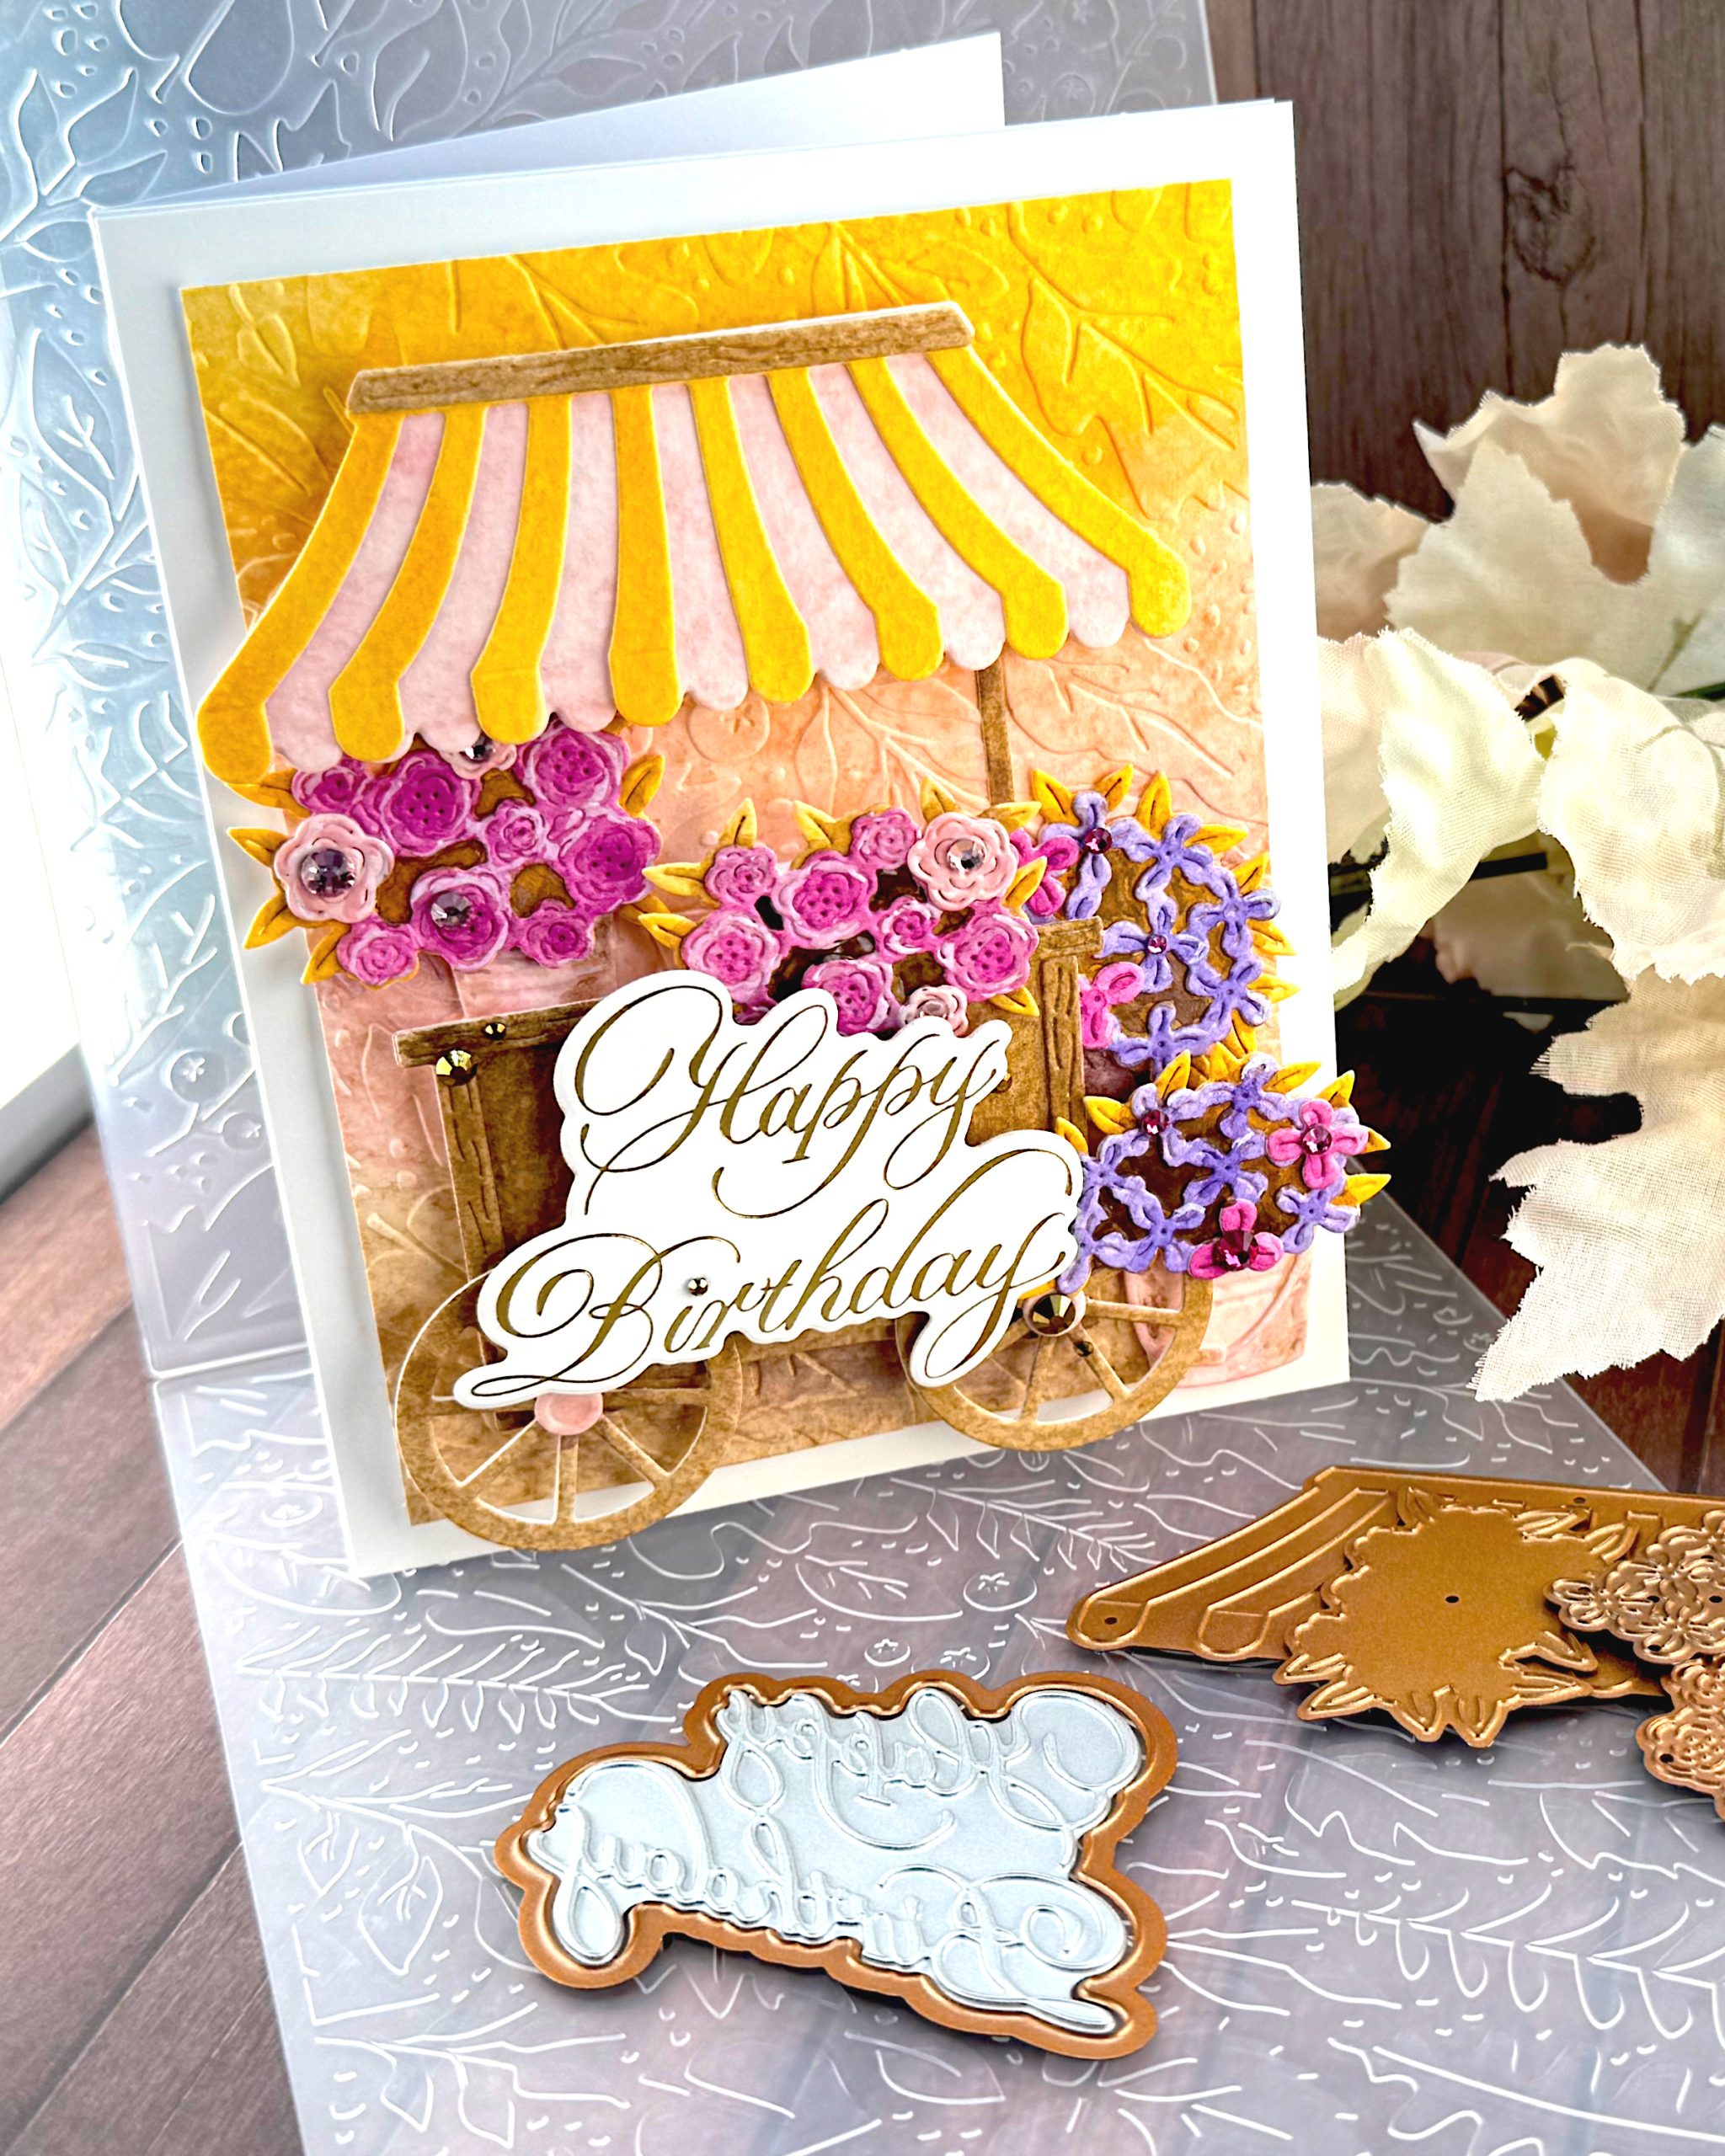
Autumn Flower Cart
I want to add some more depth to my composition, so I’m mixing Ground Espresso and Villainous Potion to use as a shadow wash.
-
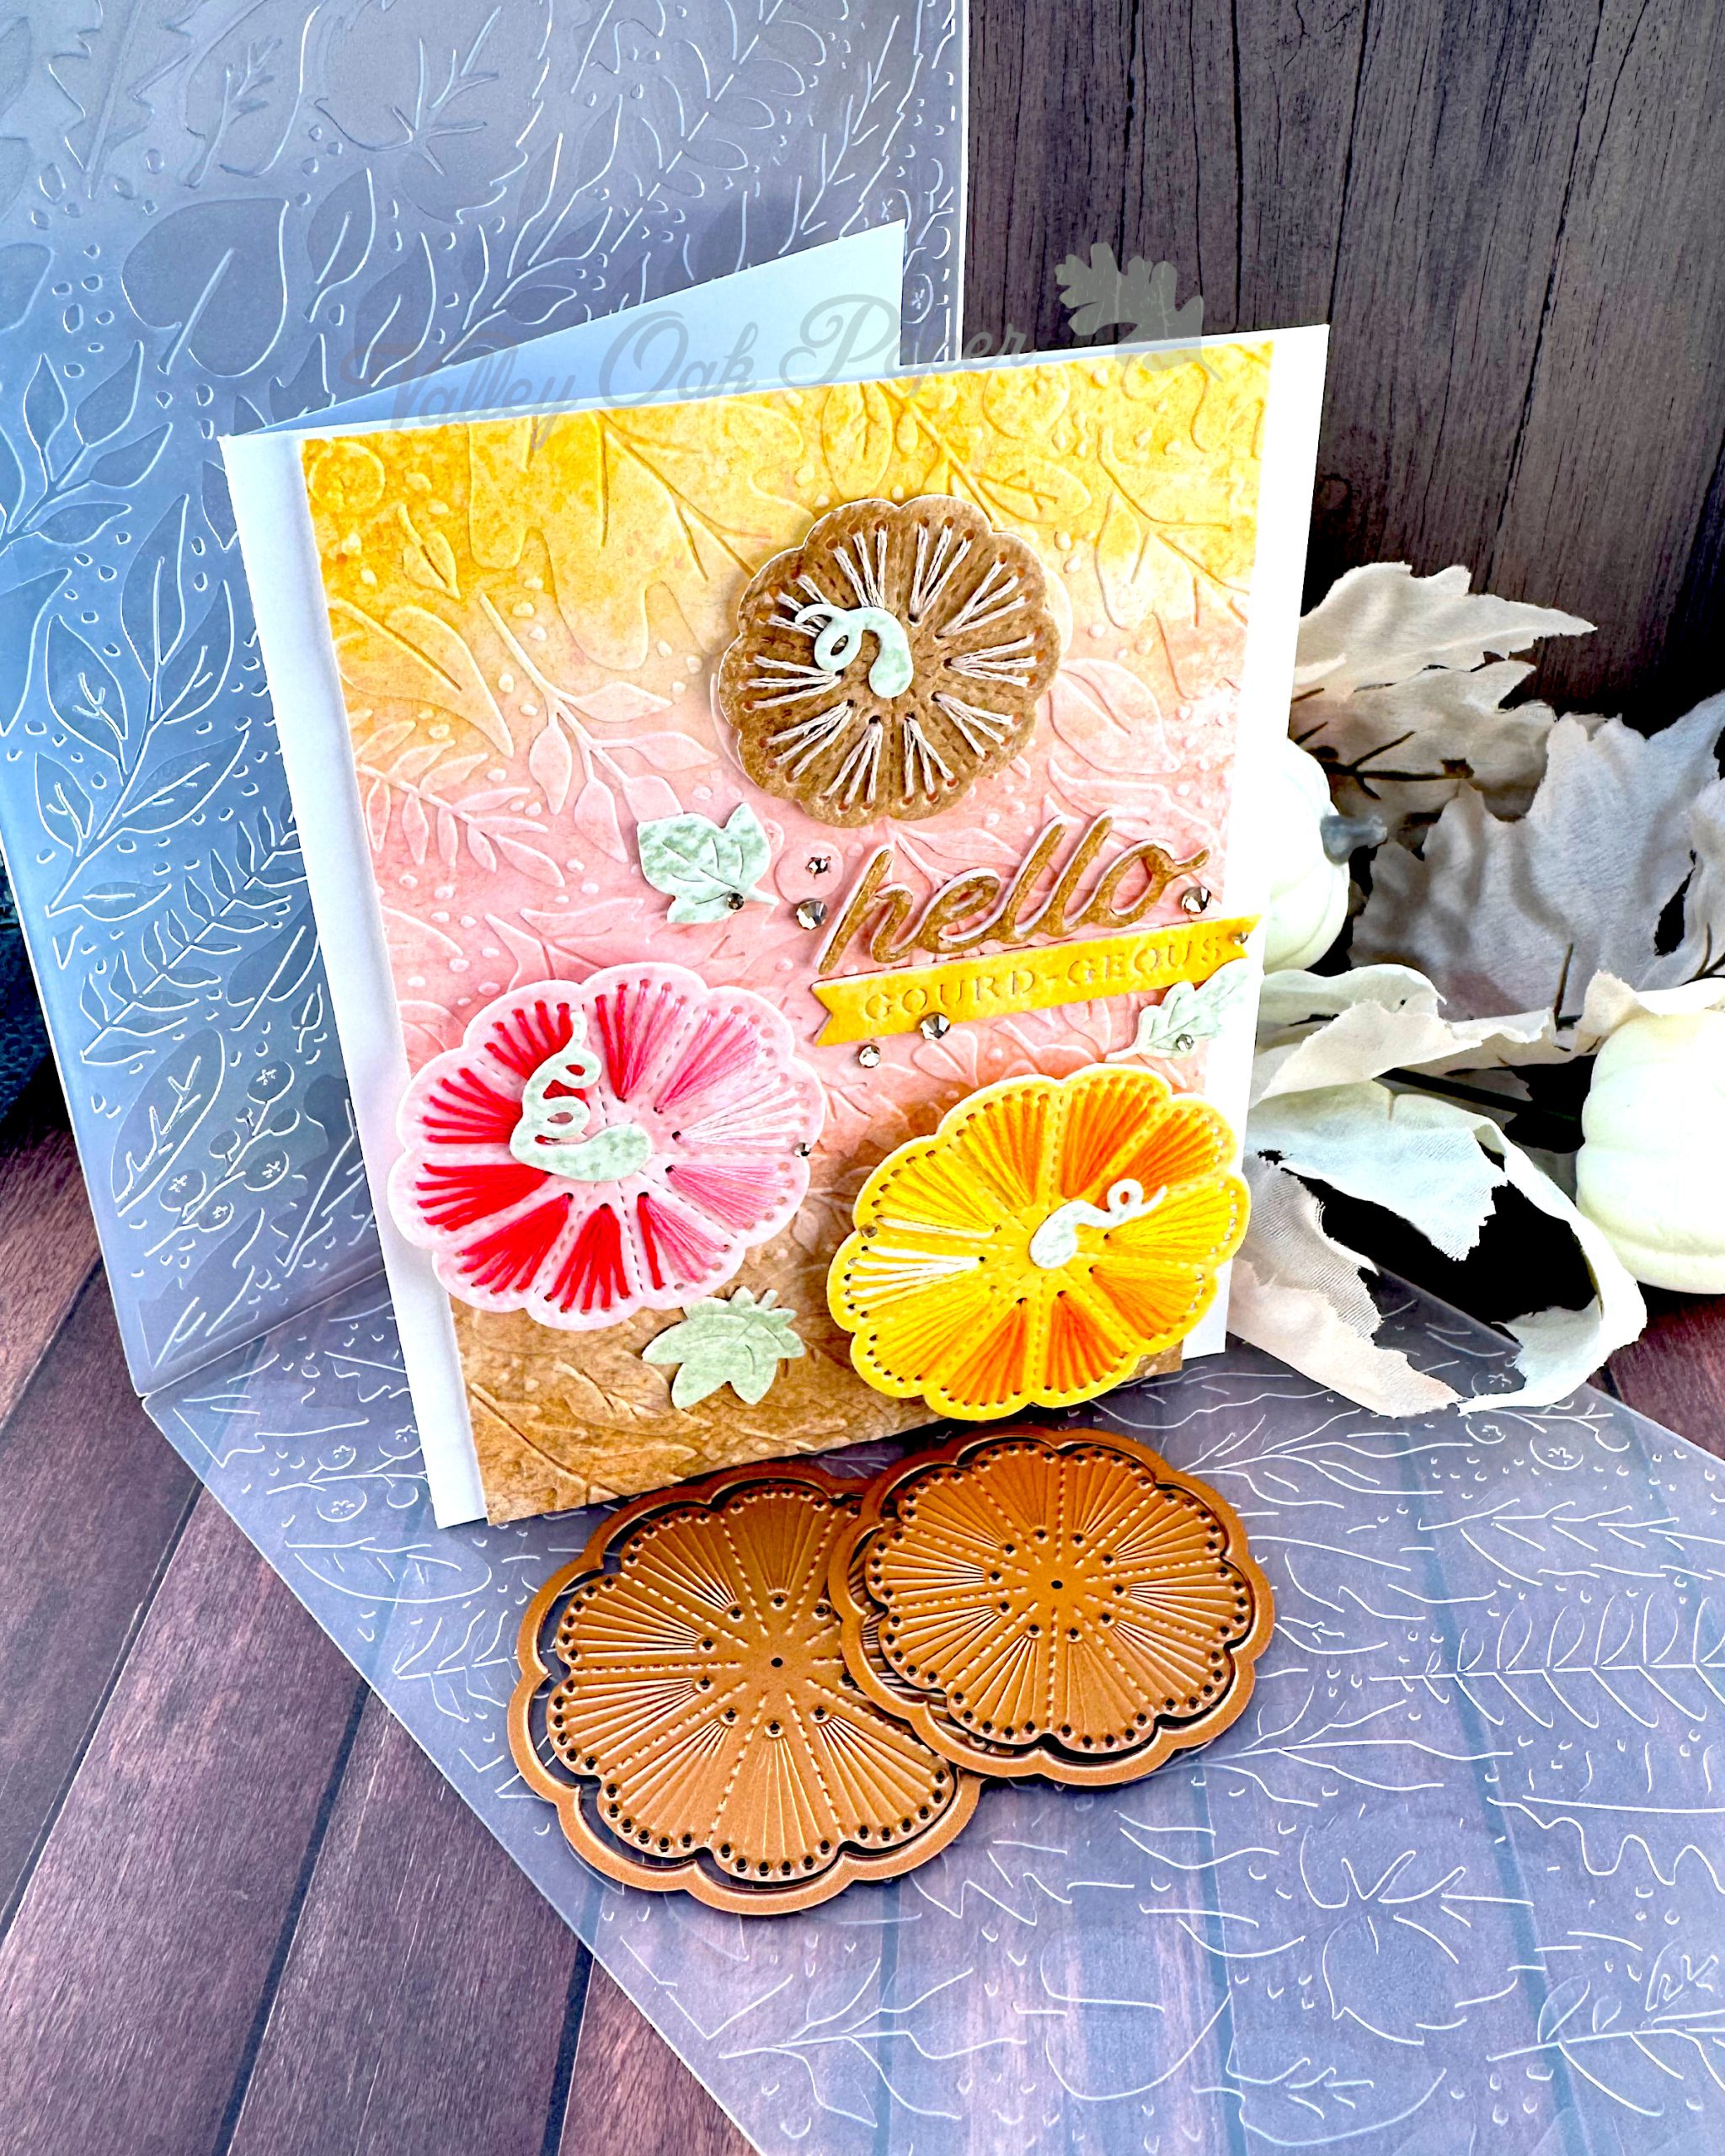
Variegated Stitched Pumpkins
The Spellbinders Stitching Die Set for September 2025 is a fun top-down view of pumpkins in three different sizes. It’s called Stitched Pumpkin Tops.
-
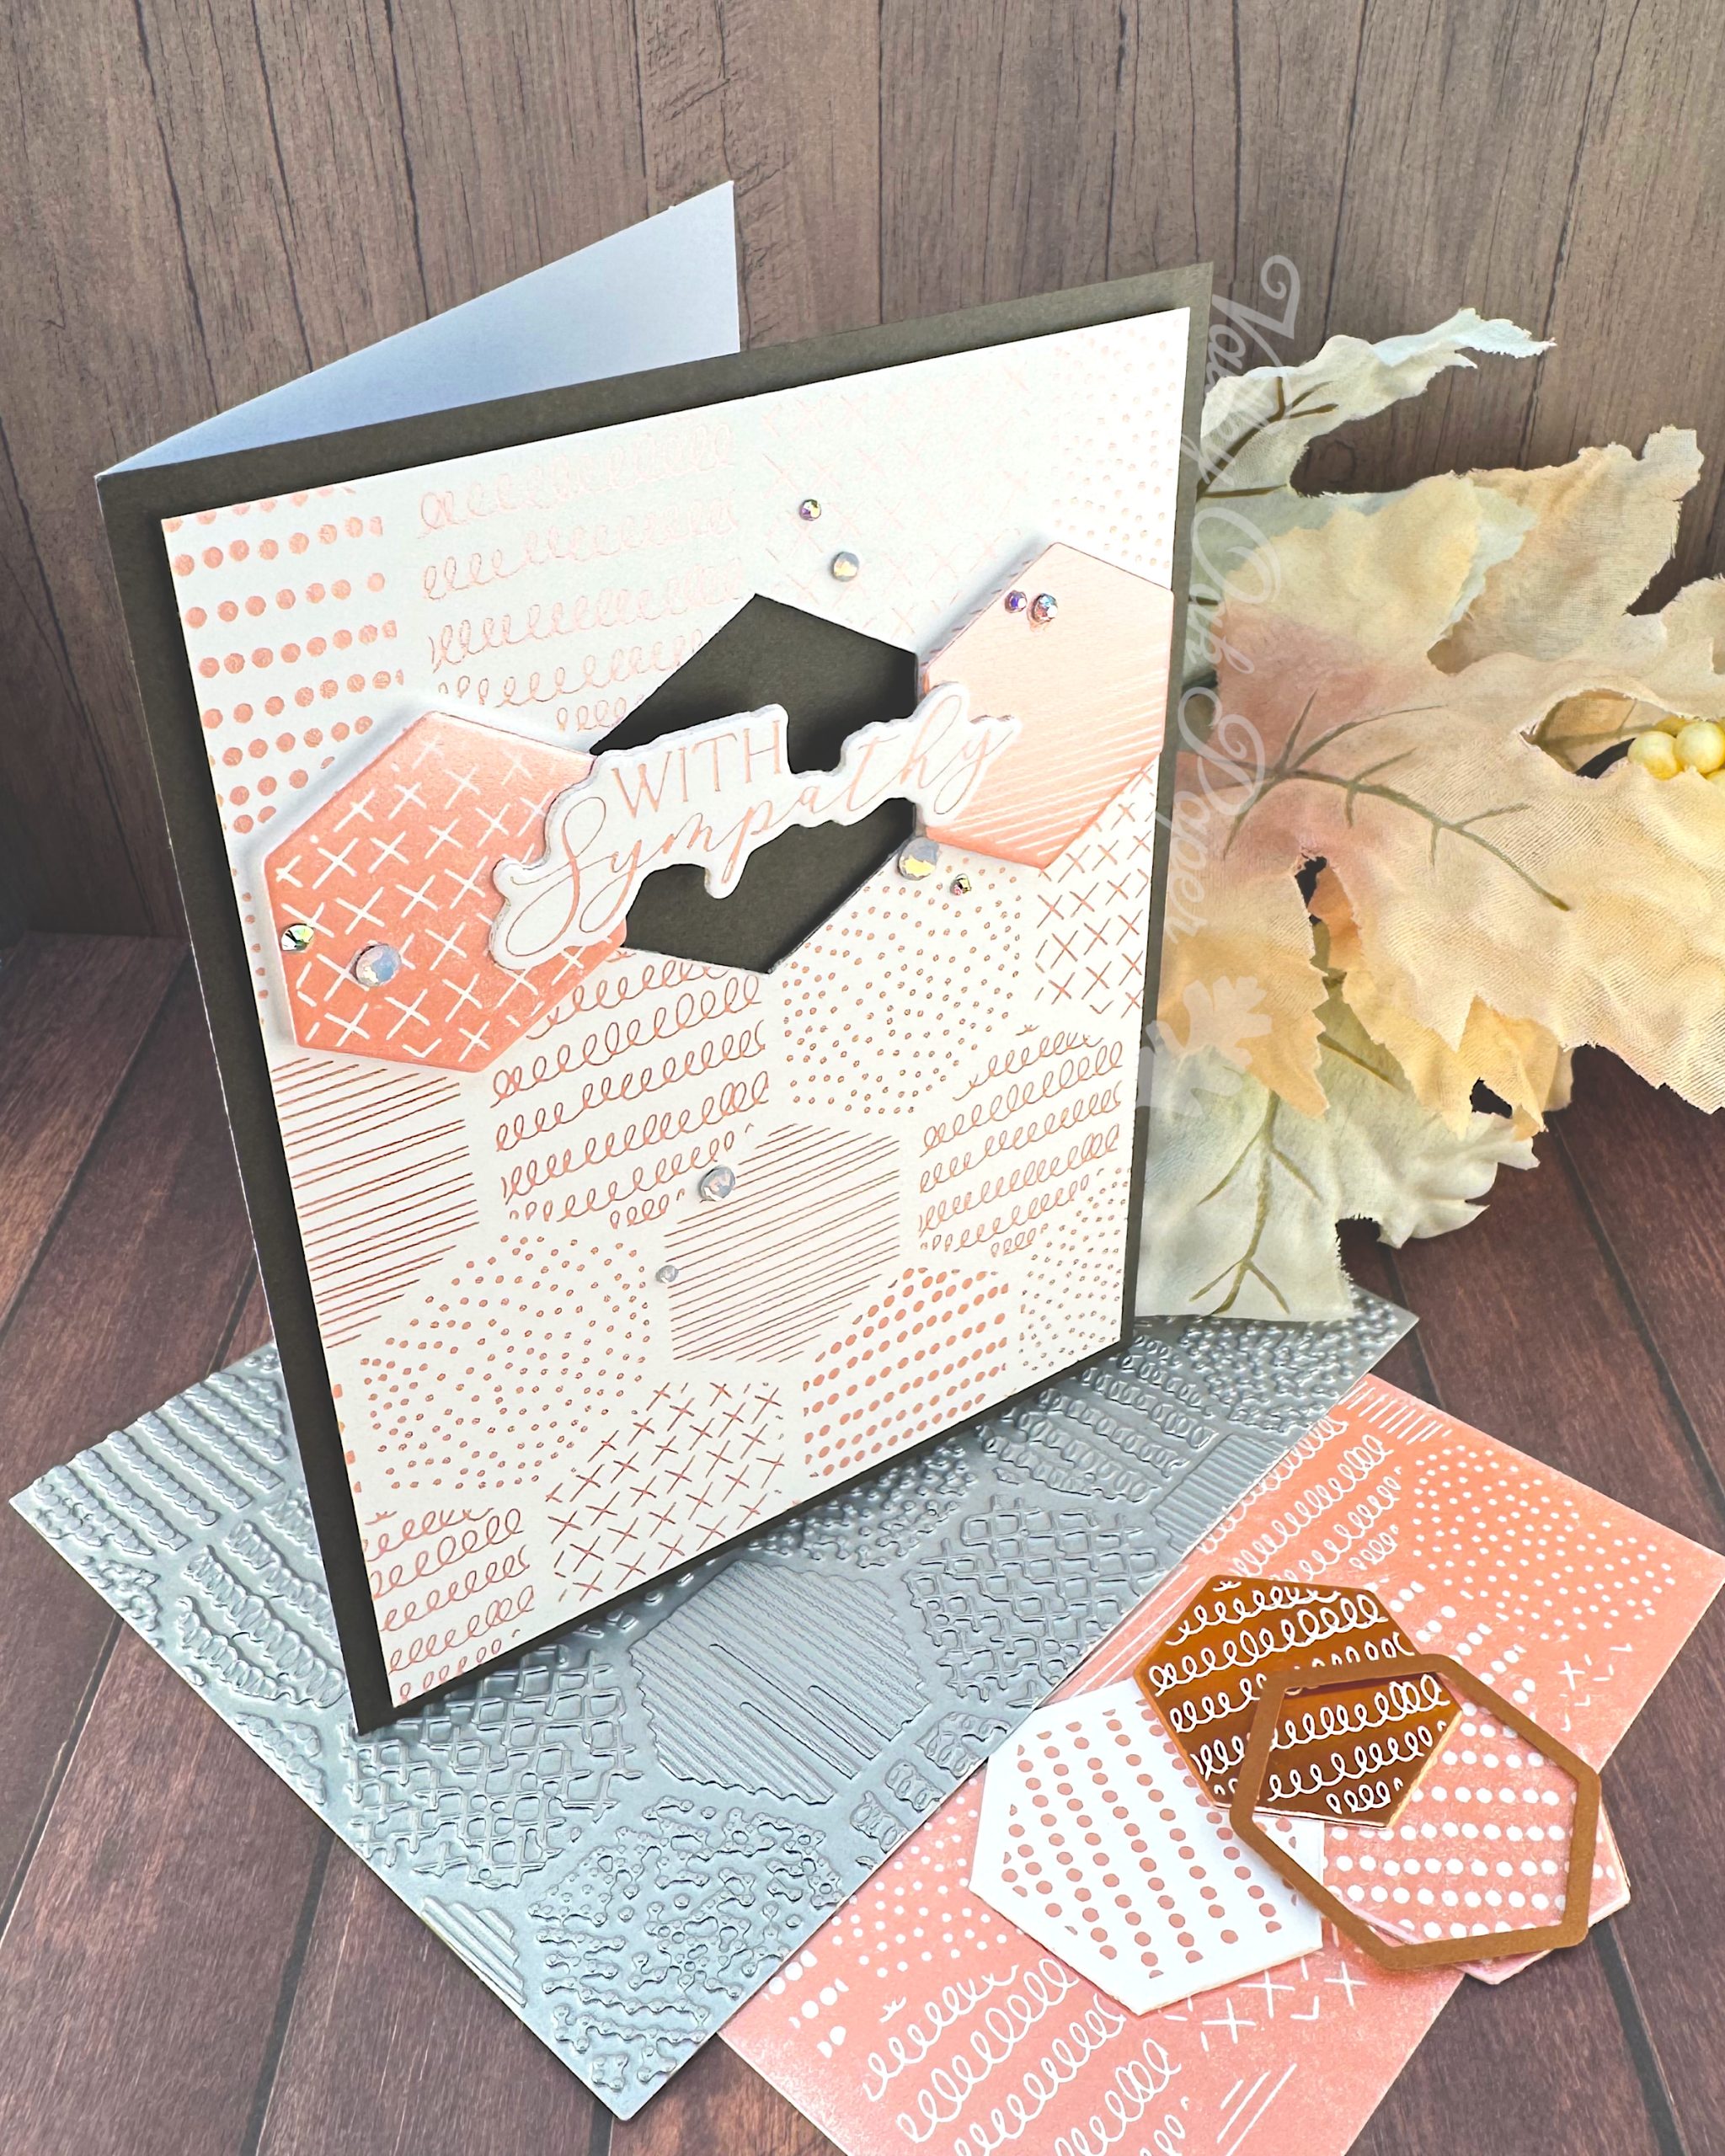
Missing Tile Sympathy
I could have used the hexagon die included with the set to create the hole. But I felt that it was too neat. Grief isn’t neat.
-
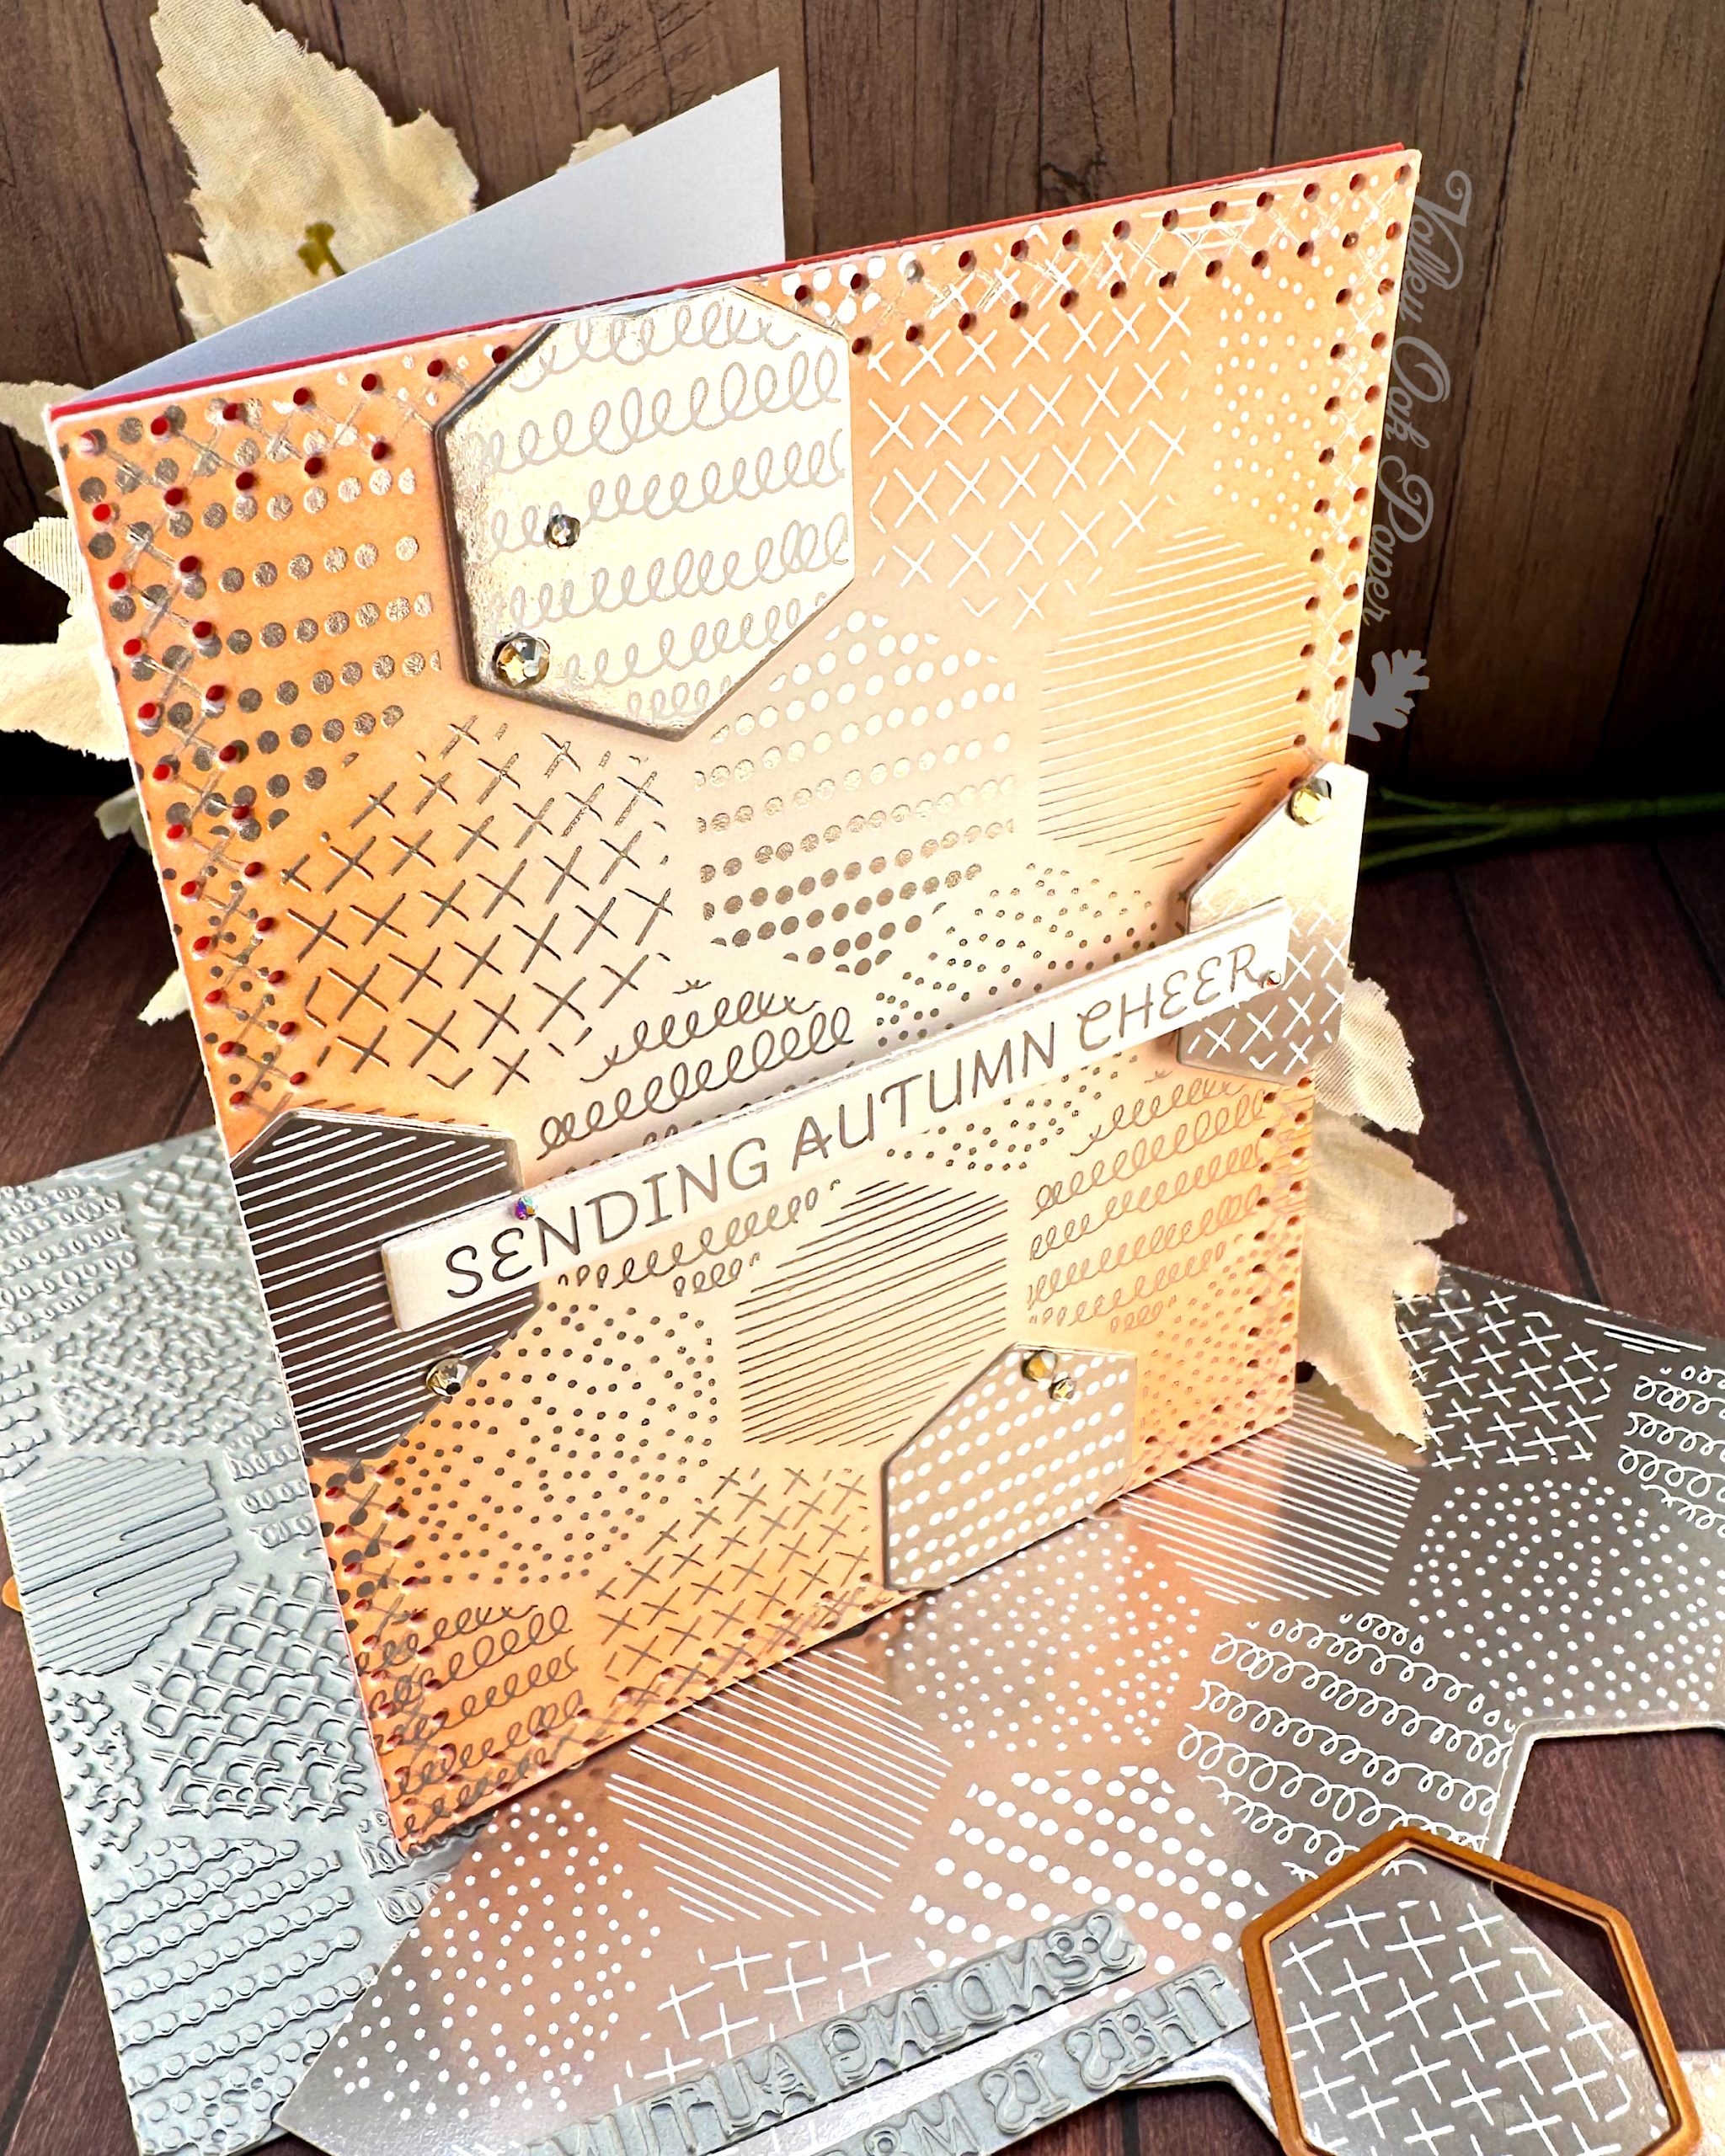
Peach Pattern Play
When I got the September BetterPress Kit of the Month from Spellbinders, I immediately knew that I wanted to play with the patterns.
-
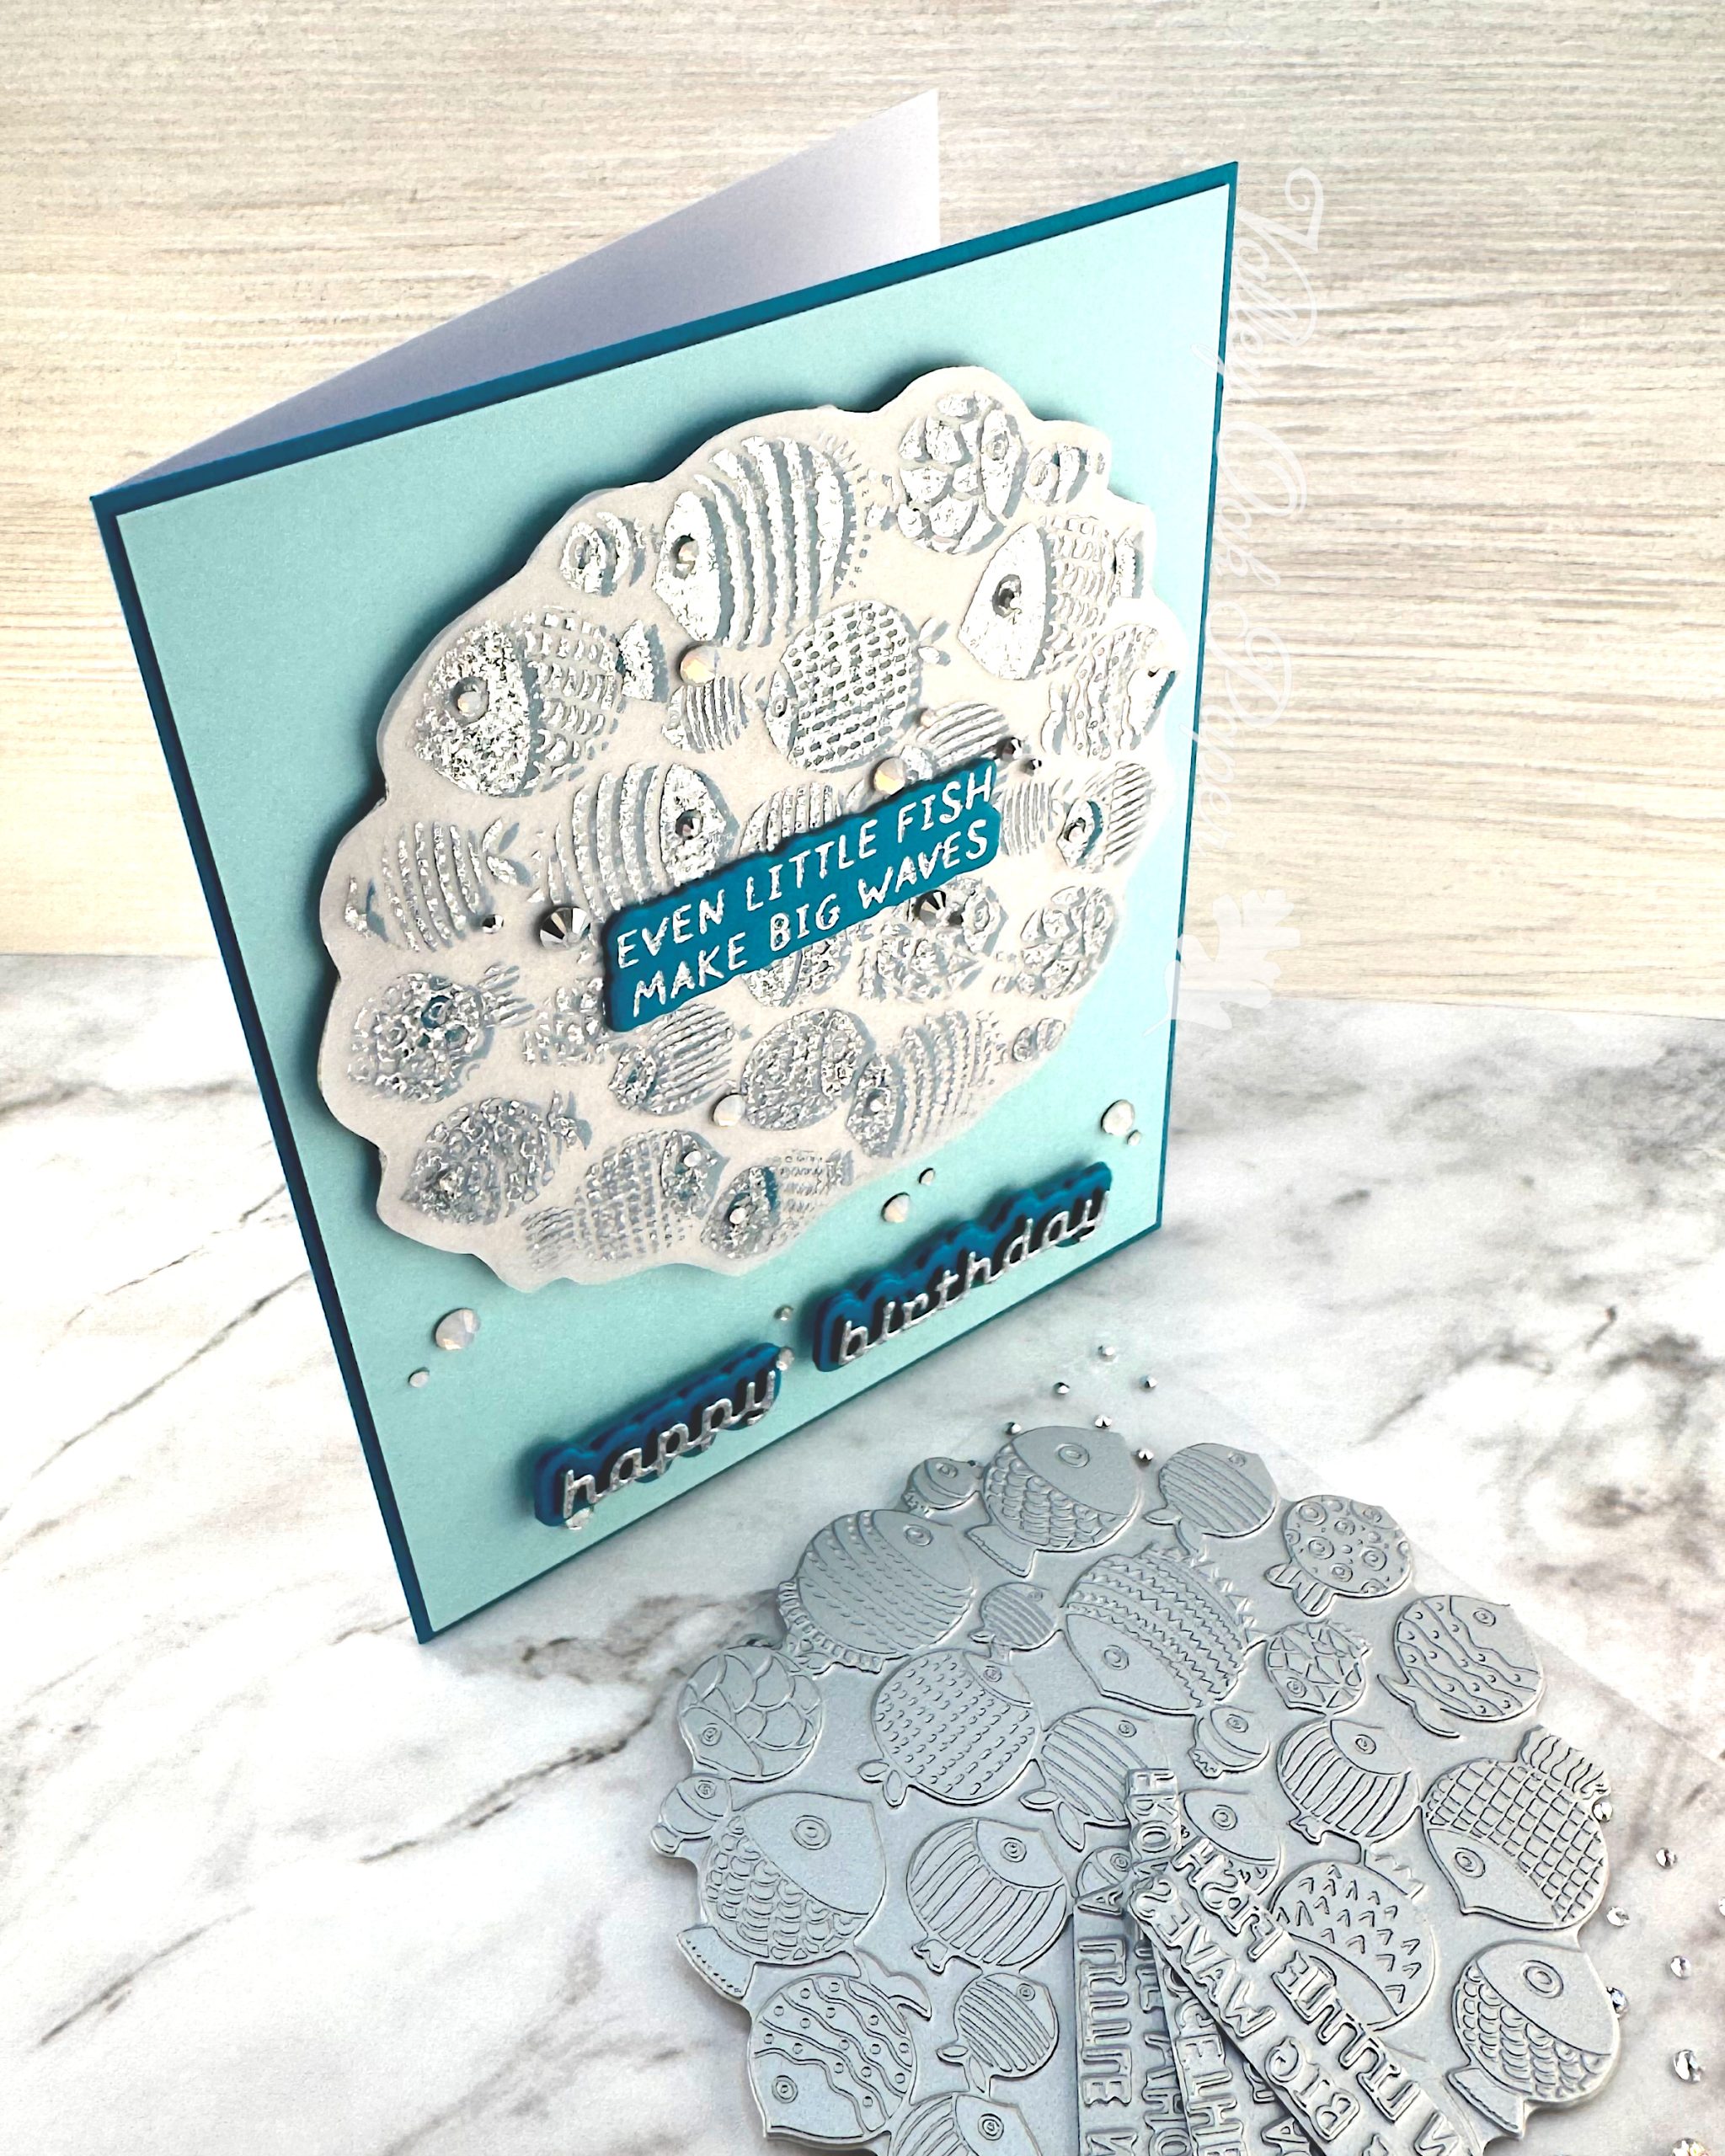
Little Fish
I used the same silver speckled holographic foil and dark turquoise cardstock for one of the sentiments, “Even little fish make big waves.” It’s such a great sentiment!
-
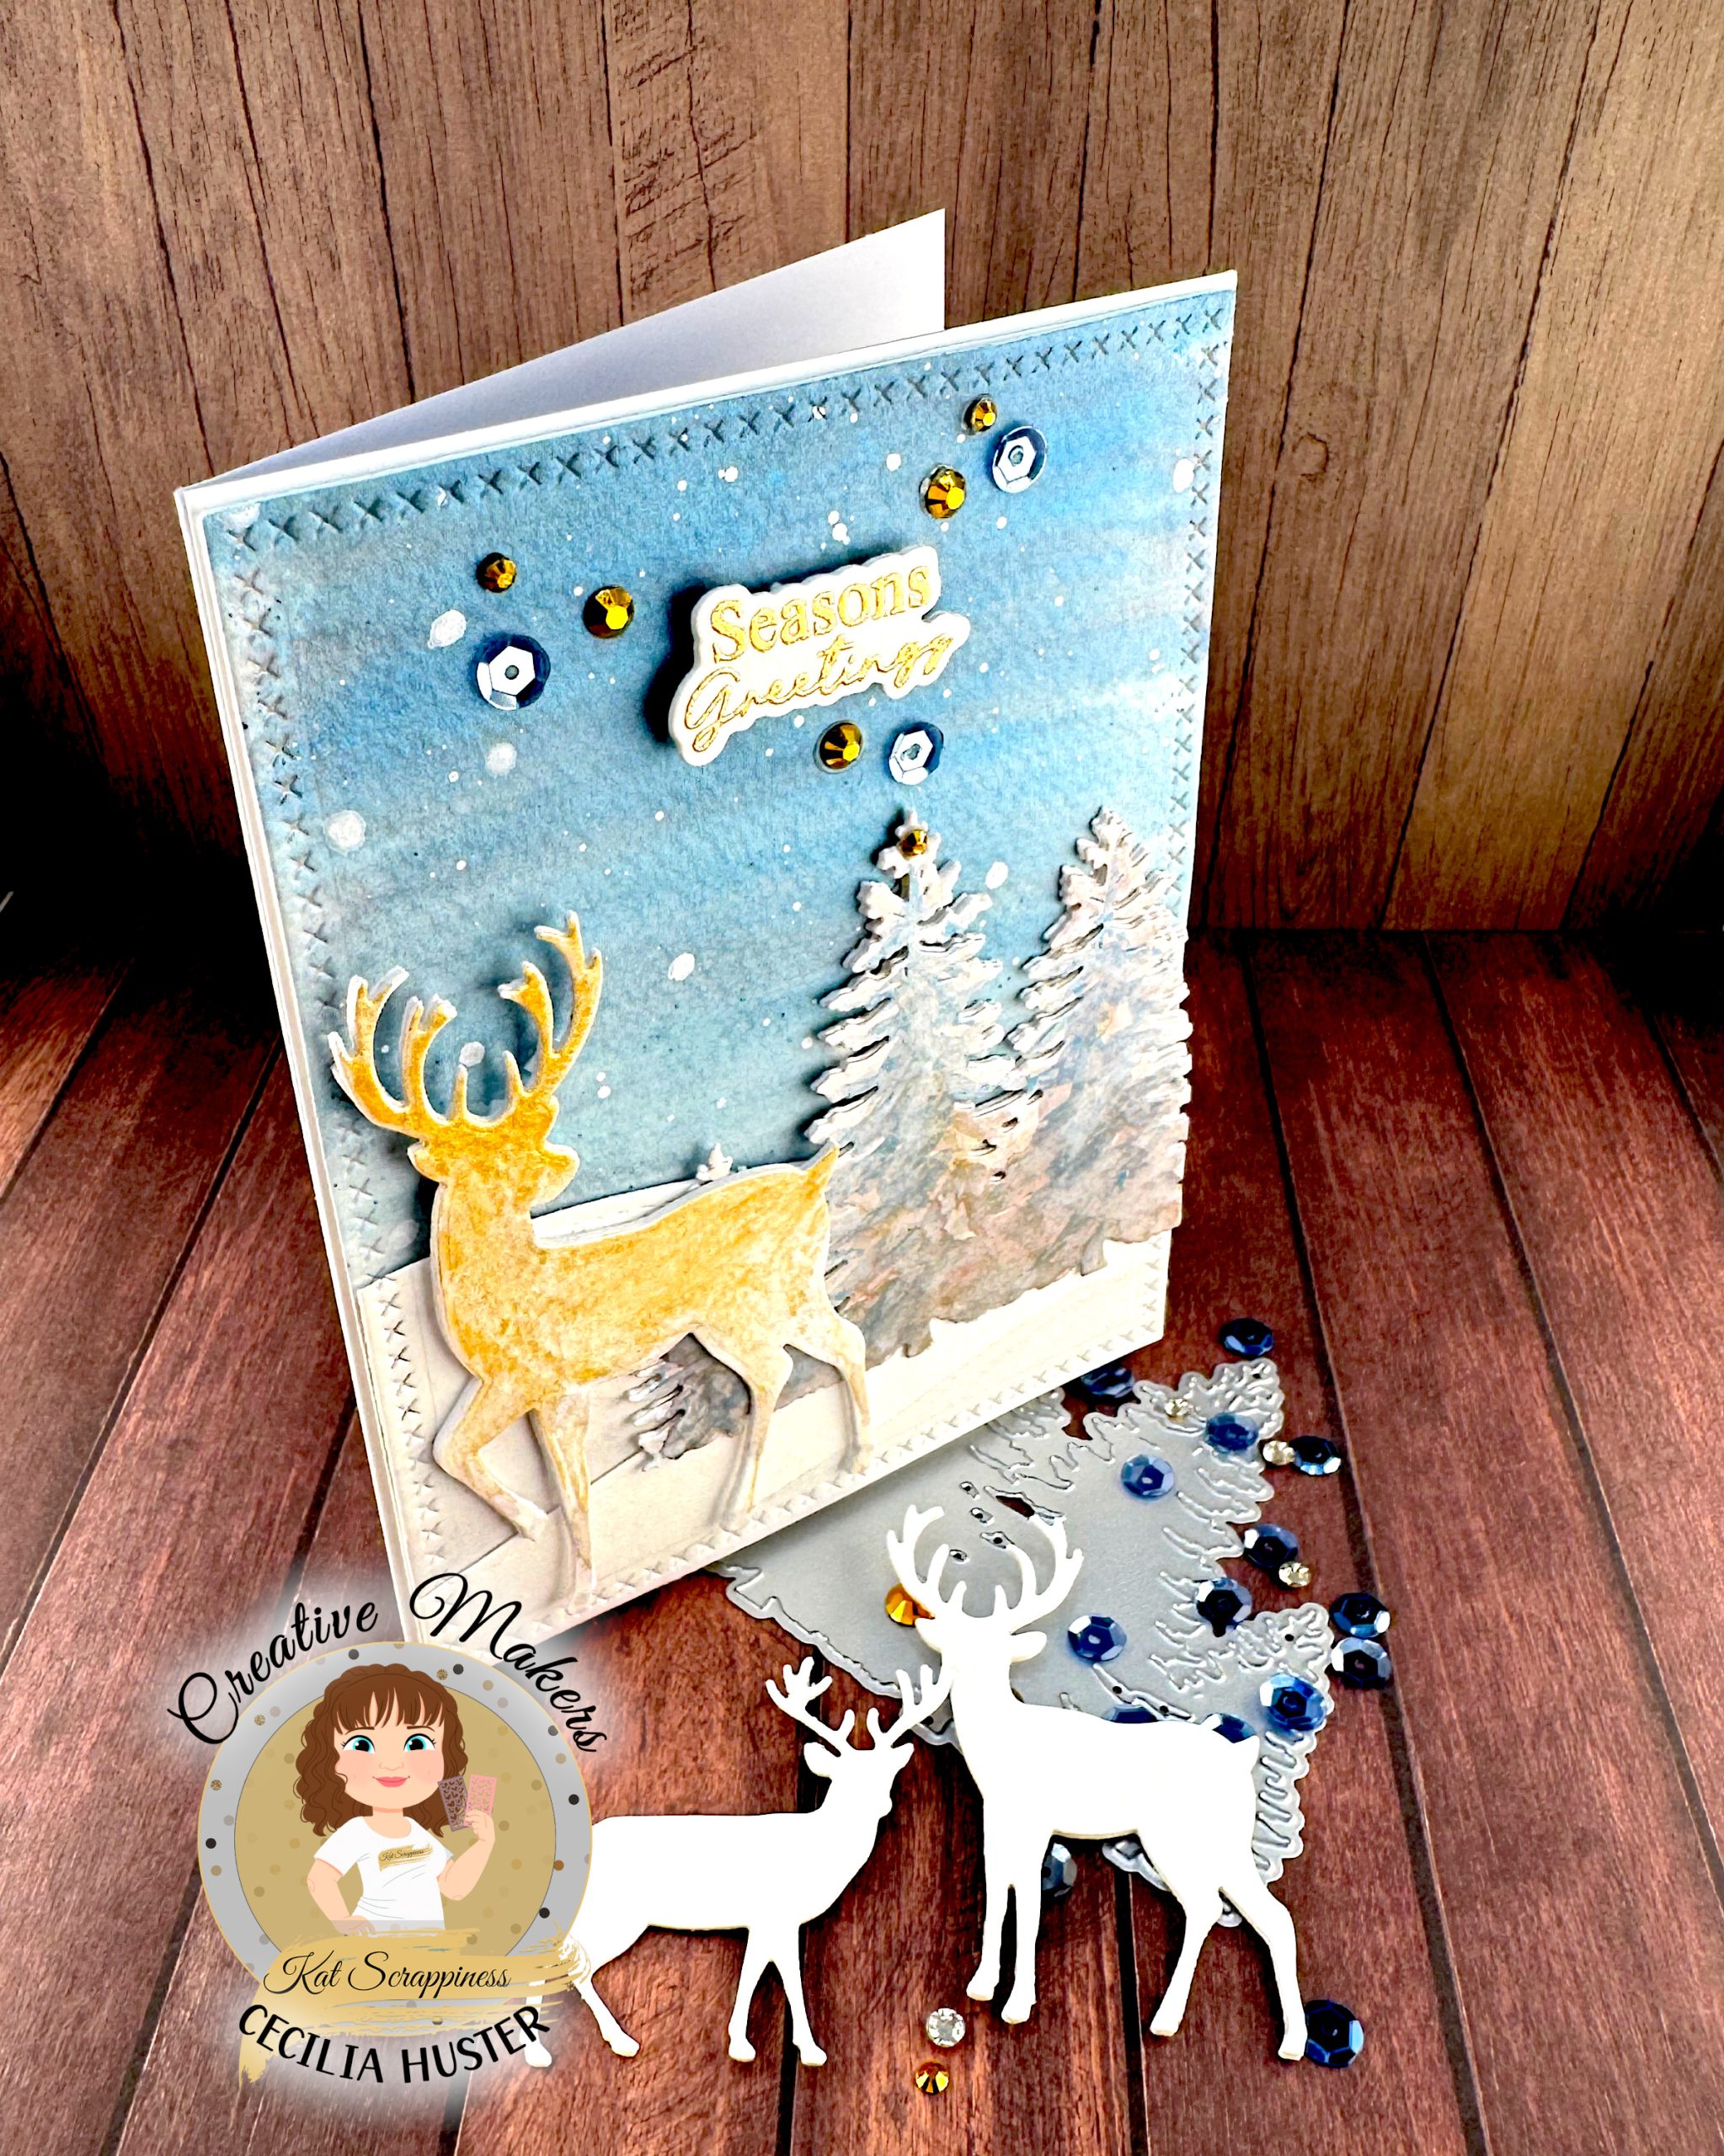
Reindeer Greetings
Finally I tripled the sentiment and popped it up on some foam tape. That was necessary to bring it to the same level as the deer.
