
For my next project I wanted to use the Color Catalog with my Pinkfresh inks. But I didn’t want to go by the colors on the ink cube labels. That’s not exact enough. Instead I created ink blended swatches. It took a while, but I love the results!
Labels
My first stop was Google, to search for Pinkfresh ink labels. Pinkfresh sell colored label stickers for both mini cubes and full-size ink pads. Jennifer McGuire has a download with black-and-white labels, but they didn’t really work for my layout. So I created my own labels. You can download them here:
Unlike other label files I found on Google, these are text-based. So you can copy and paste the text if you want to e.g. change the font or the layout. I typed all this text, so you don’t have to. If it matters to you, the font I used is Gill Sans.
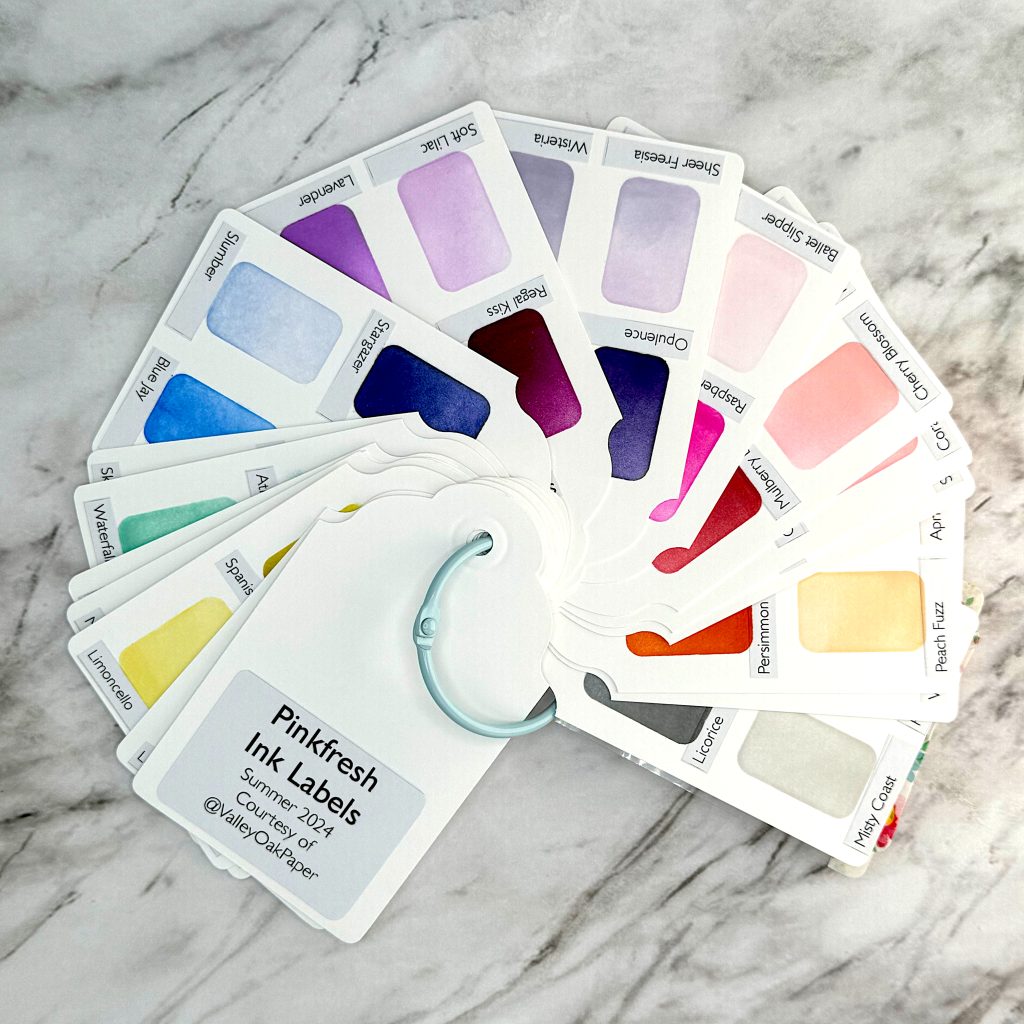
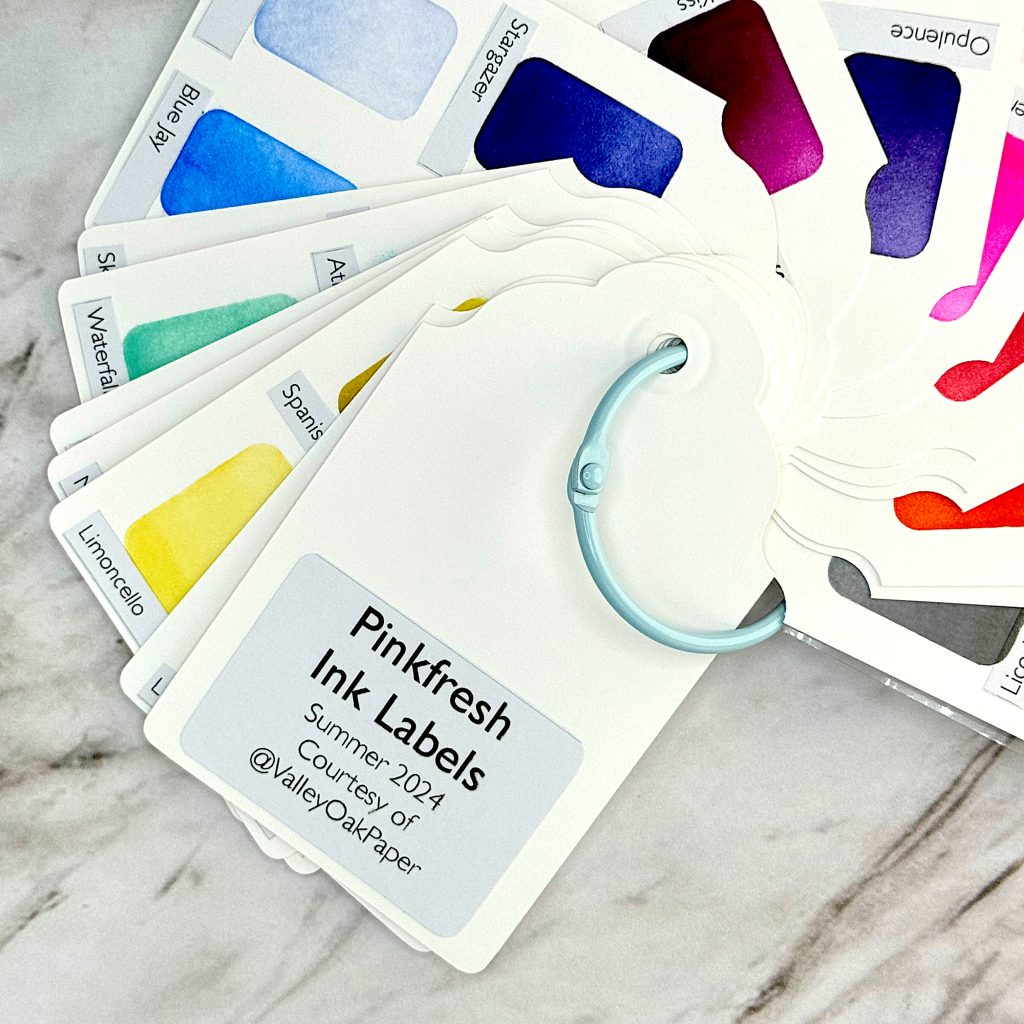
Note that Pinkfresh don’t use the traditional ROYGBIV rainbow order, but start with yellow.
I printed my labels on inexpensive sticker paper. If you want a color that’s closer to Hammermill, Avery also sell sticker paper.
Then I cut out each ink family, using my Tim Holtz trimmer. In the download there’s a version that’s centered, and one that’s left aligned.

Ink Families
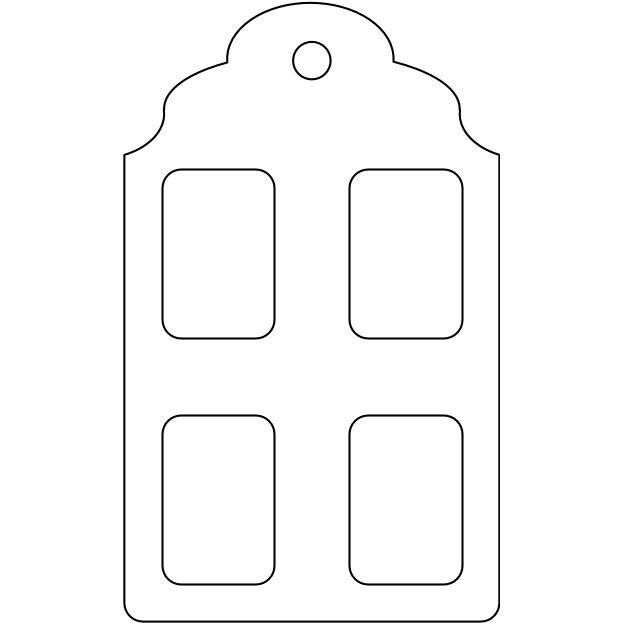
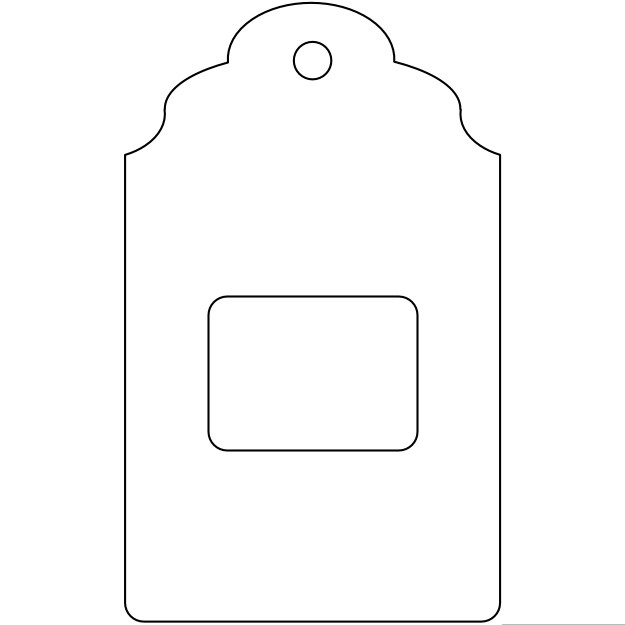
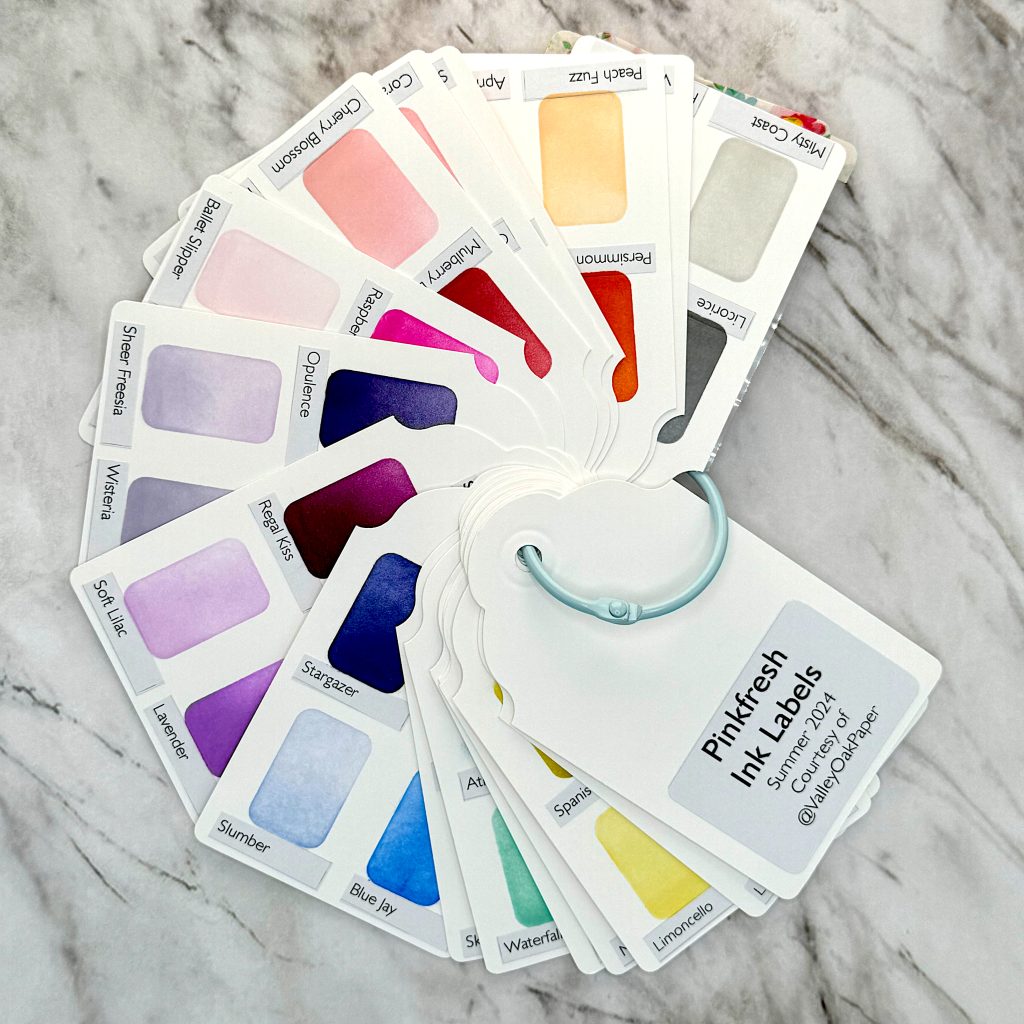
I love that Pinkfresh organize their inks in families of four and wanted my swatches to be organized the same way. To fit four swatches on each tag, I needed the tag to be pretty large. So I cut Hammermill cardstock into strips that are 2.5” wide and 4.25” tall. Then I used a punch to turn them into tags.
There are 18 ink families and I created a couple of extra tags. Each 8.5 by 11” sheet yields 8 tags and I used 3 sheets. The extra tags came in handy when I messed up. Pro tip for recovering perfectionists: Always give yourself room to mess up.
Acetate Stencils
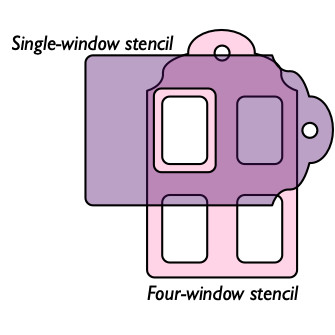
Next I created two acetate tags with the same dimensions as the Hammermill ones. One of these I turned into an ink family swatch stencil by die cutting a rounded rectangle four times out of it. The die I used is part of a Waffle Flower Swatch Die Set, but you could use any simple shape.
In the other acetate tag I created a window that was a little bigger than the die I used on the swatch stencil tag. That way I could use it to ink blend only one swatch area at a time. No messing around with washi tape to mask off parts of the stencil!
My acetate was clear, so I added washi tape to the tags. That made them much easier to keep track of.
Labeling the Tags
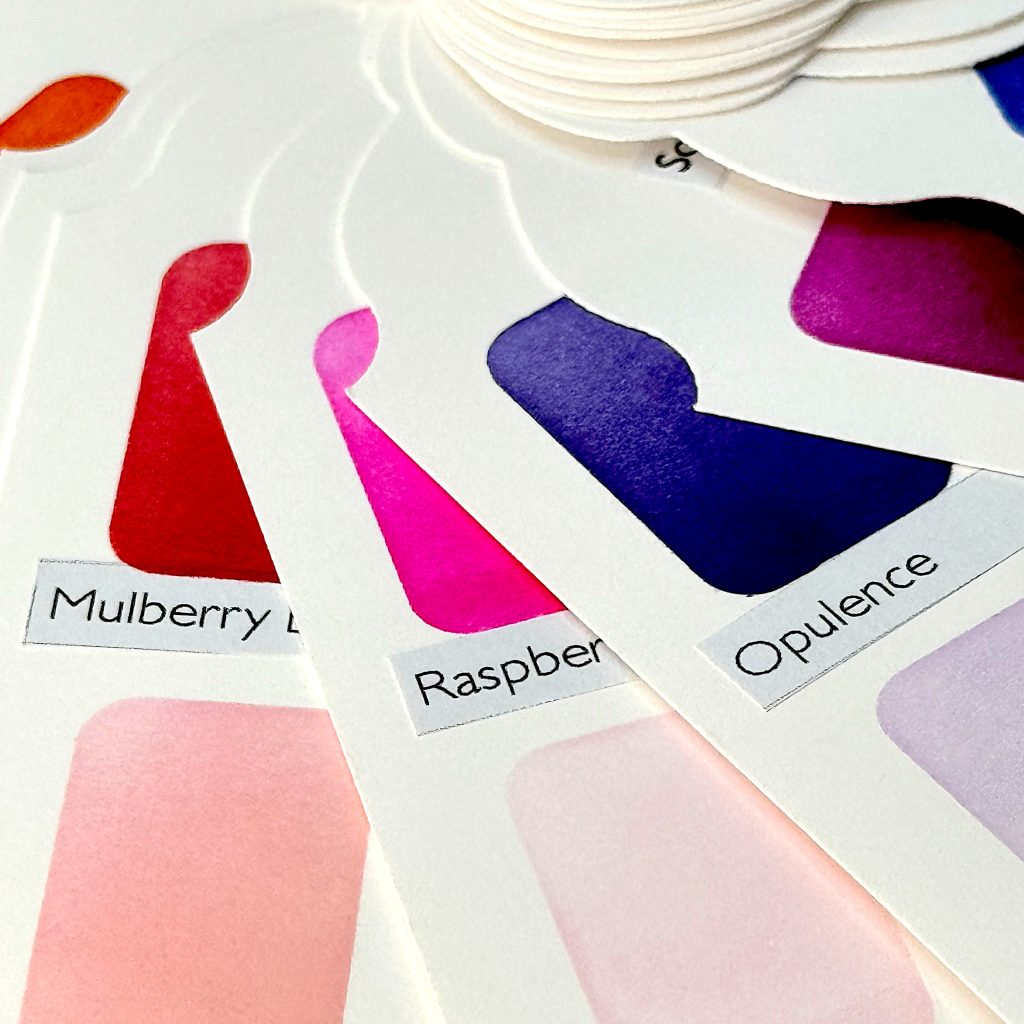
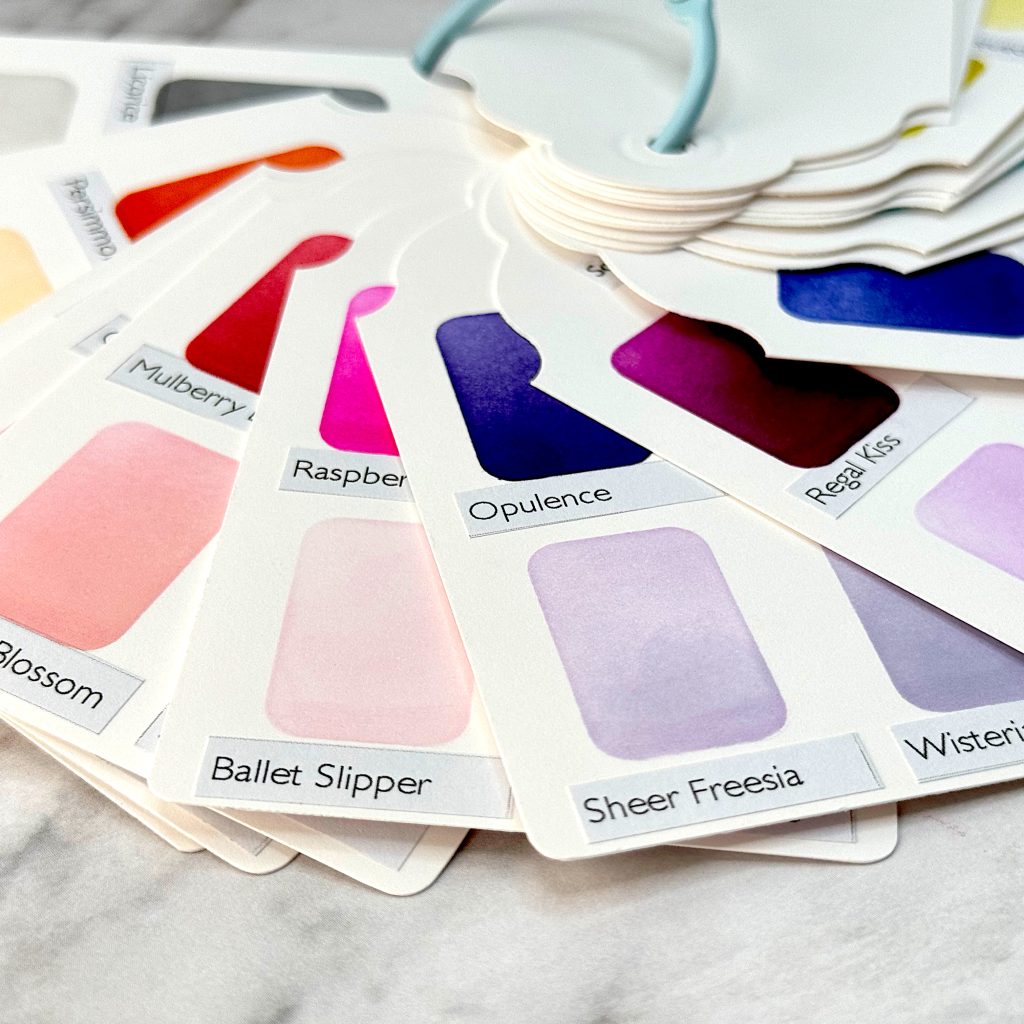
Next I used my swatch stencil to pencil in the lower edge of each swatch on all my tags. Then I placed my labels under the intended swatch areas. I labeled the colors clockwise, starting with the most intense color at the top left.
To do this, I removed the release paper from the color family stickers I had created earlier. Then I cut apart the names with scissors and placed them. I erased all my pencil lines and matched the labeled tags with the ink pads.
That was a lot of work to prepare for the actual swatching!
Swatching
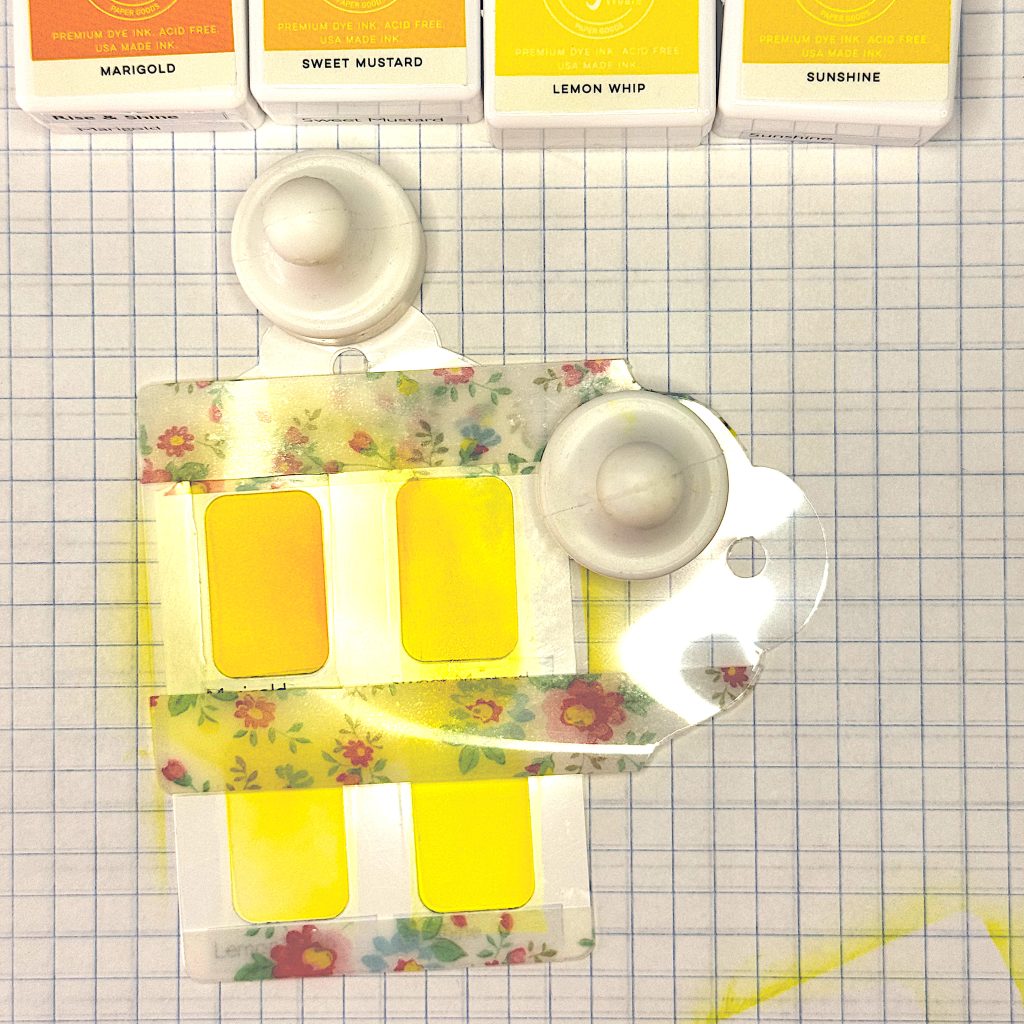
For each color family, I started by placing the swatch stencil on the tag. To hold it in place I used a strong magnet. Then I took the single-window tag and placed the window over the lightest color swatch area on the tag. I ink blended that swatch and moved the single-window tag window from least to most saturated until all four swatches on that tag were done.
Then I cleaned my acetate stencils and moved on to the next tag, clean brush and color family.
Ink Blending Brushes
I had cleaned 18 ink blending brushes beforehand, so I didn’t have to stop and clean any brushes during the swatching. That made the swatching a pretty quick process.
But a drawback with that, was that I used some old ink blending brushes that crept in under the stencils. So some of my swatches have a halo. Not super happy about that, but the swatches still work. 🤷🏼♀️
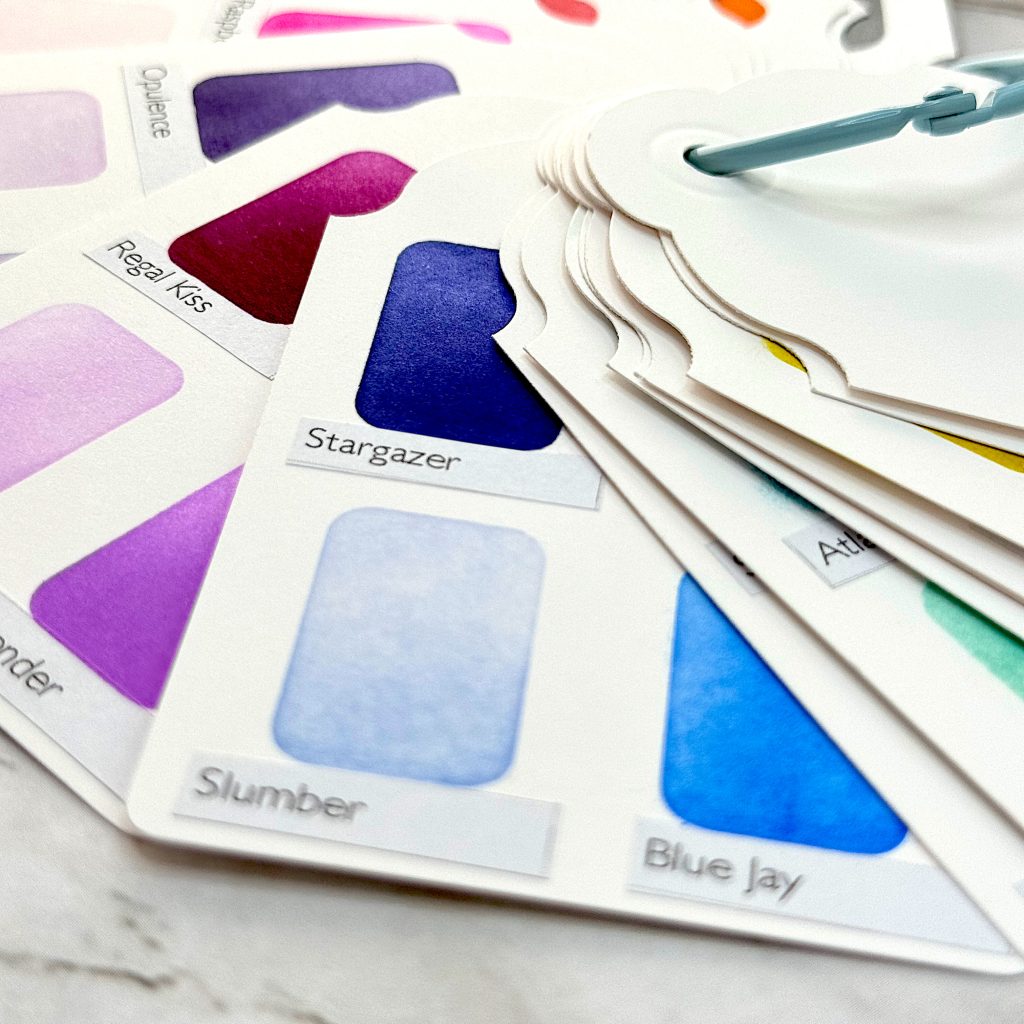
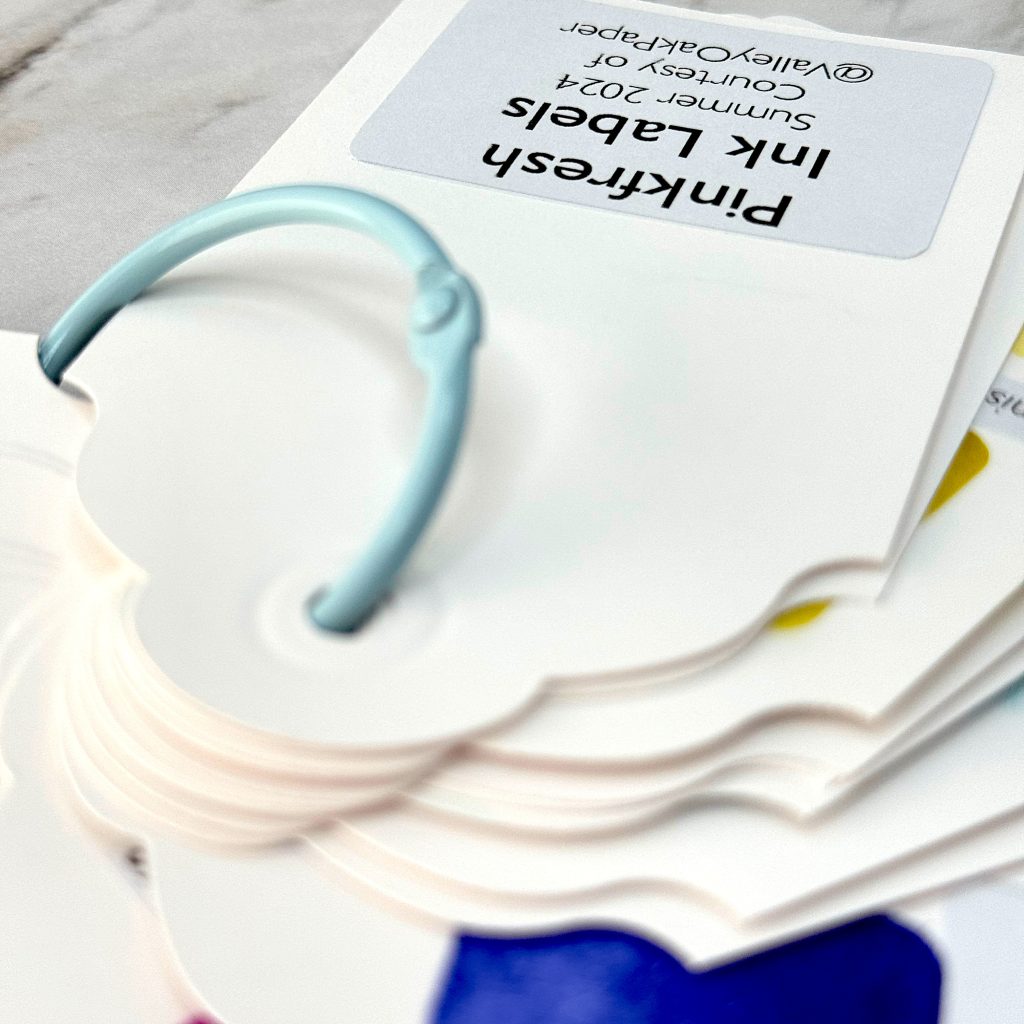
When I had ink blended all my swatch tags, I put them on a Pinkfresh book ring, so they stay together. I love playing with my new swatches! Stay tuned to see how I use them together with the Color Catalog.