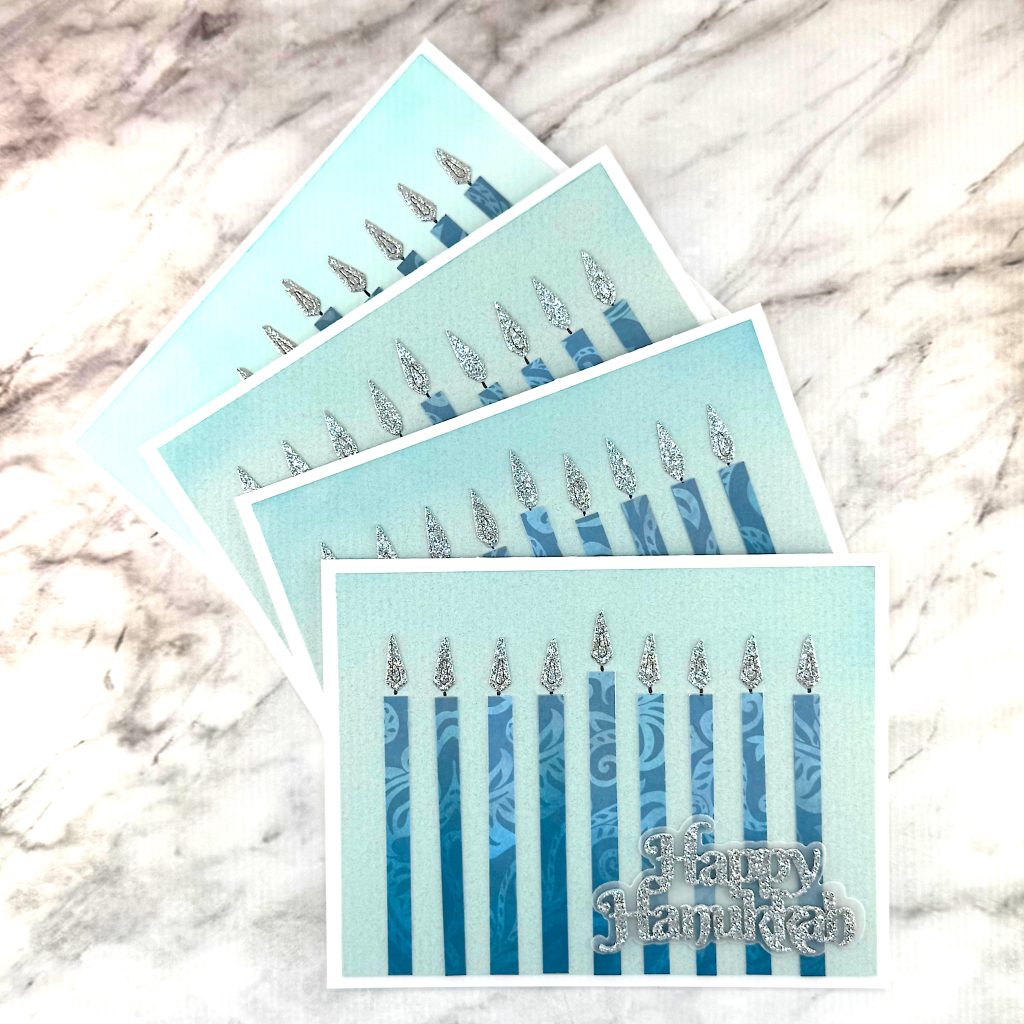
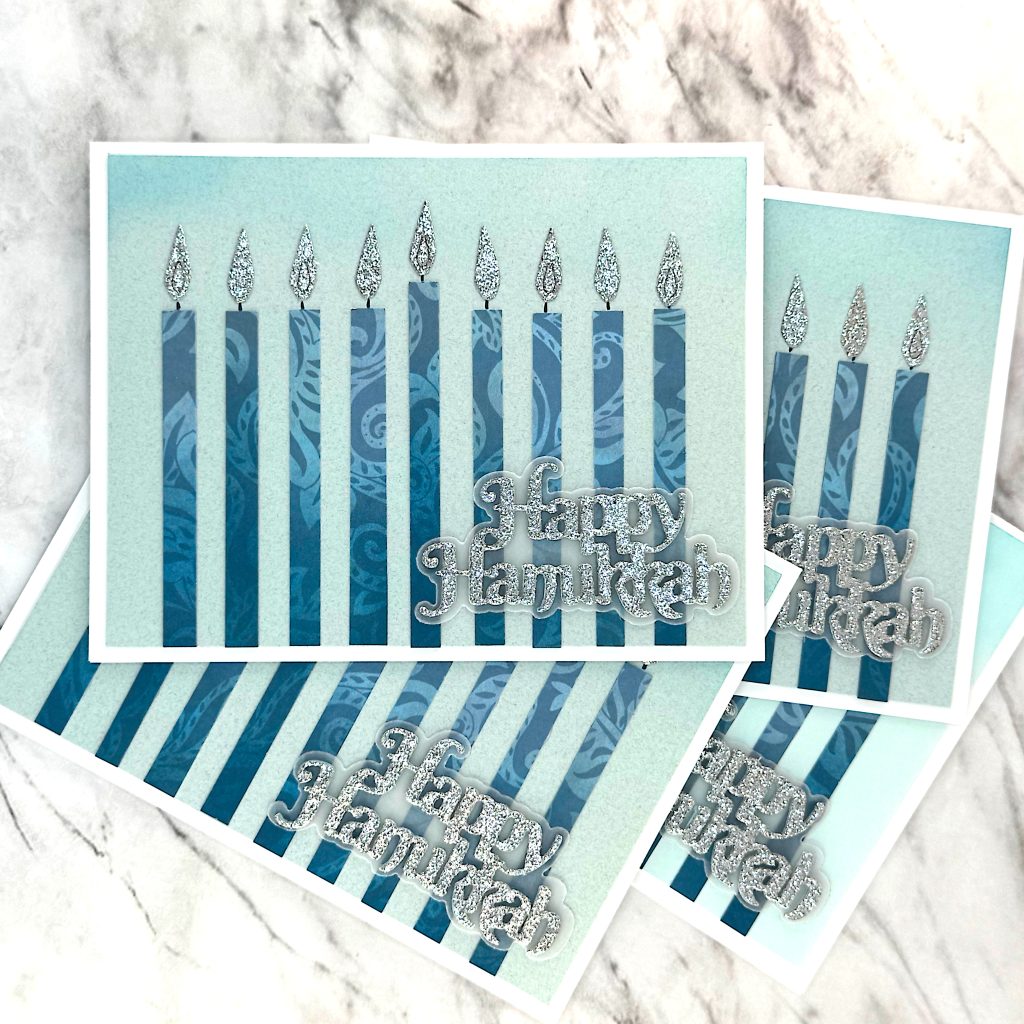
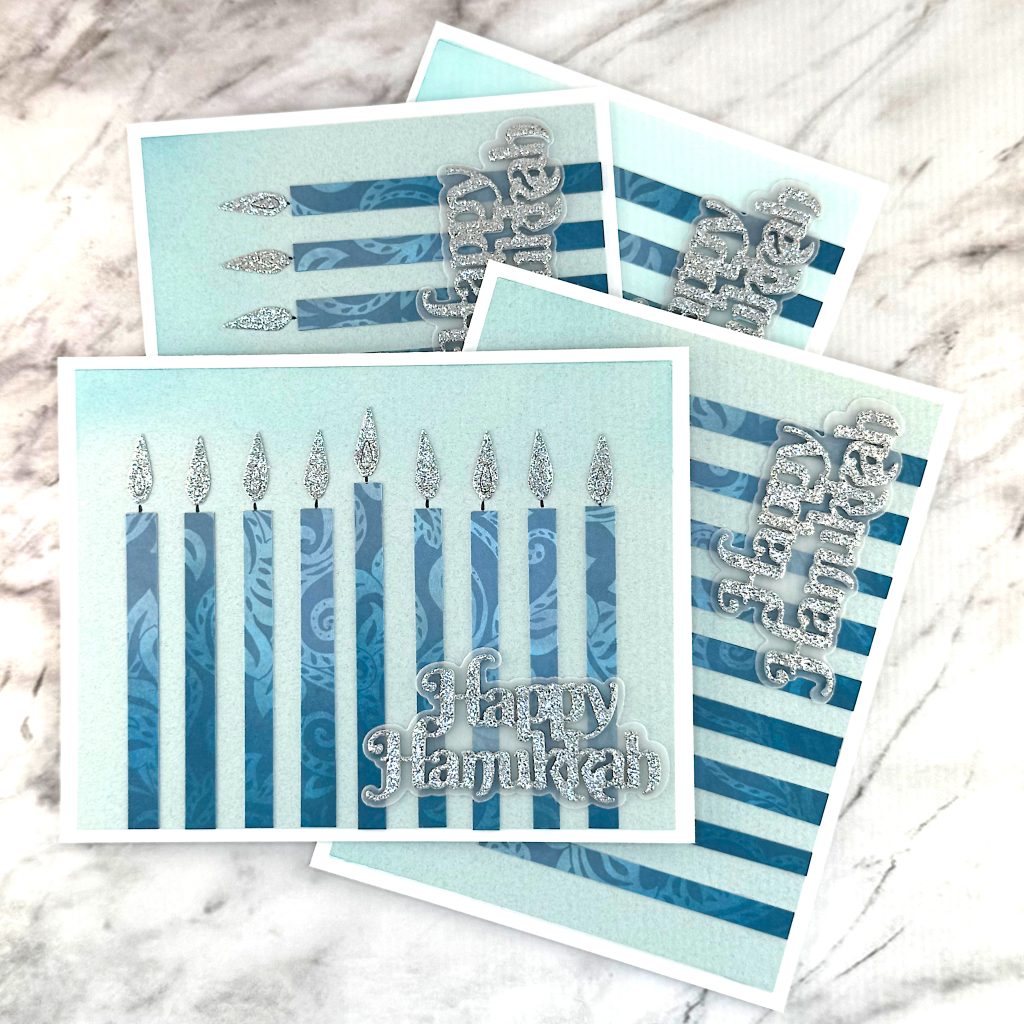
On Day 3 of Online Card Classes So Very Merry, Jennifer McGuire showed us how to create Hanukkah cards. The basic idea is to cut ¼” blue cardstock strips to act as candles.
I used pattern paper from my stash. Like Jennifer, I ink blended the bottom of the candles with a darker shade of blue. In my case it was Distress Oxide Uncharted Mariner. The middle candle is 3” tall and the other 8 are 2 ¾”.
Jennifer applied her candles directly to a white card base. I chose light teal cardstock from my stash and cut it down to 4 by 5 ¼”. Then I used the ink I had left on my brush to lightly blend over the top of the panels.
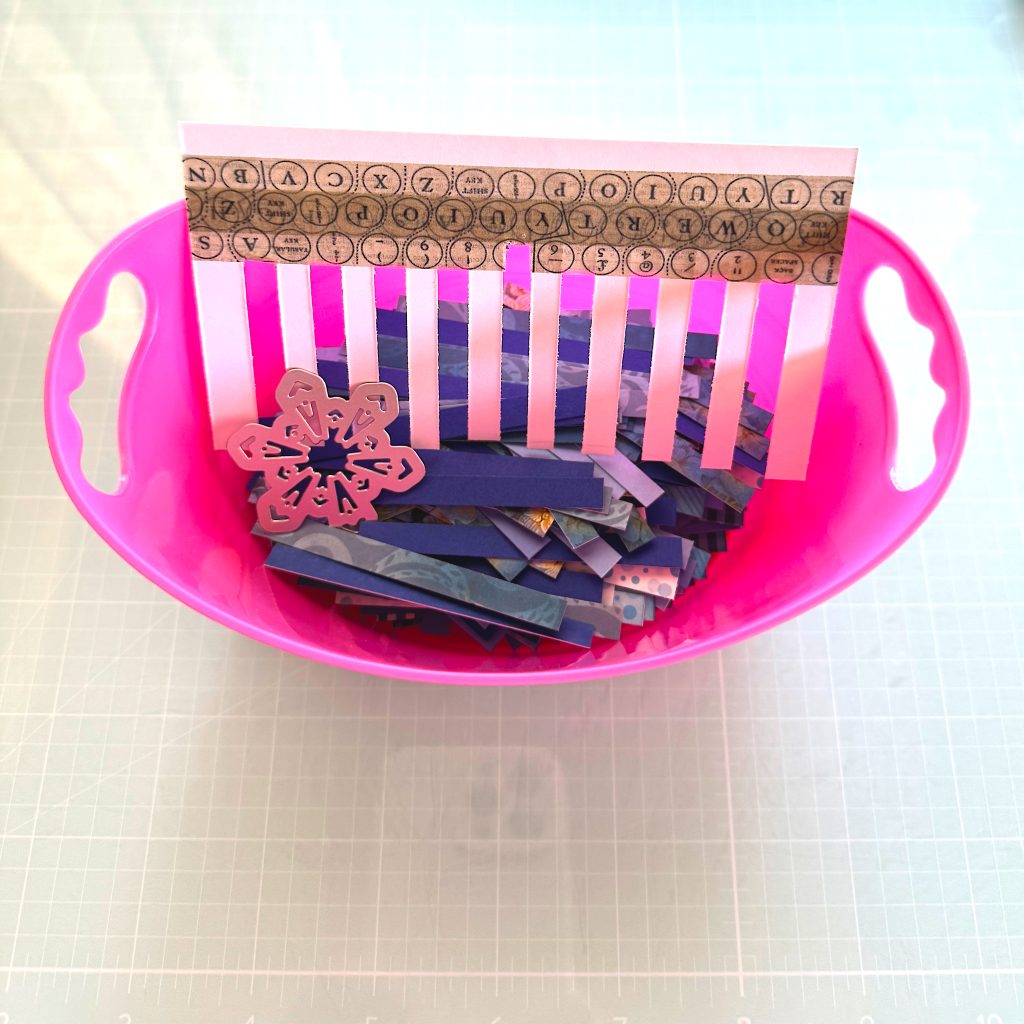
I created a simple cardstock template to get the spacing reasonably even.


Flames and Wicks
I followed Jennifer’s instruction for adding the wicks with a pen. For two of the cards I used flame dies from a Tim Holtz die set. But I only got two flames out of each turn through the die cutting machine. When you need 36 flames, that’s too tedious.
So I did as Jennifer advised and looked through my snowflake dies. I found a retired Pinkfresh snowflake die that I could use. 😤 That meant I got 6 flames out of every die cutting pass. Much better!
Sentiment
The sentiment is Kat Scrappiness Happy Hanukkah Small Shadow Sentiment. I cut the shadow from vellum and the word from Recollections Silver Glitter Cardstock. Kat also has a larger Hanukkah sentiment in a pretty scripty font.
