Quokkas
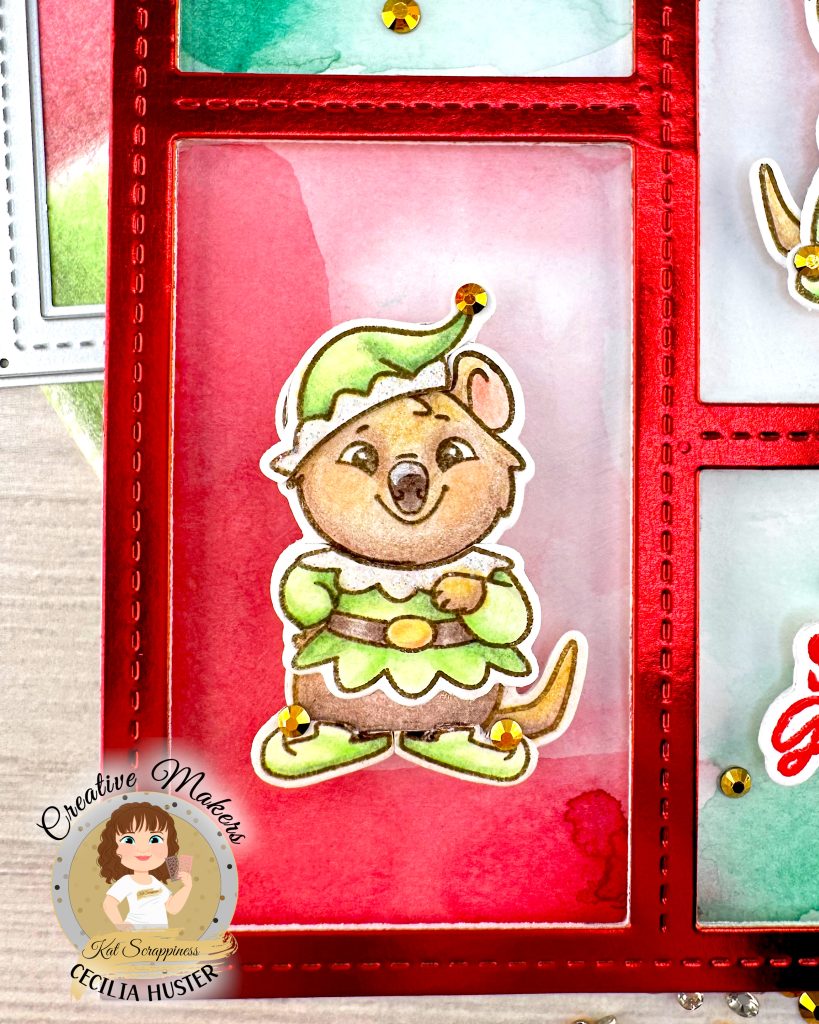
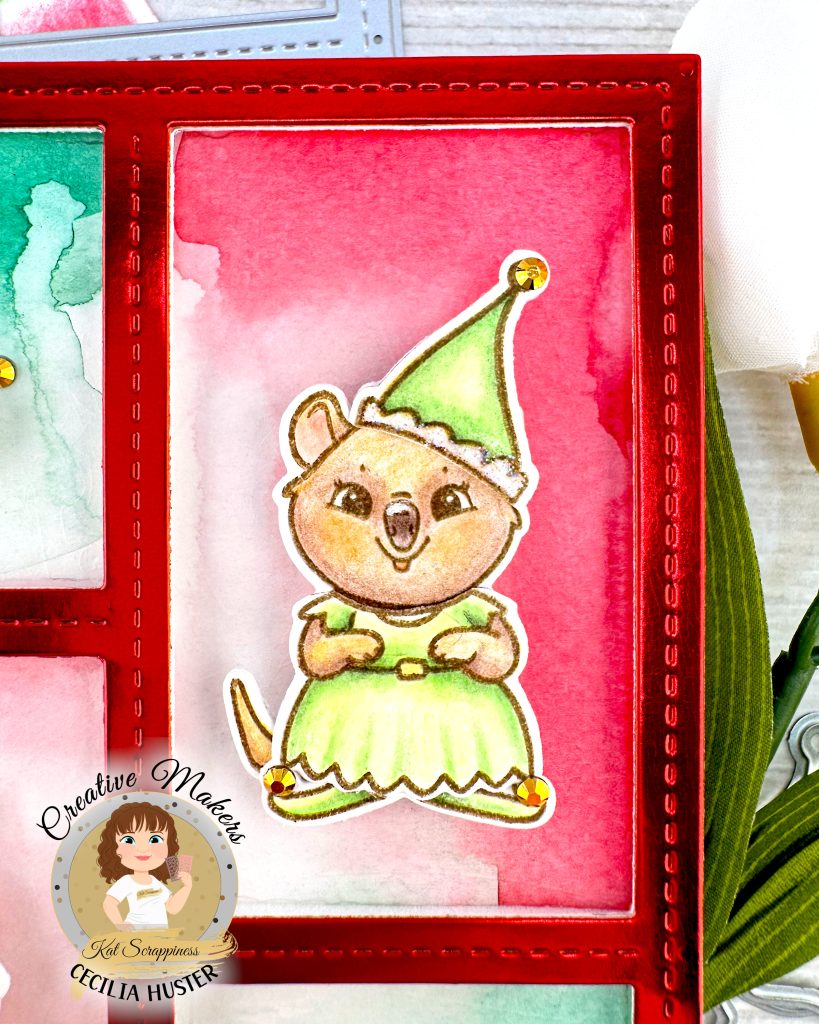
Santa’s Furry Helpers was the theme of the cardmaking hop that I created this card for. I started by stamping, using Ranger Archival Ink in the color Coffee. I stamped the two Kat Scrappiness Dress-Up Quokkas, the elf costumes from the Kat Scrappiness Quokka Christmas Costume Add-On and a stocking on Hammermill cardstock. Then I colored them with my Castle Professional Color Pencils. For the colors I used, see the table below.
This was the first time I used Gamsol, so I learned quite a lot. Before I started, I watched a couple of videos. This one by Lisa Lachri was full of useful information. I kind of wish that there was a course in Colored Pencils for cardmakers. Would love it if it was held by Online Card Classes.
Most importantly, Gamsol does not work like water with artist grade watercolors. It’s more like water and bad watercolor pencils. 😂 In other words, you have to be really careful to build up the pigment by gently rubbing it into the cardstock. If you cross-hatch, you’ll never blend out the first few strokes. Use circular or oval movements instead and don’t press. The good news is that after you’ve blended with Gamsol, you can continue loading up the cardstock with more pigment.
Having said that, it works great for covering the white flecks between the pigment deposits on Hammermill. That’s particularly useful when coloring with dark colors.
When I had colored all my stamped images, I cut them out with the coordinating die sets. Then I glued them together and added a layer of Accent Opaque to the back of them. Finally I added foam tape to the backs of all three images.
Frame
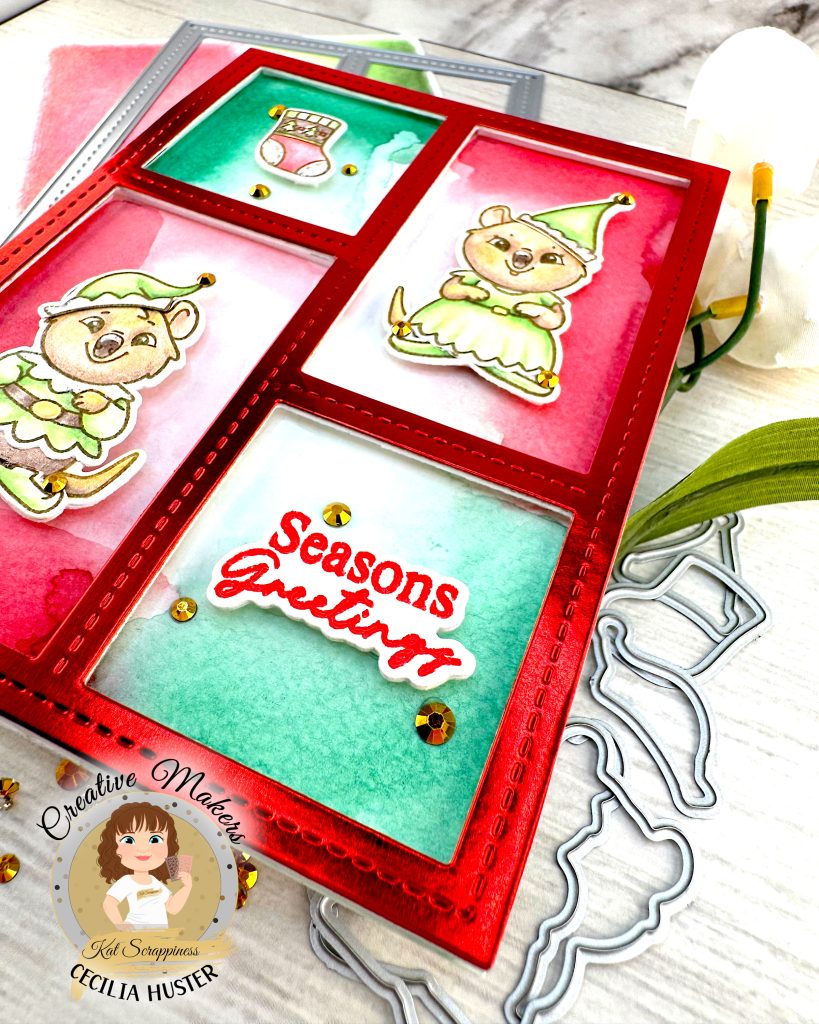
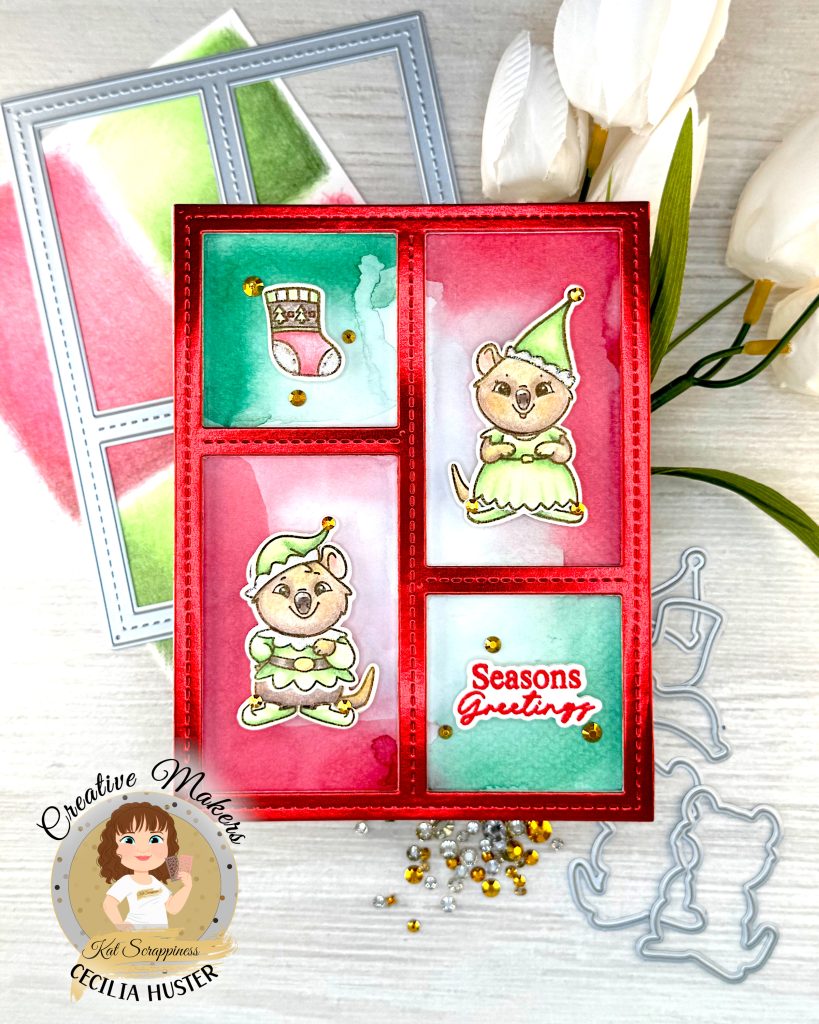
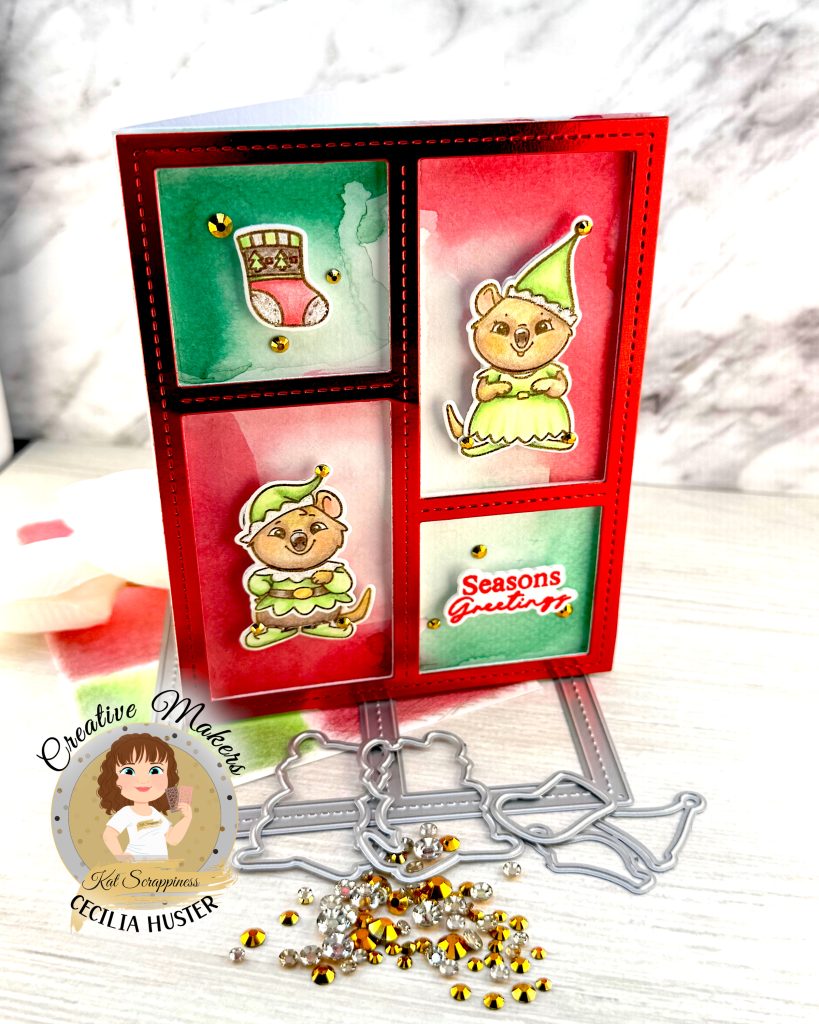
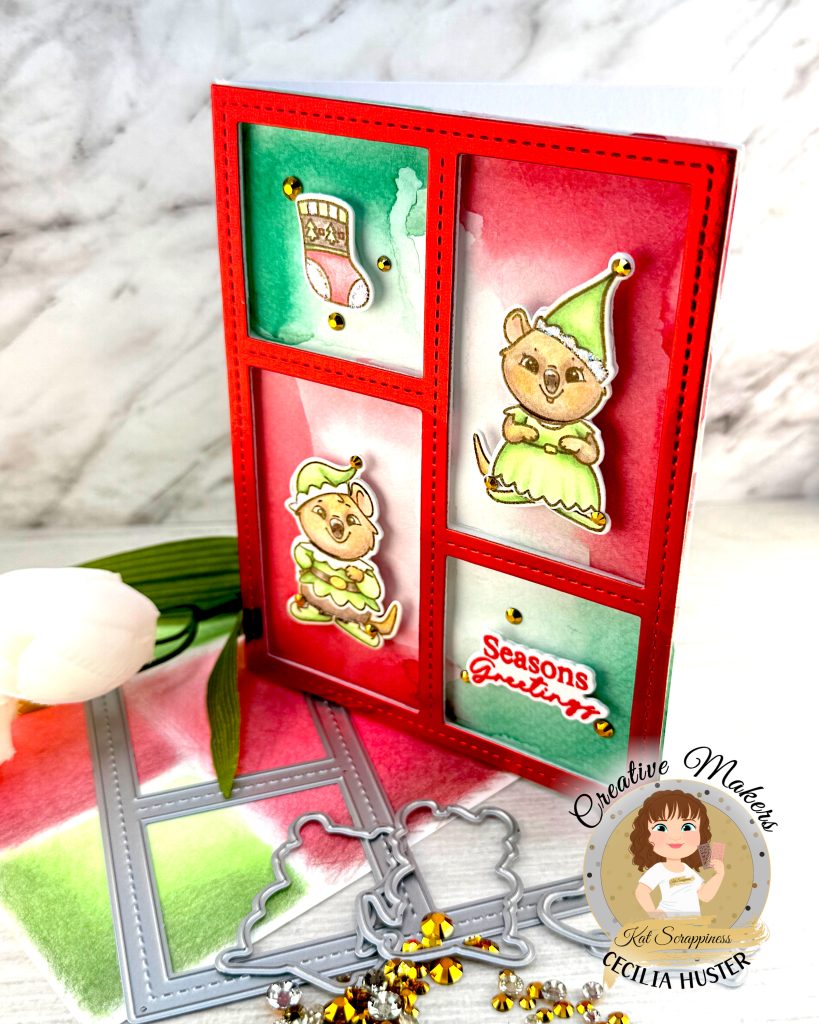
The frame I used is one of Kat’s Essential Card Builders #3. It creates four rectangular spaces, two small ones and two tall ones. Perfect for staging critters!
I cut it once out of red metallic foil cardstock and twice from Accent Opaque. Then I added skinny foam strips to the back.
Sentiment
I chose a couple of sentiments that would fit neatly into the smaller opening in the frame. They’re all from Kat Scrappiness Holiday Lantern Christmas Add-On Stamp Set. I bought that stamp set mainly because of the beautiful sentiments with dies!
I stamped them with Versamark and heat embossed them with Distress Embossing Glaze in Candied Apple. Season’s Greeting looked best, so I chose that one. Then I cut it out and doubled it up with Accent Opaque and added foam tape to the back.
Background
The background you see in these photos was not my first background. For the first background I used colored pencils and Gamsol and carefully built up lots of depth over several hours. But when I tested it with the frame die, I realized that it was mirrored. So I couldn’t use it. 😭
Instead I created a very simple watercolor background with the two small openings in green and the larger ones in red. For each of these I concentrated the color on the outside edges of the card. I cut it down to 4 ¼ by 5 ½” and added a layer of Accent Opaque on the back. Then I glued it directly to my card base.
Assembly
The Card Builder Frame is exactly A2, so it was very easy to line it up on my card front. Next I placed the quokkas in the large openings and the stock and sentiment in the smaller ones. Then I added Kat Scrappiness Gold Mine Rhinestones to the bells on the quokka’s hats and slippers as well as around the stocking and the sentiment. Finally I added Ranger Stickles in the color Star Dust to the white areas on the elf costumes and stocking.