Backgrounds
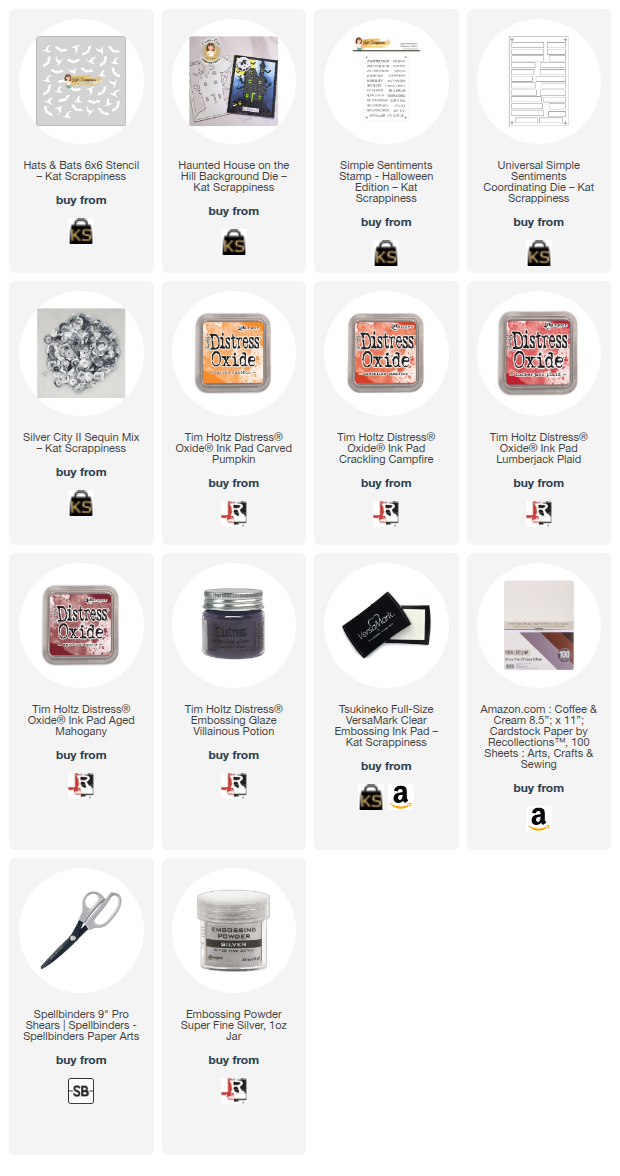
The stencil I’m using is called Hats and Bats and it’s by Kat Scrappiness. I’m ink blending over it with Versamark embossing ink. That’s because I want to use one of my favorite techniques: emboss resist.
Next I’m heat embossing it with Distress Embossing Glaze in Villainous Potion. Distress Embossing Glaze is translucent, so we get just a hint of purple on this grey cardstock. Then I do it again on another piece of grey cardstock.
I’m ink blending over one background with Distress Oxide Carved Pumpkin. I’m going for a moody sunset vibe. Then I switch to Aged Mahogany. But I feel it’s too brown, so I’m going to blend over it with Lumberjack Plaid. I want it to be blood red because this is a Halloween card. Then I switch to Crackling Campfire in the middle. I do the same colors on the other background.
Distress Oxide is a hybrid ink. To remove the pigment on top of the embossing, I’m rubbing with a microfiber cloth. I do that with both of my backgrounds.
Now I’m going to die cut one background with Kat Scrappiness Haunted House on the Hill Background Die Set. I cut it two more times from more grey cardstock and then I stack them for dimension.
I want to intensify the contrast a bit, so I’m adding some more Carved Pumpkin and Lumberjack Plaid to the top and bottom of my die cut.
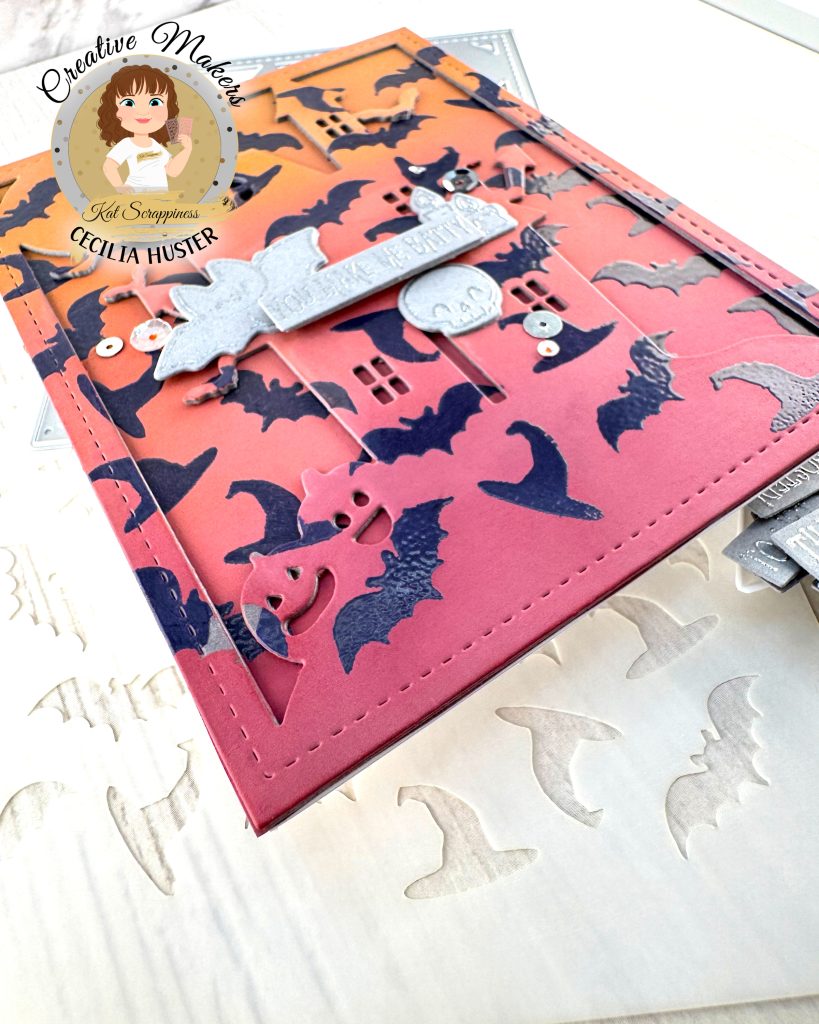
Originally I was planning on turning one background upside down. Opposing gradients often looks very cool. But with the stenciling, it just looks confusing. So instead I’m lining up the two backgrounds, for an eclipse effect.
Once the glue has dried, I’m cutting off the excess with my big shears. Doesn’t that look cool? I’m really happy that I stacked three die cuts on top of each other, it makes the eclipse effect much more impactful.
Sentiment
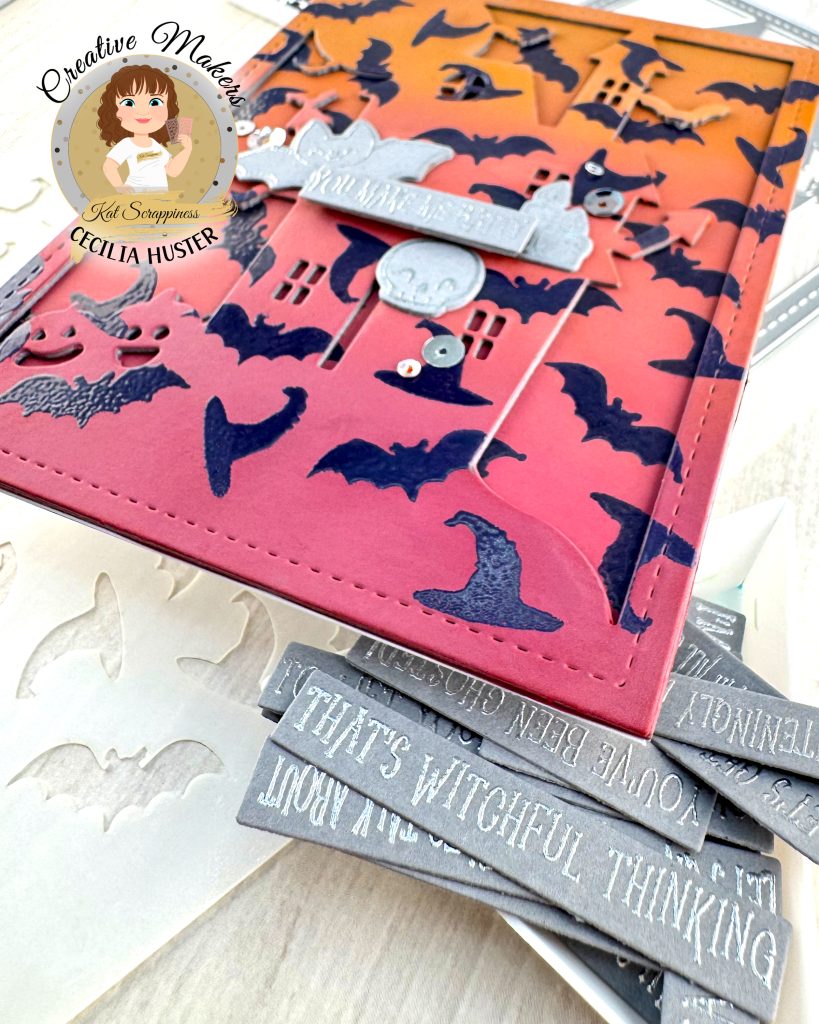
Turning to the sentiment, I’m using Kat Scrappiness Simple Sentiment Halloween Edition Stamp. First I’m brushing antistatic powder on the grey cardstock. Then I ink up the stamp with Versamark embossing ink. I stamp it down. Then I add Ranger Super Fine Embossing Powder in Silver and heat it up with my Wagner heat tool. Then I die cut it with the coordinating die.
As you can see, you get 24 sentiment strips from one impression. I store these sentiments in little jars, so I always have them on hand when I need them. This die also cuts out the other three Simple Sentiments stamps: Holiday, All Occasions and Valentines. Super useful!
I want to add some embellishments around my sentiment, so I’m pulling out the Halloween add-on for Kat Scrappiness Dress-Up Quokkas. It includes some accessories: a bat, some candles and a skull.
I’m placing the stamps on the grey cardstock in my Misti,then I pick them up with the lid, before I stamp with Versamark embossing ink. I’m sprinkling the stamped images with Silver embossing powder and melting it with my heat gun. Then I’m die cutting my icons with the coordinating die set. This is how they turned out. So cute! I love that little bat!
Assembly
We’re on the home stretch now, I just need to put together all the bits. I’m starting by glueing the background to a white cardbase.
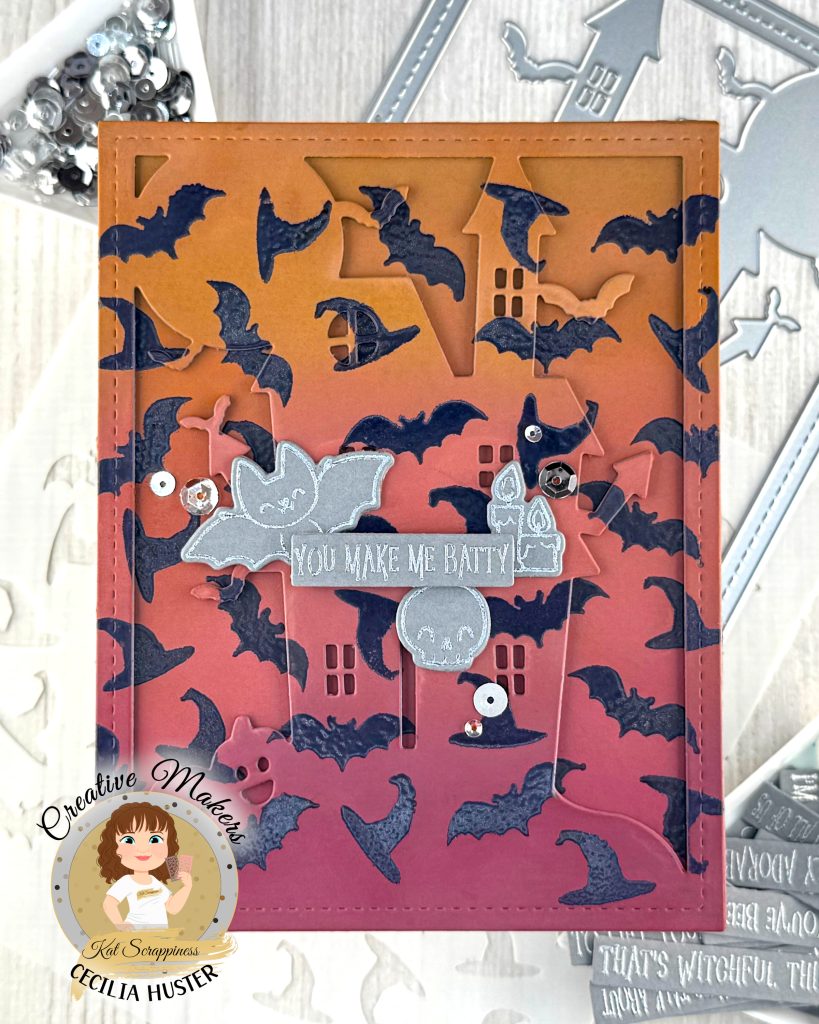
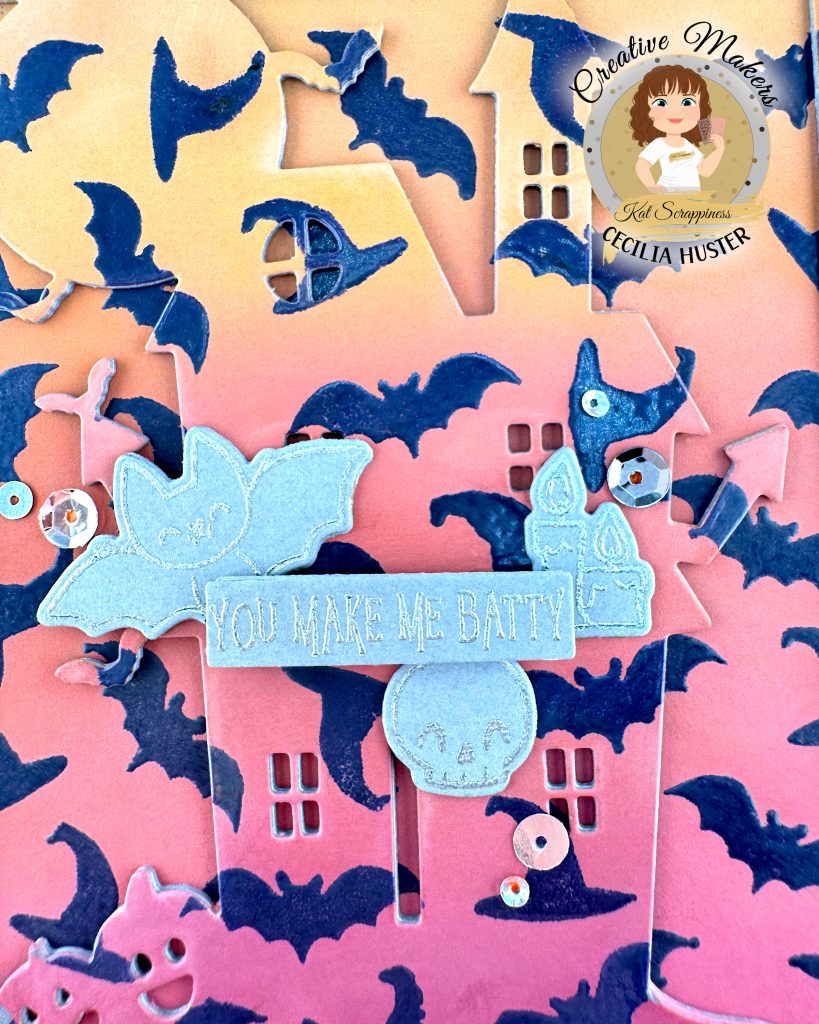
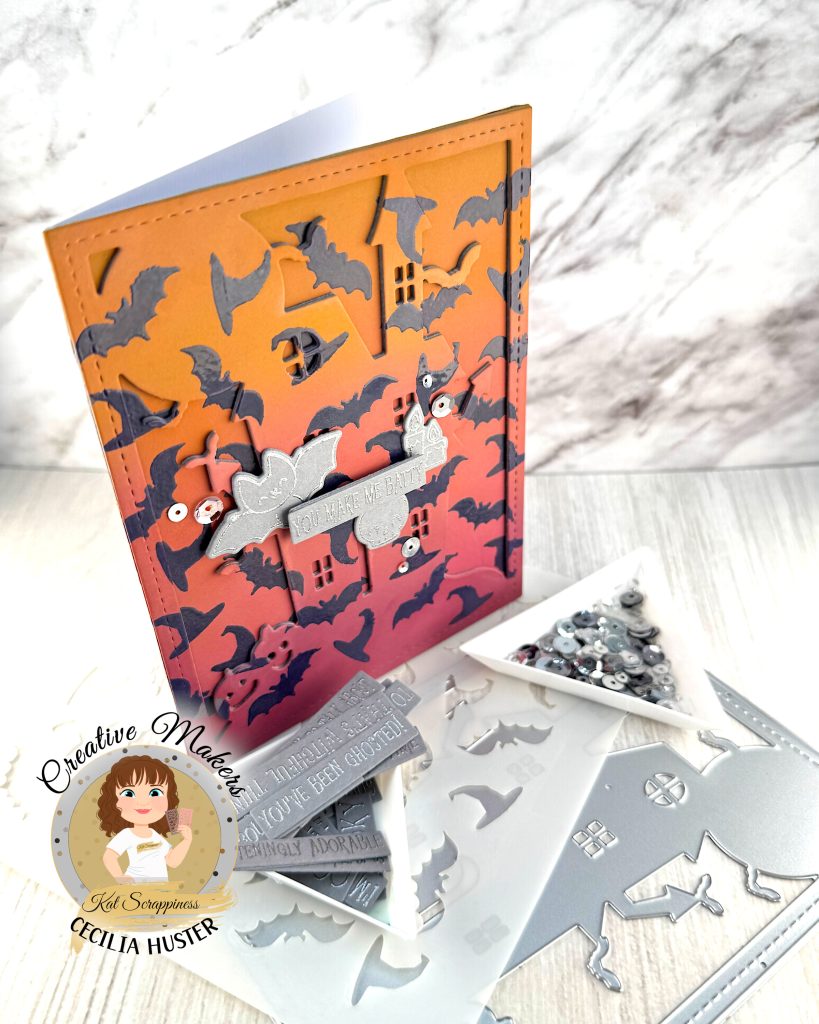
Next I’m using a t-ruler to adhere one of the sentiments to the center of the card, between the rows of windows. Because I love the bat, I chose “You make me batty.” I’ve stacked some more cardstock behind the sentiment and added foam tape to the back.
Then I’m gluing the bat, the candles and the skull to the background.
Off camera I added some Kat Scrappiness sequins around the sentiment. The sequin mix is called Silver City II.
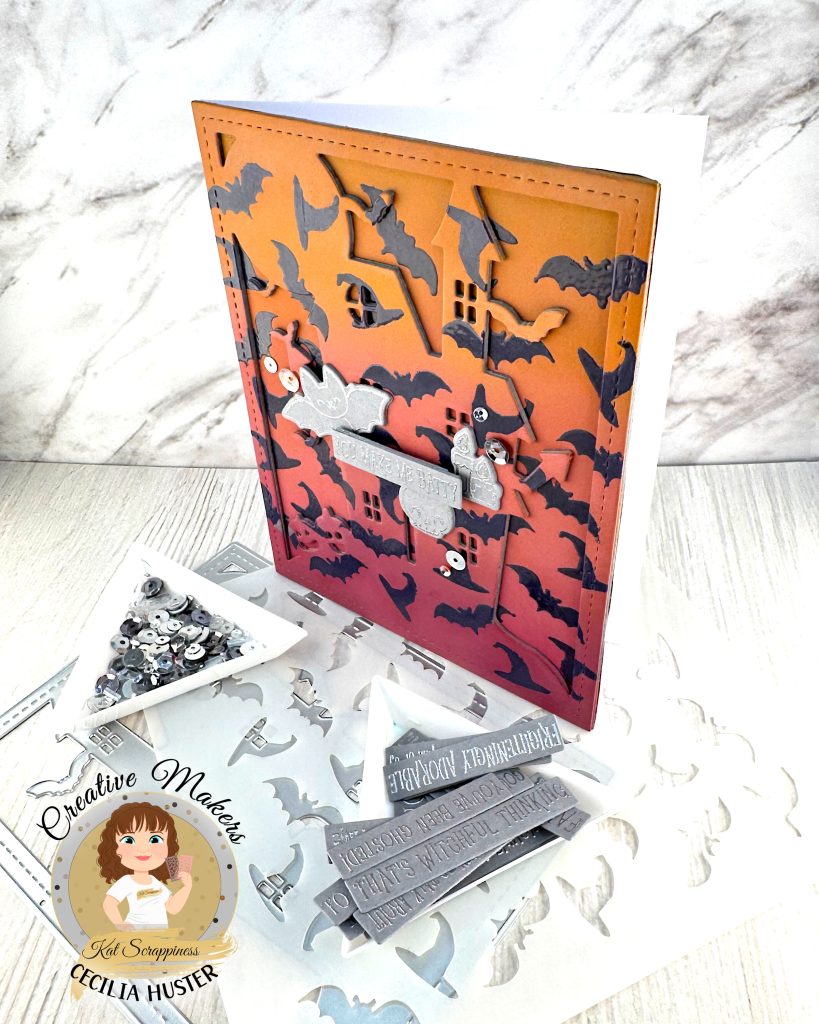
Here’s the final card. I’m loving the moody sunset gradient and the cute little bat. When I design Halloween cards, I’m always aiming for them to be very obviously Halloween themed, but in tasteful colors. I think I achieved that here.