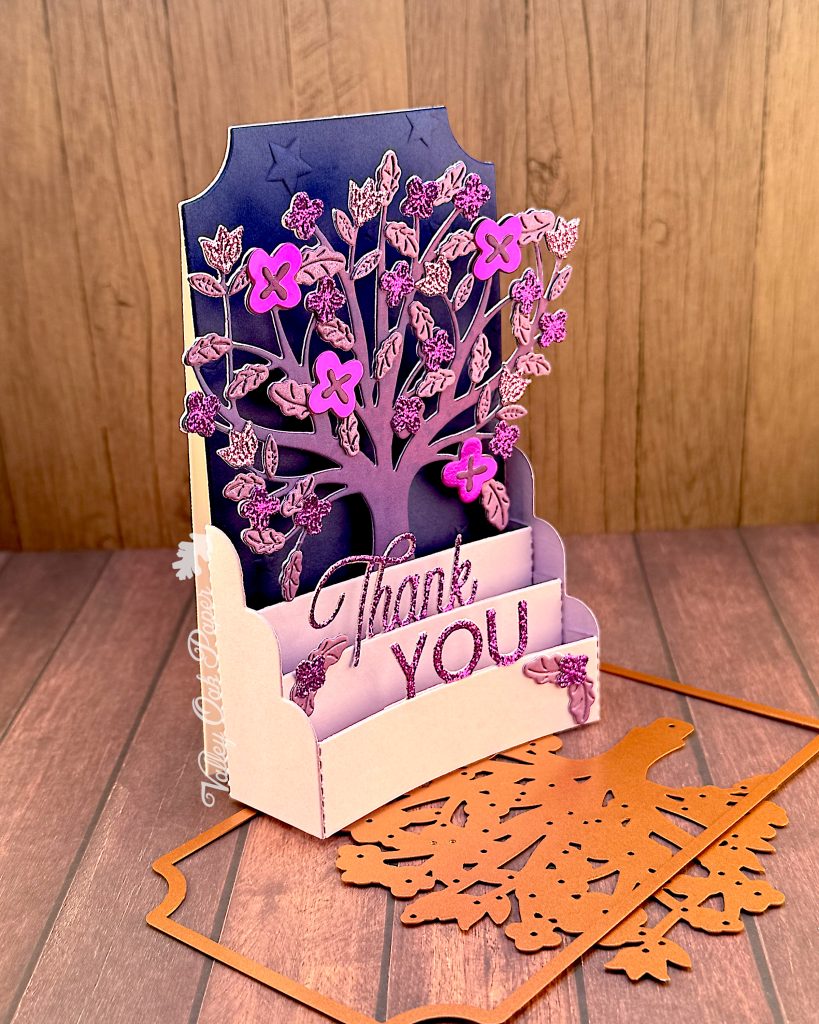
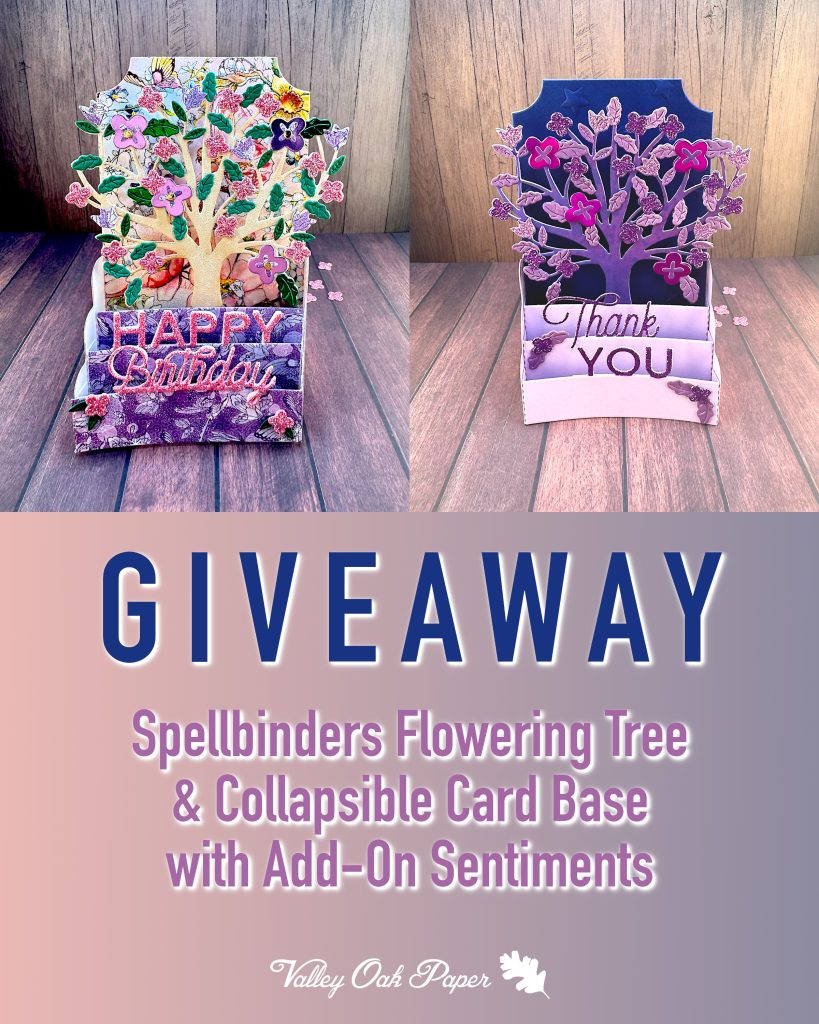
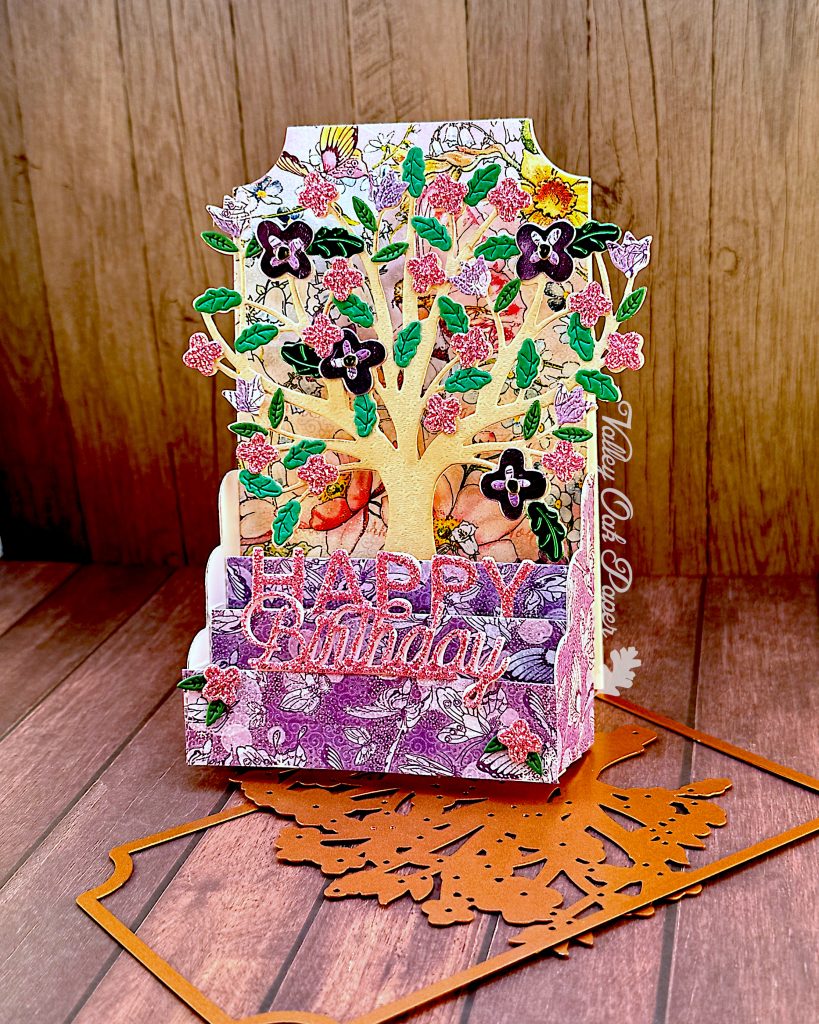
I created these two cards for an Instagram giveaway. It ends on March 24, 2025. I’d love it if you would participate!
Die Cutting
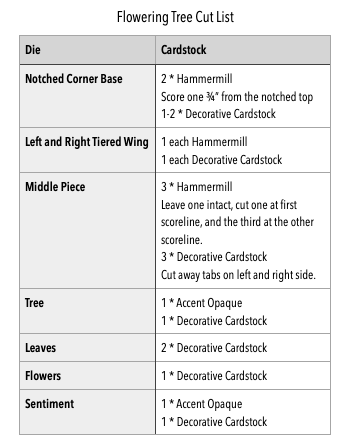
Start by cutting all pieces according to the cut list below. If you want flowers on the tiers of the card base, cut one more serving of those.
Glue the leaves to the tree, starting with the largest and working your way to the smallest ones. Do the same with the flowers. The cross-shaped die cuts are flower centers for the largest flowers. The tiny circles are flower centers for the smaller four-petaled flowers. I didn’t use them.
When you’re done with the tree, glue together the sentiments. If you’re using thick, decorative cardstock, you can cut off the bottom bar from it. That way the sentiment rests on top of the card base. I did that in the pink, patterned-paper tree because I used pink glitter foam for the sentiments.
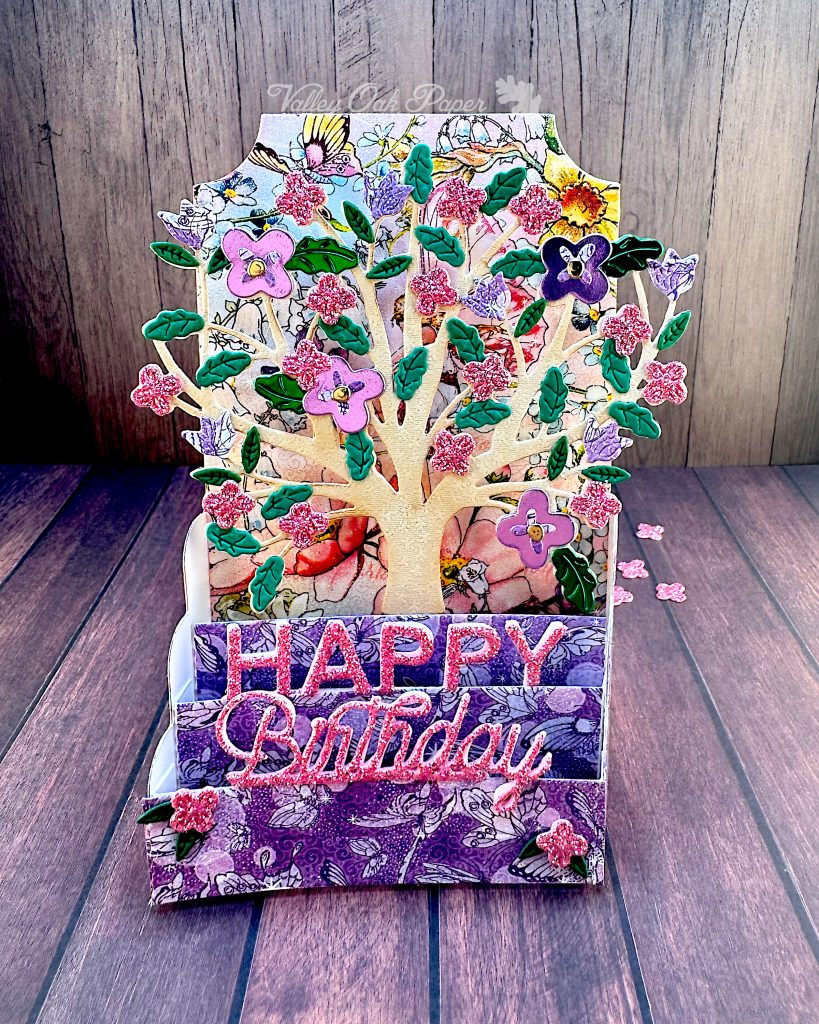
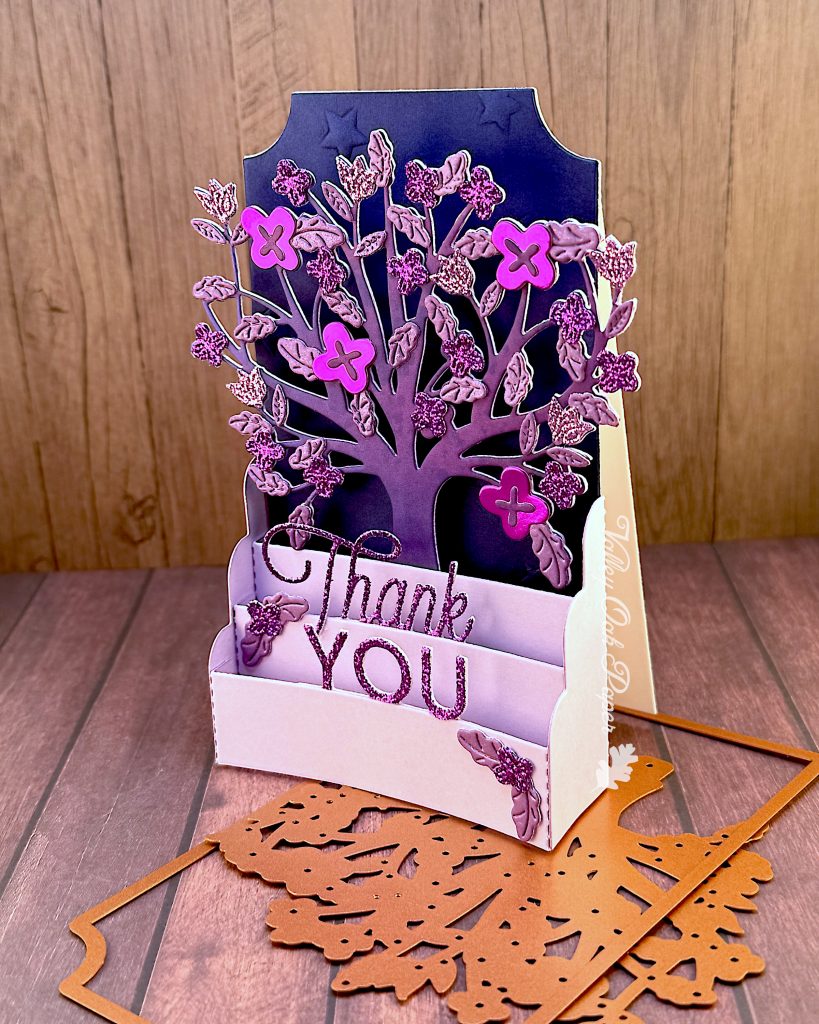
Card Base
Start by gluing the tabs on the left and right wings behind the notched base. Make sure that the bottoms sit flush with the bottom of the notched base. Everything is going to be wonky if they are out of alignment. Now you can glue the decorative cardstock to the front of the base. If you have a back deco piece, you can also glue it to the back now.
Take the tallest tier and glue the left tab to the left wing. Again make sure that it aligns with the bottom of the base. If you have a deco piece, glue it to the front of the tier now.
Take the middle tier and glue the left tab to the left wing, again lining it up with the bottom of the base. Glue the deco piece to the front, if you have one. Then cut off the surplus at the bottom.
Repeat the process with the lowest tier.
Measure the center of the tallest tier and glue the tree base to the back of it. Let it dry before moving on to the next step.
Add glue to the right tab of the tallest tier and adhere it to the inside of the right wing, making sure everything is square. While that dries, you can glue the first part of the sentiment to the back of the middle tier. Then glue the right tab of the middle tier to the right wing.
Repeat with the final part of the sentiment and the lowest tier.
Add a Space for Your Personal Message
Turn the card over and add glue to the top of the notched base that you scored in the beginning. Glue it to the back of the card base, so that you can write your personal message on the inside.
Embellish
Turn the card to the right side again and add flowers, pearls and other decorations.
