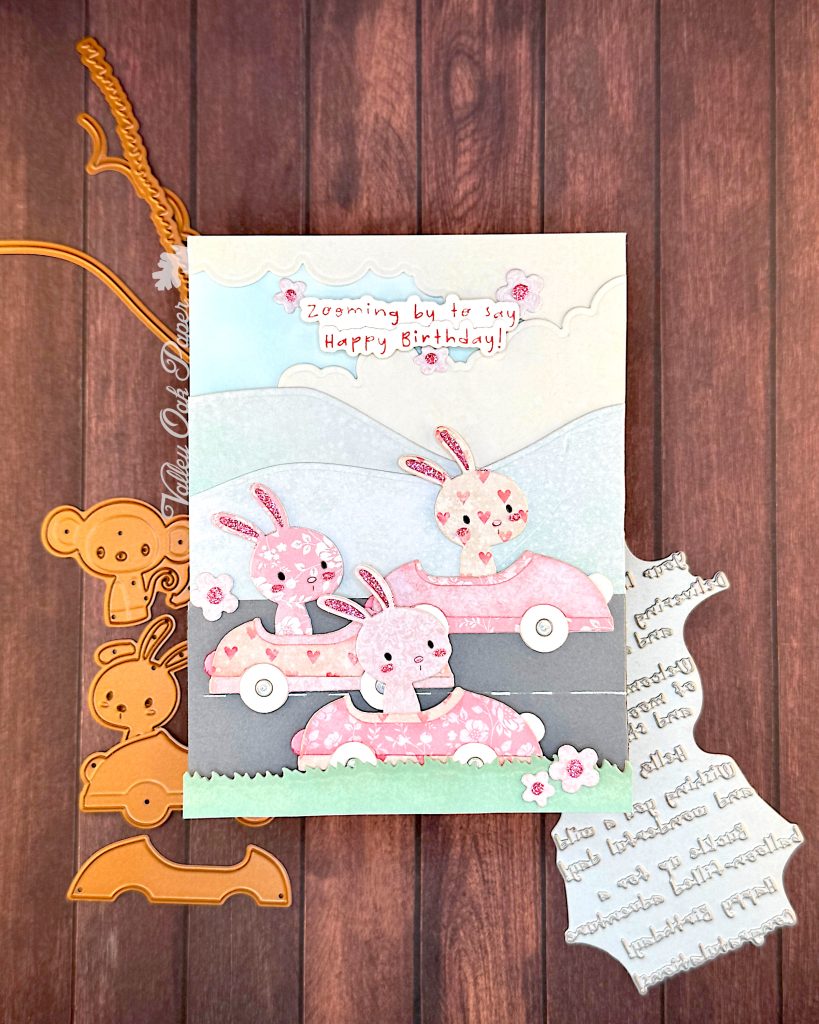
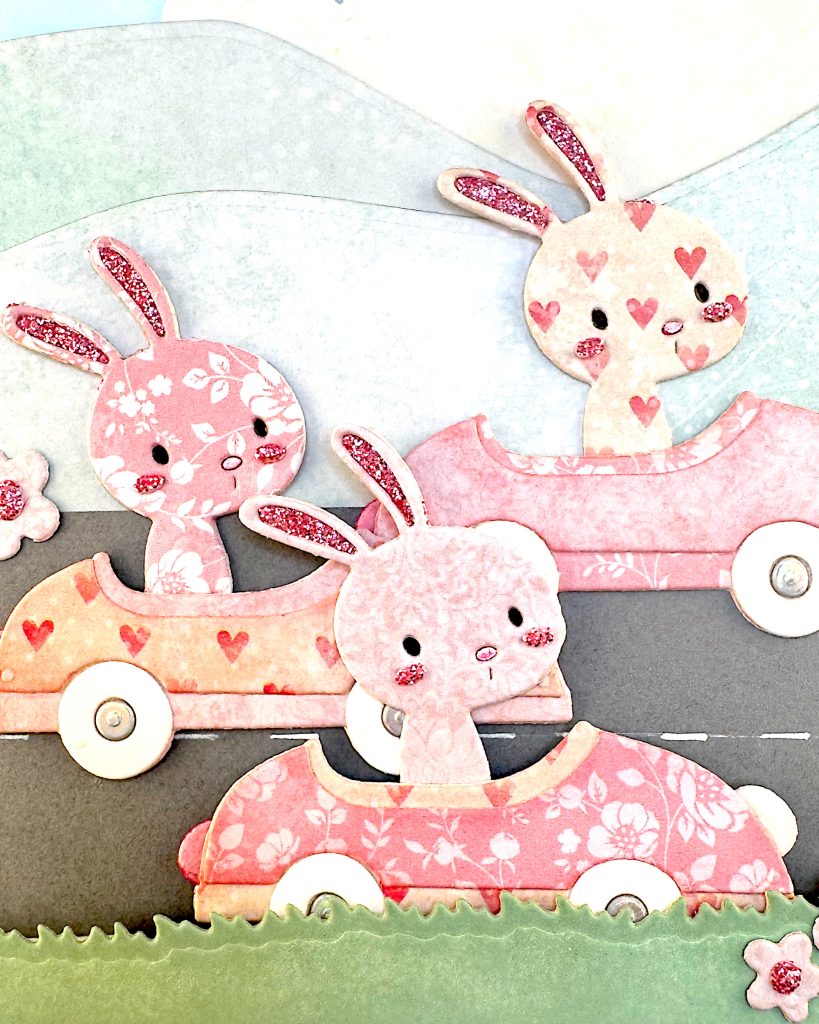
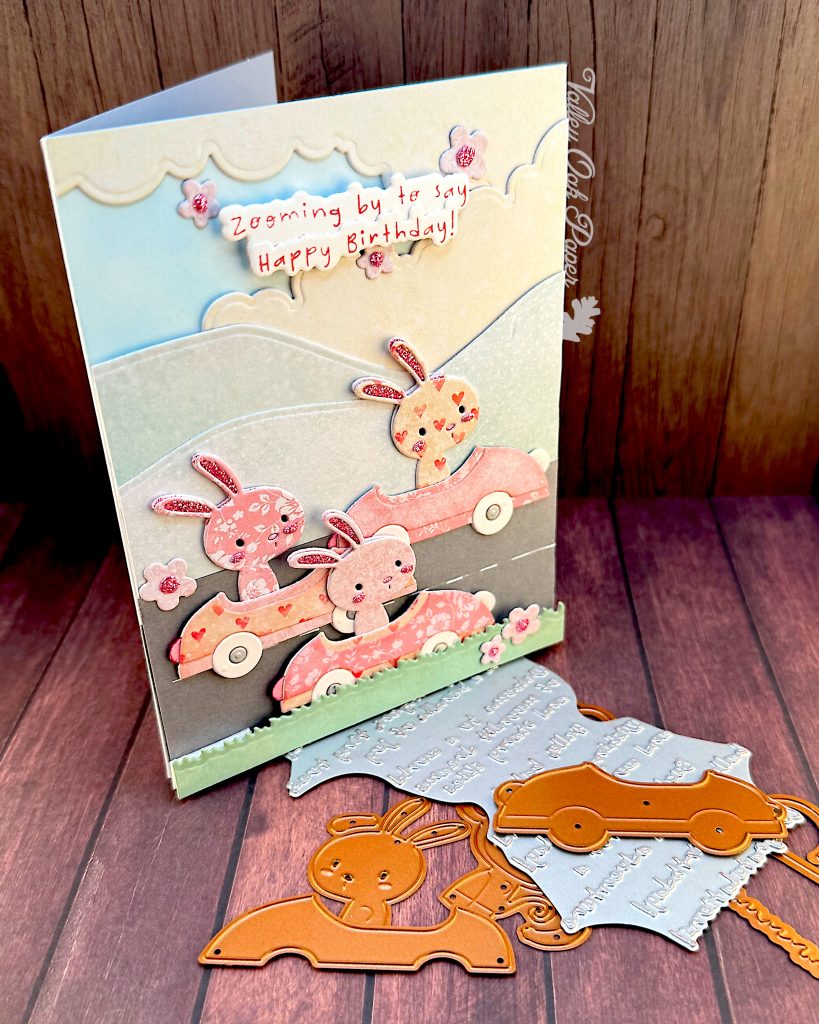
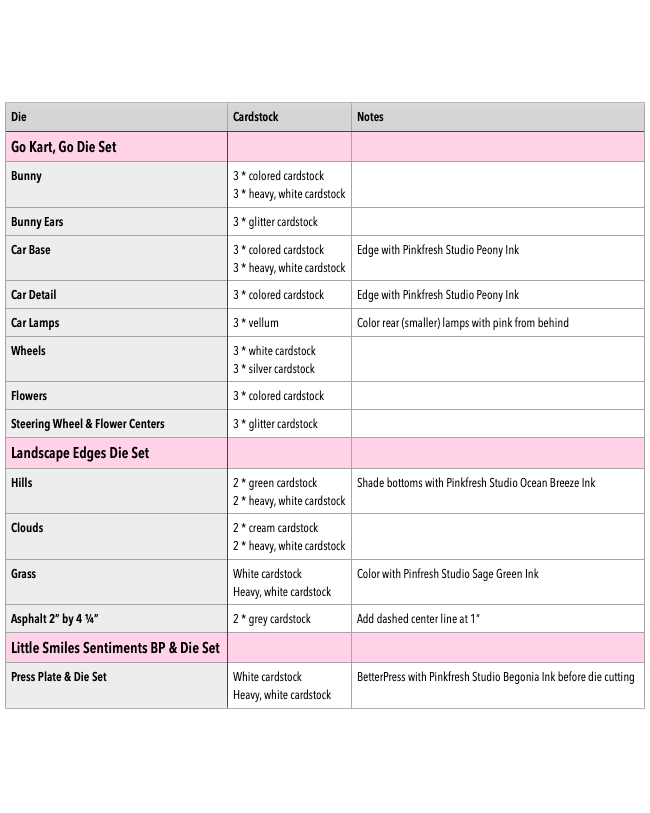
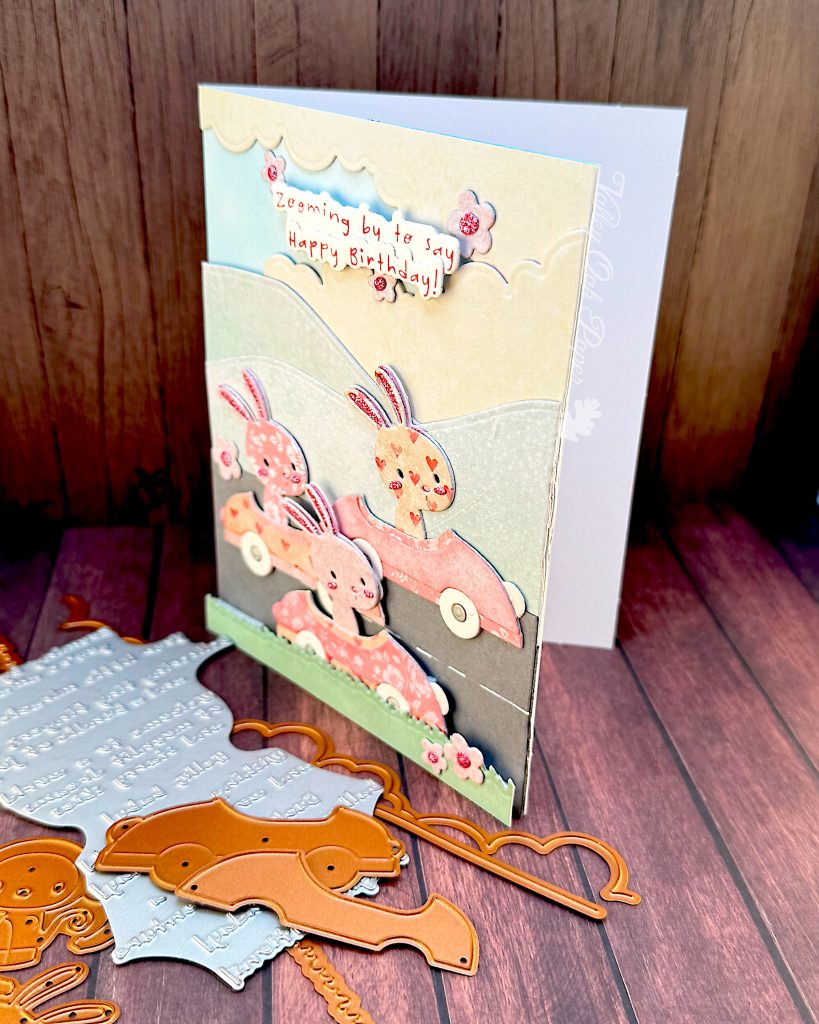
For this card I used the new Little Smiles Collection from Spellbinders. It’s full of cute critters, balloons and baby sentiments. The paper I used is an older Prima Marketing Frank Garcia collection called Magic Love. The soft pastels work well with the baby theme. I selected three pink papers for the bunnies and go karts, green ones for the hills and cream for the clouds. See below for the cut list.
Bunnies & Flowers
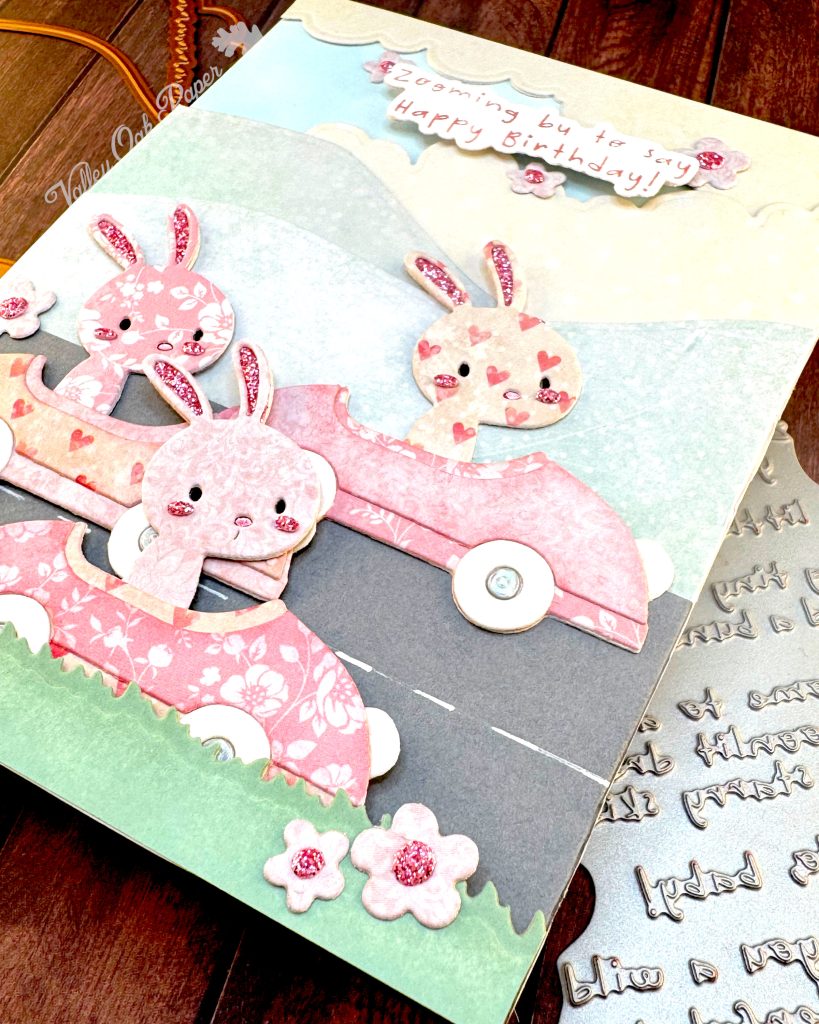
I left the eyes and nose in the heavy, white cardstock die cuts and added a piece of tape on the back to keep them in place. Next I colored the eyes dark brown and the noses pink. Then I placed the separate inside-ears die cuts at the top of the bunnies’ heads. I glued the pattern paper bunnies on top. Finally I added pink glitter to the cheeks.
I also glued the pink glitter paper flower centers to the flowers.
Go Karts
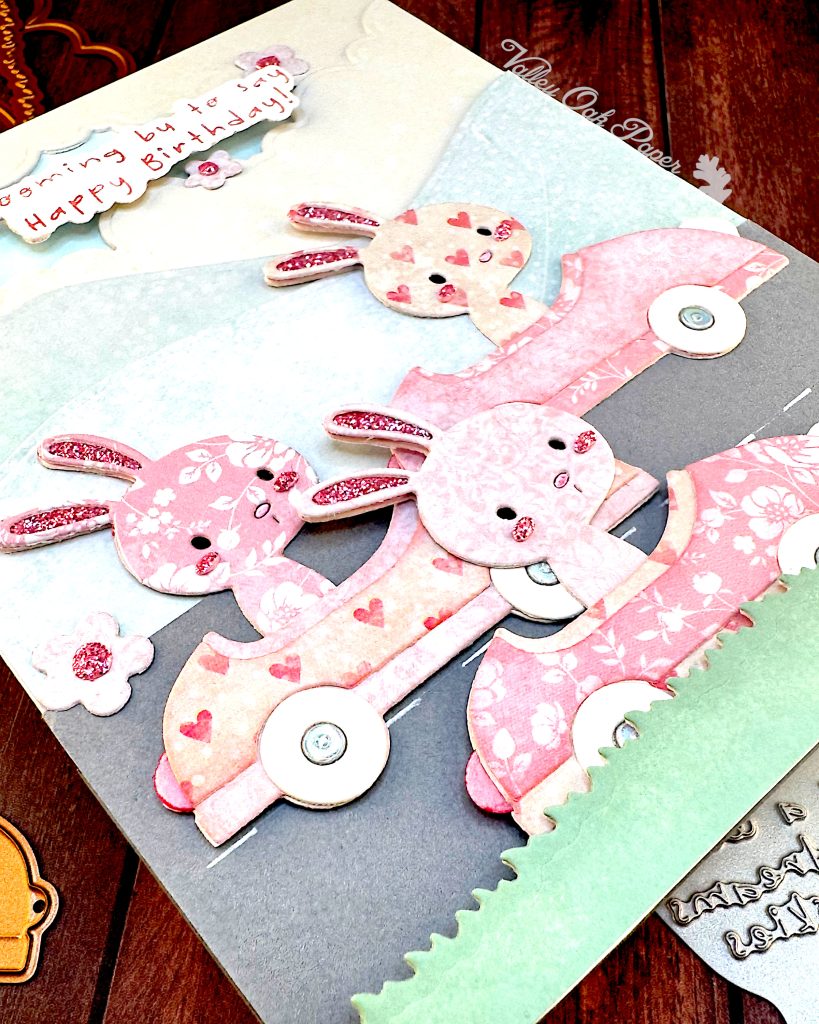
I cut all the pieces according to the cut list. Then I edged the go karts with Pinkfresh Studio Ink in Peony and added pink marker to the back of the tail lights.
First I glued the tail and headlights to the heavy, white cardstock. Then I added the colored cardstock for the base, then the tires and hubcaps. I finished the go karts with the detail layer.
I decided how I was going to order the go karts and glued the bunnies with complimentary patterns to the backs.
Sentiments
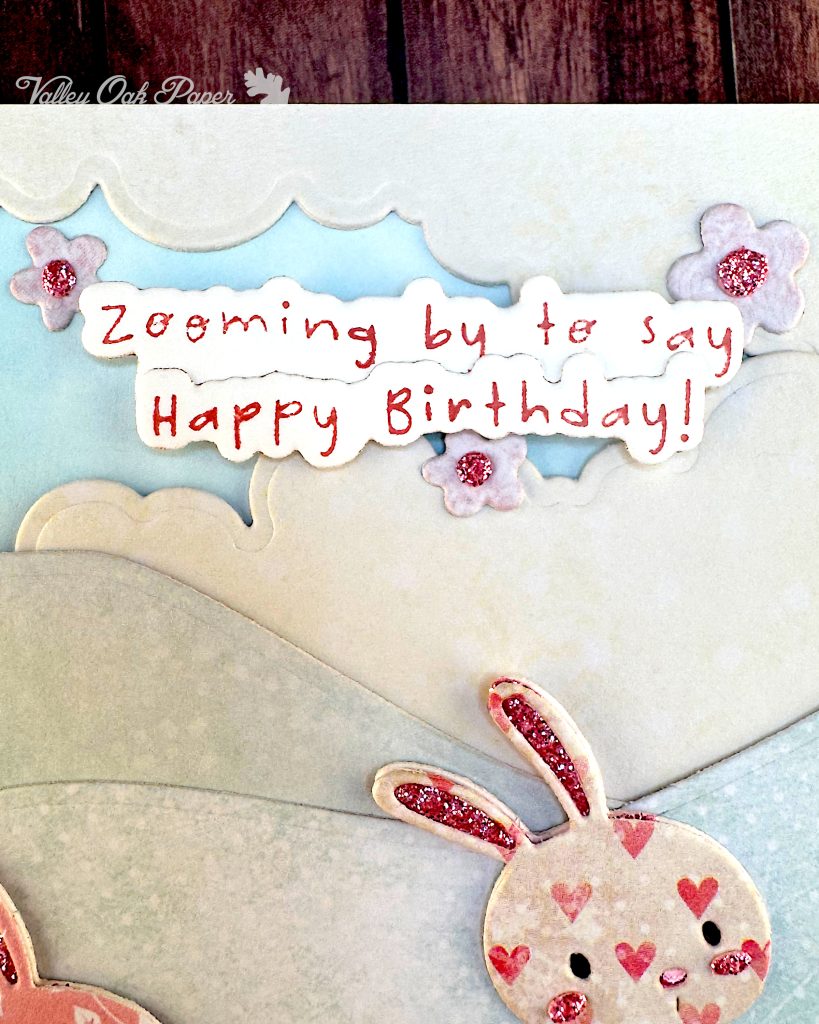
The Little Smiles Sentiment Press Plate is a single plate. So I inked it up with Pinkfresh Studio Begonia Ink and ran it through my Platinum 6. Then I die cut all the sentiments with the included die. I also cut a piece of heavy, white cardstock for stacking.
I glued the Happy Birthday sentiment to the front of the Zooming By sentiment so that the second line doesn’t show. Then I glued the heavy, white cardstock Zooming By die cut to the back.
Assembly
I started putting together the card from the top. First I measured where the clouds would go. Then I ink blended with Pinkfresh Studio Ocean Breeze in the gap left by the clouds. When that was done, I glued the first cloud bank to the top of the card. It’s leaning to the right. Next I added some more heavy, white cardstock behind the second cloud bank, to keep it level. Then I glued it down so that it leans in the opposite direction.
I ink blended with some more Pinkfresh Studio Ocean Breeze at the base of the two hill die cuts. I placed the first one leaning to the right and the second one leaning to the left.
The asphalt is just a straight piece of grey cardstock cut with my trimmer. It’s two inches tall and I added a dashed center line along the middle. I had to build it up from behind, so it would be higher than the hills behind it.
With the asphalt in place, it was time to place the bunnies. I started with the bunny furthest from the viewer and placed it high on the grey cardstock and close to the right edge of the card. Next I glued the mid-foreground bunny close to the left side of the card and with the wheels near the center line. I popped up the go kart nearest to the viewer with some foam tape in the middle of the card.
Then I placed the narrow strip of grass in front of the lowest go kart. I had to double up the foam tape to keep it level.
With the main part of the card done, I turned to the sentiment. I had to add two layers of heavy, white cardstock behind the left side. Then I added foam tape behind it and adhered it where the two cloud banks meet.
Finally I added some flowers around the sentiment and near the go karts.
With the pastel colors and pink glitter, this is a very cute card. I would have given my right arm for a pink floral go kart when I was a little girl. The cute bunnies are the icing on the cake.

