This year I’m co-hosting an Instagram hop using the Spellbinders Stitchmas Advent Calendar. We’re hopping on even days, starting on December 2nd. A visual product link list is at the bottom of this page.
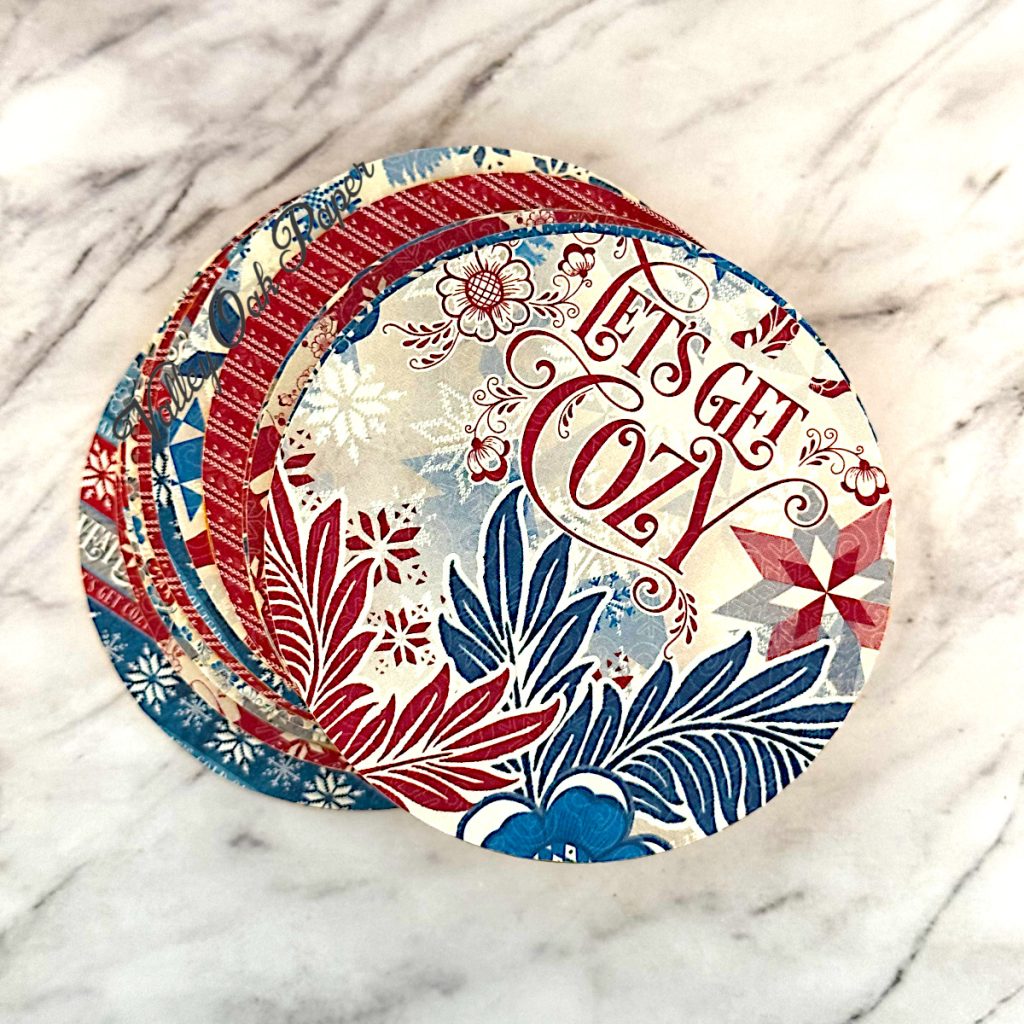
My plan was to create round ornaments with my stitched die cuts, using wooden coasters as my base. I started by painting the edges with gold paint. Then I added Graphic 45 Let’s Get Cozy paper from their 8” by 8” paper pad to the back sides. On the front I used paper from the 12” by 12” solids pack instead. I also inked the edges with a matching ink on both sides.
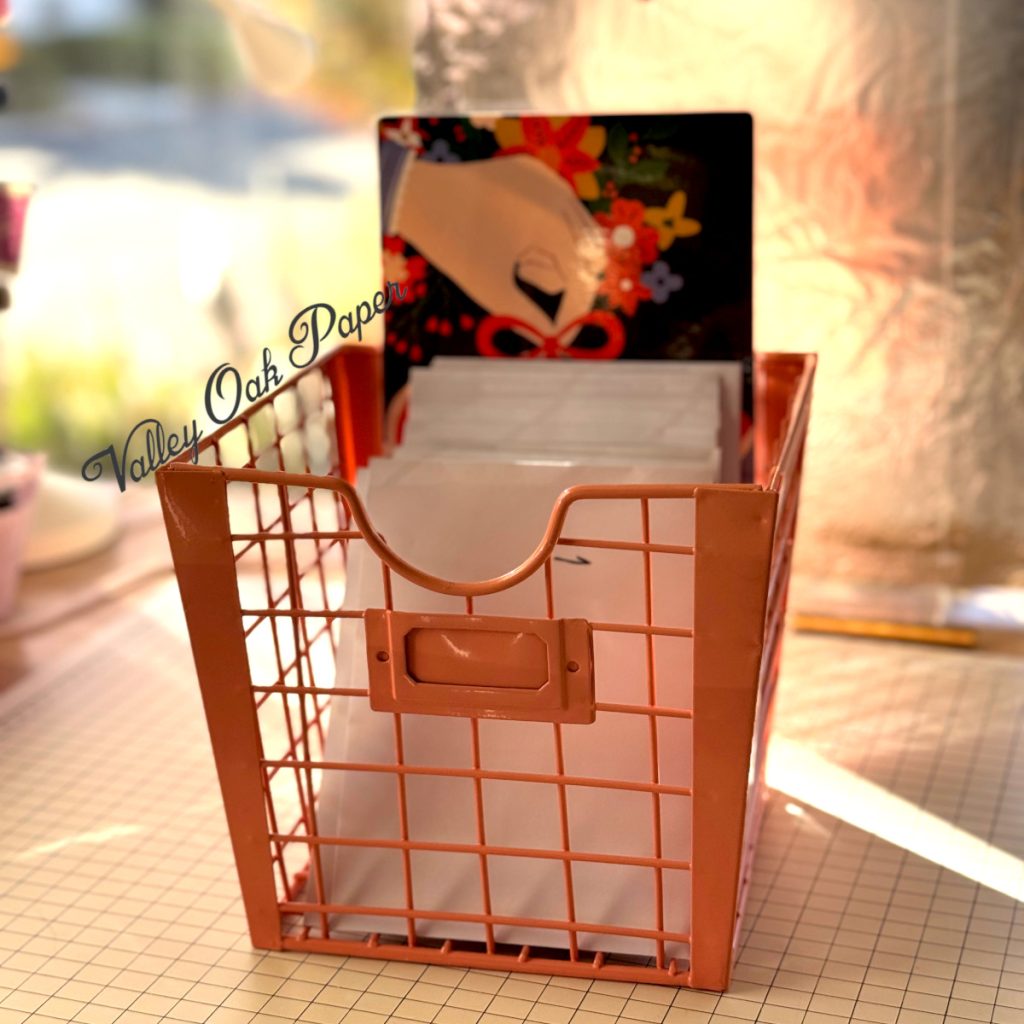
Then it was finally time to open the advent calendar! I opened each door in turn, taking a photo of each die set in turn and then putting them in numbered envelopes. I also wrote the floss colors I wanted to use on the stitching dies on front of the envelope.
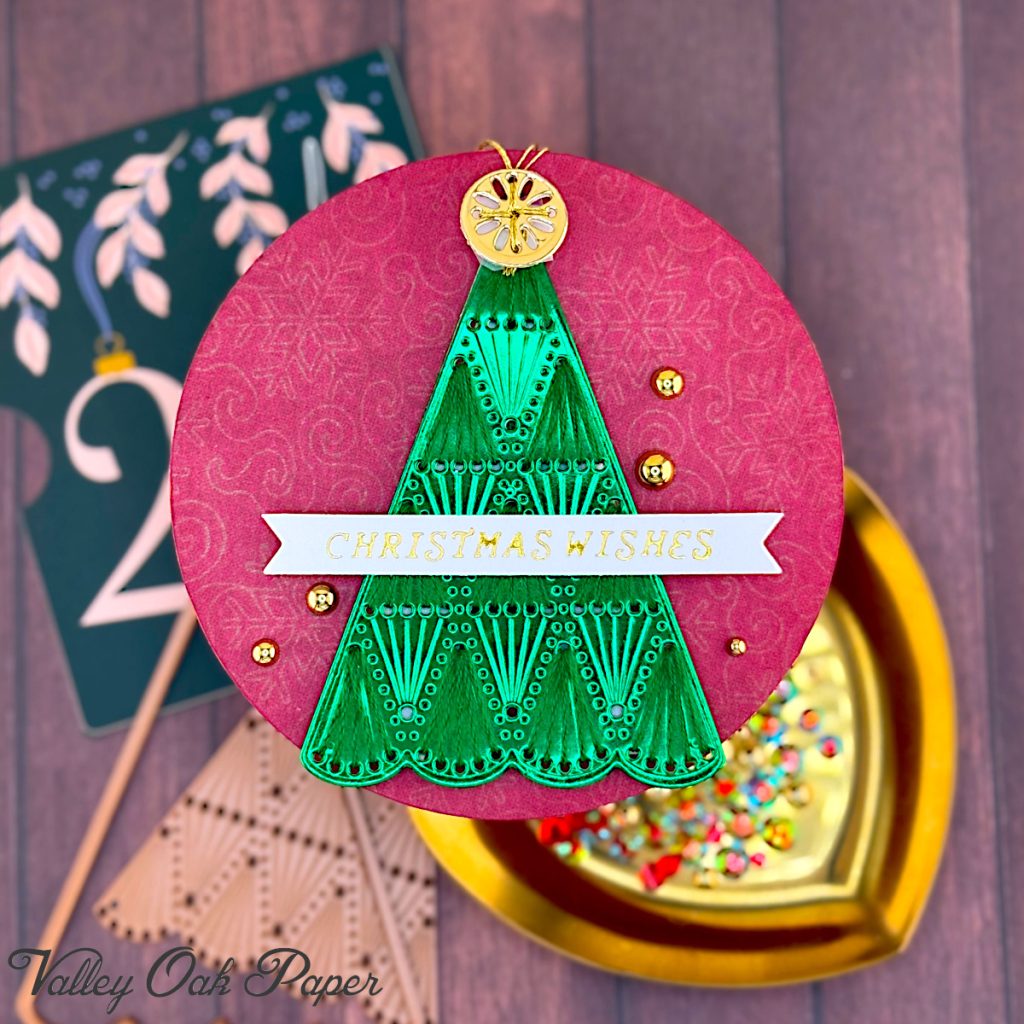
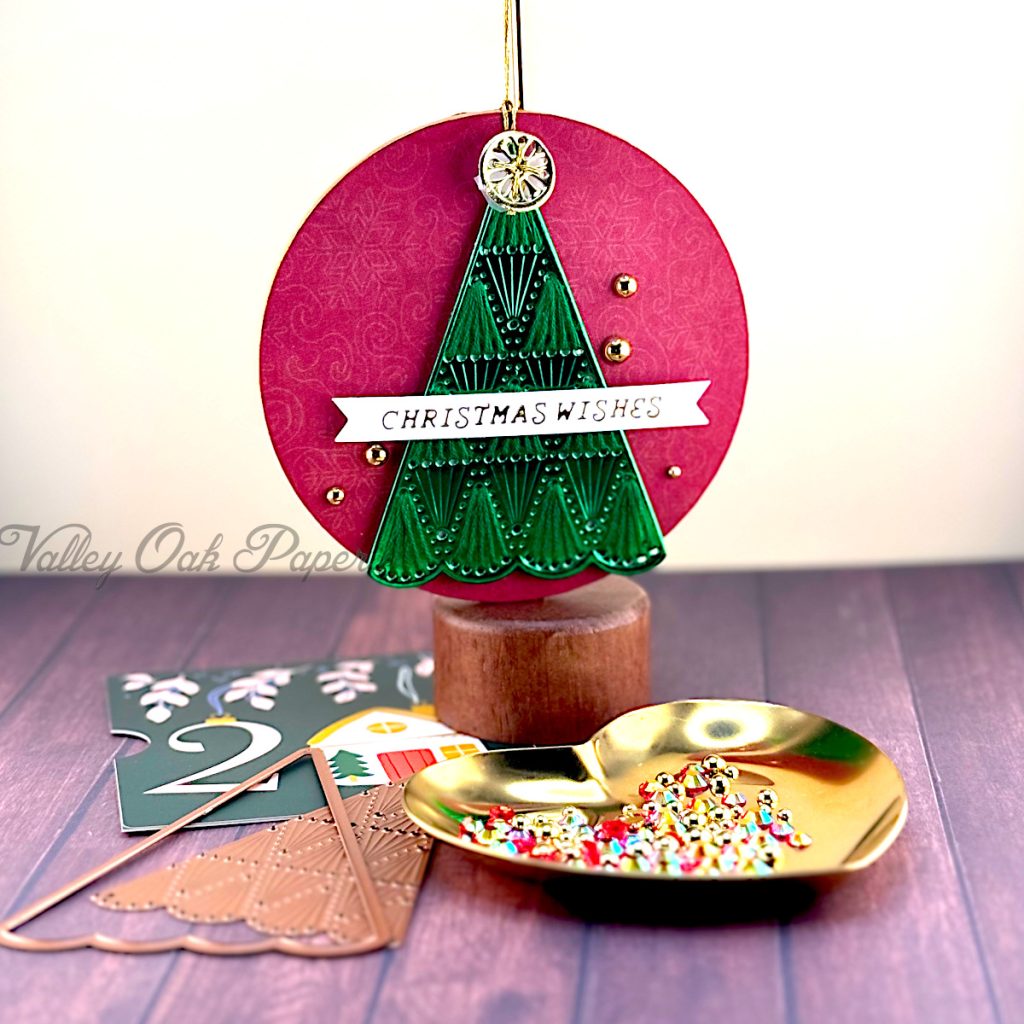
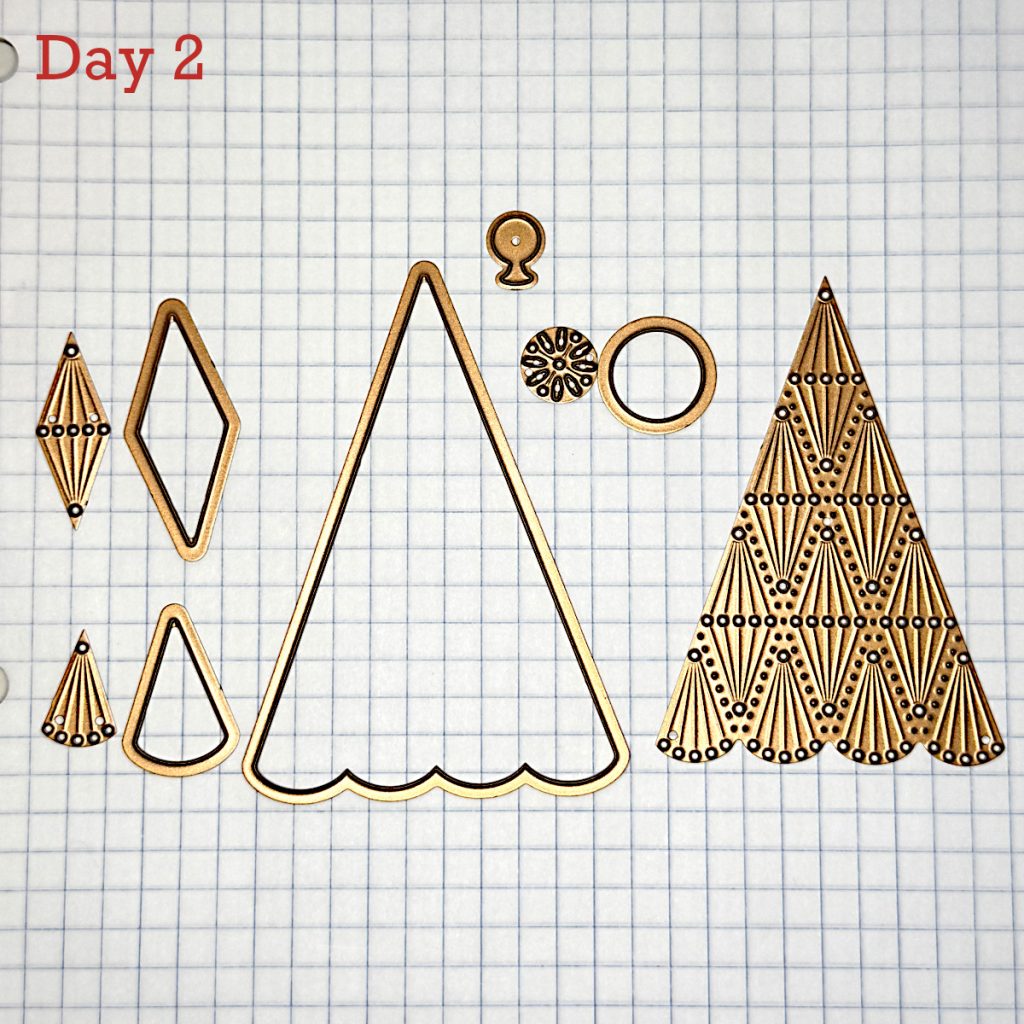
Day 2 – Stylized Tree
I cut the tree from green foil cardstock and the circle from Recollections Gold Foil Cardstock.
For my stitching I decided to keep it simple and only stitch the triangles that point up. I like the contrast between the green floss and the green metallic cardstock. The circle only required four stitches of DMC Diamant Gold Metallic Floss.
The sentiment is again foiled in gold Glimmer foil. The plates are from a set called Spellbinders All You Need Sentiments, that sadly seems to be discontinued.
I finished the ornament with some Pinkfresh Gold Pearls.
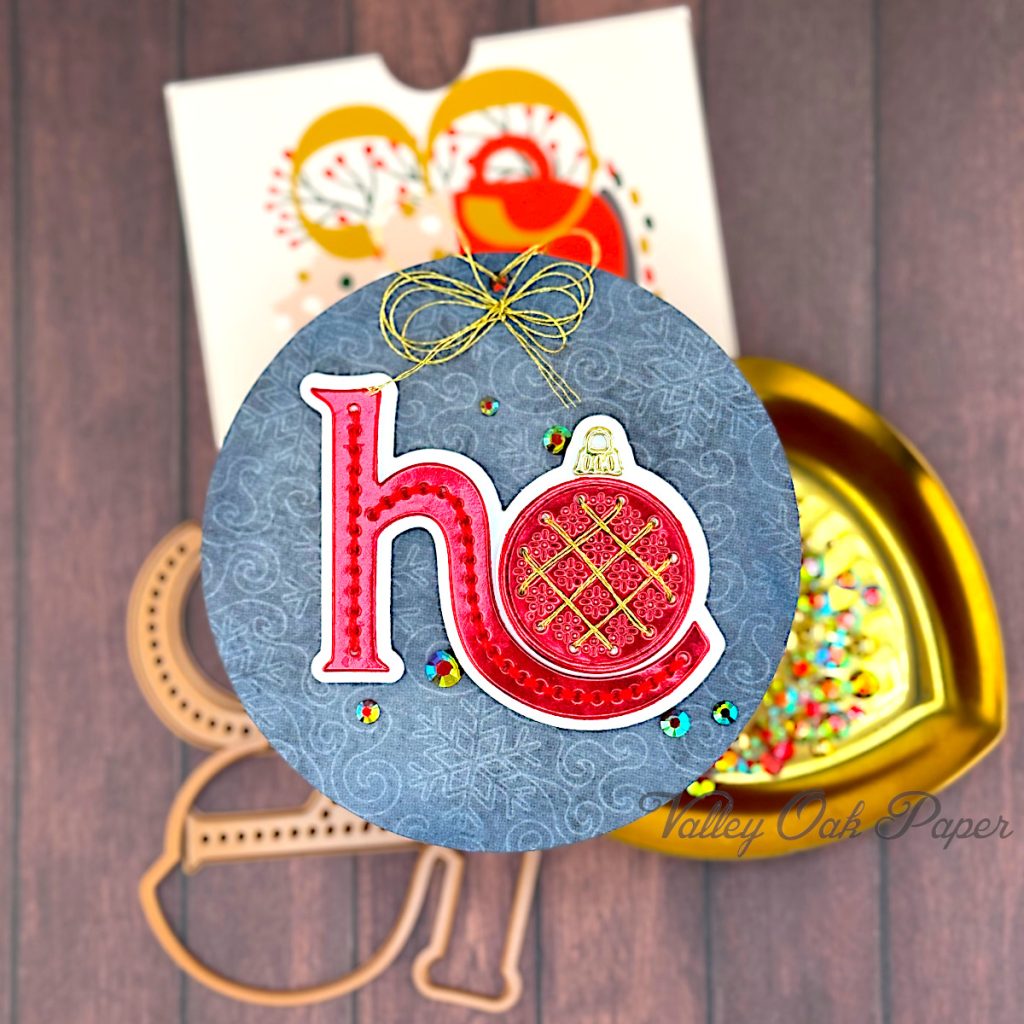
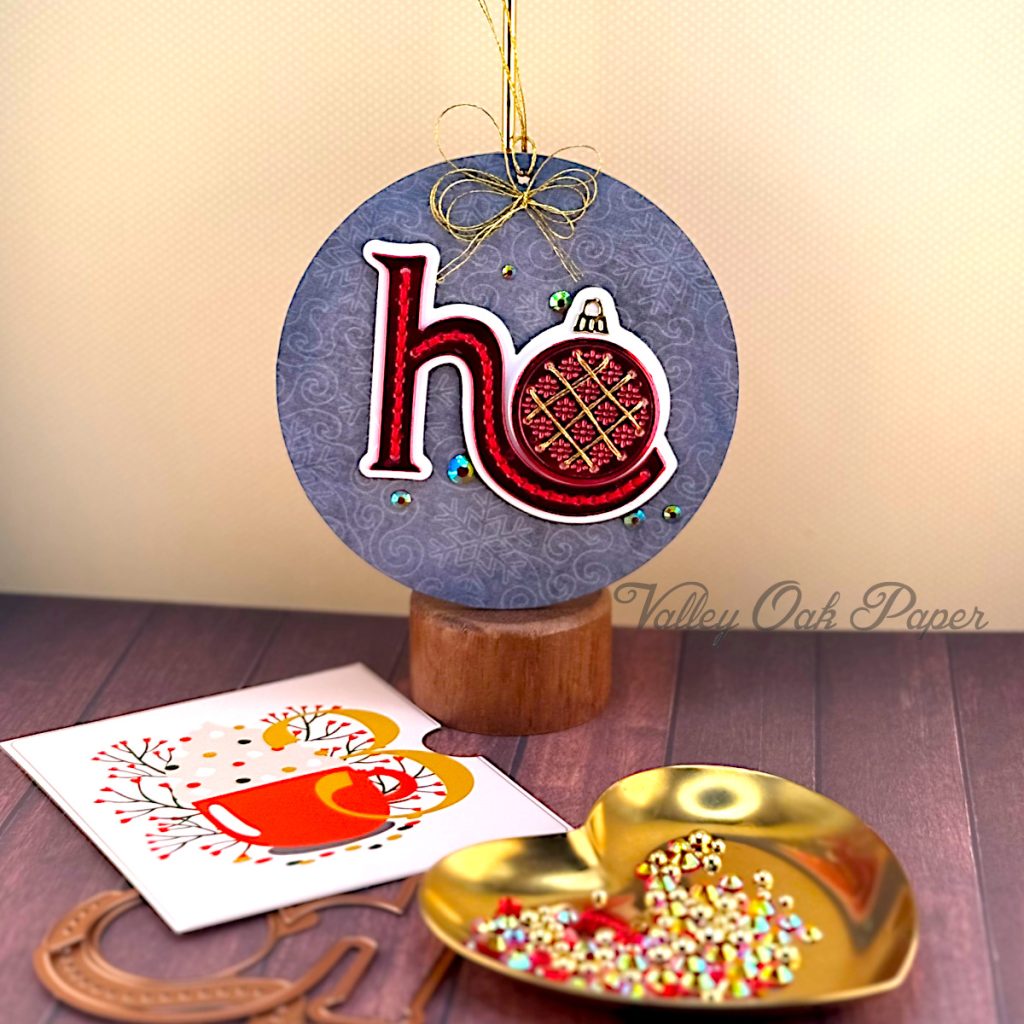
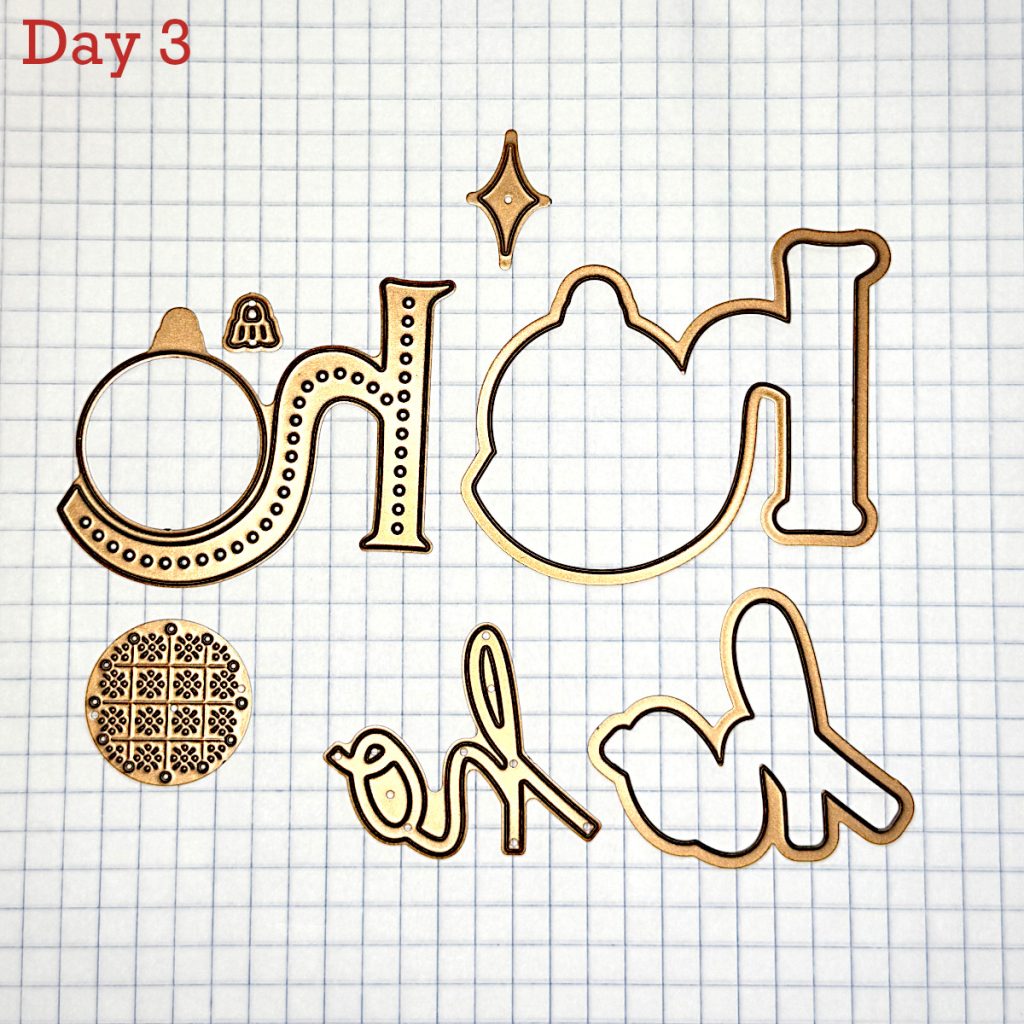
Day 3 – Ho-Ho-Ho
I cut out the shadow layer from Hammermill Cardstock. The H and O I cut from Recollections Red Foil Cardstock and the ornament topper from Recollections Gold Foil Cardstock.
Then I stitched the H in red floss and the O in DMC Diamant Gold Metallic Floss. I glued the die cut letters directly to the shadow layer and popped up the shadow layer with foam tape.
Then I finished off the ornament with some red gems from Trinity Stamps.
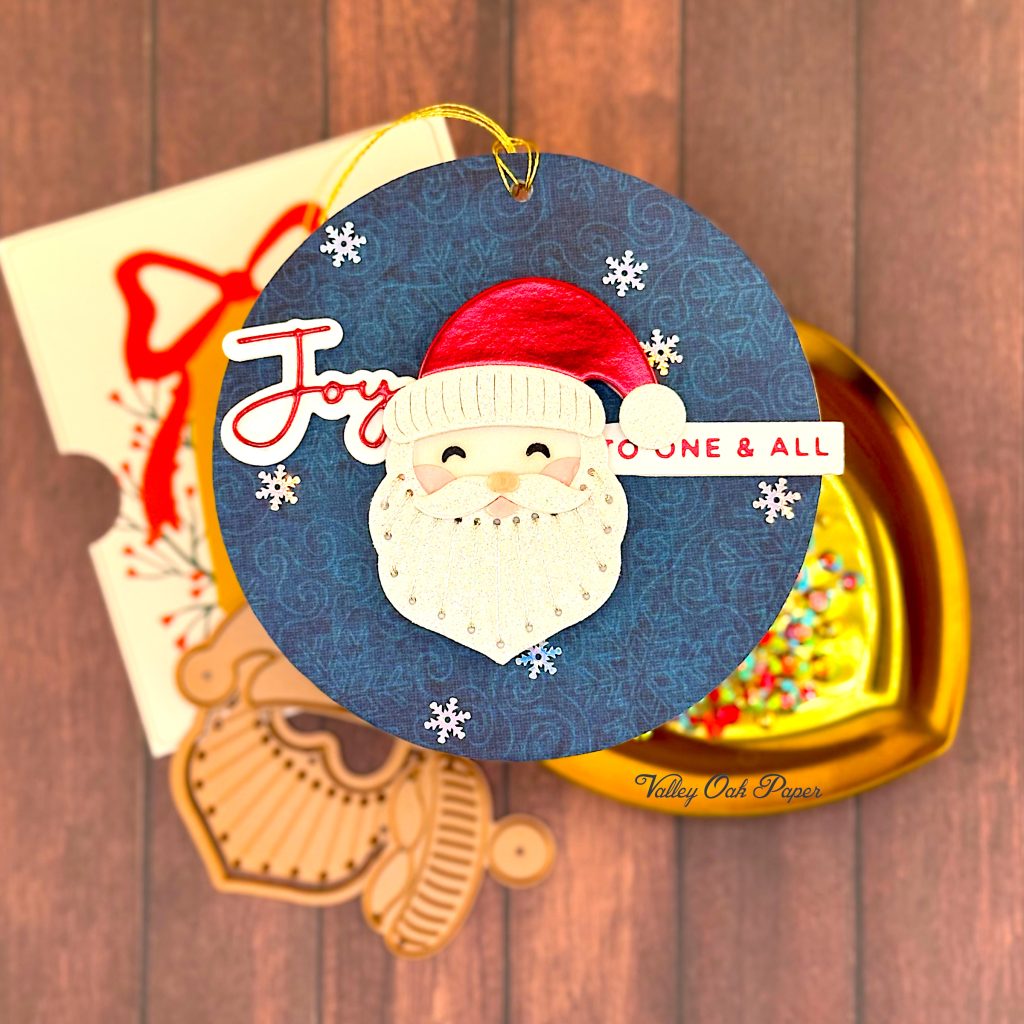
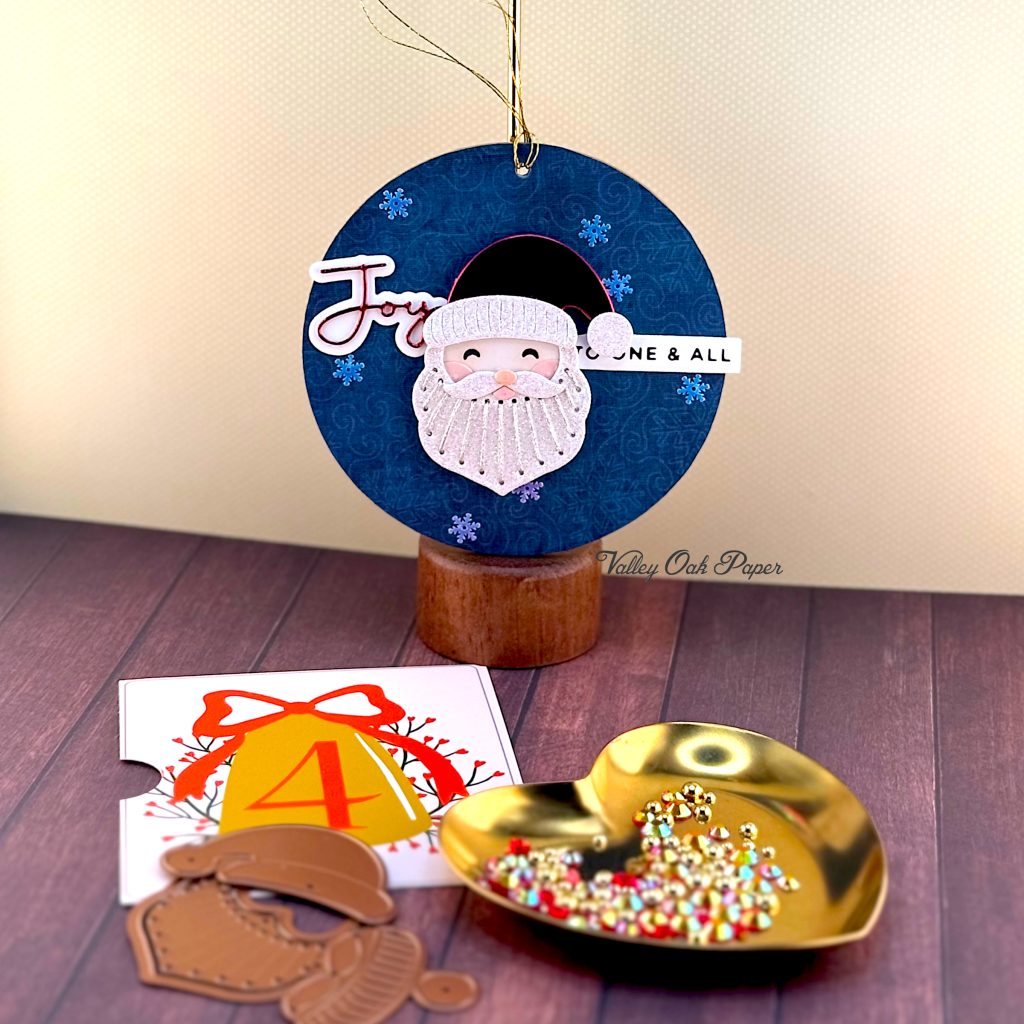
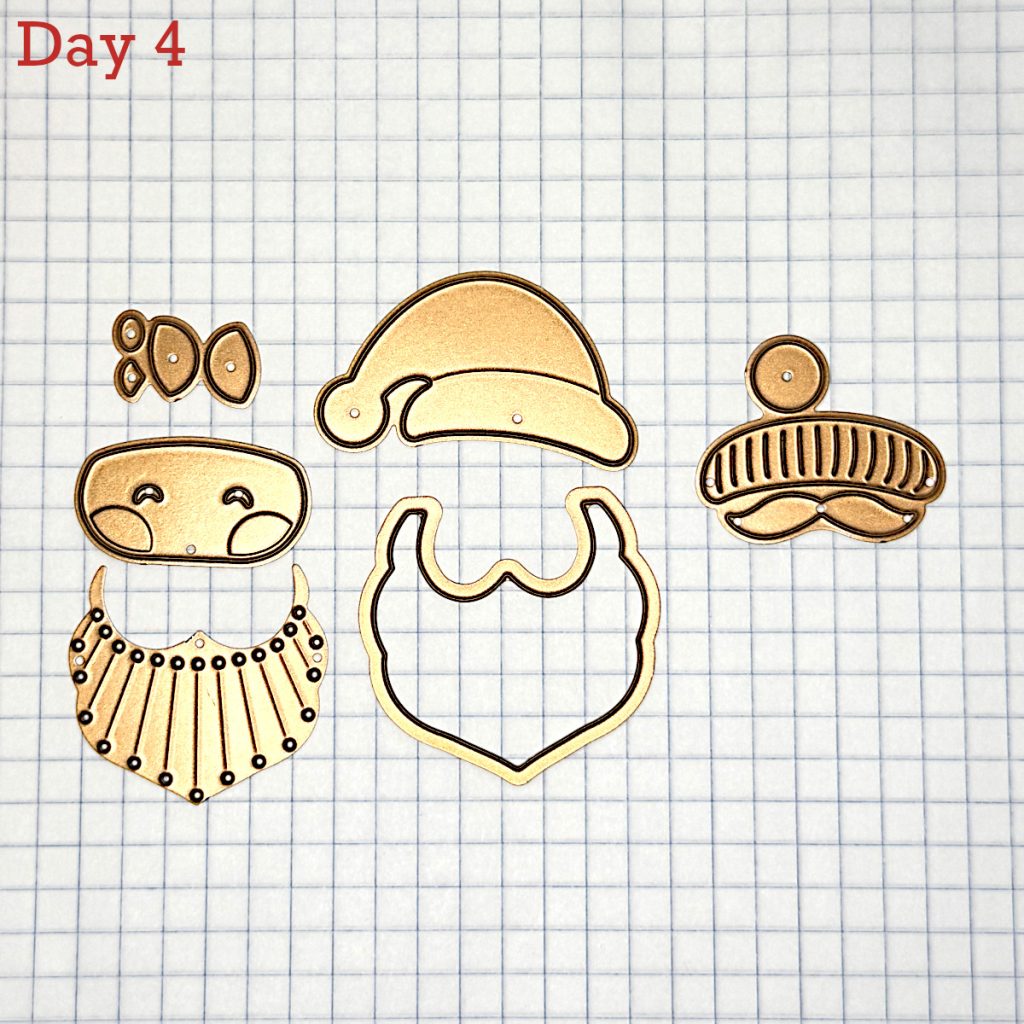
Day 4 – Santa
I cut out the hat from Recollections Red Foil Cardstock and the beard, mustache and hat trim from Recollections White Glitter Cardstock. Everything else I used Hammermill for.
I ink blended the face with various Pinkfresh Inks and placed a piece of black cardstock behind the eyes. Then I stitched the beard with white glitter floss.
The Santa is popped up on some foam tape. The sentiment is from a Spellbinders set called Christmas Die & Glimmer Sentiments. It’s on sale for only $10 as of writing this. I foiled it with Red Glimmer Foil on Hammermill and used Recollections Red Foil Cardstock for the die cut “joy.”
I finished off the ornament with some snowflake sequins from my stash.

