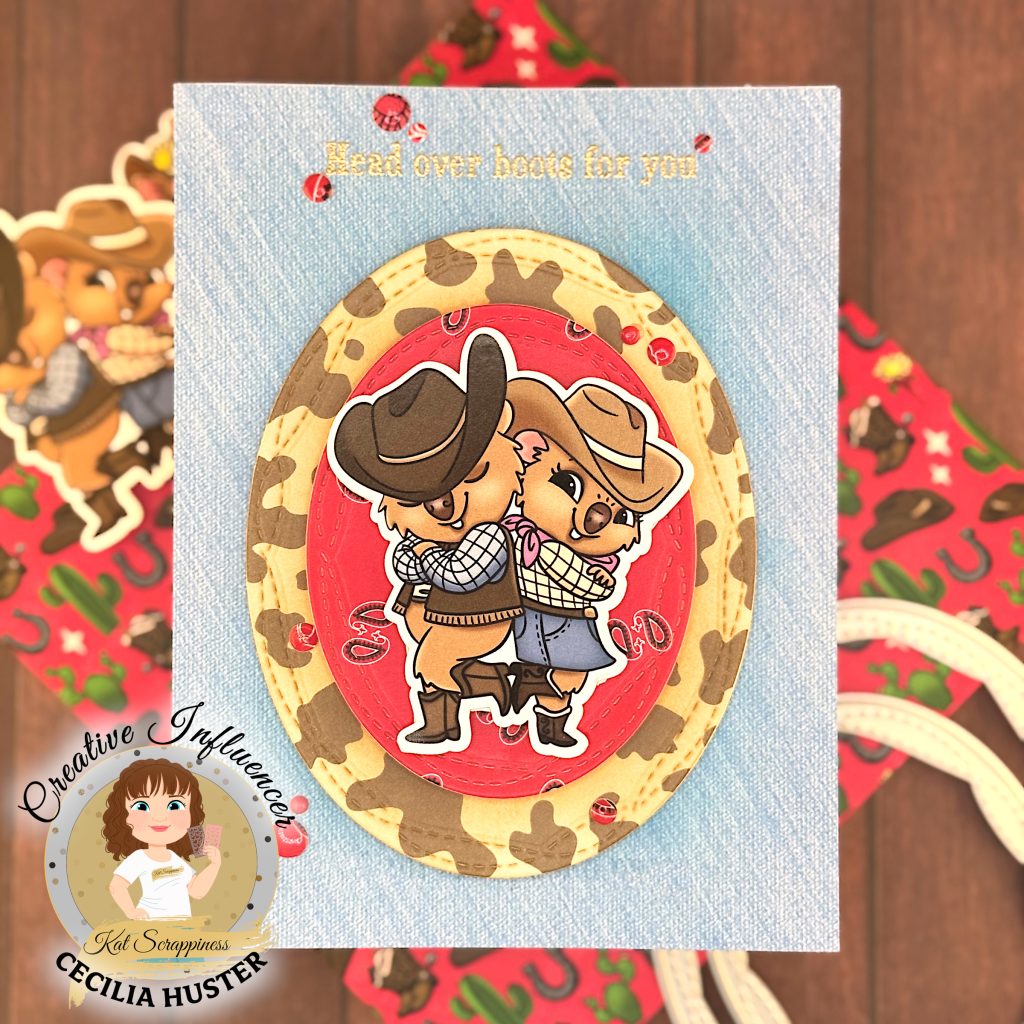
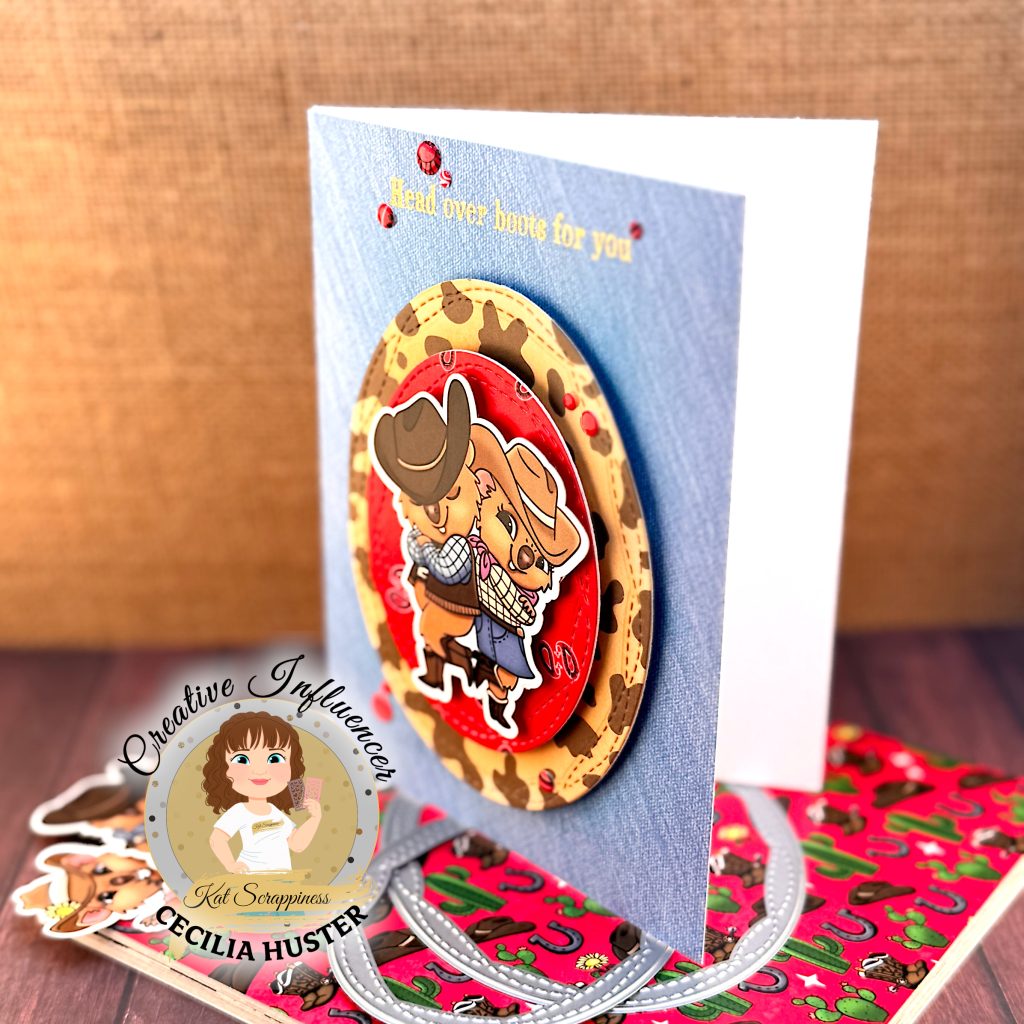
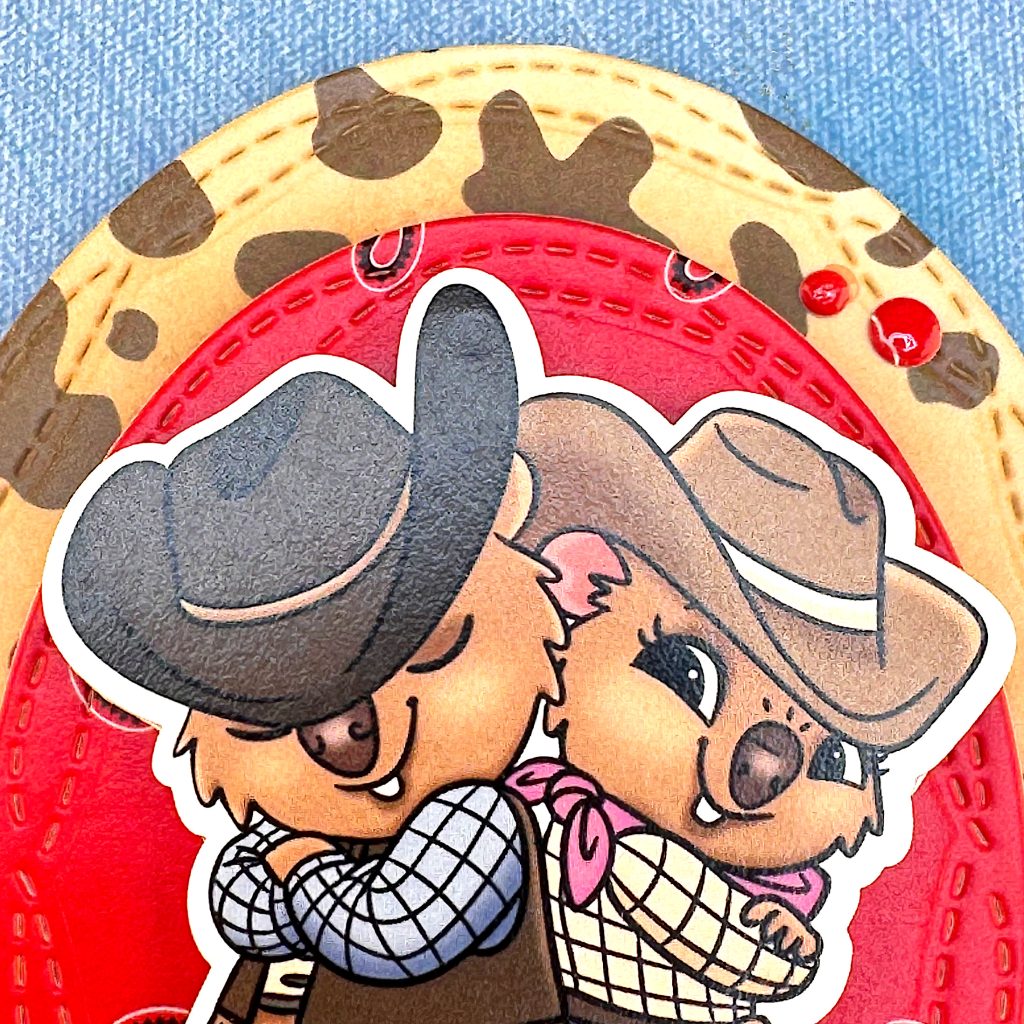
This is the second card I created with the Kat Scrappiness Cowboy Quokka Ephemera Pack and 6 by 6″ Paper Pad. Just as in the first card, I started by tracing around my two quokkas. Then I cut out the silhouette from heavy, white cardstock, so I could stack it under the die cut piece. Then I added foam tape behind it.
Backgrounds
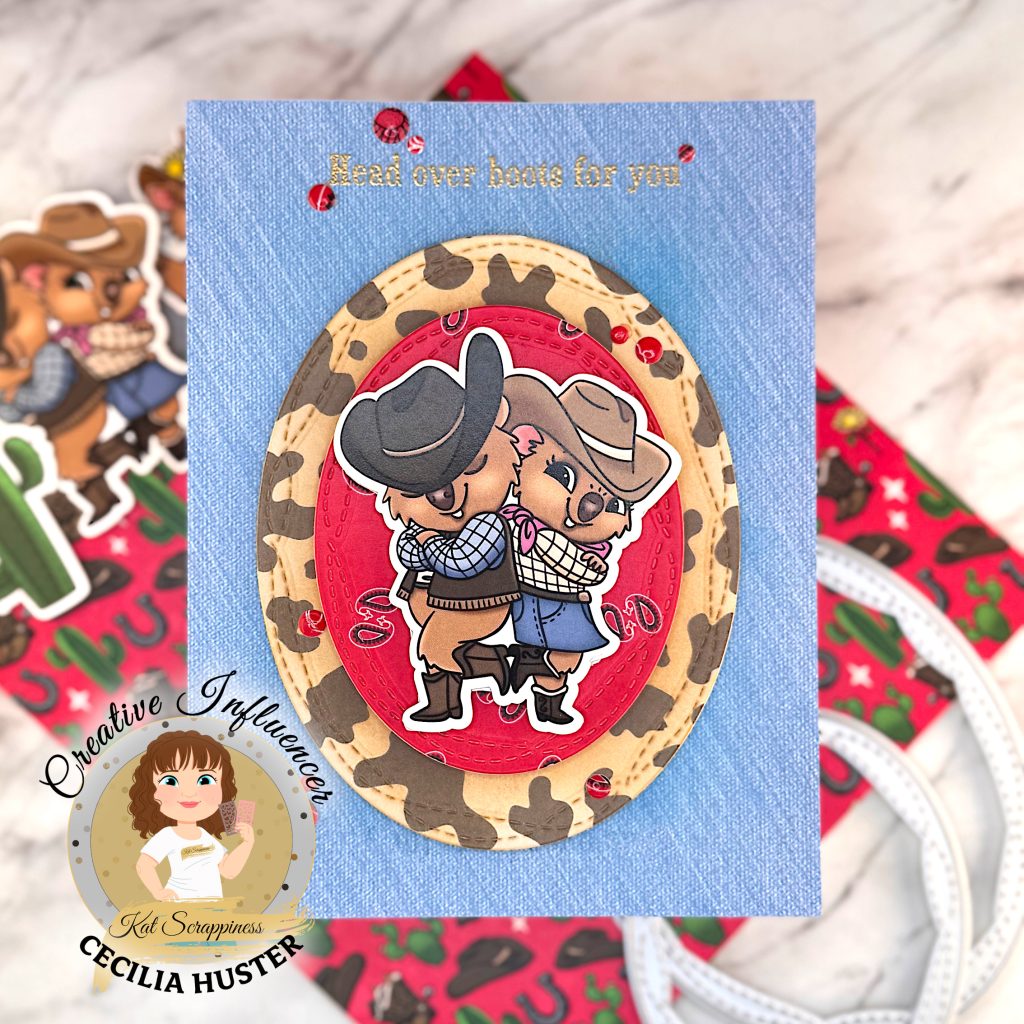
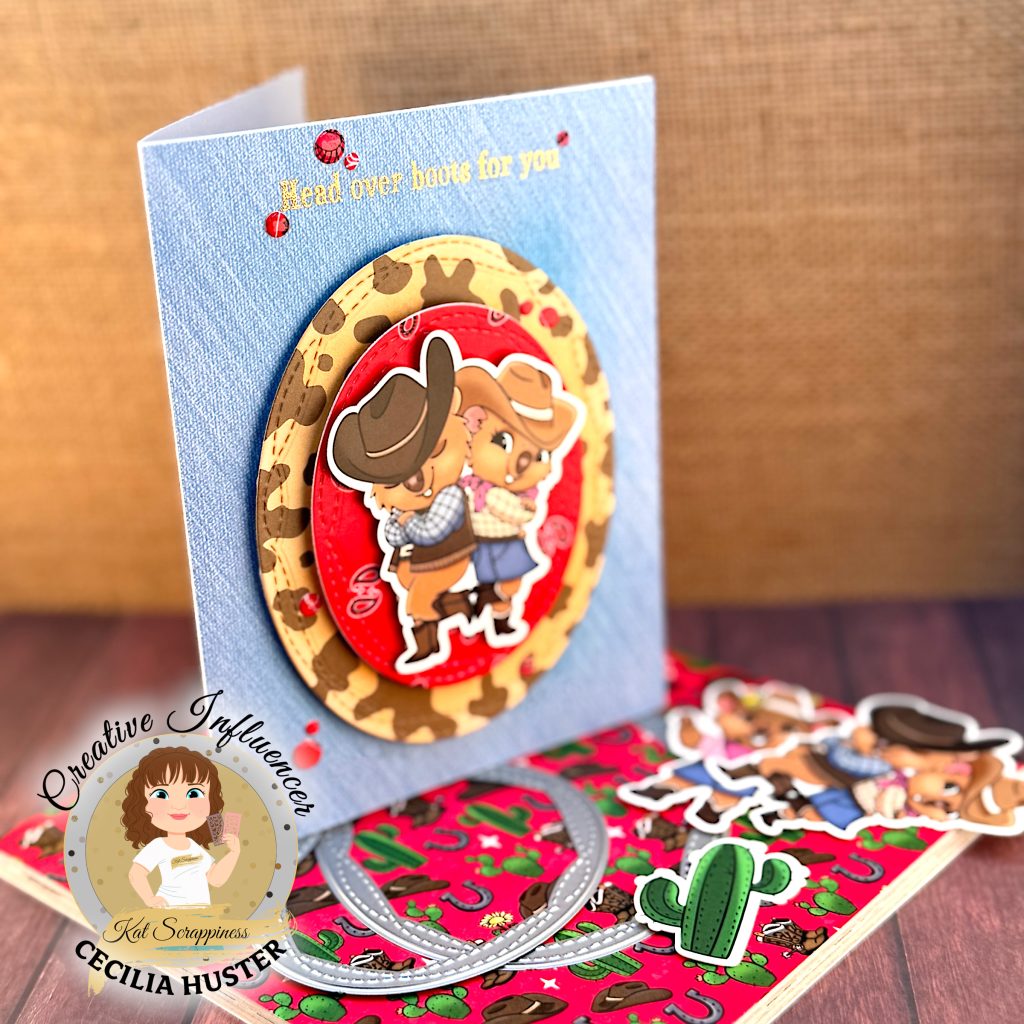
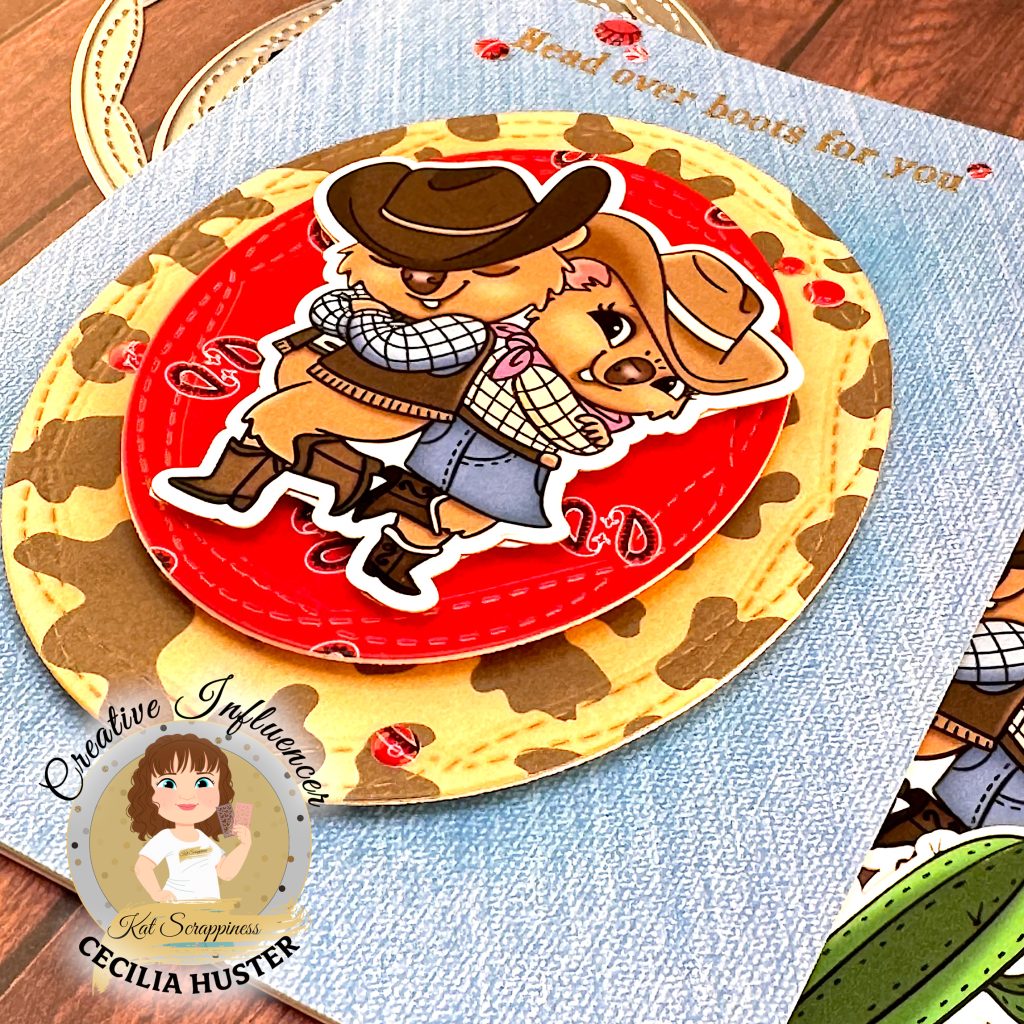
This time I selected a red bandana-patterned paper and cut out an oval from the middle. I also cut the same shape from heavy, white cardstock and stacked them. Then I added foam tape behind my oval.
Next I picked out a brown cow pattern and cut a larger oval from it. I also cut the shape from heavy, white cardstock and stacked them. Then I added foam tape behind my larger oval.
Finally I glued a piece of denim-pattern paper directly to the front of my notecard.
Sentiment
Next I selected a sentiment from the Cowboy Quokka Sentiment Stamp Set. I placed my notecard in my Misti and dry fitted the ovals, so I could determine the placement of my sentiment.
I stamped and heat-embossed it in gold near the top of the card.
Assembly
Then it was a simple matter to adhere the quokka couple to the small oval, which I adhered to the larger oval, which I adhered to the notecard.
For embellishments I die cut small circles from the red bandana-pattern paper and sprinkled them across the card. I finished up by adding Glossy Accents to them for added shine.