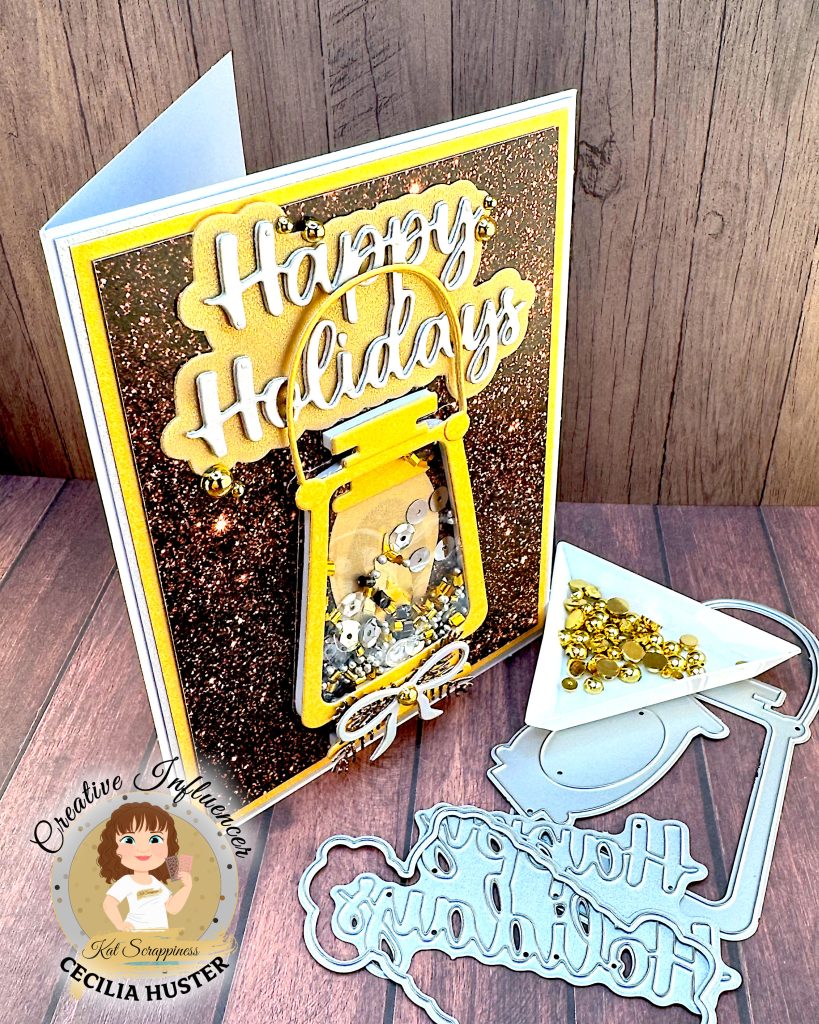
Kat Scrappiness Christmas Lantern is an old favorite. Last year I created a red holiday version and a red summer night version. Both older posts include a picture of the labeled die set. This time I’m using it for a hop with a theme of Silver and Gold.
Lantern Shaker
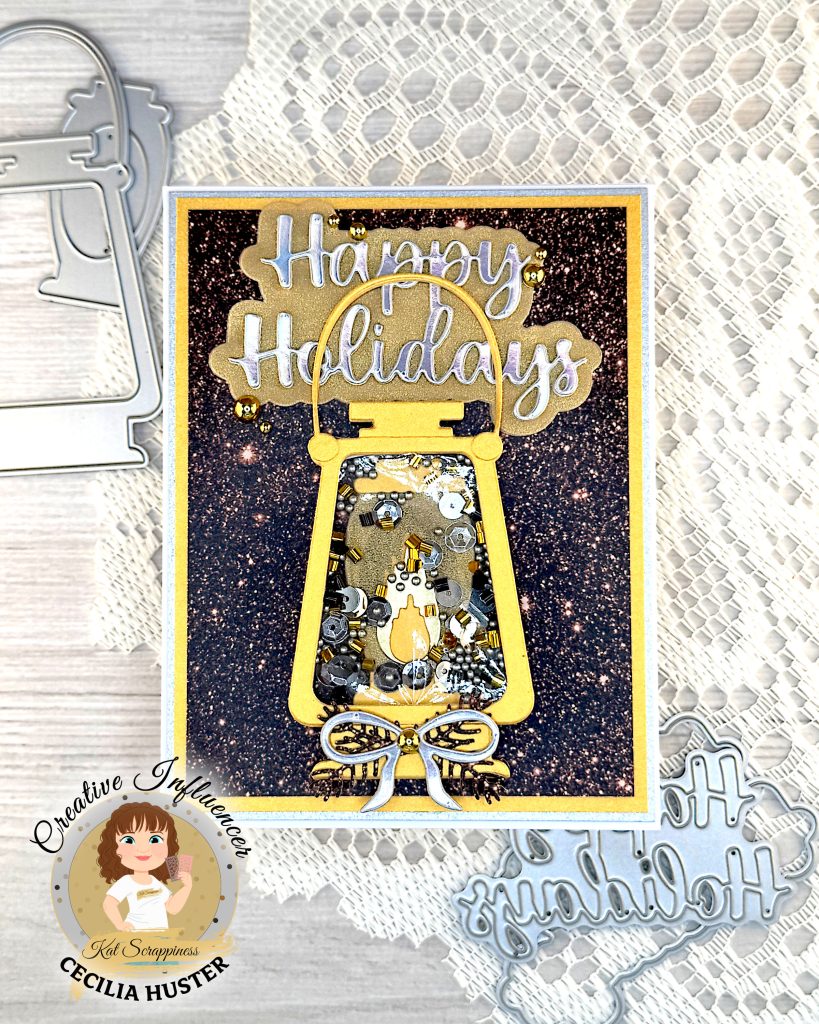
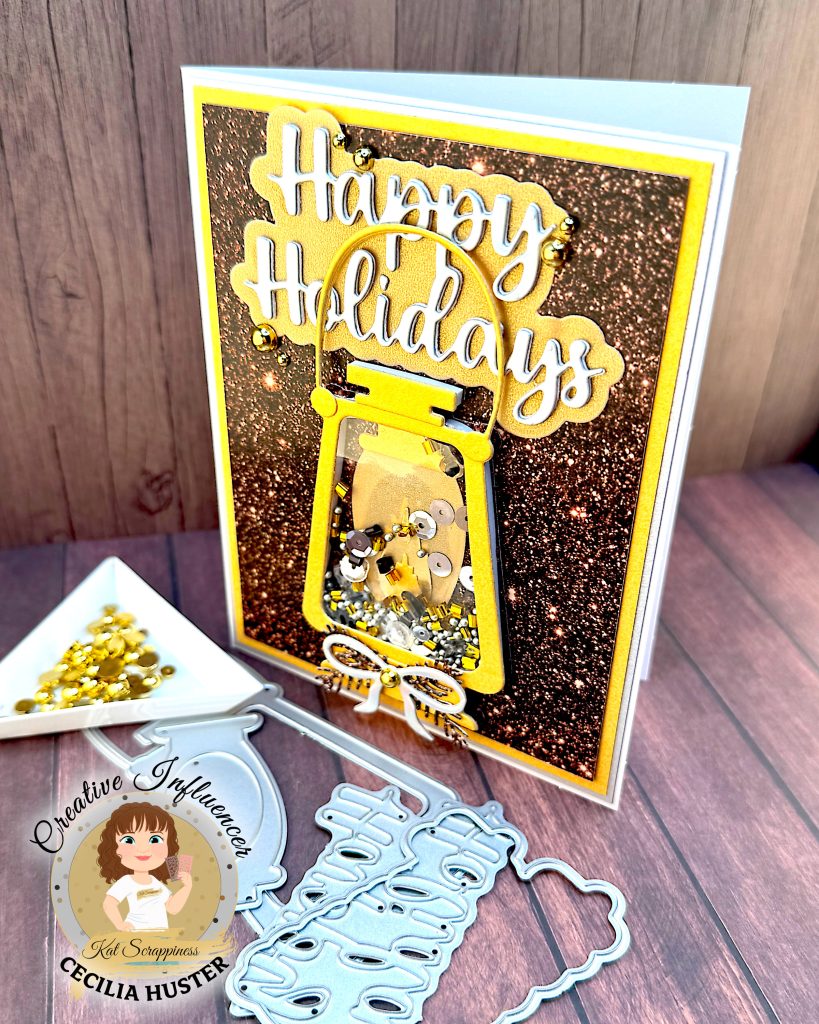
I started by cutting out the lantern from a yellow shimmer cardstock and thin acetate for the window. I put together the front of the shaker element, by sandwiching the clear acetate between two lantern die cuts.
Moving on to the bottom of the shaker element, I cut it from the darkest color in Kat Scrappiness Coffee Faux Glitter Paper Pad. For the chimney glass I used gold pearlized vellum. I ran it through my Xyron to glue it to the bottom of the shaker well.
The larger flame is made out of Recollections Gold Metallic Cardstock. The rest of the chimney die cuts are from the same yellow shimmer cardstock as the front of the lantern.
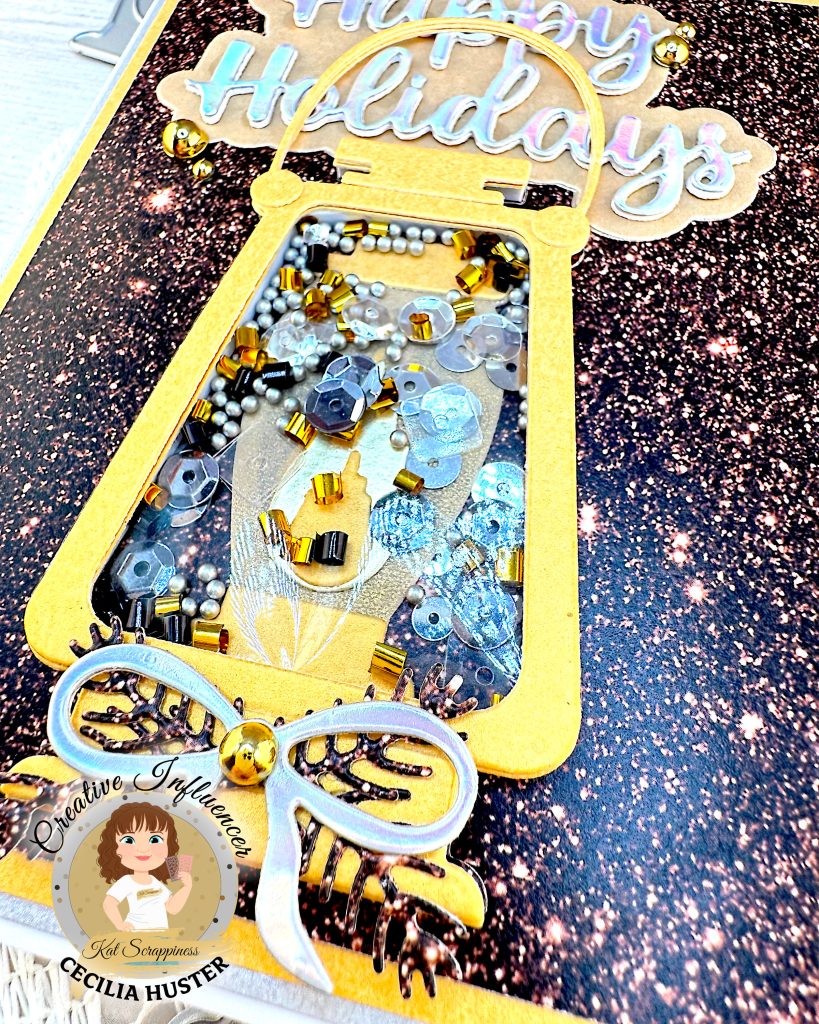
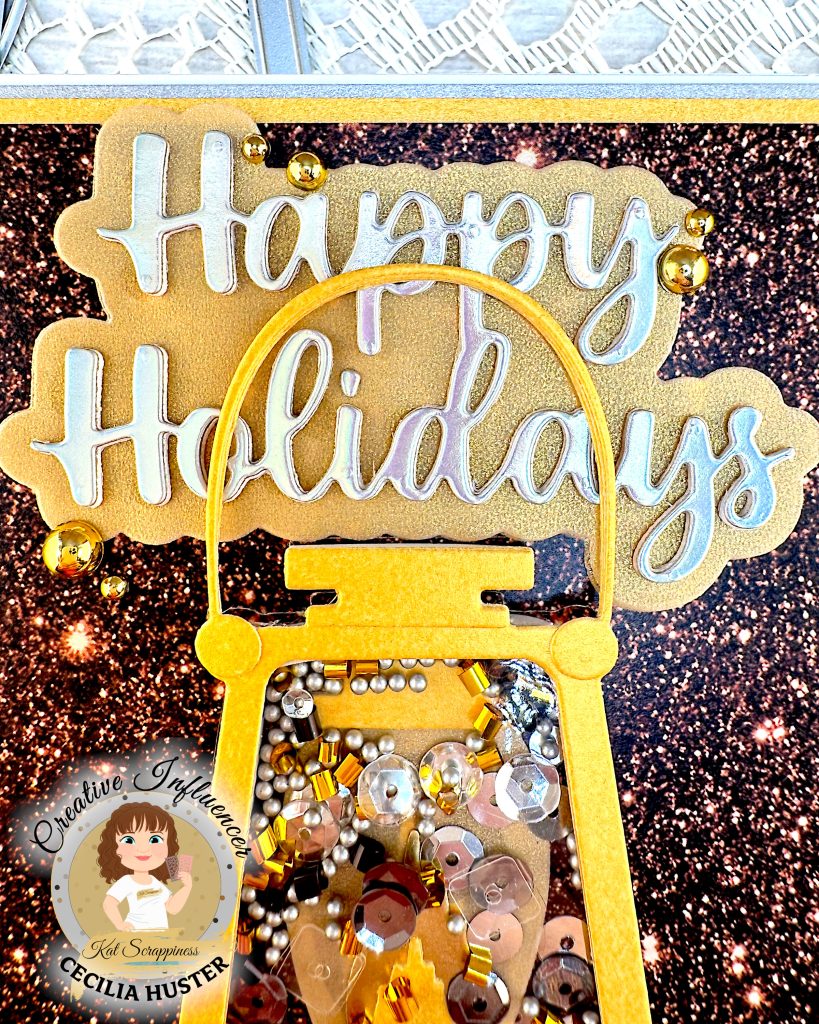
Returning to the shaker window, I created the shaker well from thick ⅛” foam strips. The shaker bits I used are all from Kat Scrappiness:
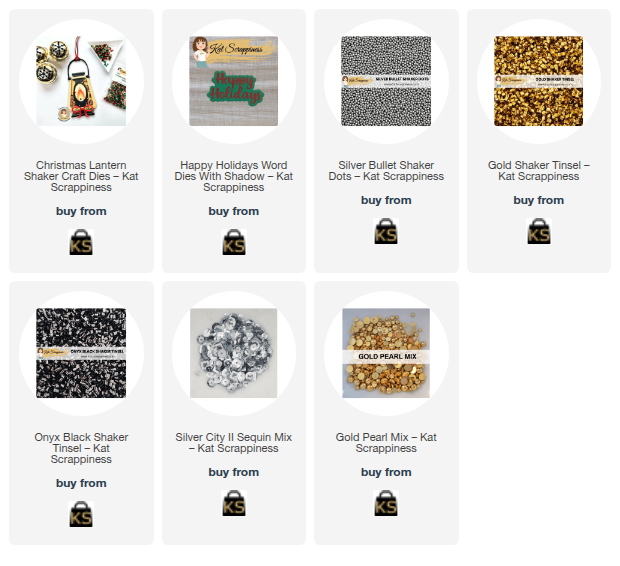
- Silver Bullet
- Silver City II Sequin Mix
- Gold and Black Shaker Tinsel
With the shaker bits in the well, I was able to add the bottom lid and set it aside to dry.
Bow
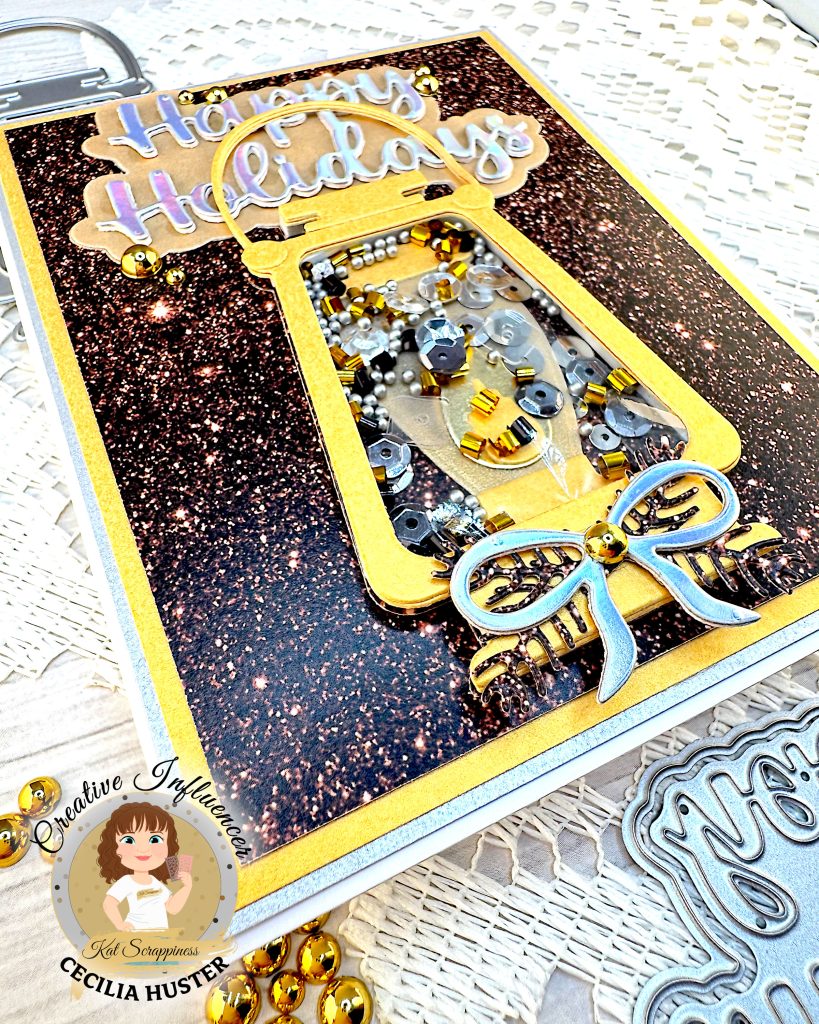
To decorate my lantern, I cut out the foliage twice from the darkest color in Kat Scrappiness Coffee Faux Glitter Paper Pad. The bow is made from Recollections Silver Holographic Cardstock and Accent Opaque 100 lbs. I glued the foliage to the foot of the lantern and added the bow on top.
Sentiment
This time I used both the word and the shadow layer for the Kat Scrappiness Happy Holidays Word Dies with Shadow. I cut the words from Recollections Silver Holographic Cardstock and Accent Opaque 100 lbs and stacked them. The shadow layer is from two layers of gold pearlized vellum.
I was going to run the vellum shadow die cuts through my Xyron to stack them, but they didn’t fit. So I held the word layer to the front of the vellum and applied glue to the back only where it was covered by the words. Sounds difficult but it seems to have worked fine.
Background
The background includes three visible layers of cardstock. I felt that this card needed both gold and silver mattes. At the bottom is a brushed silver cardstock that’s ⅛” smaller in both directions than an A2 panel. The yellow shimmer cardstock on top of it is ¼” smaller than an A2 panel.
The card background is 3 ¾” by 5″. It has a layer of Accent Opaque under it to lift it up just a little bit. If I created this card again, I would make this layer a little smaller, so that the contrast in size between the silver and gold matting is more obvious. ⅛-¼” smaller would probably look better.
Assembly
I dry fitted the lantern and the sentiment, then I glued the lantern to the background, taking care not to add any glue behind the lantern handle.
Next I added glue to the back of the sentiment and slid it under the handle. Then I glued the handle to the words, so it wouldn’t flap around on me.
Finally I added some Kat Scrappiness Gold Pearl Mix around the sentiment and in the center of the bow.
I’m very happy with how this card turned out. This lantern is so versatile. It’s a great example of the many fun shaker dies that Kat has designed!