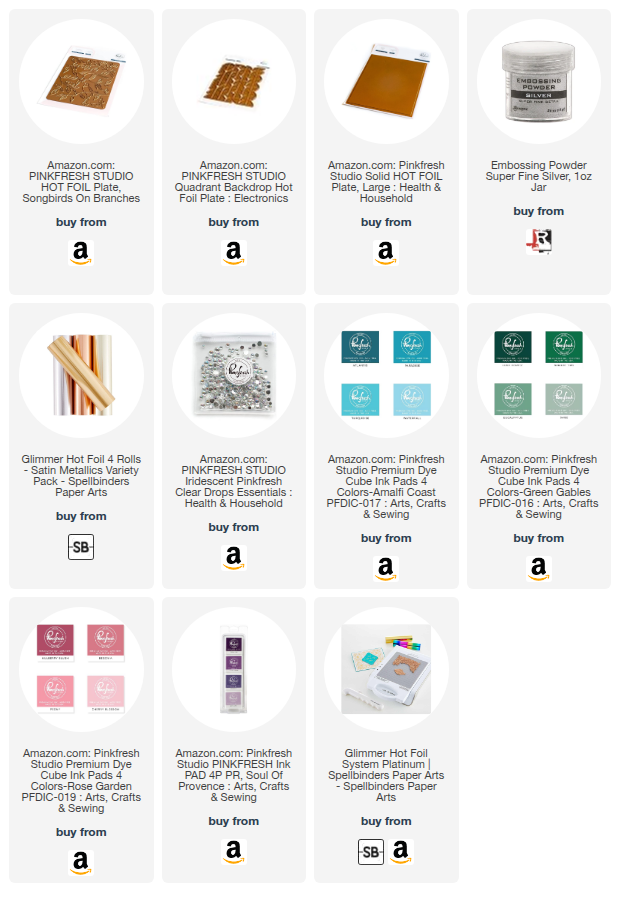
Today I’m watercoloring Pinkfresh Studio Songbirds on Branches. It’s Pride Month, so the theme for the monthly Pinkfresh Challenge is Rainbows. I went with a pastel rainbow, as you will see.
But first I made my own hot press watercolor paper. I simply run my watercolor paper through the Glimmer process with a solid plate and no foil. That smoothes out the watercolor paper, so that I get better results when foiling on it.
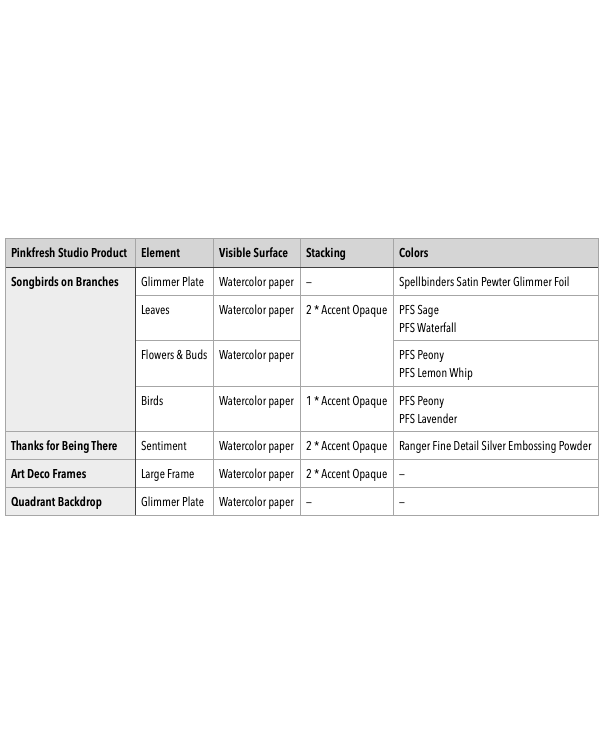
Songbirds on Branches
Songbirds on Branches creates two pretty birds sitting on branches in a leafy canopy. Today I’ll be using the Glimmer plate and the die. The foil I’ll be using is called Satin Pewter. It’s a slightly warm silver. I foiled two watercolor panels. That’s because I want to pop up the birds on foam tape.
June is Pride month, so the theme for the Pinkfresh Studio June Challenge is rainbows. I’m going with that theme, but I’ve chosen mostly pale inks for my rainbow. Using fully saturated colors for a rainbow can make cards look like an elementary school. That’s great if you’re making cards for kids, but for adults I prefer a less obvious palette.
I’m starting with Pinkfresh Studio Sage Ink and stamping the ink pad on my media mat. Then I’m coloring the stems and leaves with this ink. Next I’m moving on to the Waterfall ink, which I’m mostly applying to the tips of the leaves. Then I’m using Peony and Lemon Whip for the flowers and flower buds.
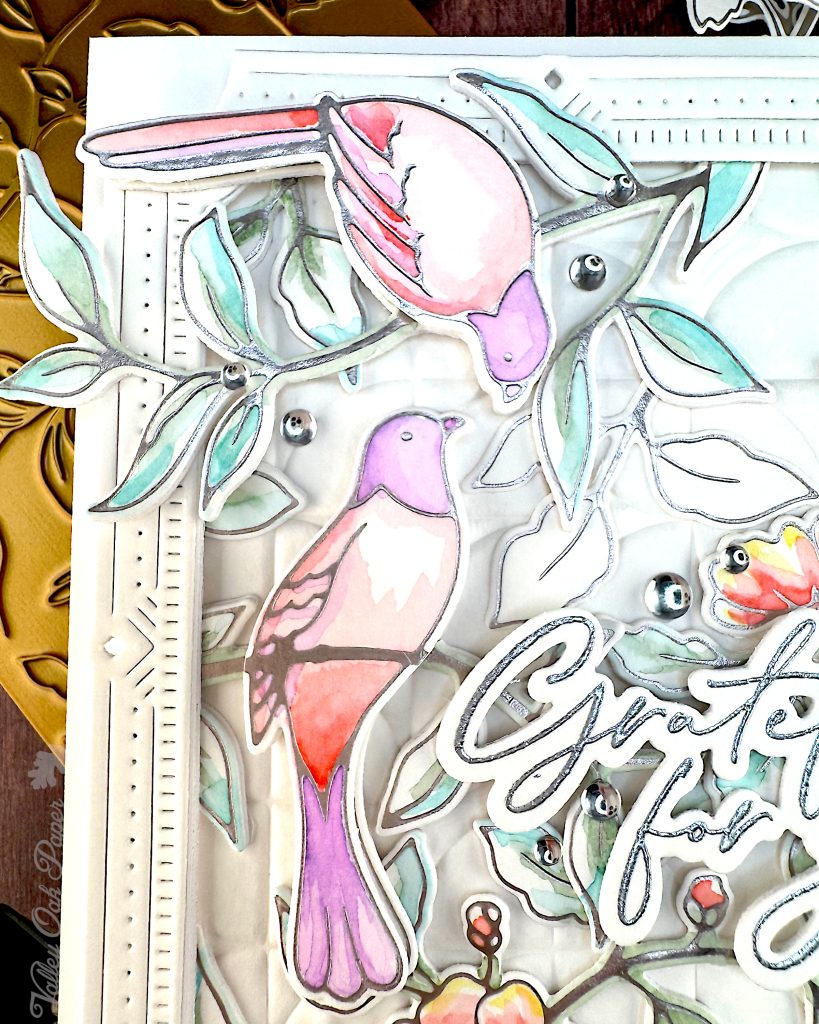
Switching to the second watercolor panel, I’m consulting the packaging for how to paint the birds. I’ll be using Peony again for the lighter parts and Lavender for the darker parts.
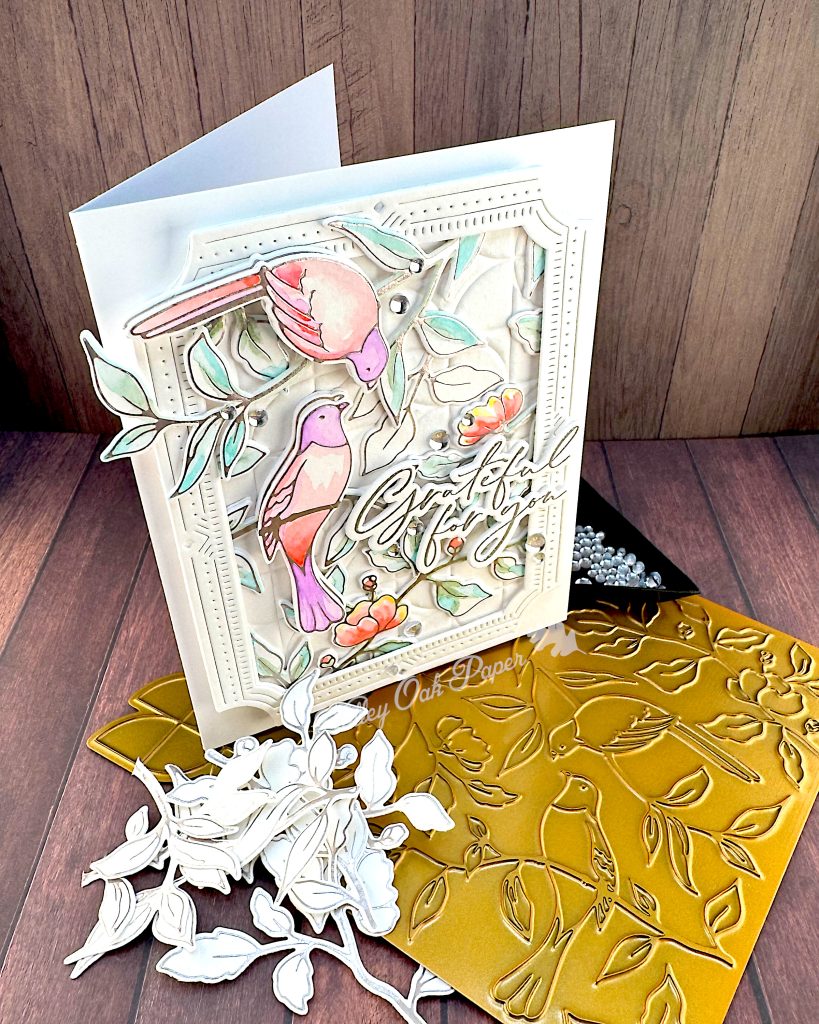
The watercolored birds turned out so pretty!
Now I can die cut the vegetation and the birds with the coordinating die. I also cut the die several times from Accent Opaque so I could stack my die cuts for stability and dimension.


I leave the uncolored birds with the watercolored foliage. But I cut the colored birds off from the foliage and stack them separately.
Background
For my background I’m going to use Pinkfresh Studio Quadrant Backdrop. It creates a geometric pattern that harkens back to the sixties and seventies. This is the Glimmer plate, but I’m not going to foil it. I just want to use it for texture. So I run it through my die cutting machine as if it were a die that I’m using as an embossing folder. I’m using the same watercolor paper as for the birds. That way the background will be the same white color as the foreground.This is going to be an awesome backdrop for my birds!
Art Deco Frames
Art Deco Frames is one of the oldest Pinkfresh Studio products that I own. In this card I’m going to use it to tuck the ends of my stems under. I’m cutting off the outermost part of the frame because I like the look of the notched corners. I’ve cut my frames once from watercolor paper and twice from Accent Opaque. Then I stack them.
Sentiment
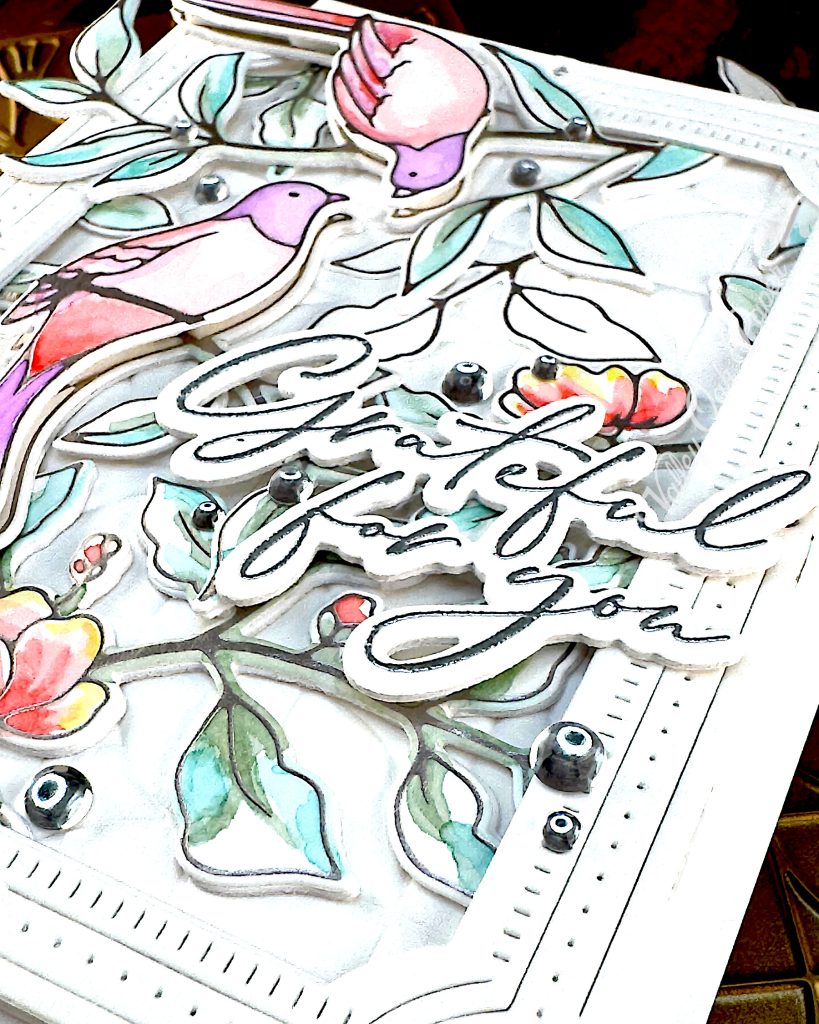
I’ve got my Misti out, so I can stamp my sentiment. I’m going to use “Grateful for You” from Pinkfresh Studio Thanks For Being There Stamp and Die Set.
I’m using the inner piece of watercolor paper from the Art Deco Frames to stamp on. First I place the stamp in the middle of my paper. Then I pick it up with the door. I use antistatic powder and ink up the stamp with Versamark. After I’ve stamped it, I’m pouring Silver embossing powder over it and melting it with my heat gun. Then I use the coordinating die to cut it out.
Final Assembly
Now I have all the ingredients for my card, so I can start putting it together. First I use the frame to trace outside the part of the background that I want to use. I can’t adhere the frame yet, because I want to use it to tuck my stems under it.
But I can cut down the background a bit to make to easier to compose the card. I want the birds in the upper left part of the card, so I have room for the sentiment and flowers in the bottom right. So I’m gluing down a branch with a flower near the bottom. Next I place the other flowering branch on the right side. I also place a small branch in the lower left corner to fill it out.
Next I’m placing the first bird. I’ll add the colored die cut later. I’m dry fitting the other bird branch with the frame and decide to let part of that branch and the bird sit on top of the frame. So I glue down just the upper right leaves to the background.
I felt that the spot to the right of the lower bird was a bit empty. So I use some uncolored foliage that I cut off from a bird to add in that spot. To help the frame sit level, I’m adding some leaves to the upper left corner.
Now I’m ready to cut off more of the background, including leaves that would stick out from under the frame. Now that the edges are pretty clean, I’m gluing the frame down onto the foliage.
I glue the background to a cardbase that I covered with Hammermill. Then I’m adhering the first colored bird with thin foam. Next I glue the other bird to the top of the frame. Then I add the other colored bird with more thin foam tape.
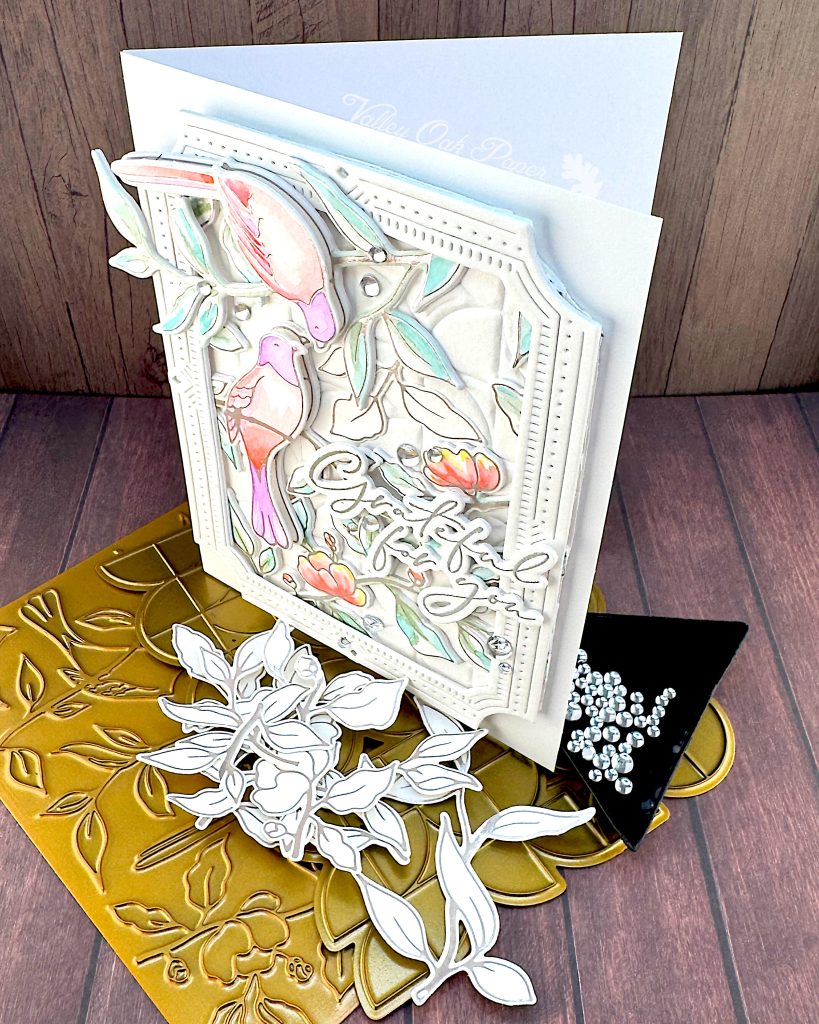
Then I perform a little bit of card surgery and remove some leaves that would have made it hard to keep the sentiment level. Once that is done, I’m able to glue the sentiment to the frame and the leaves.
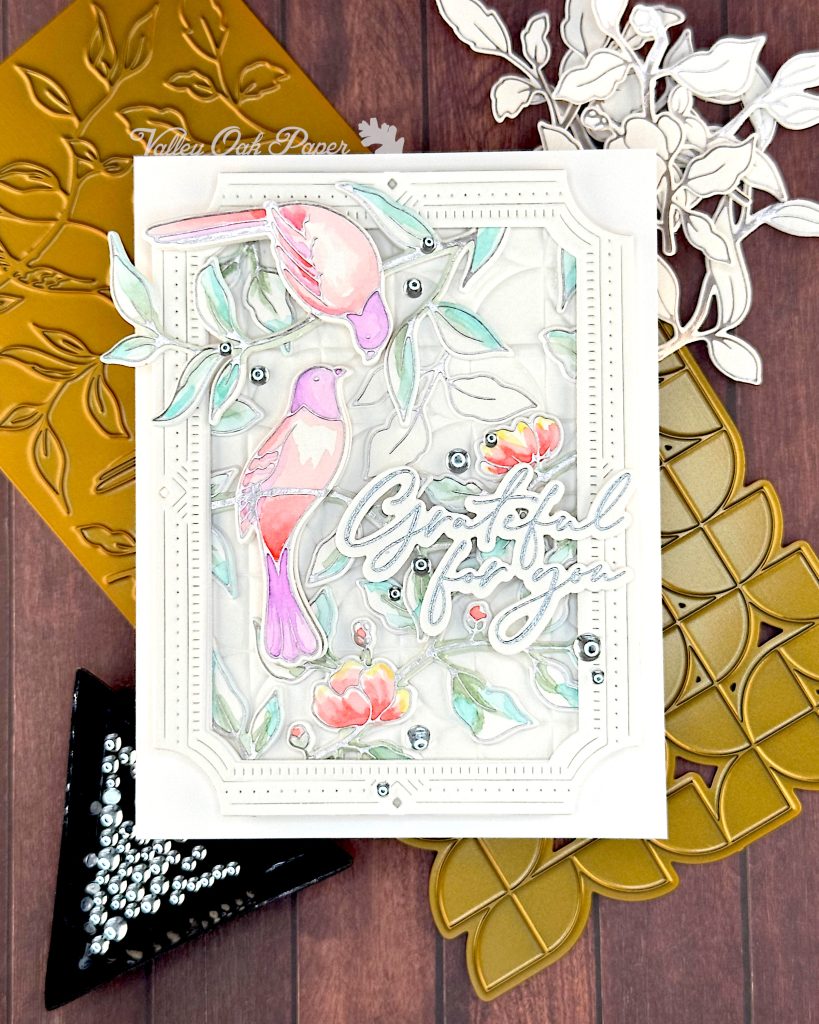
I finished off my card by adding some Pinkfresh Clear Drops in the color Ice. I’m really happy with how it turned out. The songbirds are so pretty and all the silver accents pull the card together.