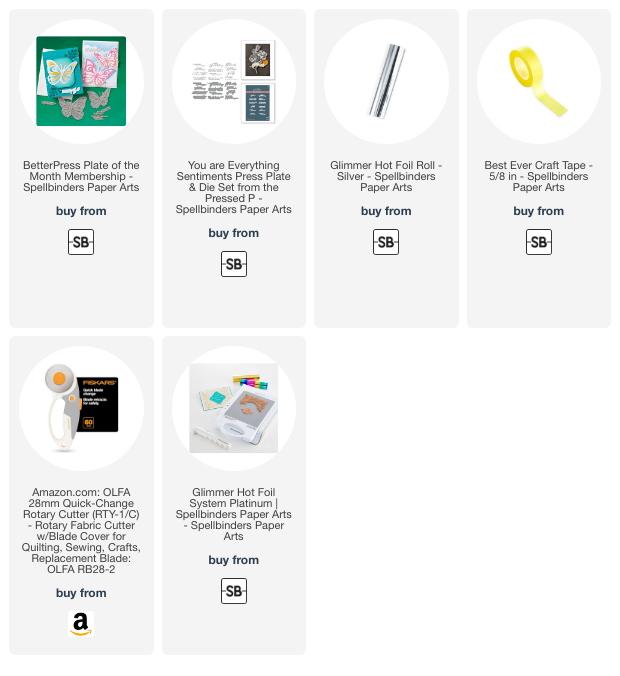
The theme of the January 2025 video hop is Minimalism and I’ve chosen to use the Spellbinders BetterPress of the Month for January for my card. It’s called Take Flight and features two butterflies and three sentiments. It also includes dies for all five press plates. If you get the Deluxe Caboodle, the layering stencils for the butterflies are included.
Butterfly
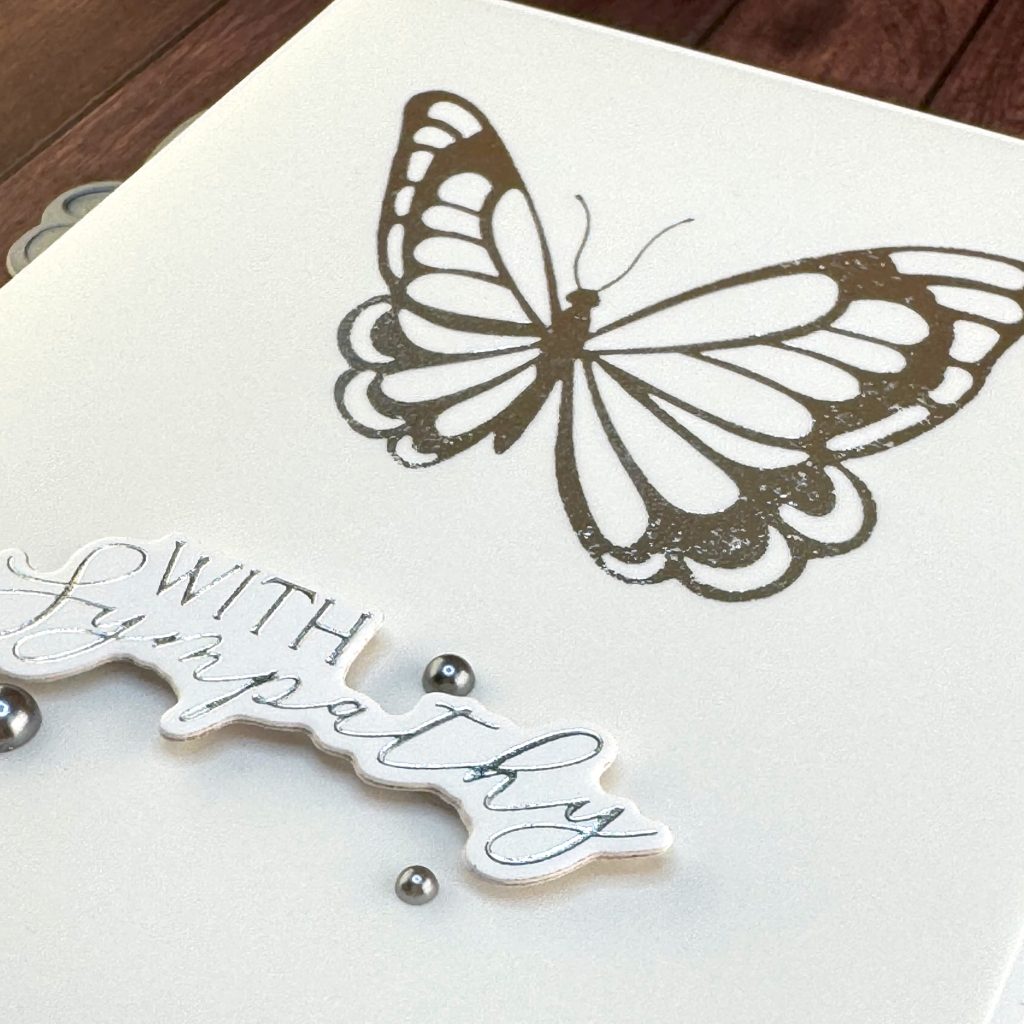
I’m going to use the small butterfly, because that works with the layout I’m planning. I’m going to foil the butterfly onto vellum with Silver Glimmer Hot Foil. I want to be minimalist in color as well as in shapes and decoration. So silver will be the only color on this card.
The first thing I’m doing is cutting the foil with my Olfa rotary knife. So I’m placing the butterfly on the pretty side of the foil and cutting around it.
Next I’m placing the foil and taping it down with Spellbinders Best Ever Craft Tape. My piece of vellum is much larger than I need it to be. That’s because placement is tricky with foiling. I prefer to use a larger piece of cardstock that I can cut off later. Then I’m turning on my Glimmer machine and waiting for the light to turn green.
Now the light is green and I can place the plate on the hot surface. Off screen I figured out that if I place it toward the bottom right, my layout will probably work and I won’t have to die cut the butterfly. Then I’m pressing the timer button and waiting for the light to stop flashing. It takes about 90 seconds.
Now the timer light is steady, so I remove the platform and take it over to my die cutting machine, along with the vellum piece. I’m back and here’s the butterfly. I just need to remove the tape so I can see how it turned out. It’s not perfectly foiled. Vellum has a rough surface, so it can be a bit tricky. But I’m going to use this butterfly.
Sentiment
Turning to the sentiment, I’m going to use the Spellbinders You are Everything Sentiments Press Plate and Die. The Glimmer platform is hot again, so I’m placing the sentiments press plate on it and pressing the timer button. The green light has stopped flashing, so I’m picking up the platform and taking it to my die cutting machine.
And here is the result. Now I just need to die cut it and I’ll have lots of sentiments to choose from. Next I’m cutting a piece of Accent Opaque to stack behind the foiled sentiments.
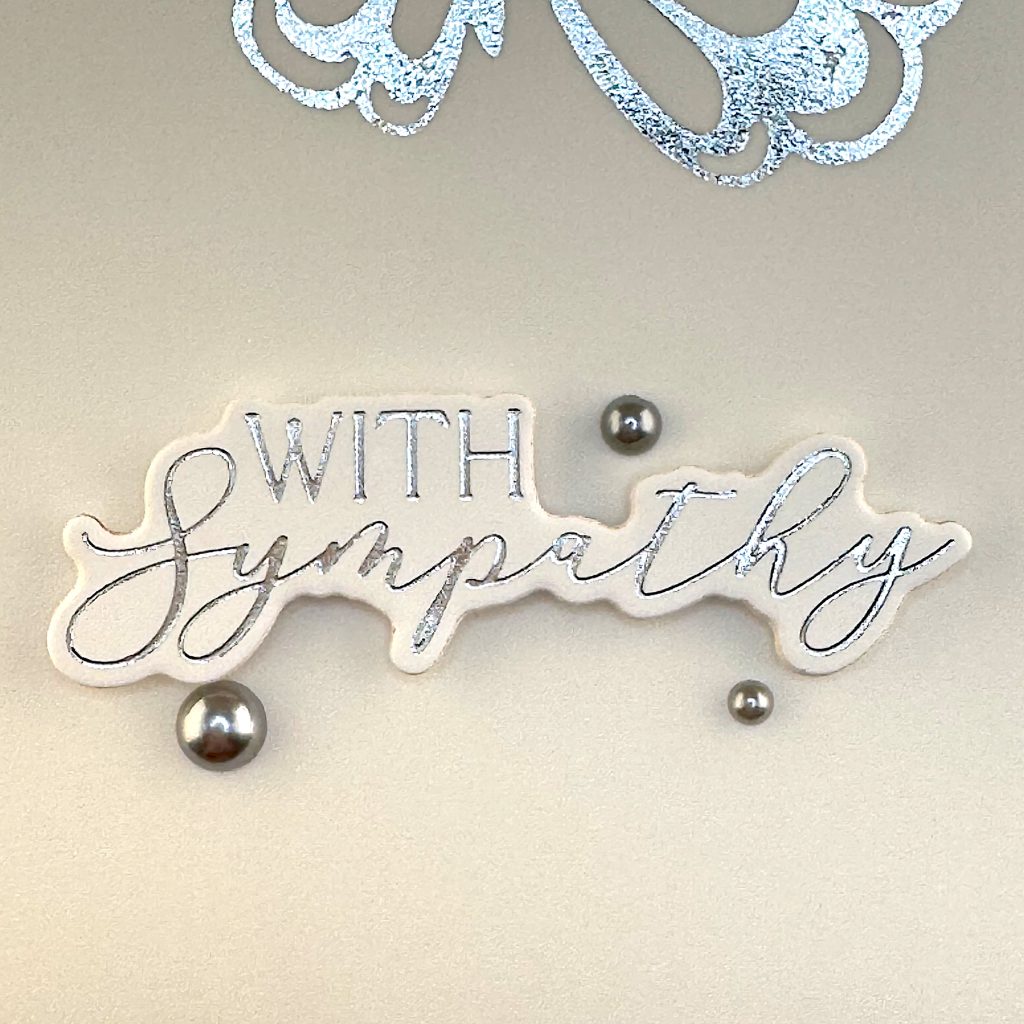
This is going to be a sympathy card. There are two sentiments that fit, one that says I’m so Sorry, and one that says With Sympathy. I’m pairing these sentiments with their die cut shapes so I can stack them.
Assembly
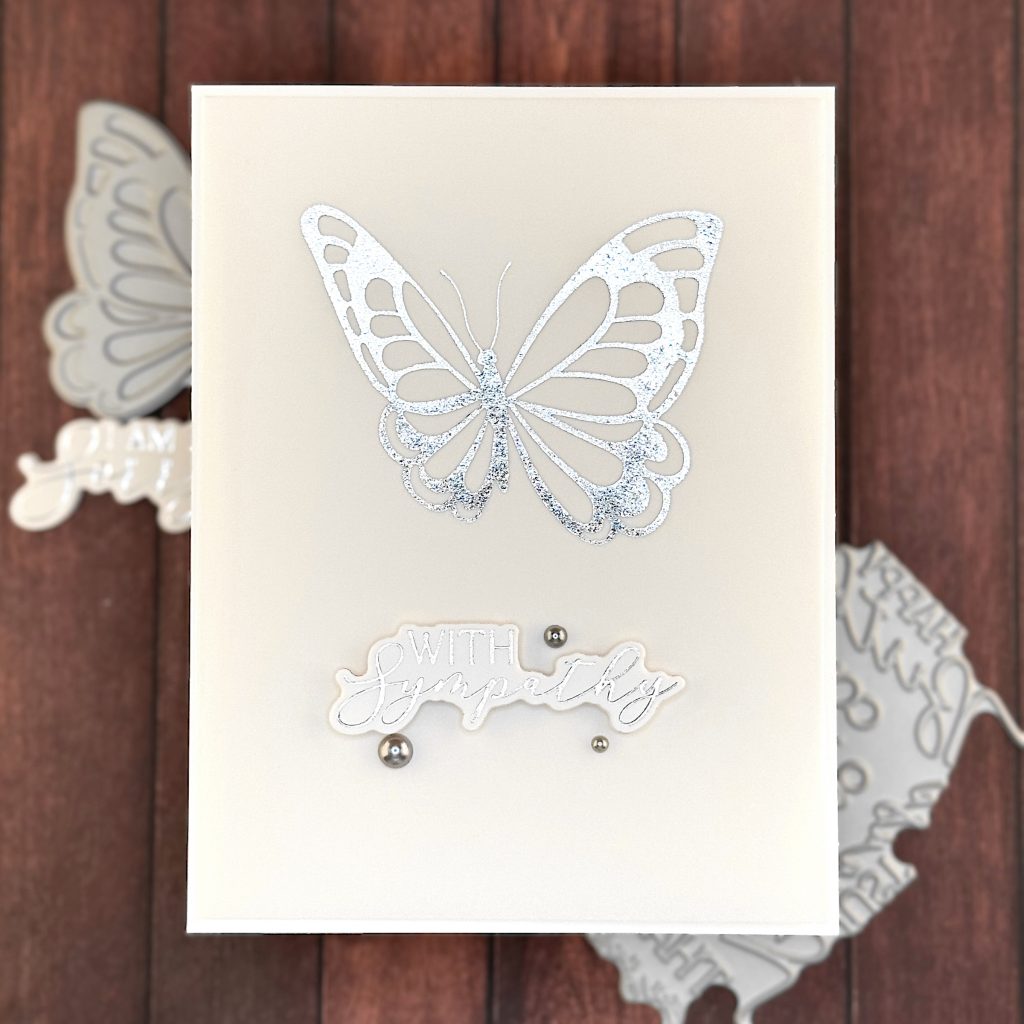
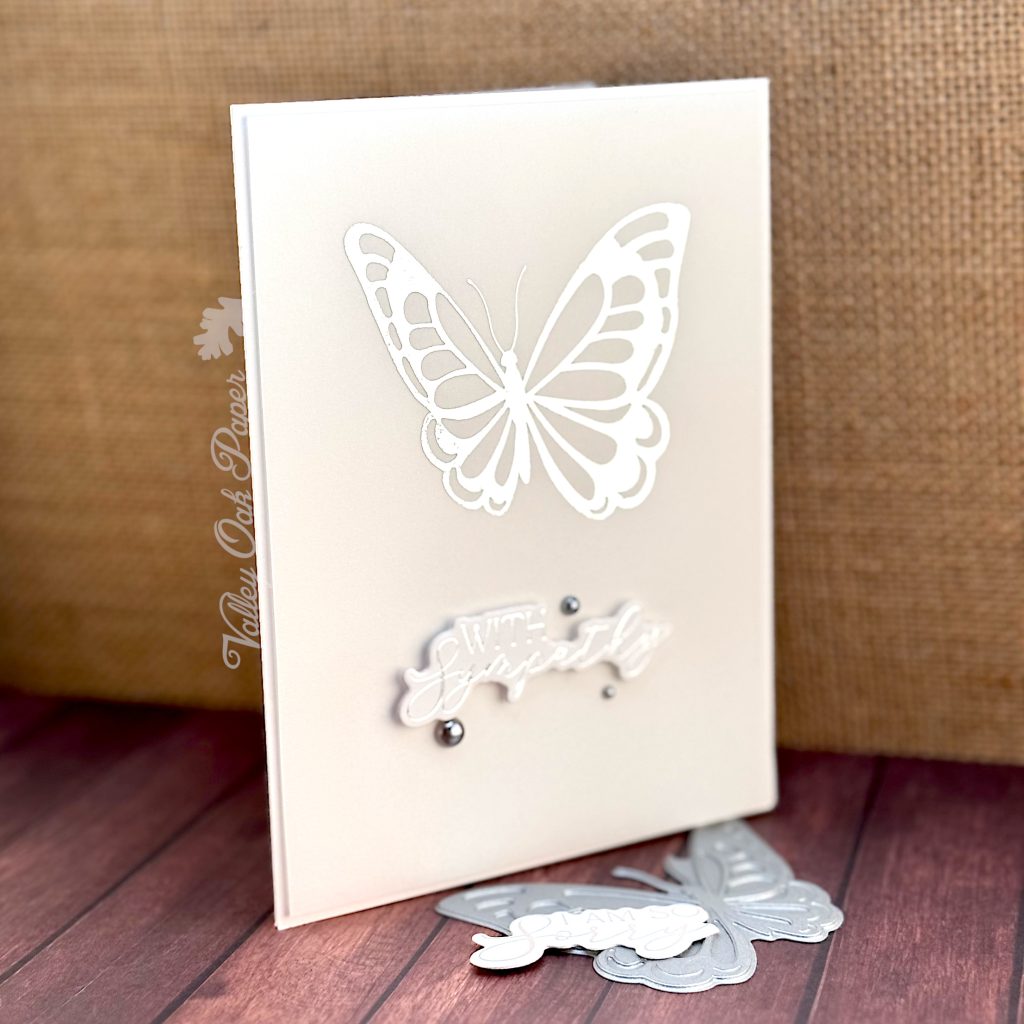
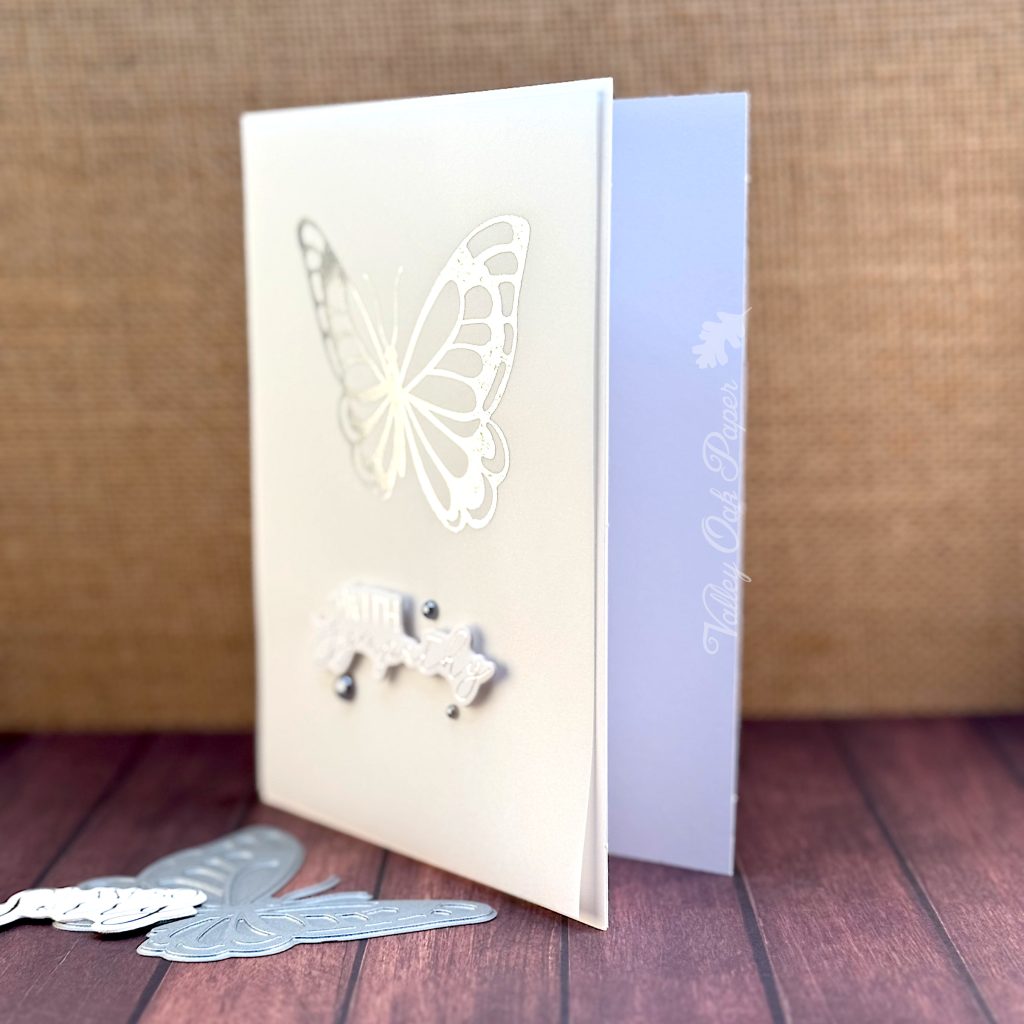
Here are my sentiments and my card base. And here’s my foiled butterfly on vellum. I want the butterfly to be centered high on the card, to leave room for the sentiment below it. I think I’m going with the longer sentiment to balance with the butterfly.
The nice thing about working with vellum is that you can see through it. Now I’m marking where the card base ends, so I can cut down my vellum piece.
I’ve cut down my vellum piece to 4” by 5 ¼” with the butterfly centered high on the card. Now I’m adding little dabs of glue behind the butterfly, so the glue won’t show through the vellum. Then I glue the vellum piece to the card base.
I’ve added foam tape behind the stacked sentiment. Now I’m checking where I want to place the sentiment, because I’m going to add some glue behind it. Looking at this I could have marked the spot with a pencil, rather than guessing. It turned out alright, though.
Then I remove the backing paper from the foam tape and add some glue to it. And then I place the sentiment down on the vellum.
I added three matte silver pearls around the sentiment to finish up the card. And that’s it for my minimalist sympathy card!

