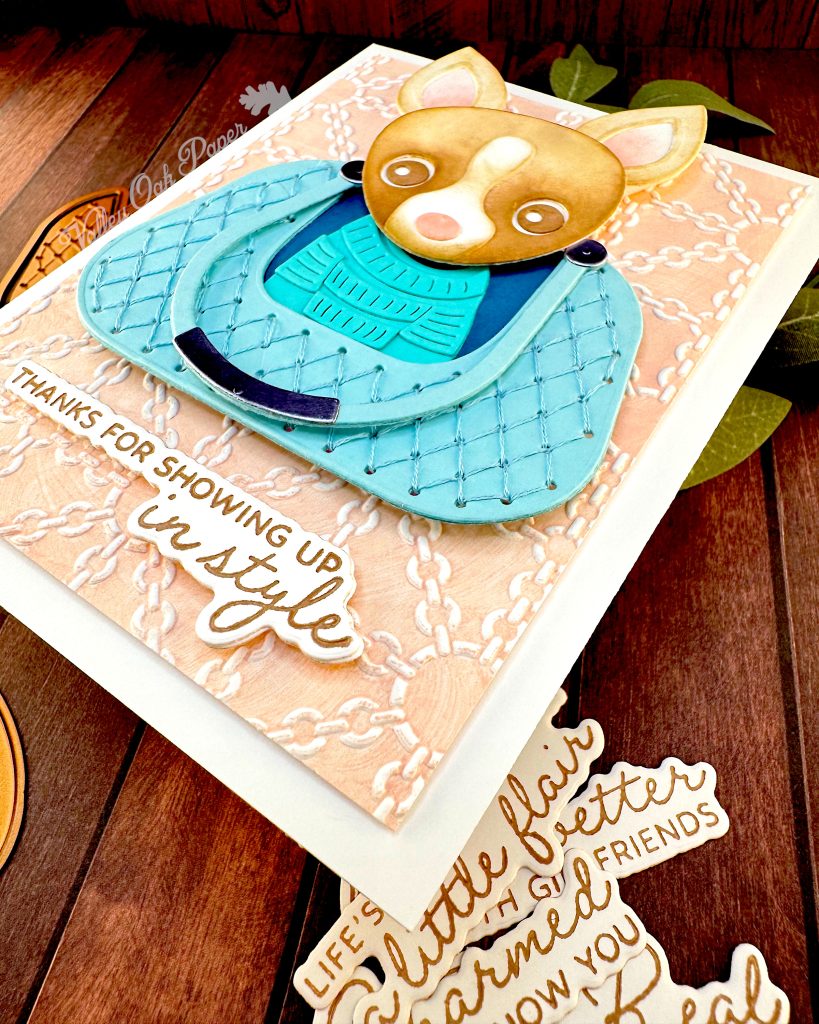
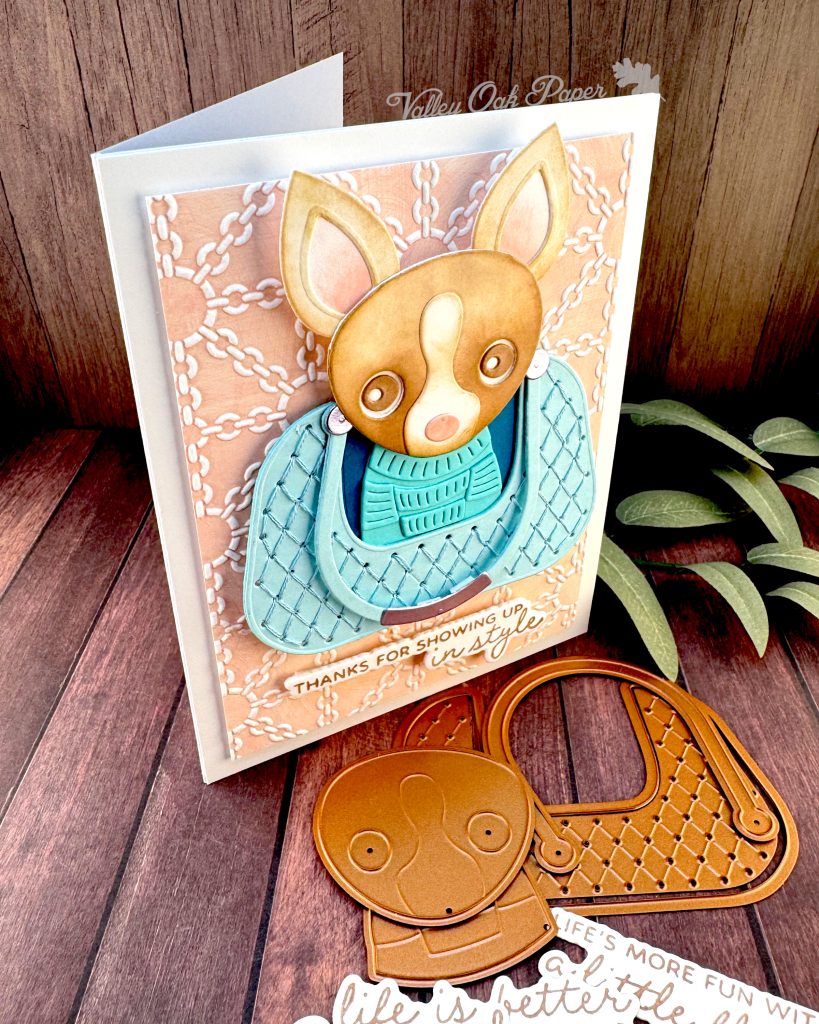
¿Yo quiero Taco Bell? is what I think when I see a chihuahua. This one is very expressive. I went for the perpetually anxious look that seems to be the default for these little cuties.
Stitching
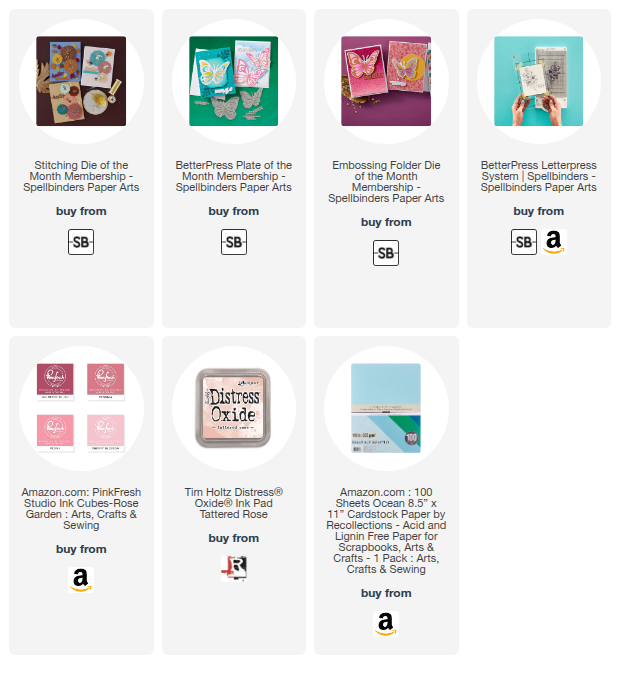
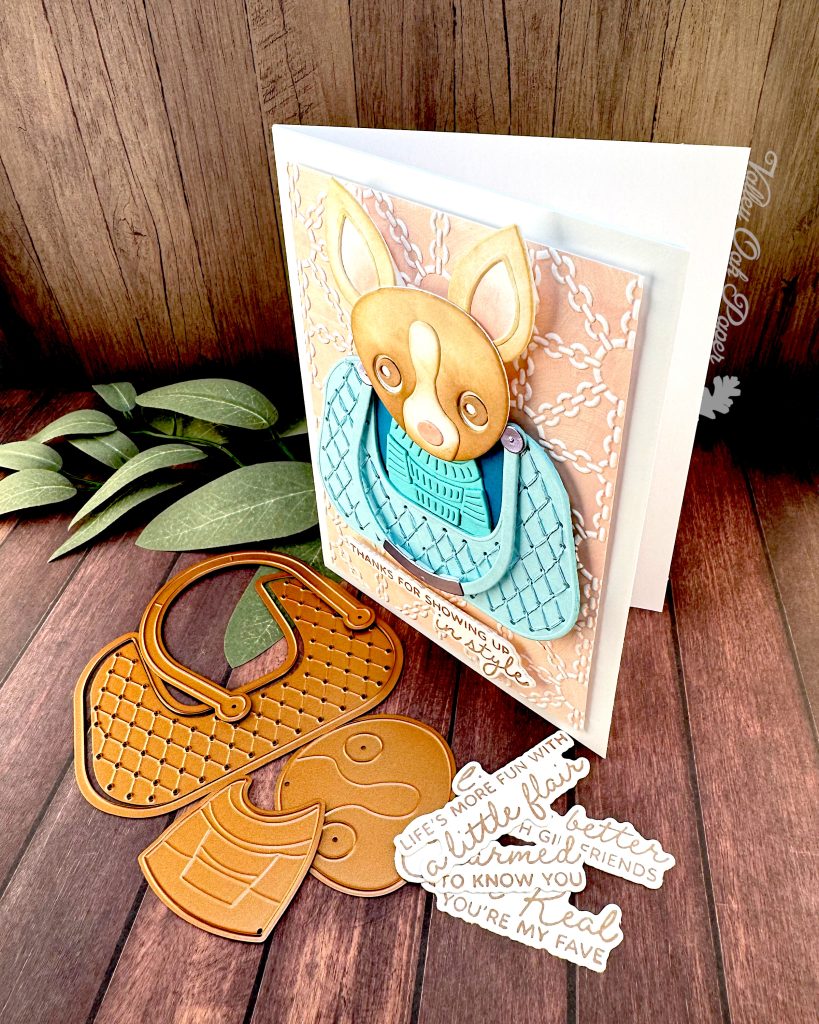
But let’s start at the beginning. This little cutie with his fancy purse is part of the November 2025 Stitching Die of the Month from Spellbinders. I cut the bag twice from turquoise cardstock and stacked the die cuts. Then I stitched it with two threads from matching embroidery floss.
There’s more stitches in this bag than in many other stitching die sets. But it’s still very easy. The stitches are debossed in the cardstock, so you just follow along. The quilted part of the bag is a separate die, so you can easily create the bag without it. It would be cute to stitch it on felt or foam for a more 3D quilted look.
Dog
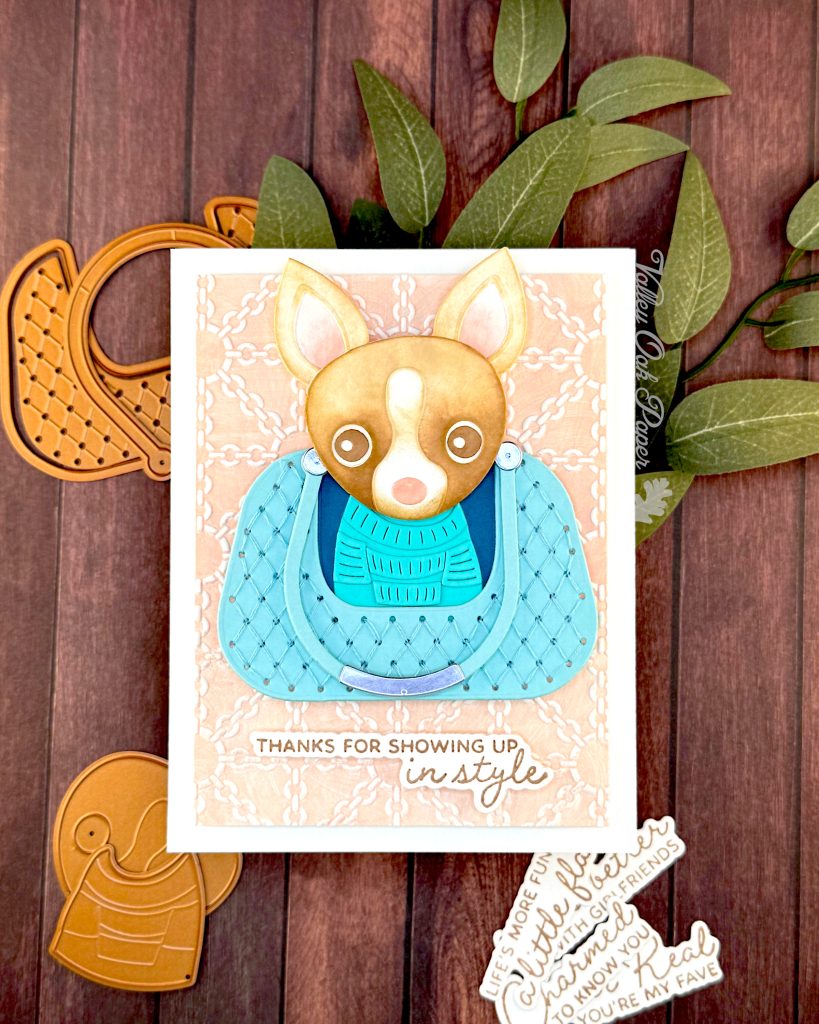
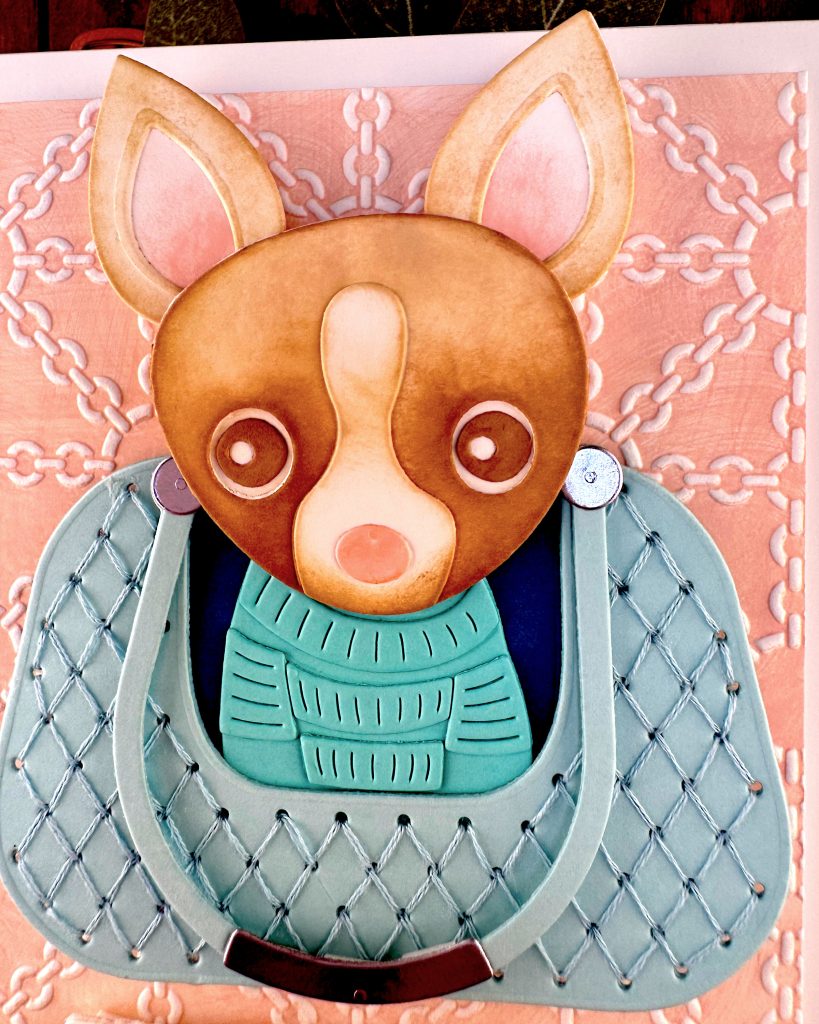
I die cut the doggy sweater, bag liner and handle from more colored cardstock and glued them together. The dog’s head, I cut from Hammermill cardstock. Then I ink blended over it with Pinkfresh Studio Inks in the colors Warm Buff, Doe and Cherry Blossom.
There are separate dies for the eyes and ears. You can choose to inset the inside of the ears, or cut out the insides as usual and glue them on top of the ears. There are holes in the head for the eyes and the eye dies are over-sized, so you can place the eyes in different positions without having to jury rig a background. This way of creating eyes makes them more expressive and realistic.
When I had assembled the head, I added foam tape behind it.
Bag
First I glued the dog’s sweater to the bag liner. Then I glued the bag liner behind the opening in the bag. Then I glued on the handle and added skinny strips of foam tape at the bottom of it.
I added some thin foam from the Dollar Tree to the back of the bag to lift it off the background.
Sentiment
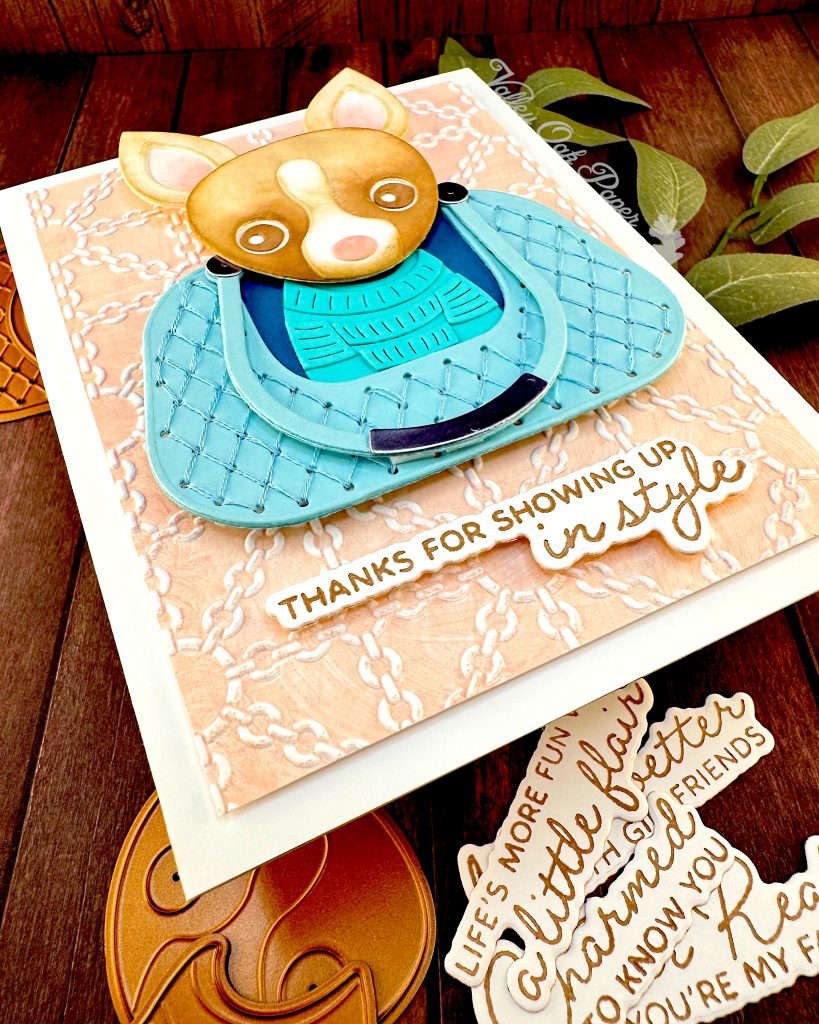
The sentiment is from the BetterPress Kit of the Month. It’s one big press plate and one die that cuts out all five sentiments. I inked up the press plate with Pinfresh Studio Doe Ink, to match our little chihuahua. I stacked a couple more die cuts behind it and added foam tape to the back.
Background
The background is created with the Embossing Folder of the Month. I monoprinted it a couple of times using Distress Oxide Tattered Rose.
When it was dry, I cut down the embossed panel to 3 ¾” by 5″ and added a piece of Accent Opaque behind it for stability. Then I added some think foam from the Dollar Tree behind that.
Assembly
First I covered the front of my white card base with a piece of A2-sized Hammermill. Then I centered the embossed panel on it.
I wanted the chihuahua ears to stick up above the embossed panel, so I glued the bag to the center of the embossed panel. I needed two layers of foam tape behind the ears. After I had added that, I was able to add the head to the card.
I finished up by adding the sentiment below the bag.