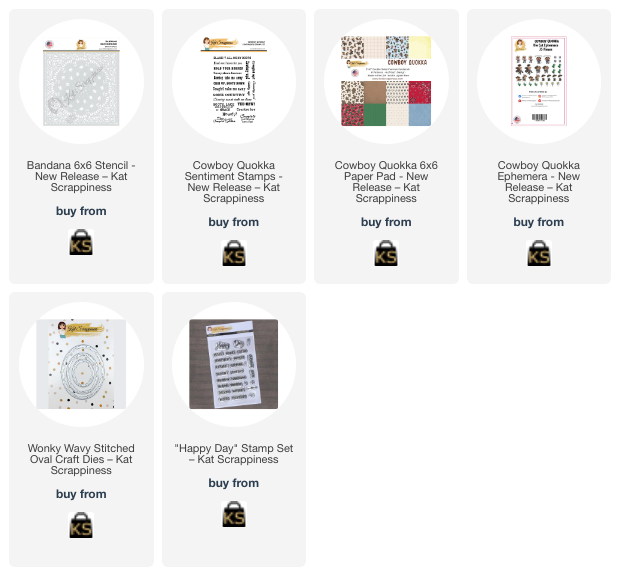
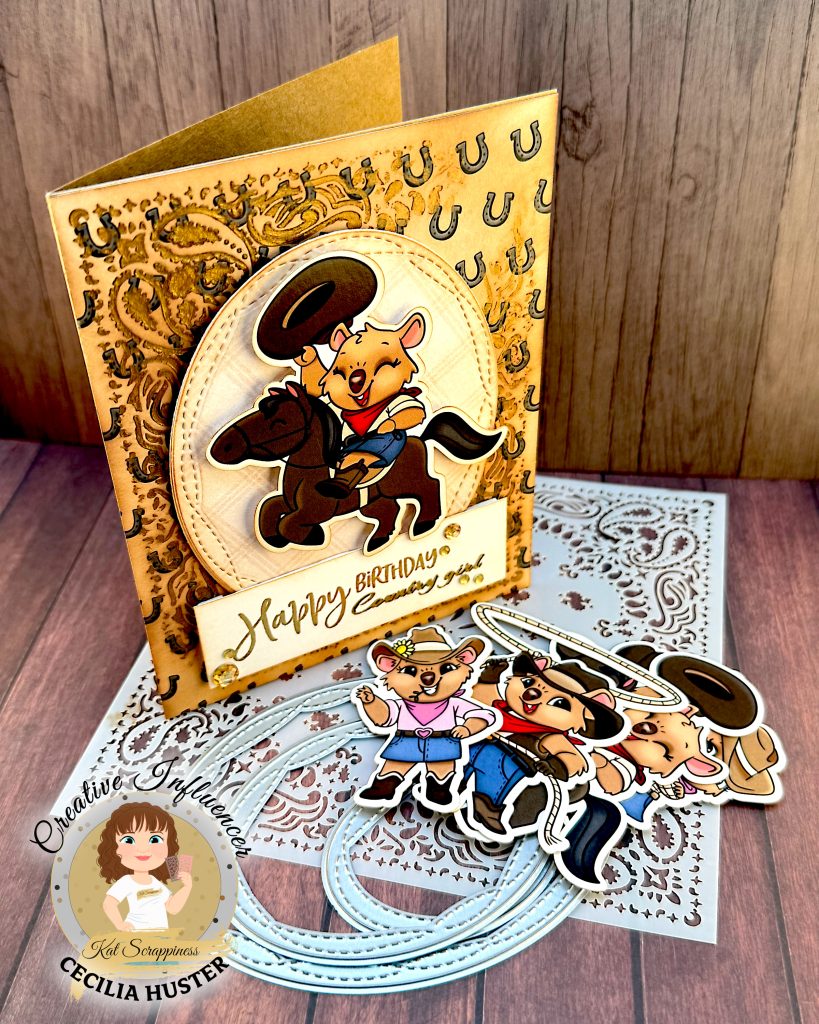
I’m loving Kat Scrappiness Cowboy Quokka Ephemera. It makes it so easy to create a cute card very quickly. These two cards feature the same supplies and techniques.
Background
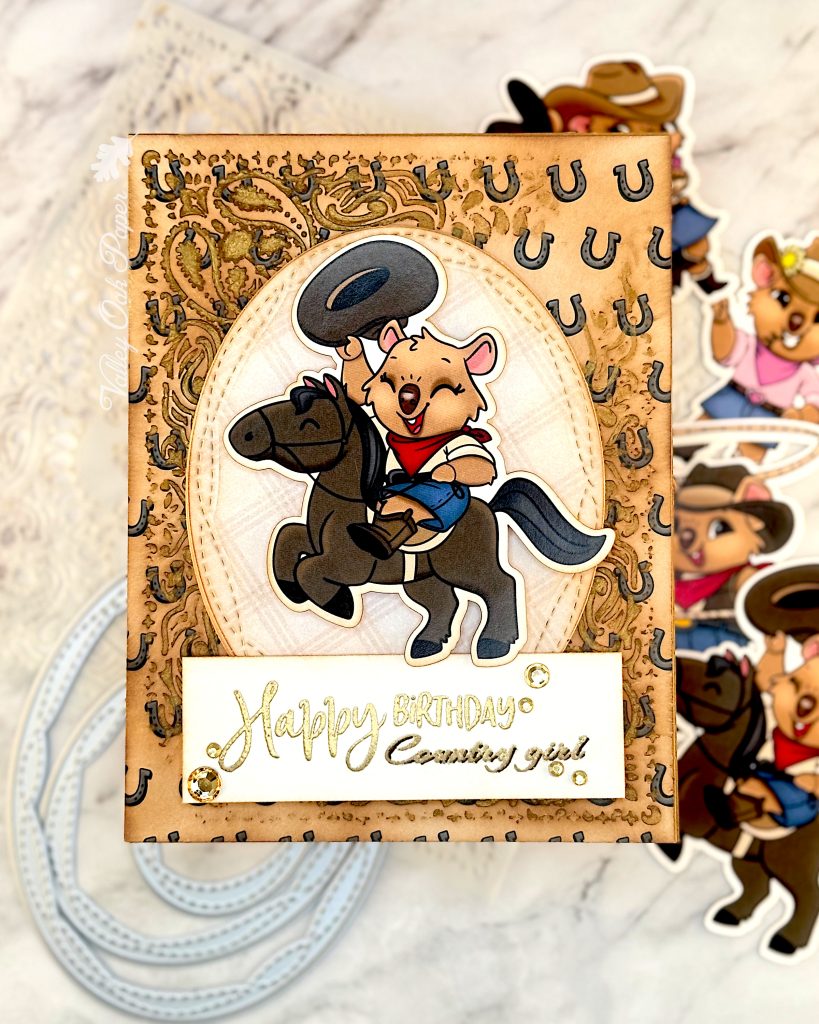
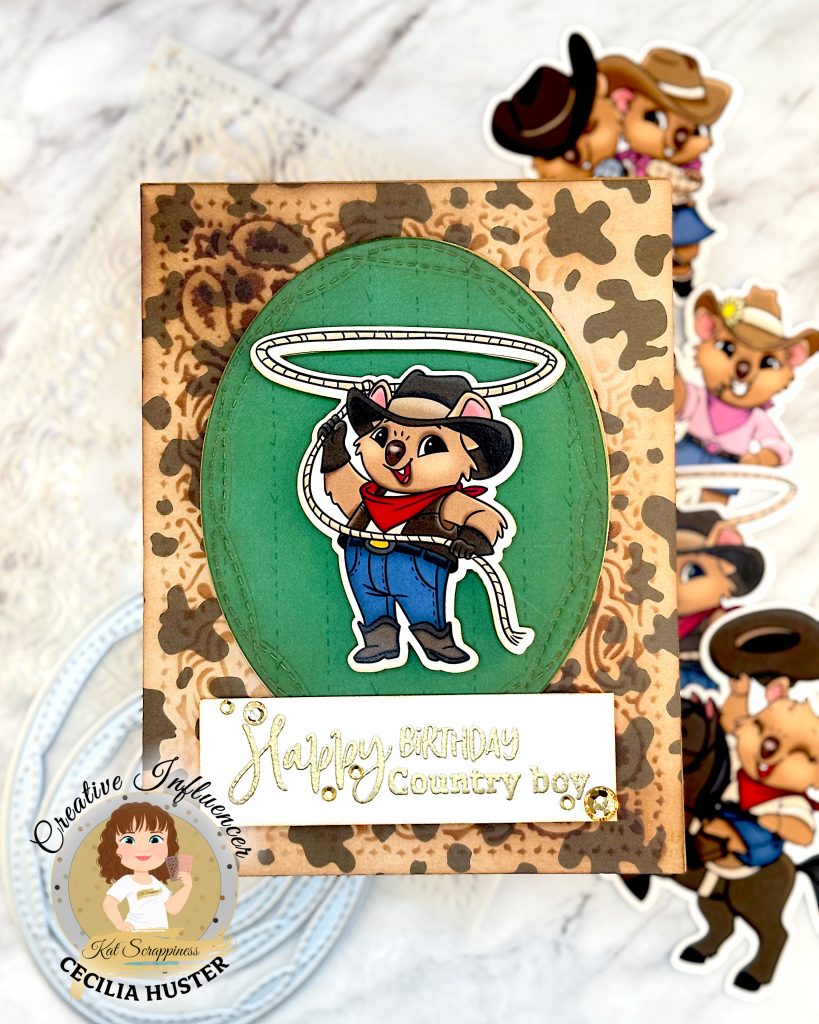
I cut down two pieces of paper from the Kat Scrappiness Cowboy Quokka 6by6 Paper Pad to A2 format. Then I stenciled through the Kat Scrappiness Bandana Stencil in Vintage Photo Distress Oxide Ink or Lunar Paste in Gold Rush. I also added some more Vintage Photo after I had removed the stencil, for a vintage look. When the stenciled panels were dry, I glued them to the front of two Kraft notecards.
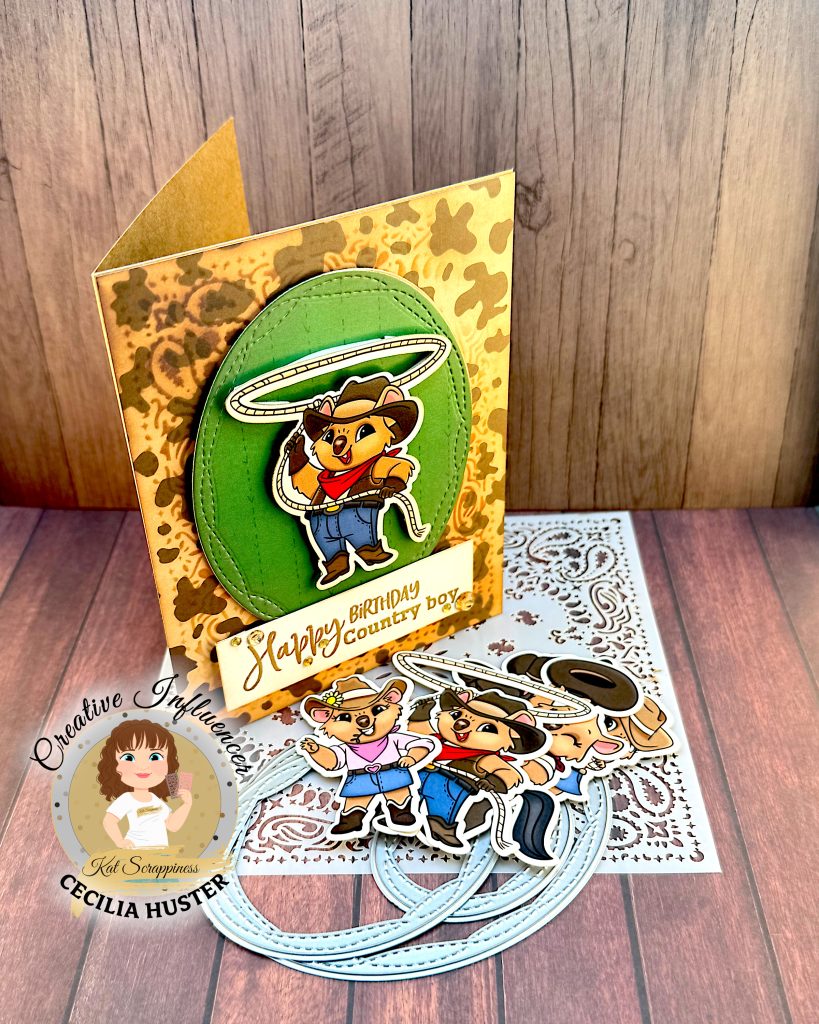
I cut out the ovals with the Kat Scrappiness Wonky, Wavy Stitched Ovals Die Set from the Cowboy Quokka Paper Pad. I doubled up with heavy, white cardstock, then I glued thin foam to the back.
Focal Point
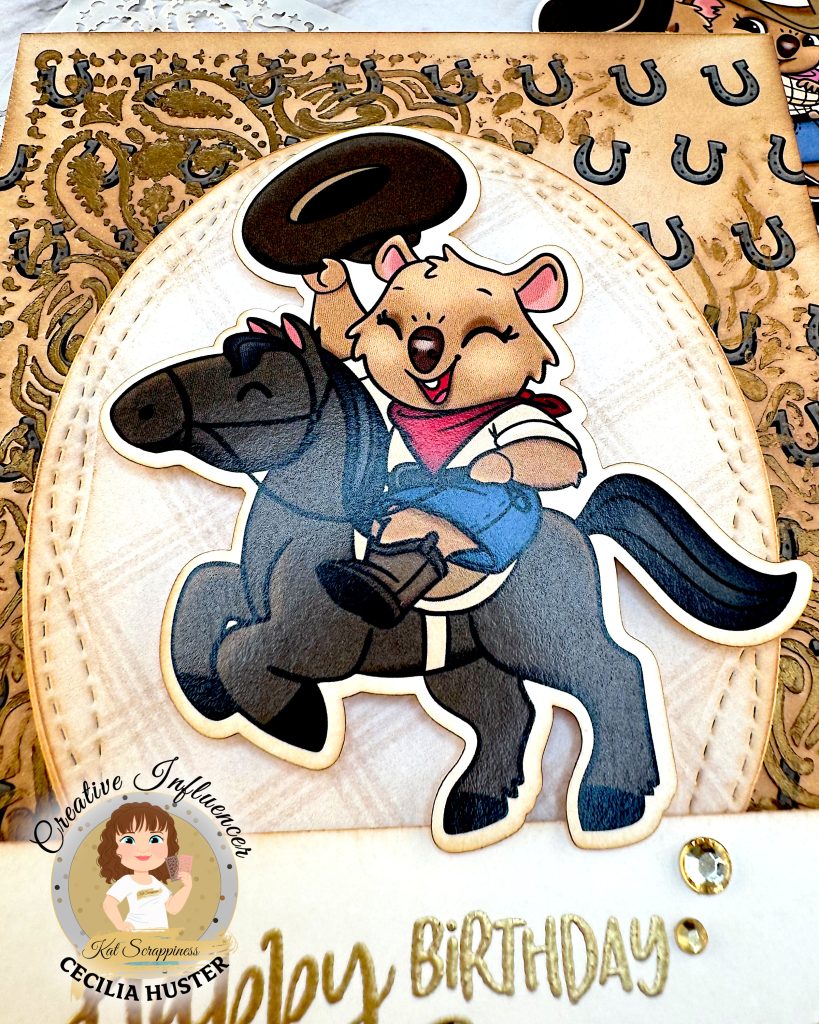
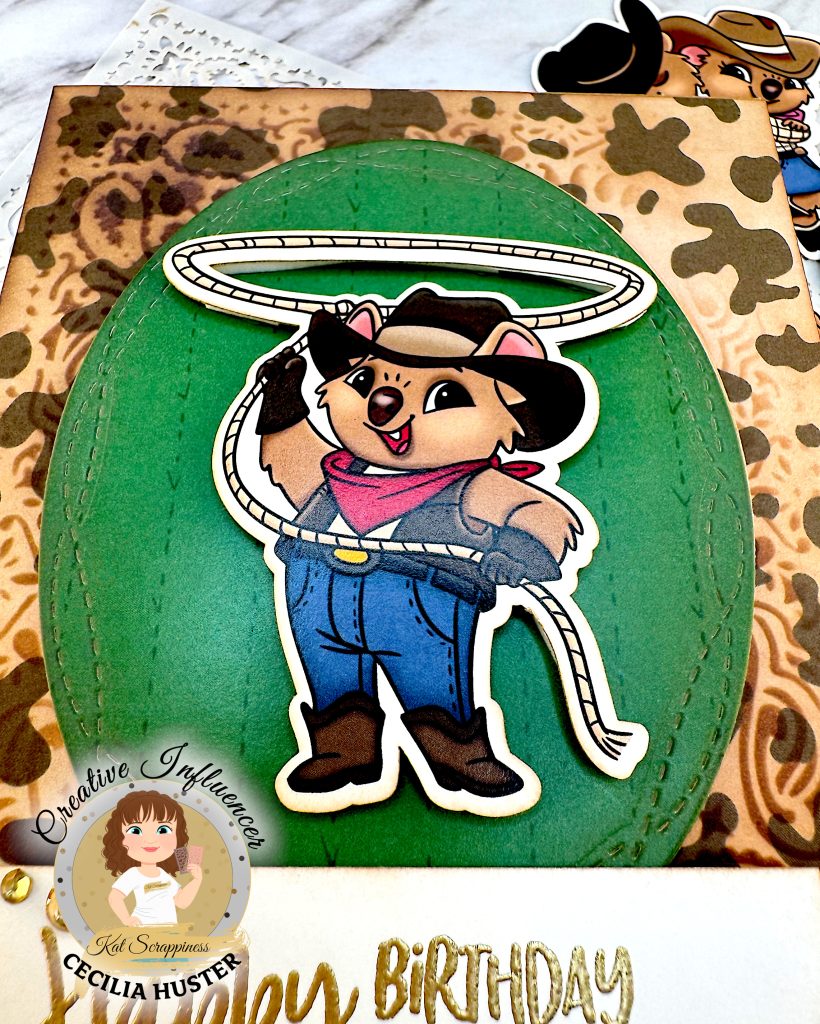
From the Kat Scrappiness Cowboy Quokka Ephemera Pack, I selected a girl and a boy quokka. I inked the edges of the ephemera pieces and added some heavy, white cardstock to the back for stability. Finally I added foam tape to the back.
Sentiment
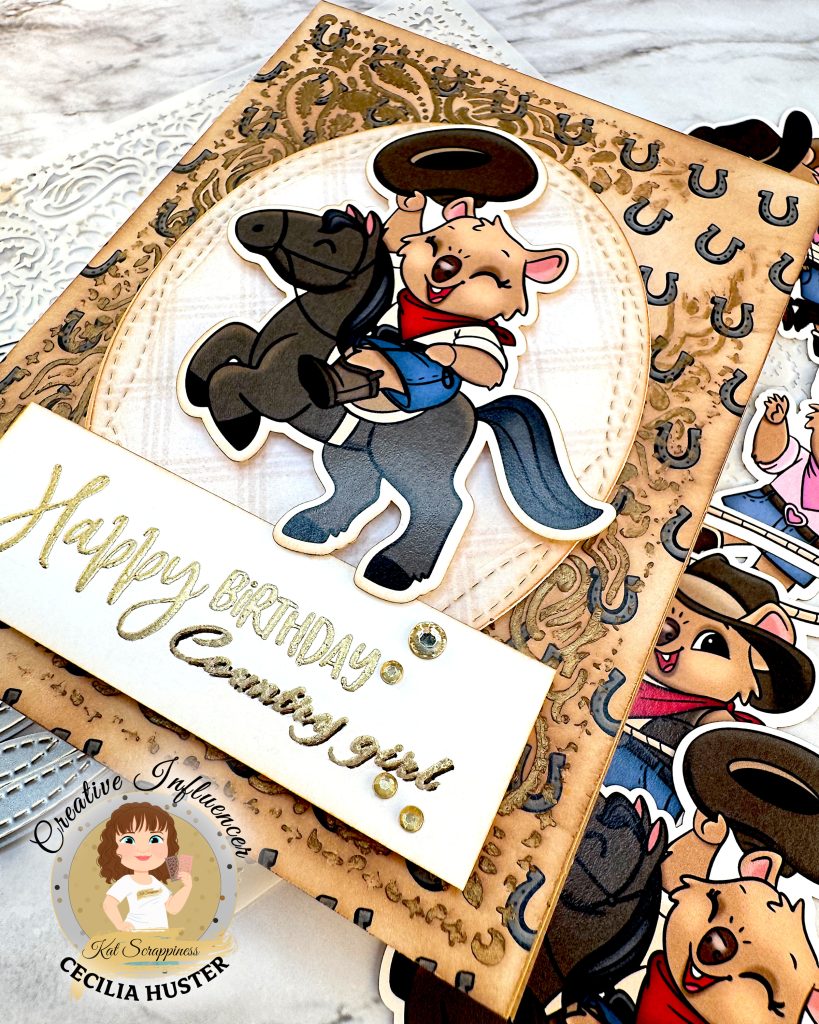
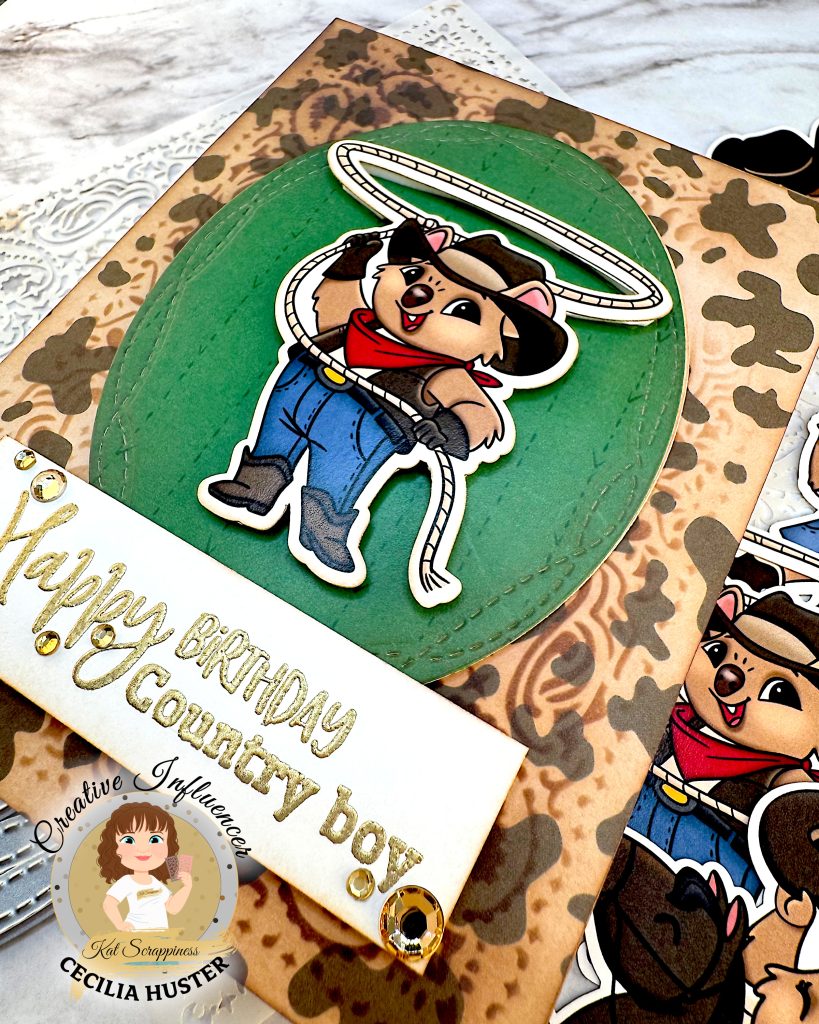
For the sentiment, I used three different stamps that I stamped one at a time. This way I could place them as close to each other as possible. First I stamped Happy from the Everyday Sentiments Stamp Set and heat embossed it in Gold Super Fine Detail Embossing Powder from Ranger. Next I repeated the process for Birthday and finally Country boy/girl.
I cut out the sentiments with my Tim Holtz trimmer and glued some heavy, white cardstock to the back for stability. I also inked the edges for a vintage feel.
Assembly
First I removed the release paper from the foam tape on the back of the cowboy ephemera pieces. Then I adhered them to the center of the ovals. Next I spread glue on the thin foam on the back of the ovals and glued them down on the card fronts.
The sentiments were next. I added foam tape to the back sides and bottom. Then I built up the top edge so that the sentiment would lie flat against the bottom of the oval. When I was happy, I adhered the sentiments near the bottom of the cards. The girl cowboy was bigger than the boy, so I nestled the sentiment under her horse’s hooves.
Finally I added some gems from my stash around the sentiment.