
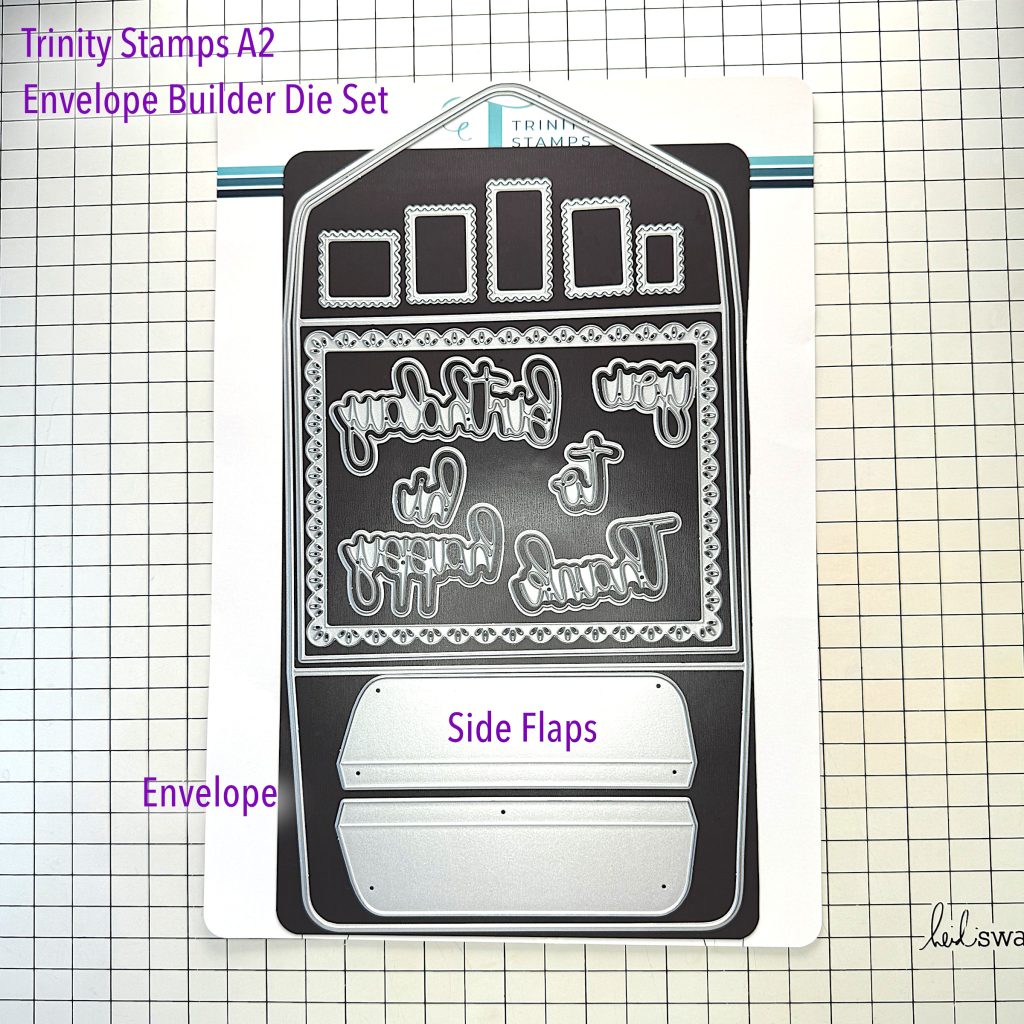
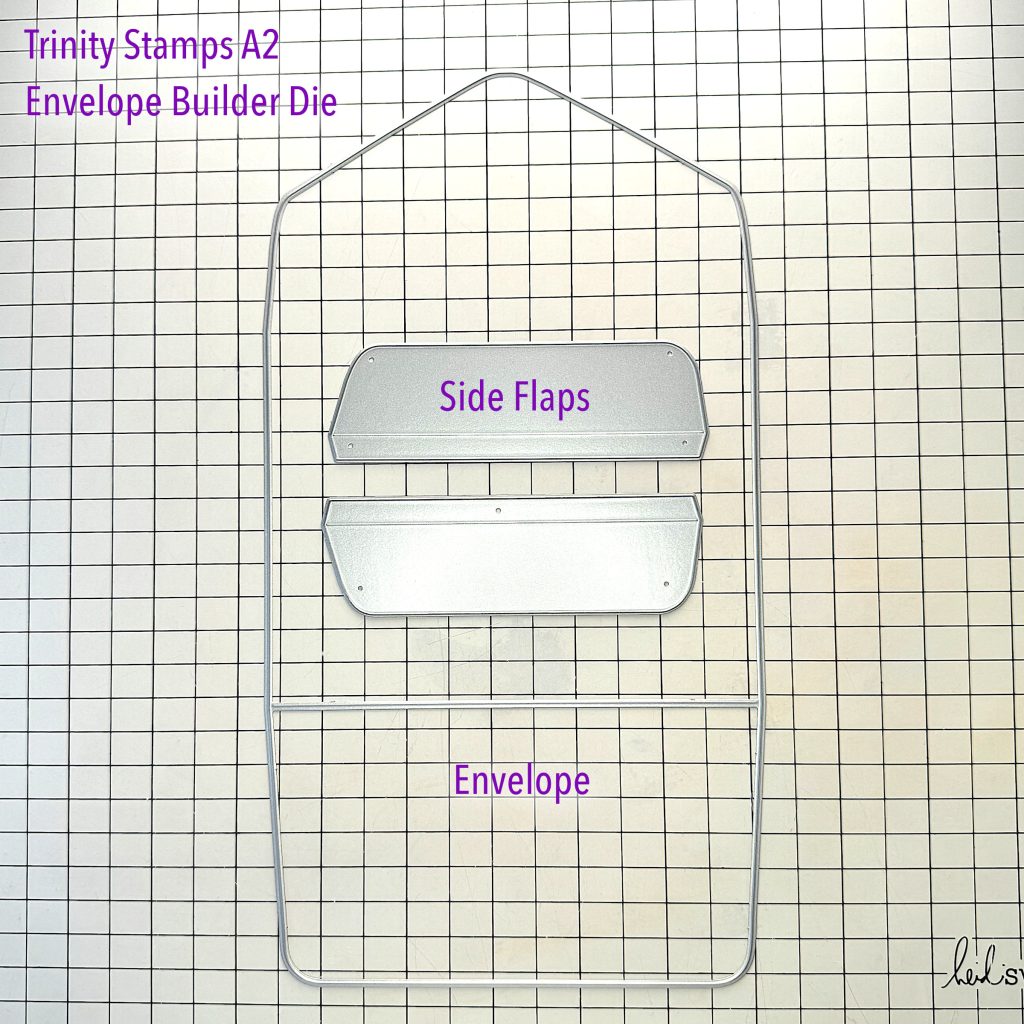
To go with my wobbling reindeer card, I’m making an envelope. The envelope dies I use are by Trinity Stamps. It’s a big die set, but you only need three of the dies to create a regular A2 envelope. The rest of the dies are for a liner and for decorating the outside.
My watercolor paper isn’t quite long enough for the main part of the envelope. But it will still close and look good.
Before I start watercoloring, I’ve scored the main body of the envelope.
Watercoloring
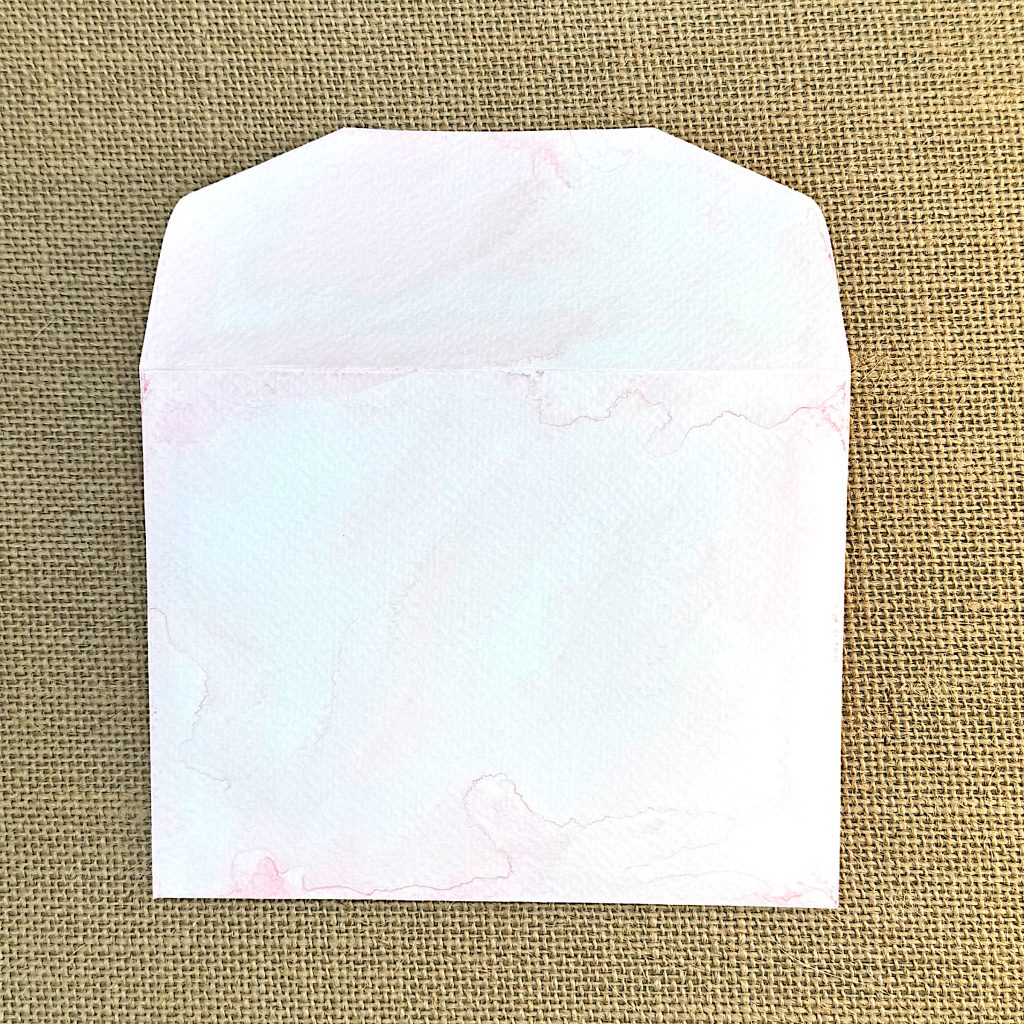
To match the deer card, I’m using two Tim Holtz watercolor pencils: Spun Sugar and Worn Lipstick. Once I’ve covered the outside of the envelope with the pencils, I use a water brush to mix out the paint.
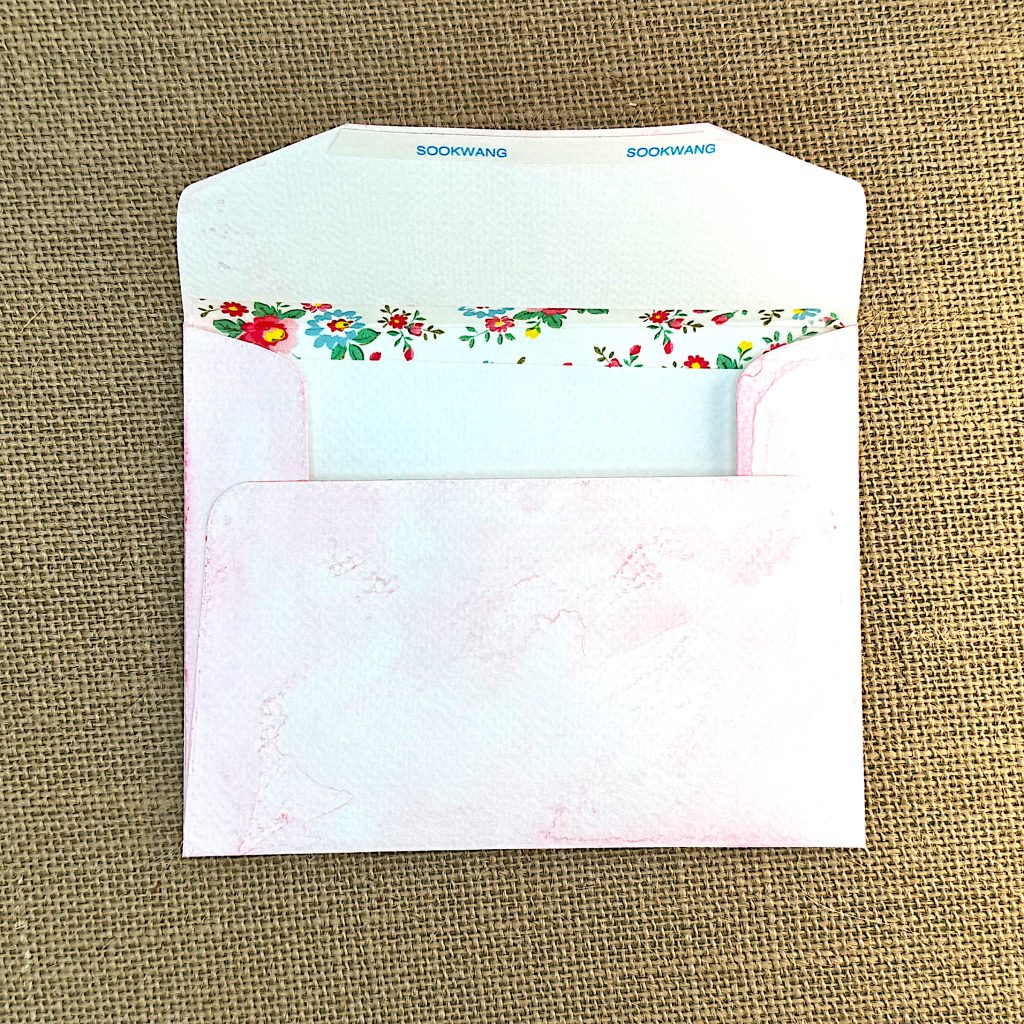
I let the watercolors dry on their own, and then I glued the flaps to the main body of the envelope. This watercolor paper isn’t super strong, so I’ve added washi tape to the inside.
I place glue on the bottom flap and adhere it to the side flaps. That’s it — I now have an envelope that perfectly matches my 🦌 card!
To close it, I added double-sided tape to the inside of the flap.