I just got the last two ink pads I was missing from the Distress Oxide palette: Rustic Wilderness and Crackling Campfire.
Distress Oxides are great for both ink blending and stamping, as well as many cool techniques. Aside from Archival inks, Distress Oxides are easily the ink pads I reach for most of the time. So getting the complete 72-pad collection was really worth it for me.
I find that I use my swatches quite a lot for Distress Oxides. Unlike e.g. Pinkfresh inks, there are no light/medium/dark color families. Each of the 72 colors is its own unique thing. So I check the swatches to select colors for e.g. layering stencils.
Labeling
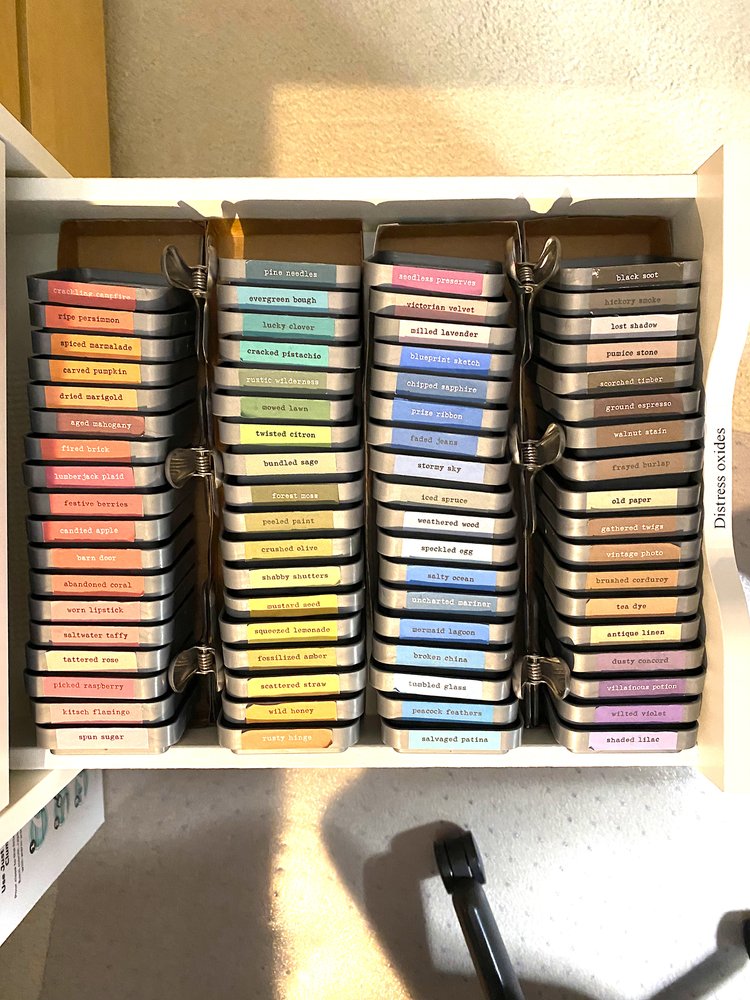
I store my ink pads on their sides in a drawer, so a label on the side of the ink pad is a must.
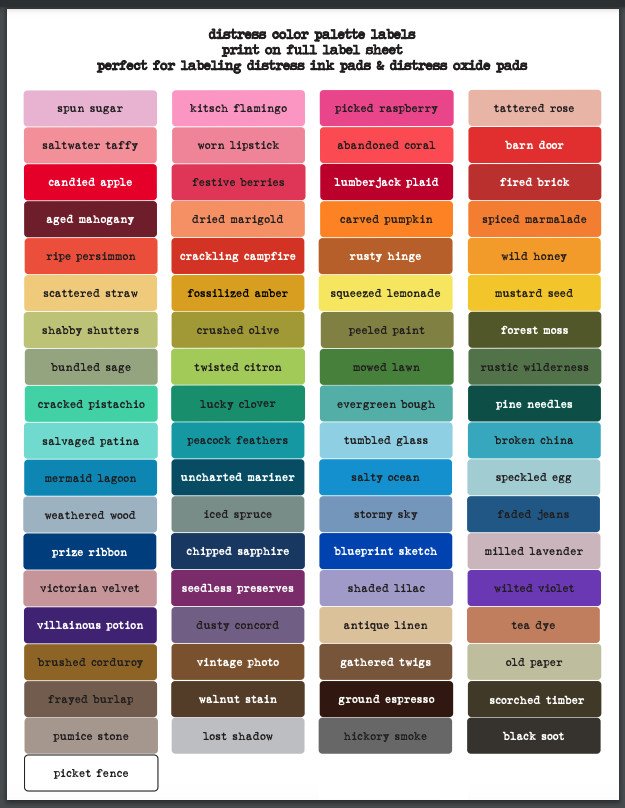
I’m using labels I printed off the Ranger web site and print them on regular printer paper. Before I glue them to the side of the ink pad, I scuff up the plastic with a nail file. When the label is in place, I trim off the excess with scissors.
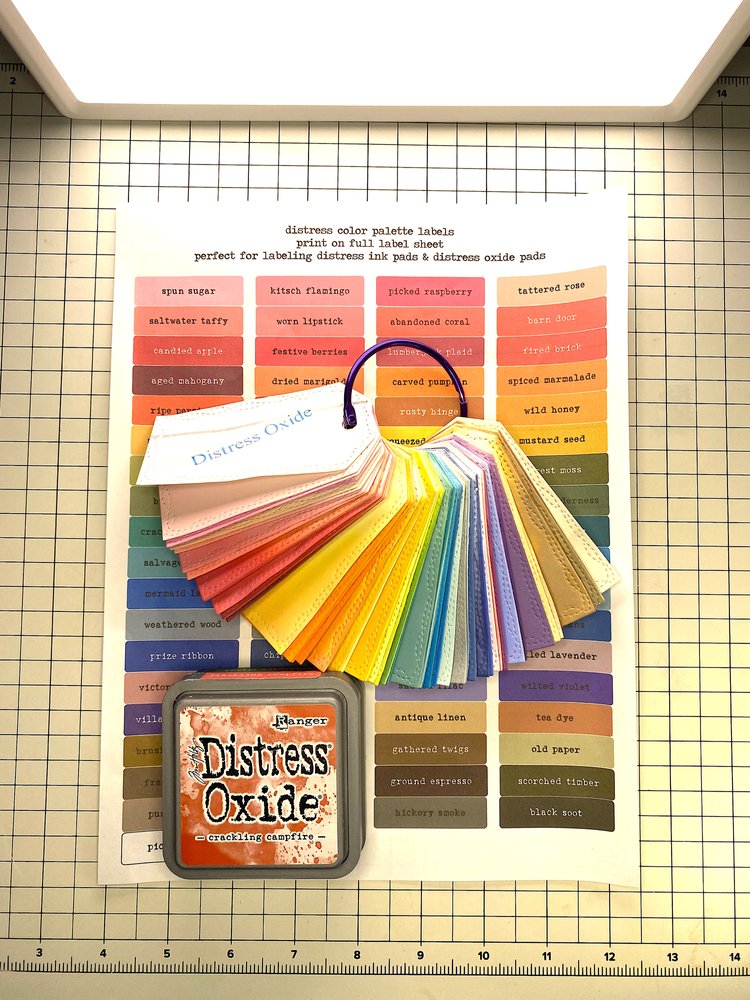
I also keep a whole label sheet in a page protector in that drawer. The color is not super accurate, but it works for a quick overview. It also helps me sort the ink pads back in the right order when I return them after use.


Preparing for swatching
I went through my swatches and ink pads and pulled all the pads that I didn’t have swatches for. Besides the new ink pads, there are 12 more. For some reason it was mostly green and brown ink pads I hadn’t swatched.
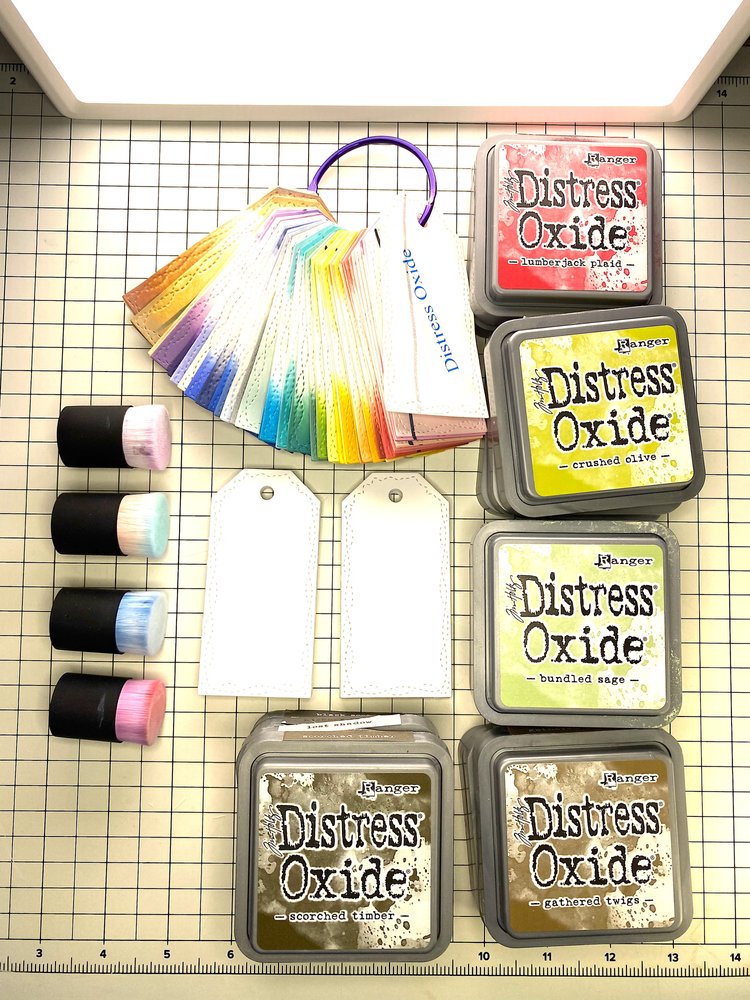
I create swatches on die cut tags of Accent Opaque 100 lbs. That’s the cardstock I use the most, so it makes sense to swatch on it.
I use my Dymo label maker to label the tags on the back.
Then I draw a line with a black Tombow marker on the front of the tag. That helps me see how much coverage the ink provides. Distress Oxides a hybrid inks. That means that they contain both dye and pigment. Pigment sits on top of the paper and can cover up the black line.
For swatching I obviously need the ink pad and the labeled tag. But I also need ink blending tools and a watercolor brush. I cleaned off the blending brushes with a micro fiber cloth between colors.
Swatching
My swatches all have heavy ink blending at the bottom of the tag. Along the right edge I blend out the ink, to see what it looks like when it’s not so saturated.
At the top left I add a few strokes with the ink blending tool. Then I take some water on my flat brush and drag the ink downwards. That way I can see what the ink looks like when it’s used as watercolor.
Protecting My Swatches
When the swatches are dry, I protect them with micro glaze. That way they’ll be easy to clean if I get other inks or paint on them.
My micro glaze is from Judikins. Ranger also have a micro glaze that’s apparently very similar. I apply it with a tiny ink blending tool and buff off the excess with a cotton shop rag.
With the protective coating, the swatches are ready to be integrated into my swatch ring. I again consult the label sheet to add the new swatches in the right order. I was also able to sort all the ink pads into the drawer in the right order. Now they’re just waiting to be used on my next card. ☺️
