This week I’m participating in OnlineCardClasses.com’s holiday class. It’s Monday through Saturday, so there will be a lot of cardmaking this week. You may remember that I participated in another class about embossing folders back in May.
Day 1 – Jennifer
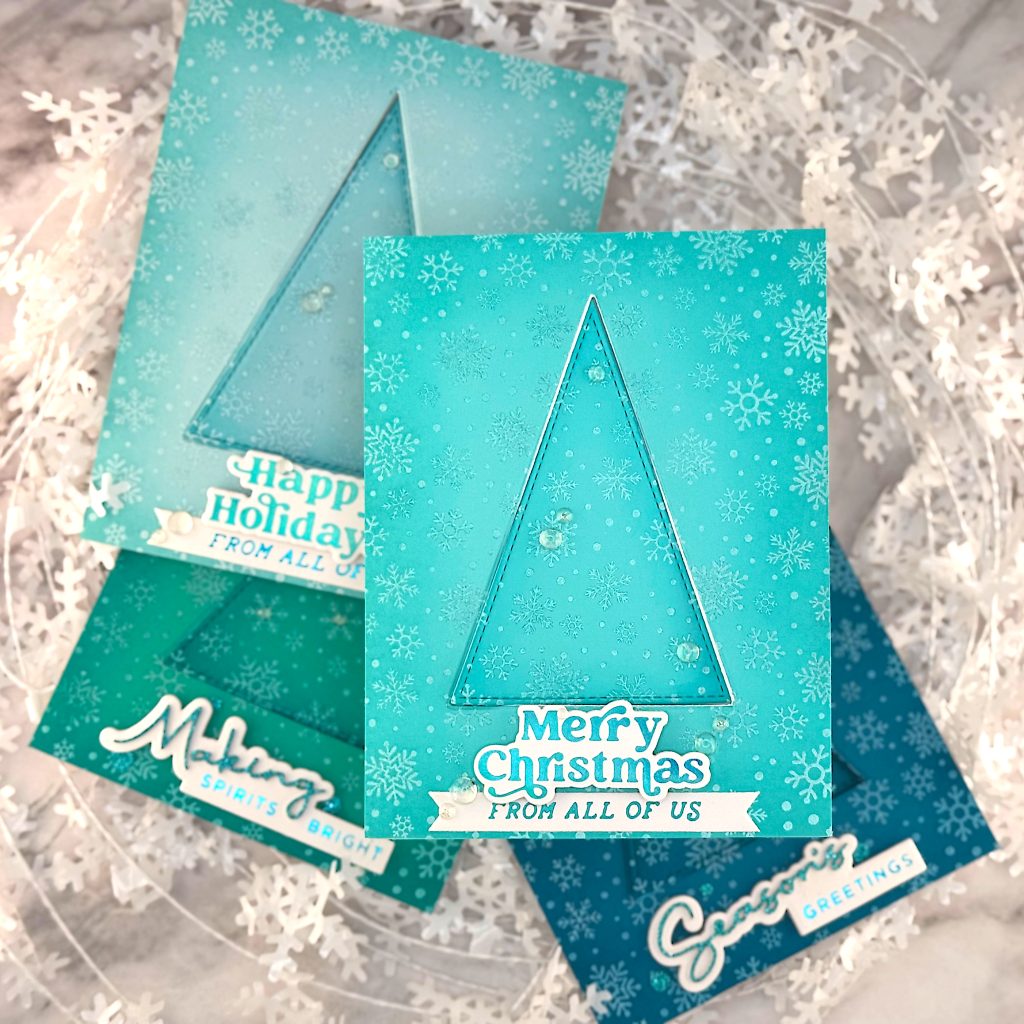
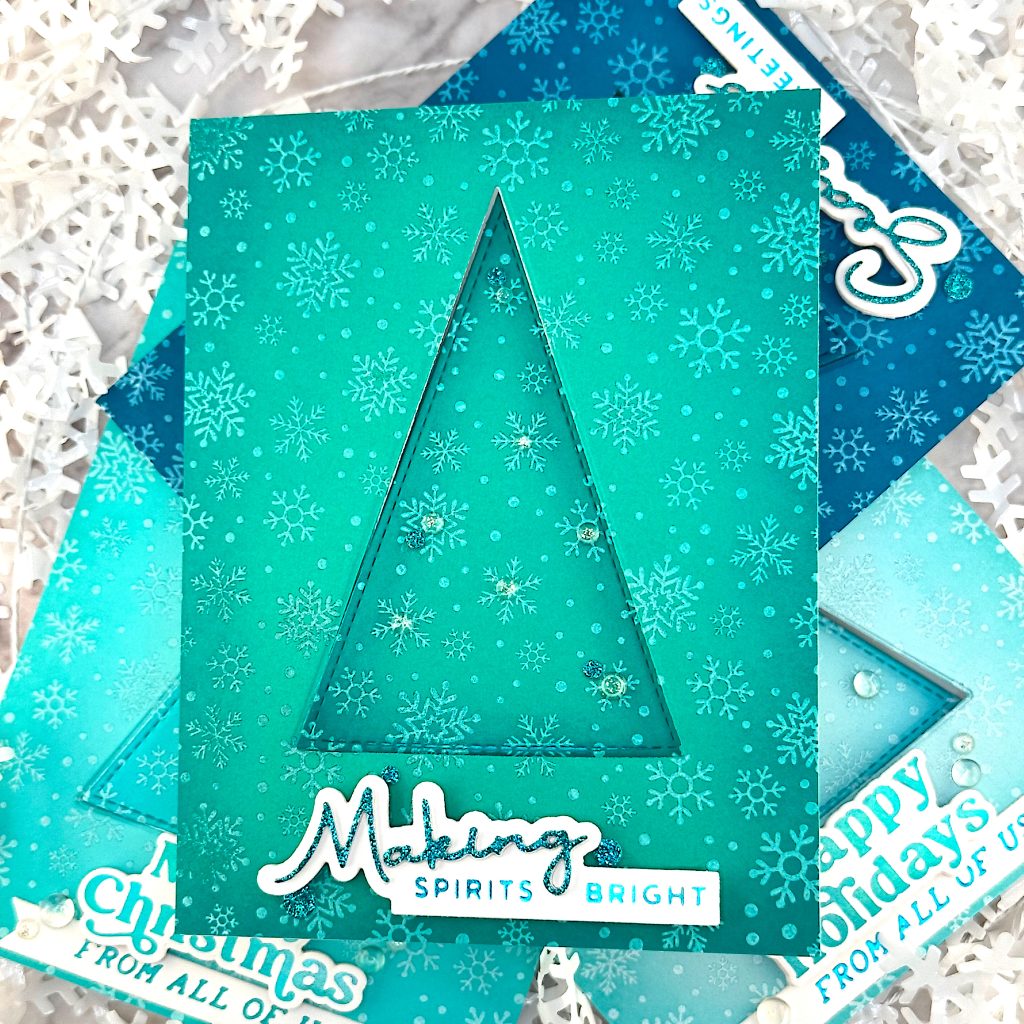
Jennifer McGuire taught a class in how to create a pop-up tree card. She stenciled on her background and decorated her trees with die-cut snowflakes. I stamped snowflakes with a background stamp. She also used different colors of cardstock for her tree and background. I simply die cut the tree from the background. Then I ink blended around the edges of the background and around the edges of the tree.
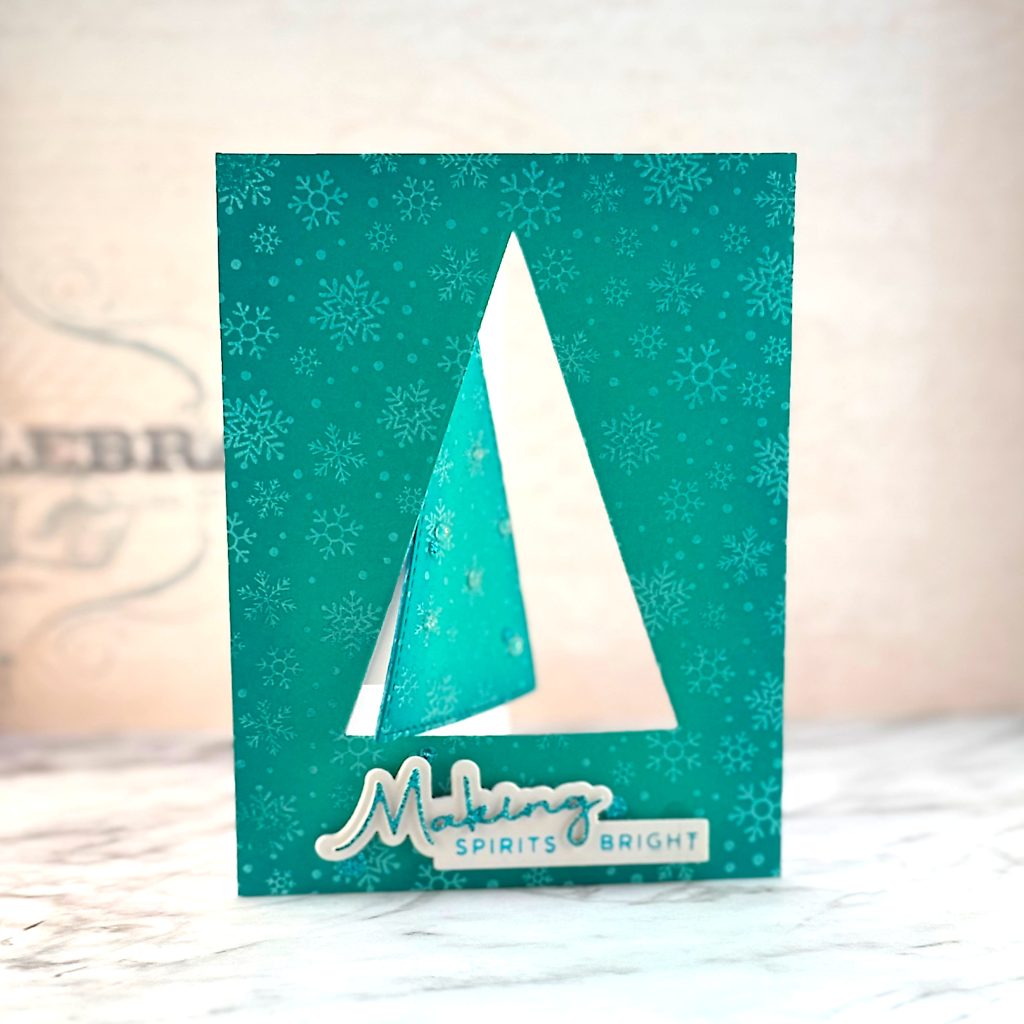
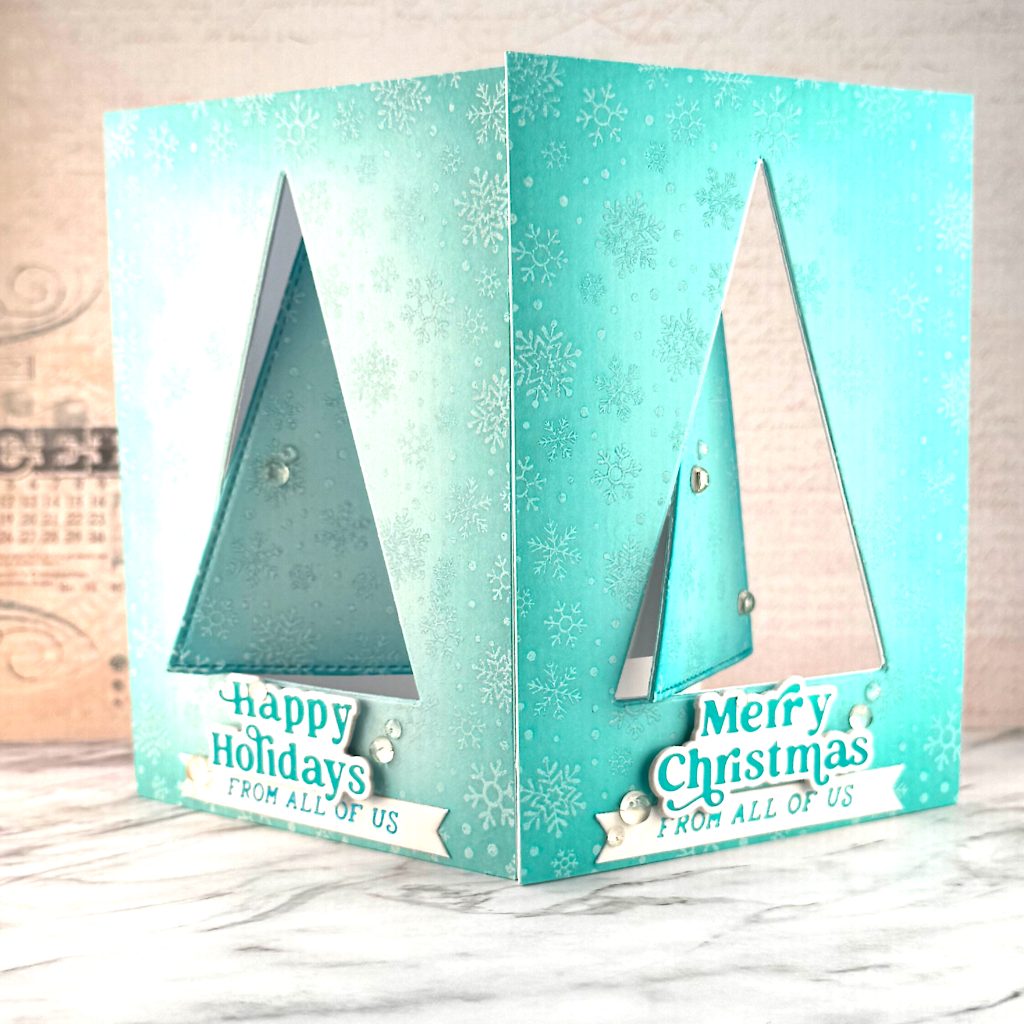
But the main point of her class was the pop-up tree. Start by cutting out the tree shape from your background and the front of the card. It’s important that they’re aligned.
Next you create the pop-up feature from a 5” by 1” piece of cardstock. Score it every 1 ¼” and create a cube. Put glue on the outside of the first and last surfaces. Then fold it in half and place the ends in the fold of the card and perpendicular to the fold. Close the card until the glue sets. You should see some of the popup mechanism through the hole you created for the tree.
Put glue on the full rectangle that you see through the tree hole. Nestle your tree in the hole and put something heavy on it while it dries. Once the glue has dried, you need to carefully push the tree through the hole. Now the tree should move with the card as you open and close it. See photos above.
Supplies Used
- Taylored Expressions Snow Day Background Cling Stamp (retired)
- MFT Stitched Tall Triangle STAX Die-namics
- Spellbinders Simon Hurley Joyful Christmas Sentiments Plate and Die
- Christmas Die & Glimmer Sentiments (only $10 right now)
Day 1 – Kristina
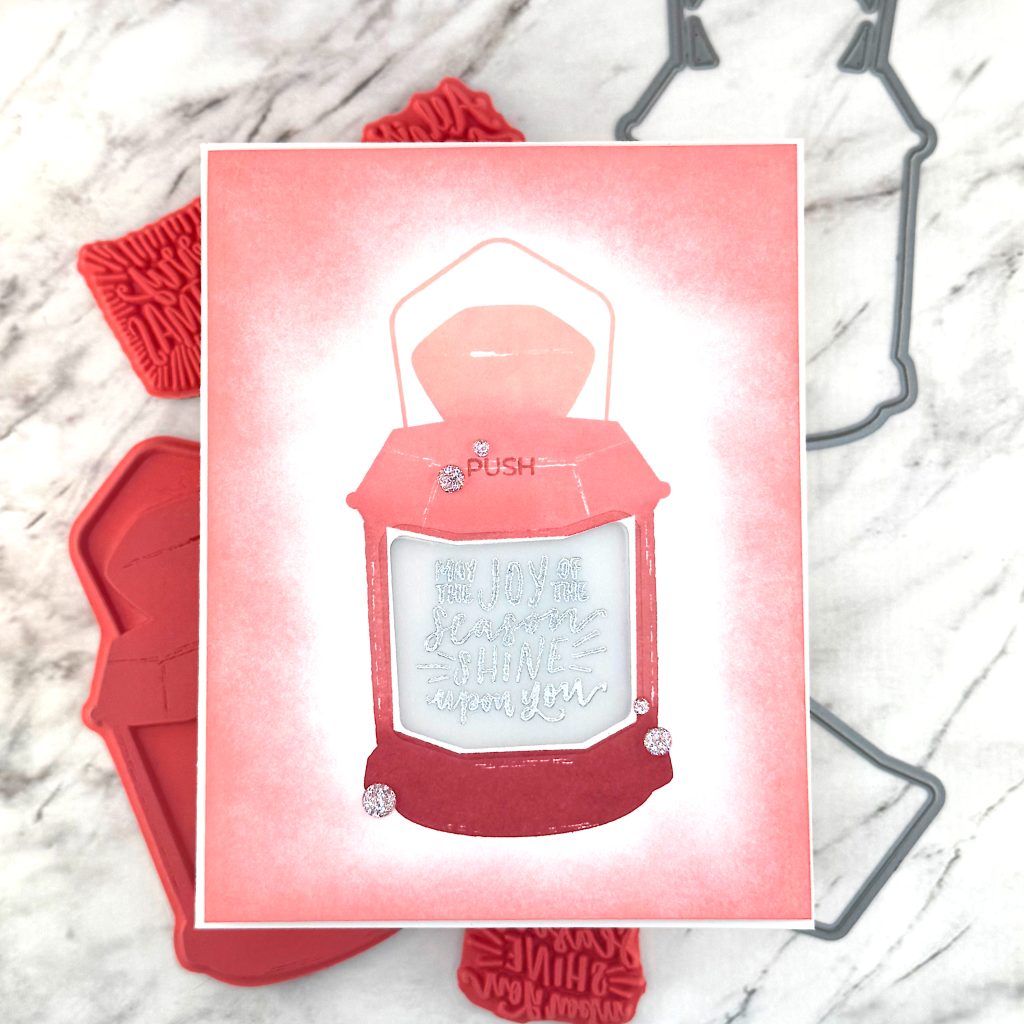
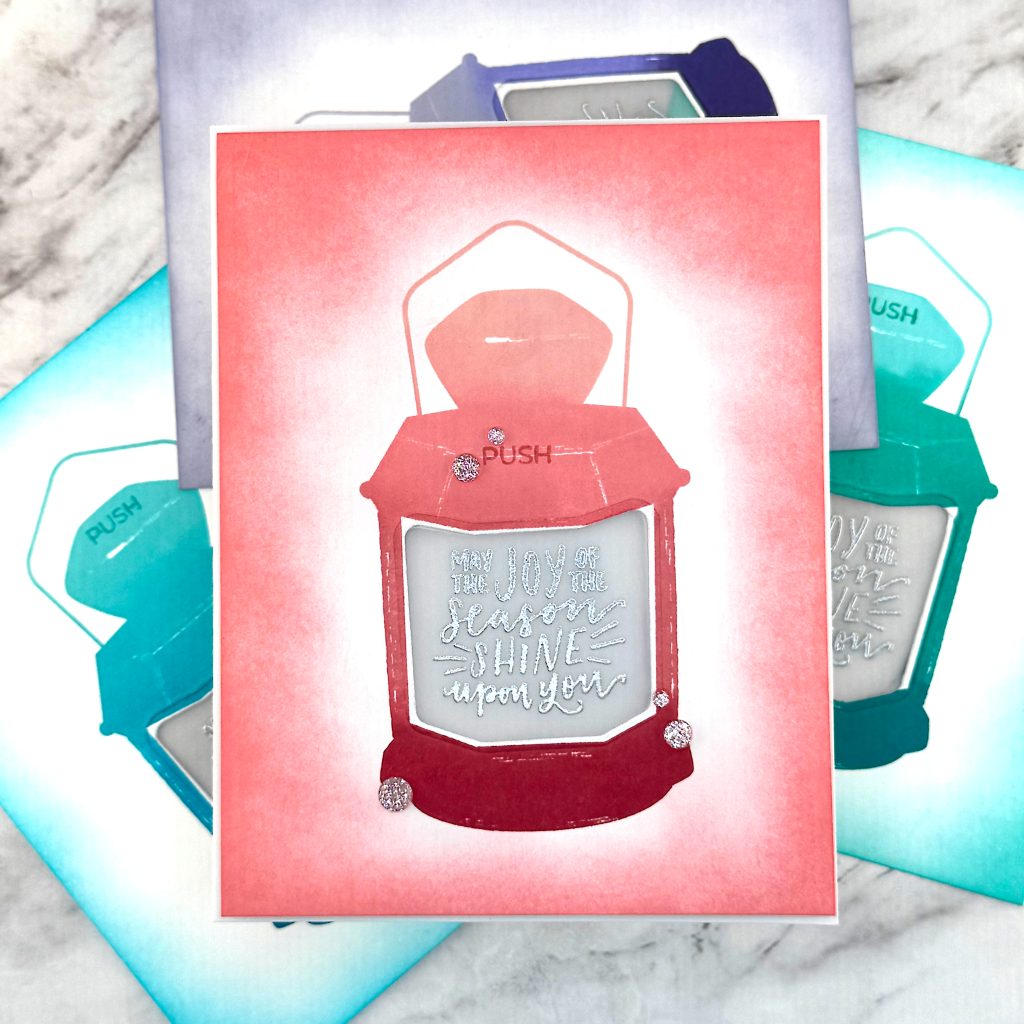
Kristina’s class was all about stamping and heat embossing. I was inspired by her bonus card to create four cards with a lantern. The technique here was gradient stamping. This lantern is one of the few stamp sets I have that has a lot of solid areas. Since I love coloring, most of my stamps are outline stamps. There might be some more in my giveaway bins, though. I know I put some layering stamps in there, because I hate layering stamps. 😂🤷🏼♀️
I used four Pinkfresh Ink Color Families for my gradient stamping. This is the first time I’ve done it and I learned that you often have to stamp more than once to get even coverage. Even with Pinkfresh inks, which have a smoothing ingredient. Then I used the same inks to ink blend on the background.
I kind of went off on a tangent here when I realized that I had some EZ lights I could use with the lantern. So I stamped one of the sentiments from the stamp set on vellum and heat embossed it in silver. Then I die cut it, using the coordinating die. I also used the internal coordinating die to cut out the glass portion of the lantern. Next I sandwiched my vellum sentiment between the stamped background and a slightly smaller piece of heavy white cardstock. I added the EZ light to the back with tape. Then I stamped PUSH on the card front where the button is located. I added foam tape to the back of my card front and adhered it to my card base.
I also prepared the other card fronts, so I can add lights to them when my order arrives. This was fun!
Supplies Used
- Taylored Expressions All Is Bright (retired)
- Trinity Stamps Papercrafting Magic Stamp Set
- Pear Blossom Press EZ light
- Pinkfresh Studio Glitter Drops
