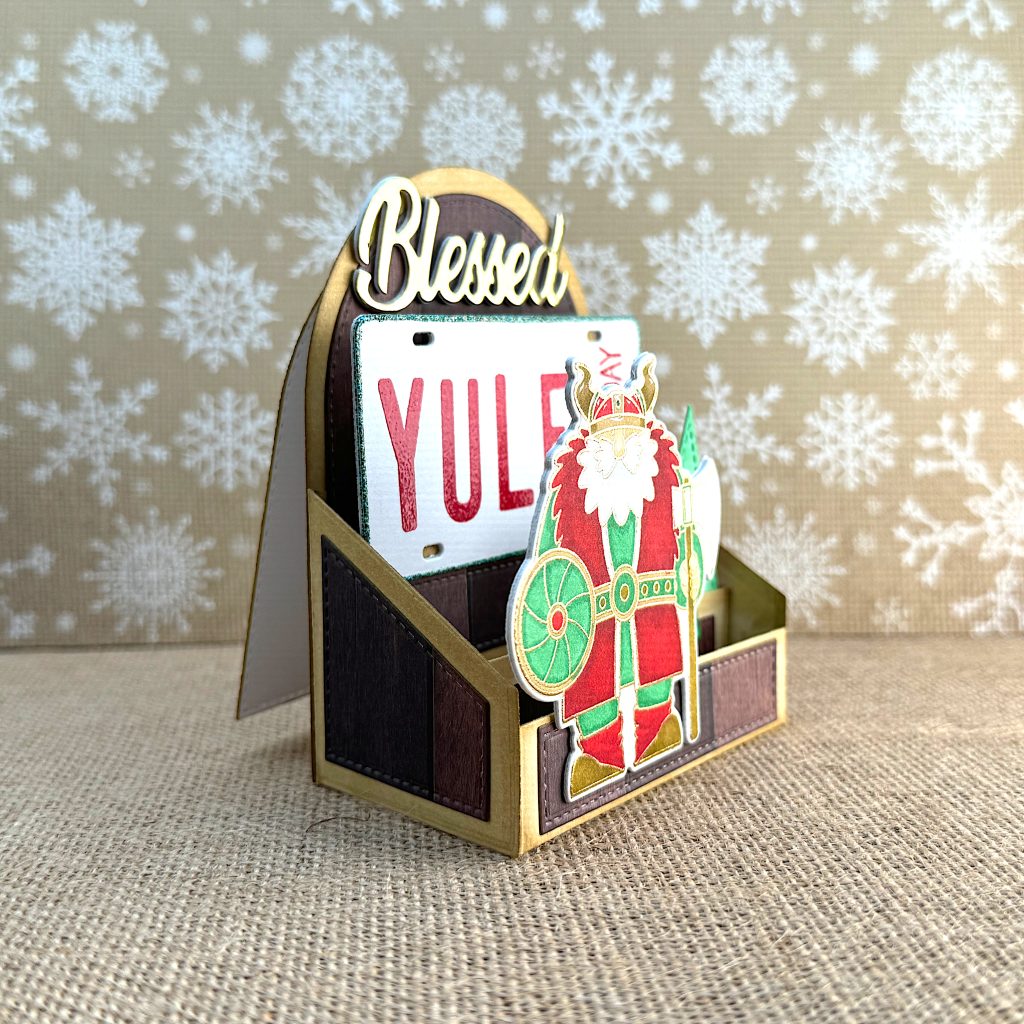
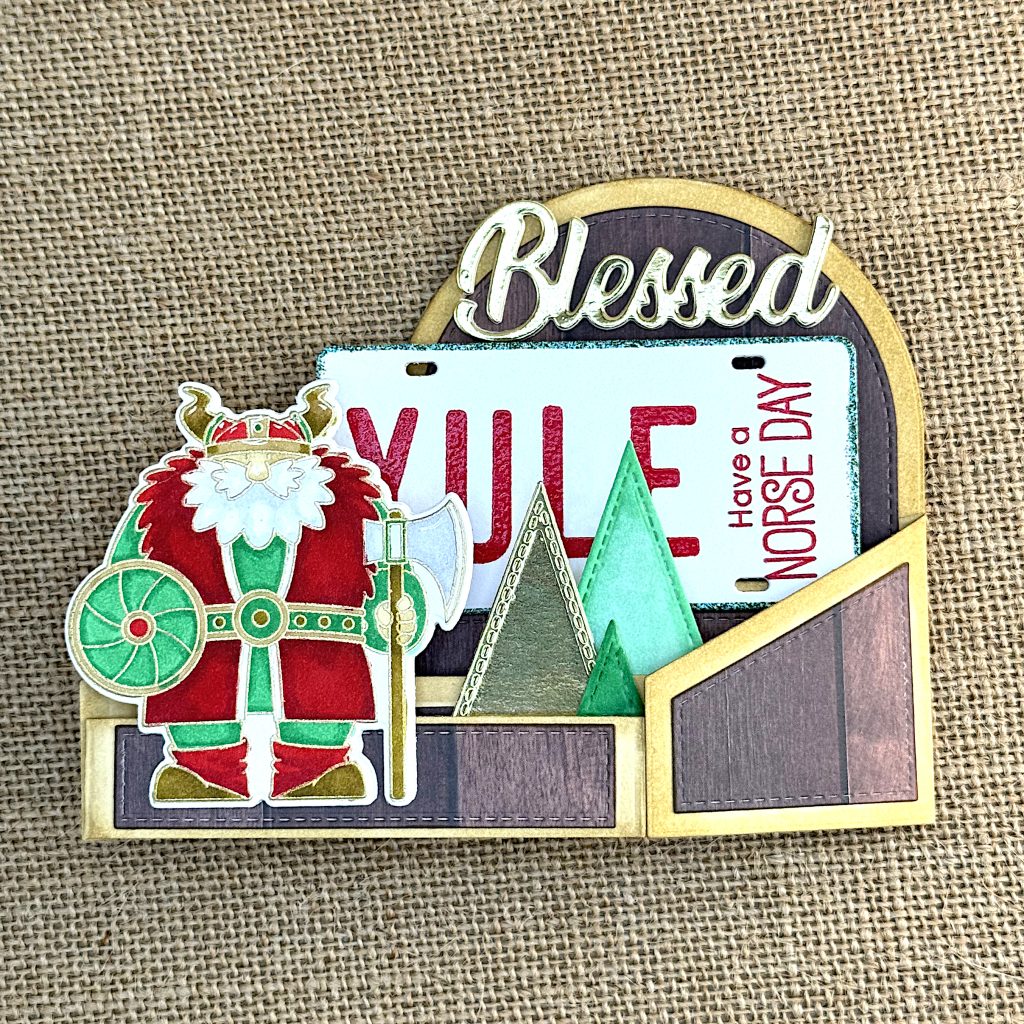
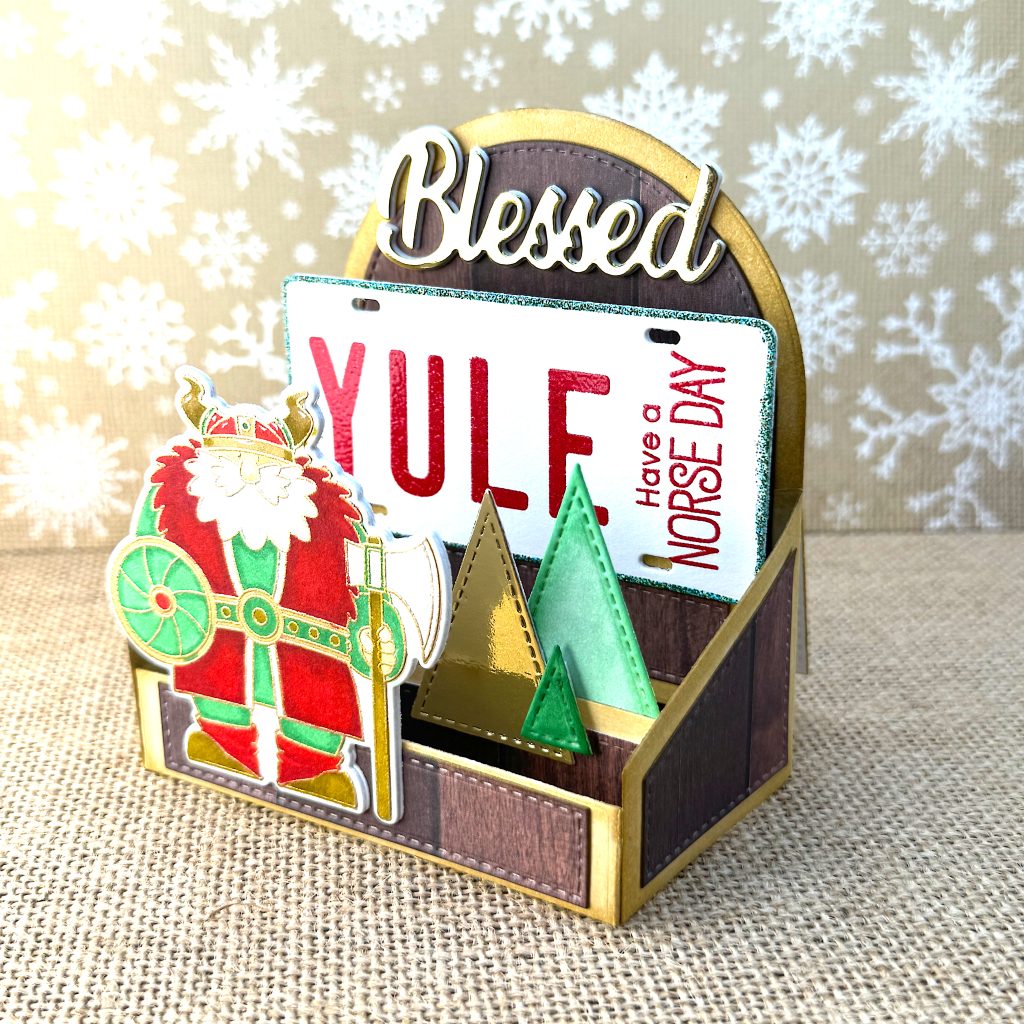
I created this card for Amanda’s Instagram hop. The theme was Worldwide Wintertide. I was debating between Diwali and Yule, but in the end I went with Yule.
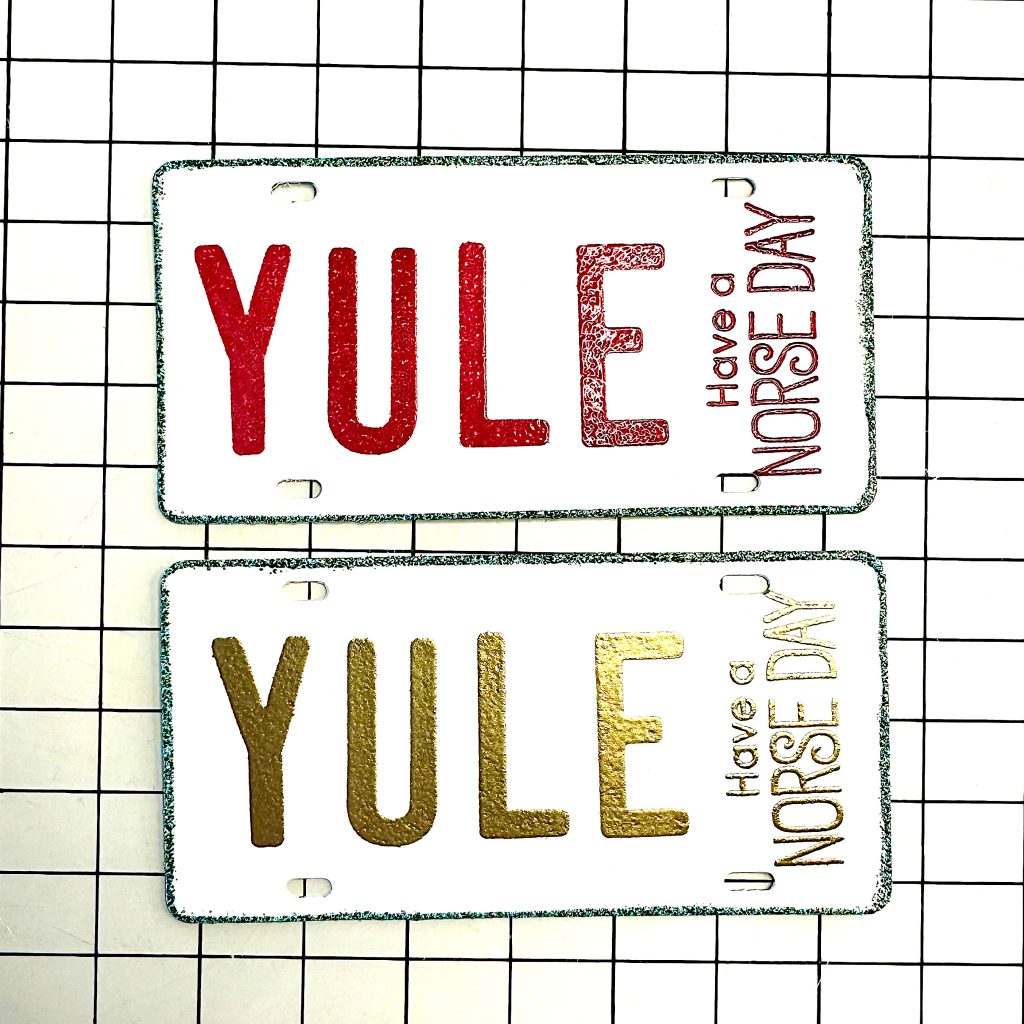
The starting point for my card was the YULE license plate. If it looks familiar, it’s because I created a Valentine’s Day Card with this stamp and die set. The stamp set is MFT License Plate Alphabet and the die is MFT License Plate Die.
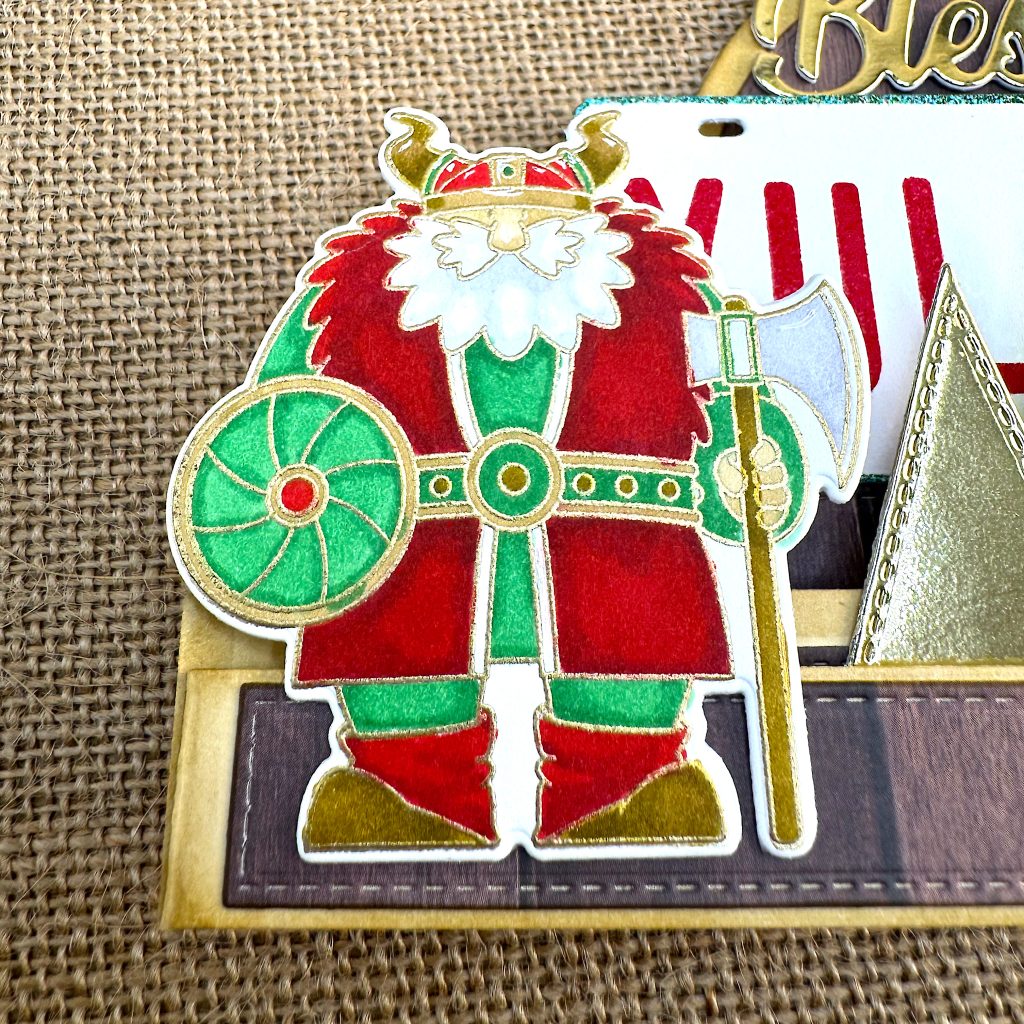
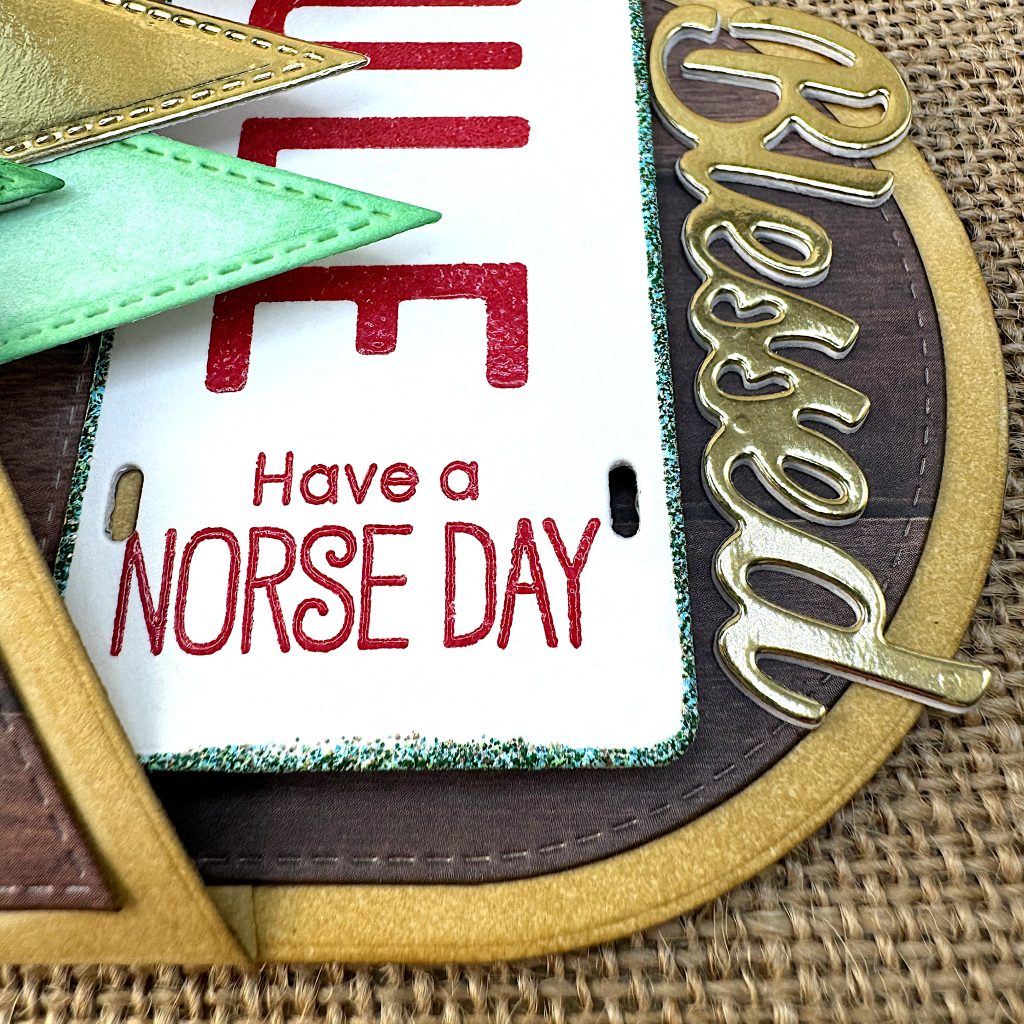
Browsing my MFT collection, I came across the Viking and realized that I could fit Have a Norse Day on the license plate next to YULE. Sadly MFT’s Viking is no longer available but Trinity have a Norse Gnome stamp and die set you could use instead. It even has the same Have a Norse Day greeting. (Don’t at me about the horned helmet. I know it’s a 19th century invention.)
I stamped YULE and the Norse greeting with Versamark and used Lumberjack Plaid Embossing Powder to heat emboss them. Then I cut out the license plate with the die. I used a heat embossing pen around the edges of the license plate and heat embossed them with Ranger Verdigris Embossing Powder.
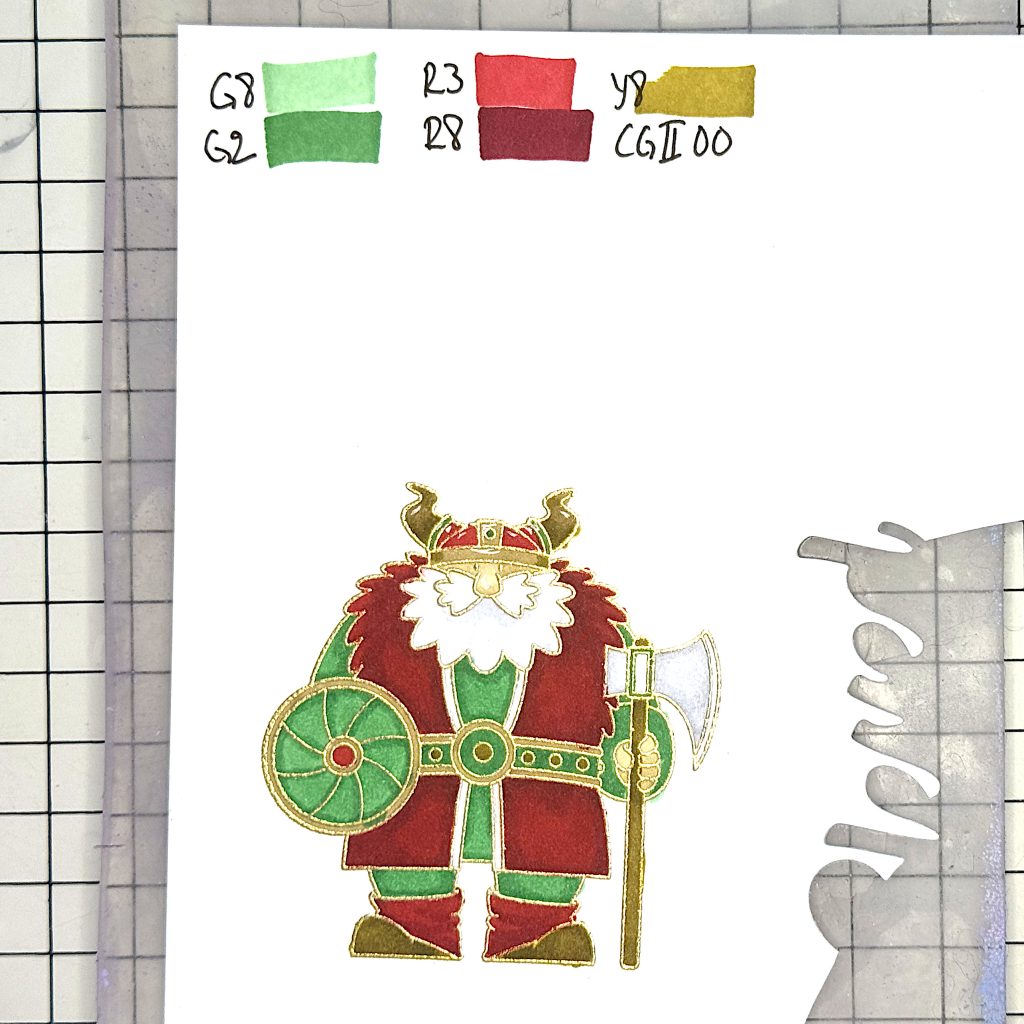
The Viking I heat embossed with Ranger Super Fine Embossing Powder in the color Gold. Then I colored him with my Ohuhu alcohol markers in seasonal colors.
The word Blessed comes from a memorydex die set I got off Amazon. I cut it once from Recollections Gold Foil Cardstock and four times from Accent Opaque 100 lbs and stacked them.
I also die cut the three smallest triangles from MFT Stitched Tall Triangle STAX Die-namics. The largest and smallest from Accent Opaque 100 lbs and the middle one from Recollections Gold Foil Cardstock. I colored the white triangles with the same green markers that I used on the Viking, so the shapes would read as holiday trees.
Box card assembly
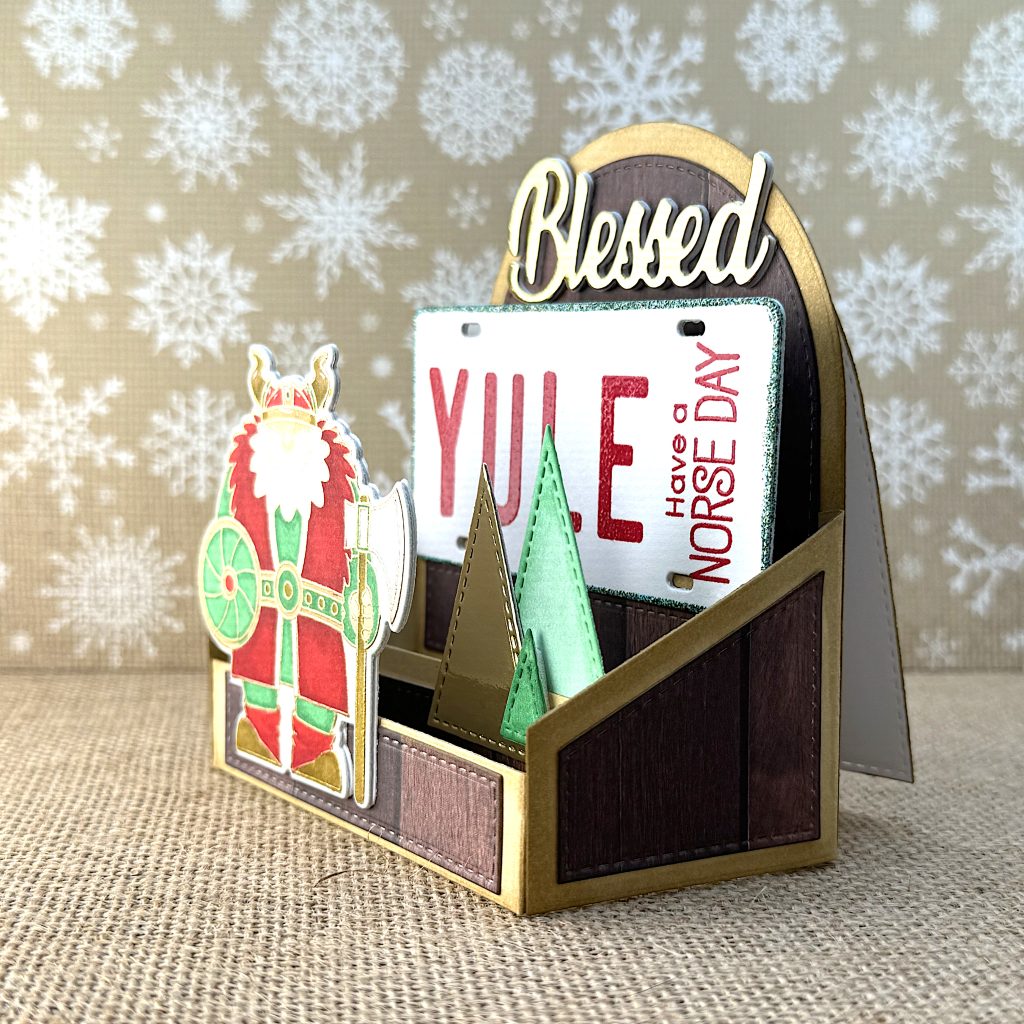
I constructed my box card using MFT’s Outside the Box Level Up Die-namics. I created the base out of Accent Opaque 100 lbs and colored the edges with my Ohuhu alcohol markers. The wood scrapbook paper is from Recollections Surfaces. I liked it because the dark color creates a nice contrast, but there are lots of other companies that have wood effect scrapbook paper.
To provide a writing surface on the card, I took another piece of wood scrapbook paper and folded it in half with the printed side out. Then I die cut through both layers with a hinge at the top. I glued the resulting notecard to the back of the back panel.
The sentiment die cuts I placed on the front of the back panel of the box card. On the middle tier of the box card I placed my trees. The largest tree went behind the tier and the smaller shapes in front. I staggered them, to provide a false perspective. Finally I adhered the Viking to the front of the front tier.
