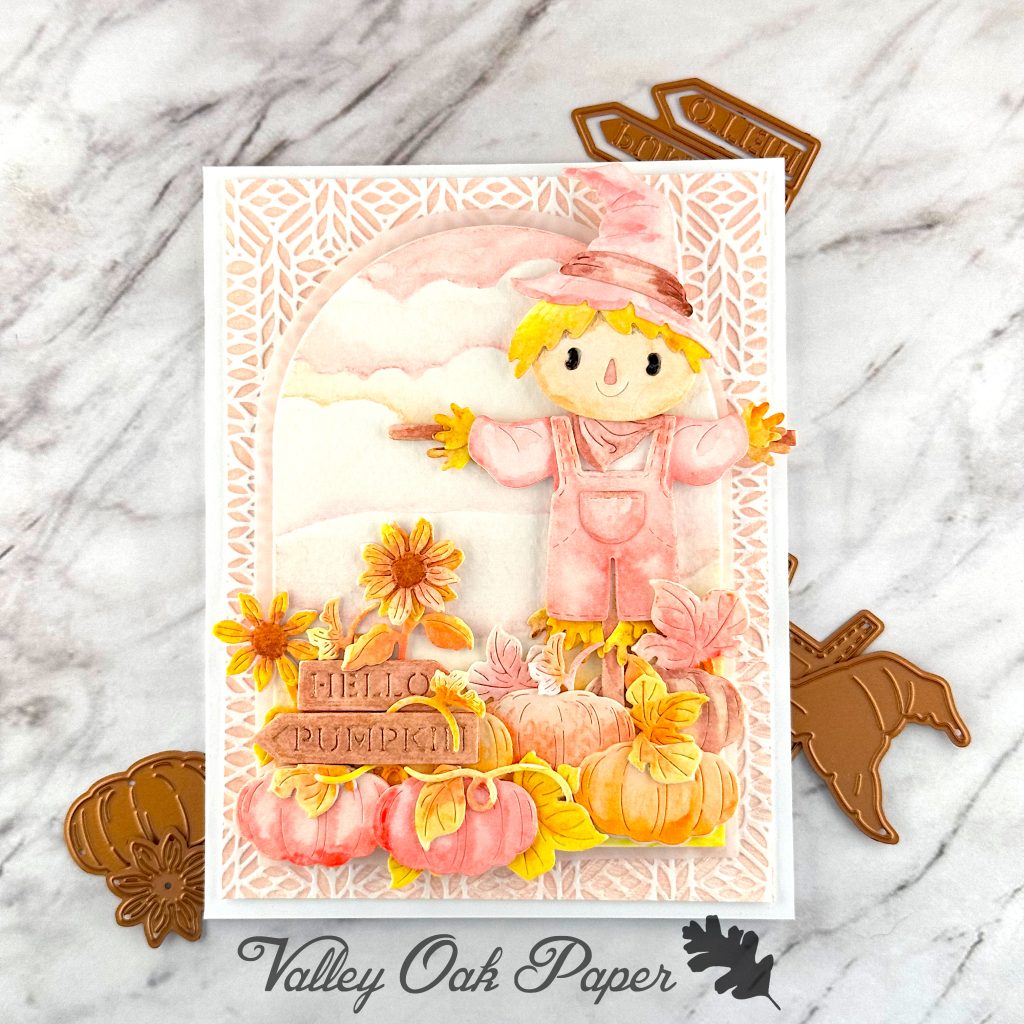
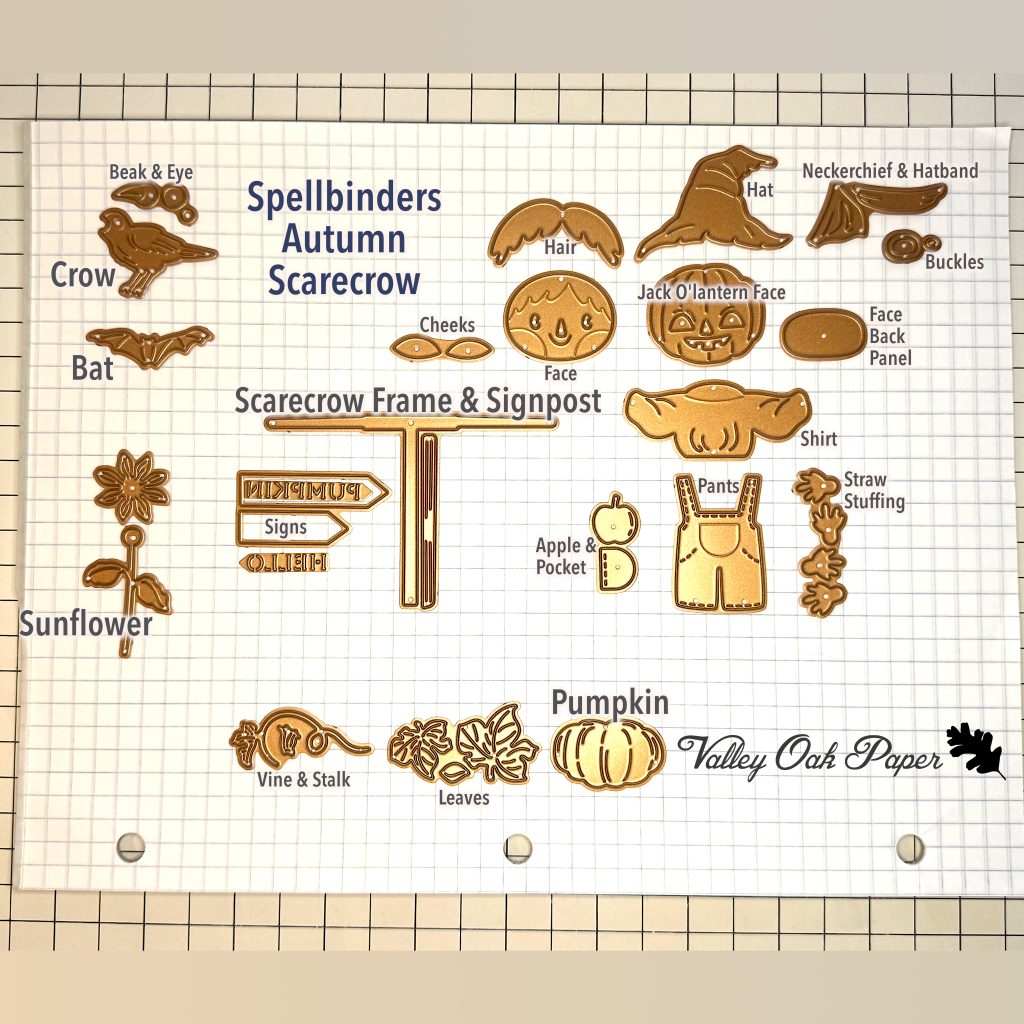
Spellbinders Autumn Scarecrow was the Small Die of the Month for September. It’s available for the general public now.
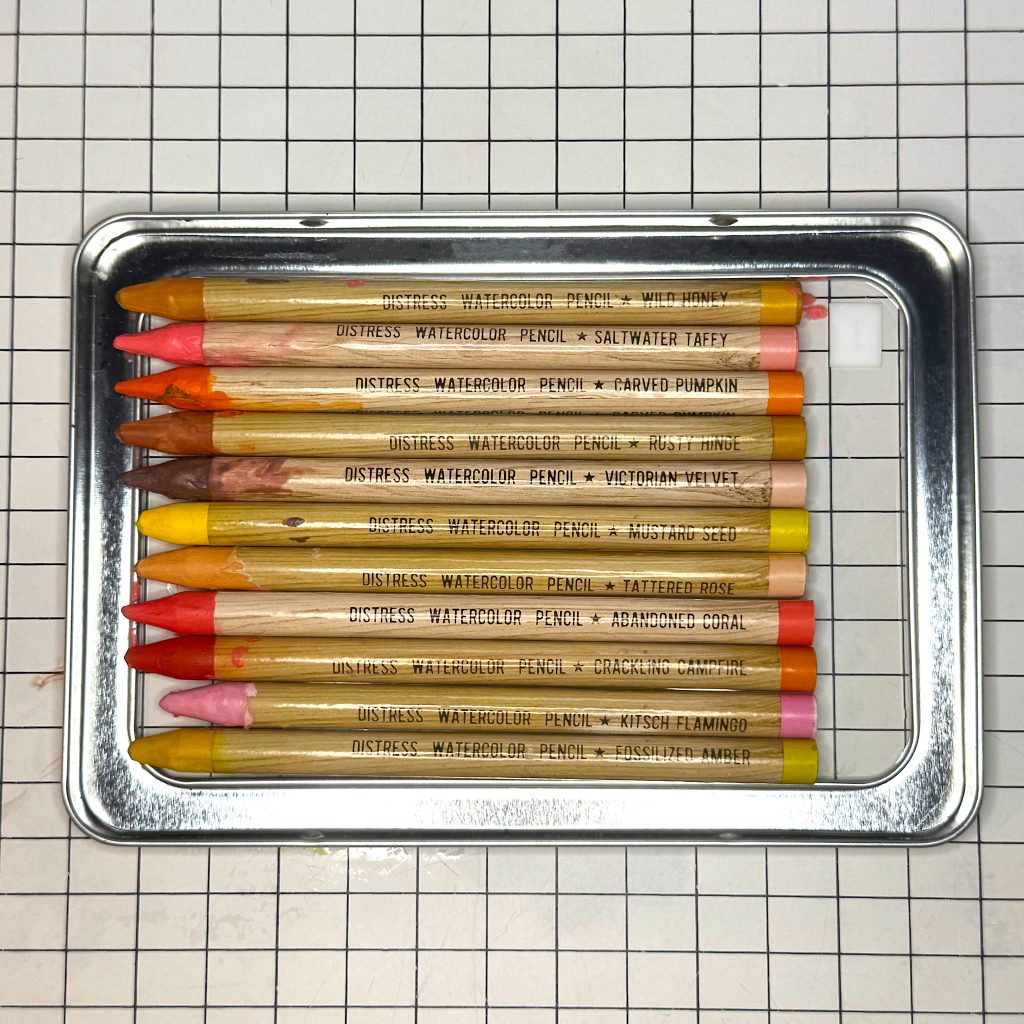
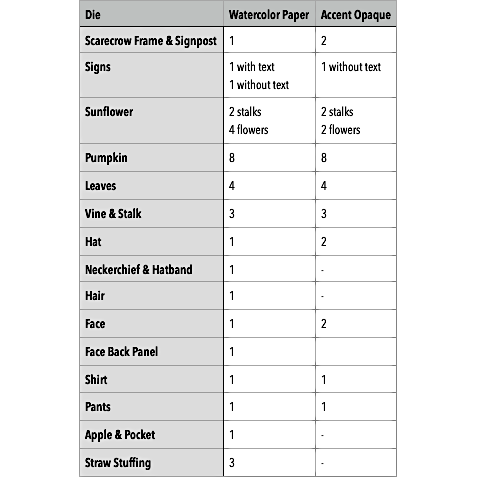
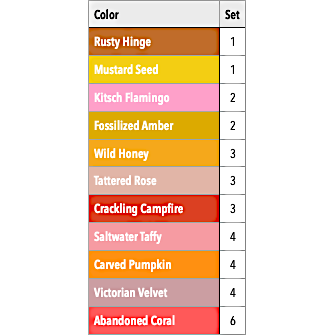
I cut out all the parts, see the Cut List below, from watercolor paper and Accent Opaque 120 lbs. Then I watercolored my die cuts using Distress Oxide Water Color Pencils. For my palette I was inspired by palette 140 from Sarah Renae Clark’s Color Palette Volume 1. When everything was dry, I stacked some of the die cuts with Accent Opaque 120 lbs for stability and dimension.
Rectangular Background
For my background I embossed an A2 panel of Hammermill with a Spellbinders Embossing Folder called Sweater Weather. First I misted my paper and temporarily adhered it to the top inside with a little tape runner. Then I applied Distress Oxide Tattered Rose to the bottom inside using the ink pad. I ran it through my die cutting machine and repeated the process one more time. I learned this technique in spring at the Extraordinary Embossing Folders class and I just love the effect of texture and color together.
I cut down the panel to 4” by 5 ¼” and stabilized it with a piece of Accent Opaque sized 3 ¾” by 5”. Then I glued it to my card base.
Arched Background
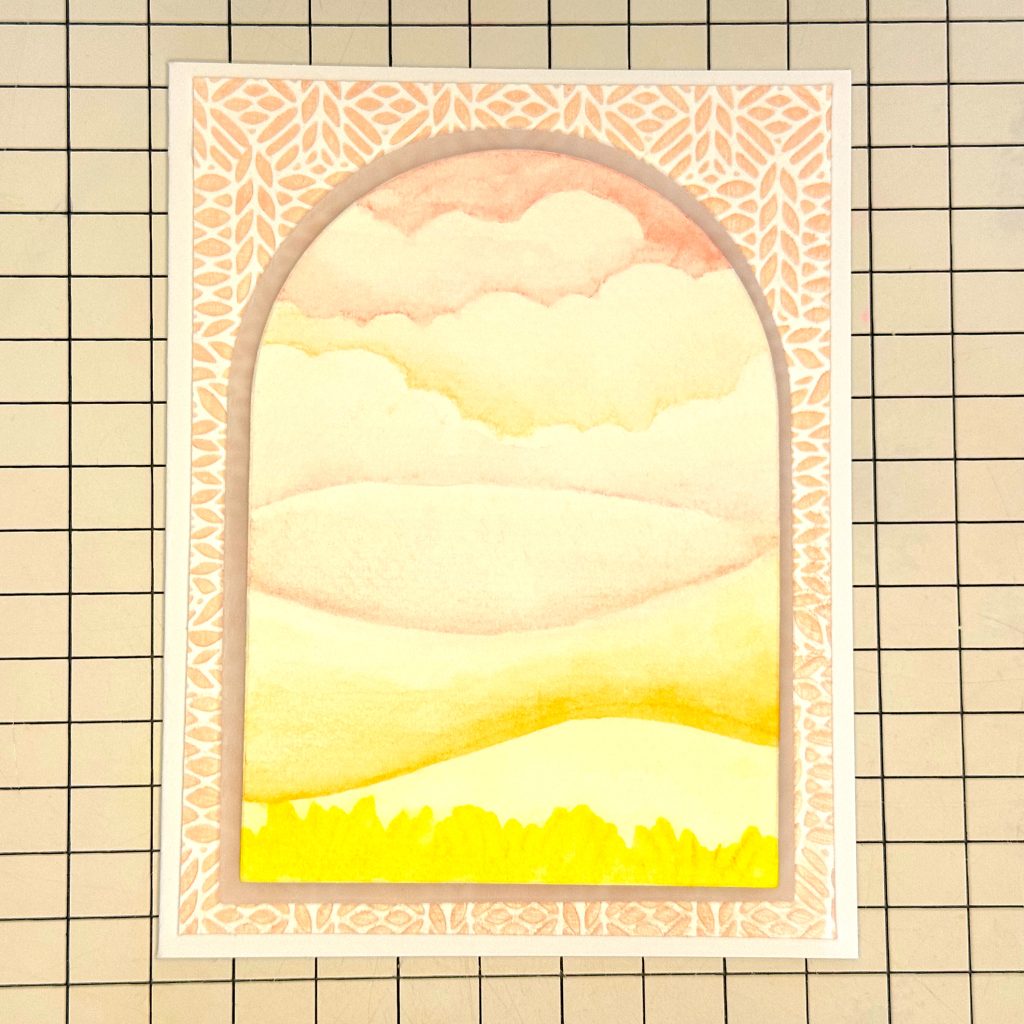
The scene I was visualizing needed a frame of some sort. After browsing through my Spellbinders bin, I selected a die set called Essential Arches. From this I used the 5th-largest arch to cut out a piece of watercolor paper and a piece of Accent Opaque.
To give the scene some context, I used the Kat Scrappiness Scene Builder Stencil and my Distress Watercolor Pencils. I drew with the pencils along the lines, removed the stencil and added more shading.
When everything was dry, I glued the watercolor paper to the Accent Opaque. I dry fitted the arch against my card base and felt that the watercolor landscape got lost against the texture and color. So I cut the 4th-largest arch from vellum and glued my watercolor landscape onto it. Then I used 2”-wide foam tape to adhere the arched panel to the card base.
Assembly
I started by assembling the scarecrow. Because the structure that the scarecrow hangs from was stacked on 2 layers of Accent Opaque, I added 2 layers behind the left and right sides of the shirt and the lower part of the pants before gluing them together. This way the front of the clothing is mostly level.
Then I glued the bundles of straw sticking out of the scarecrows shirt and pants to the back of the sleeves and pants. The samples on Spellbinders’ site only have one bundle of straw sticking out of each hole, but I used two for each sleeve and three for the pants legs for a fuller, layered look.
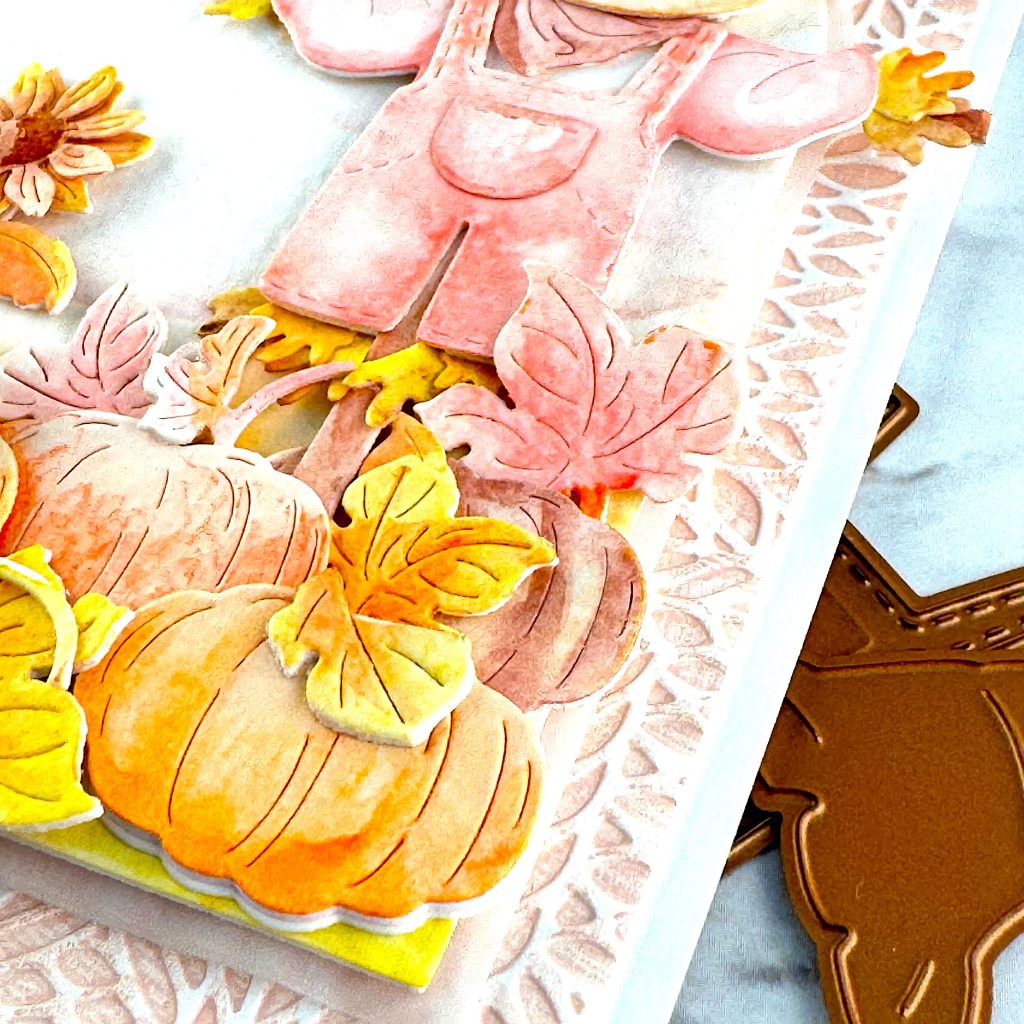
I also glued the front pocket to the bib. I checked my composition and glued a dark pumpkin to the landscape before I glued down the main part of the scarecrow.
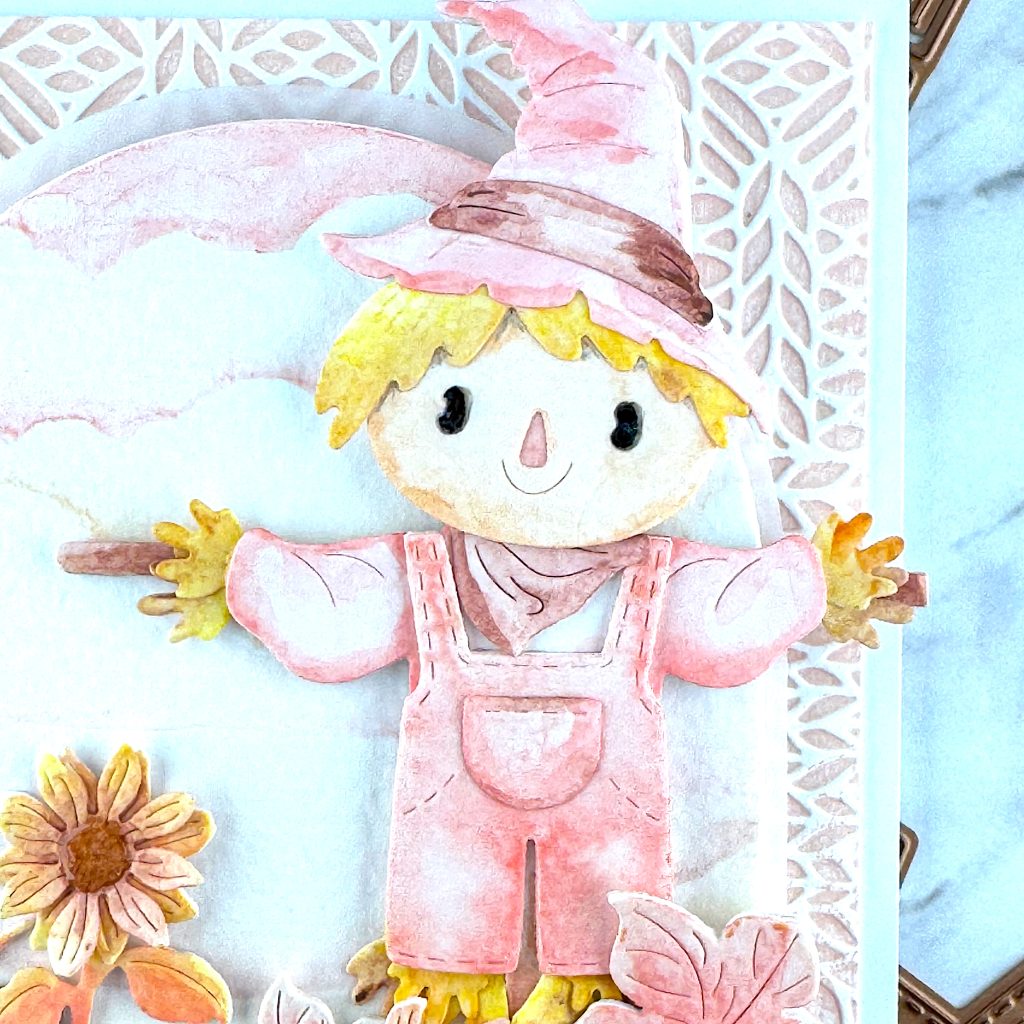
Next I turned to the head. I glued the hat band to the witchy hat, but didn’t use the buckle. I had colored the face back panel and glued it to the backside of the head. I also added the hair to the front. Then I stacked layers of Accent Opaque behind the head until I could dry fit it to the body without it tilting.
I glued the hat to the hair and added layers behind it, until everything was level when dry fitting. I also had to add two layers of foam tape behind the top of the hat because it sticks out from the arch. Then I could finally glue the head to the body. There’s an embossed line at the top of the shirt that shows where the chin goes. I also tucked the neckerchief under the chin.
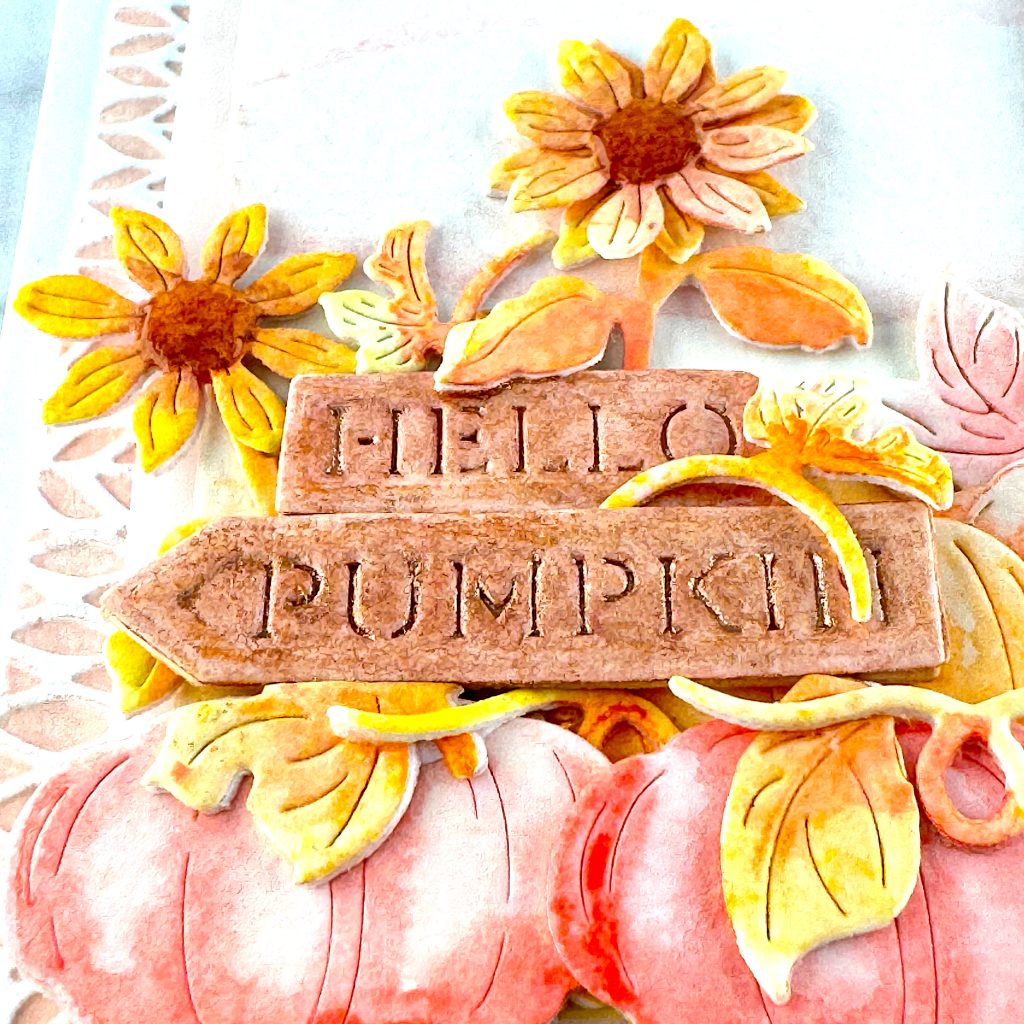
Turning my attention to the Hello Pumpkin sign, I knew I wanted the sunflowers to stick out behind it. So I glued them down first. Then I glued down the sign post, built up the layers behind the signs and adhered them.
The pumpkins, vines and foliage were next. I had created eight pumpkins and managed to place six of them along the bottom of the arch.
To further decorate my card, I used a Nuvo Shimmer Pen in the color Midas Touch on the signs and the sunflower centers. Finally I added Glossy Accents to the scarecrow’s eyes and the sunflower centers.
