

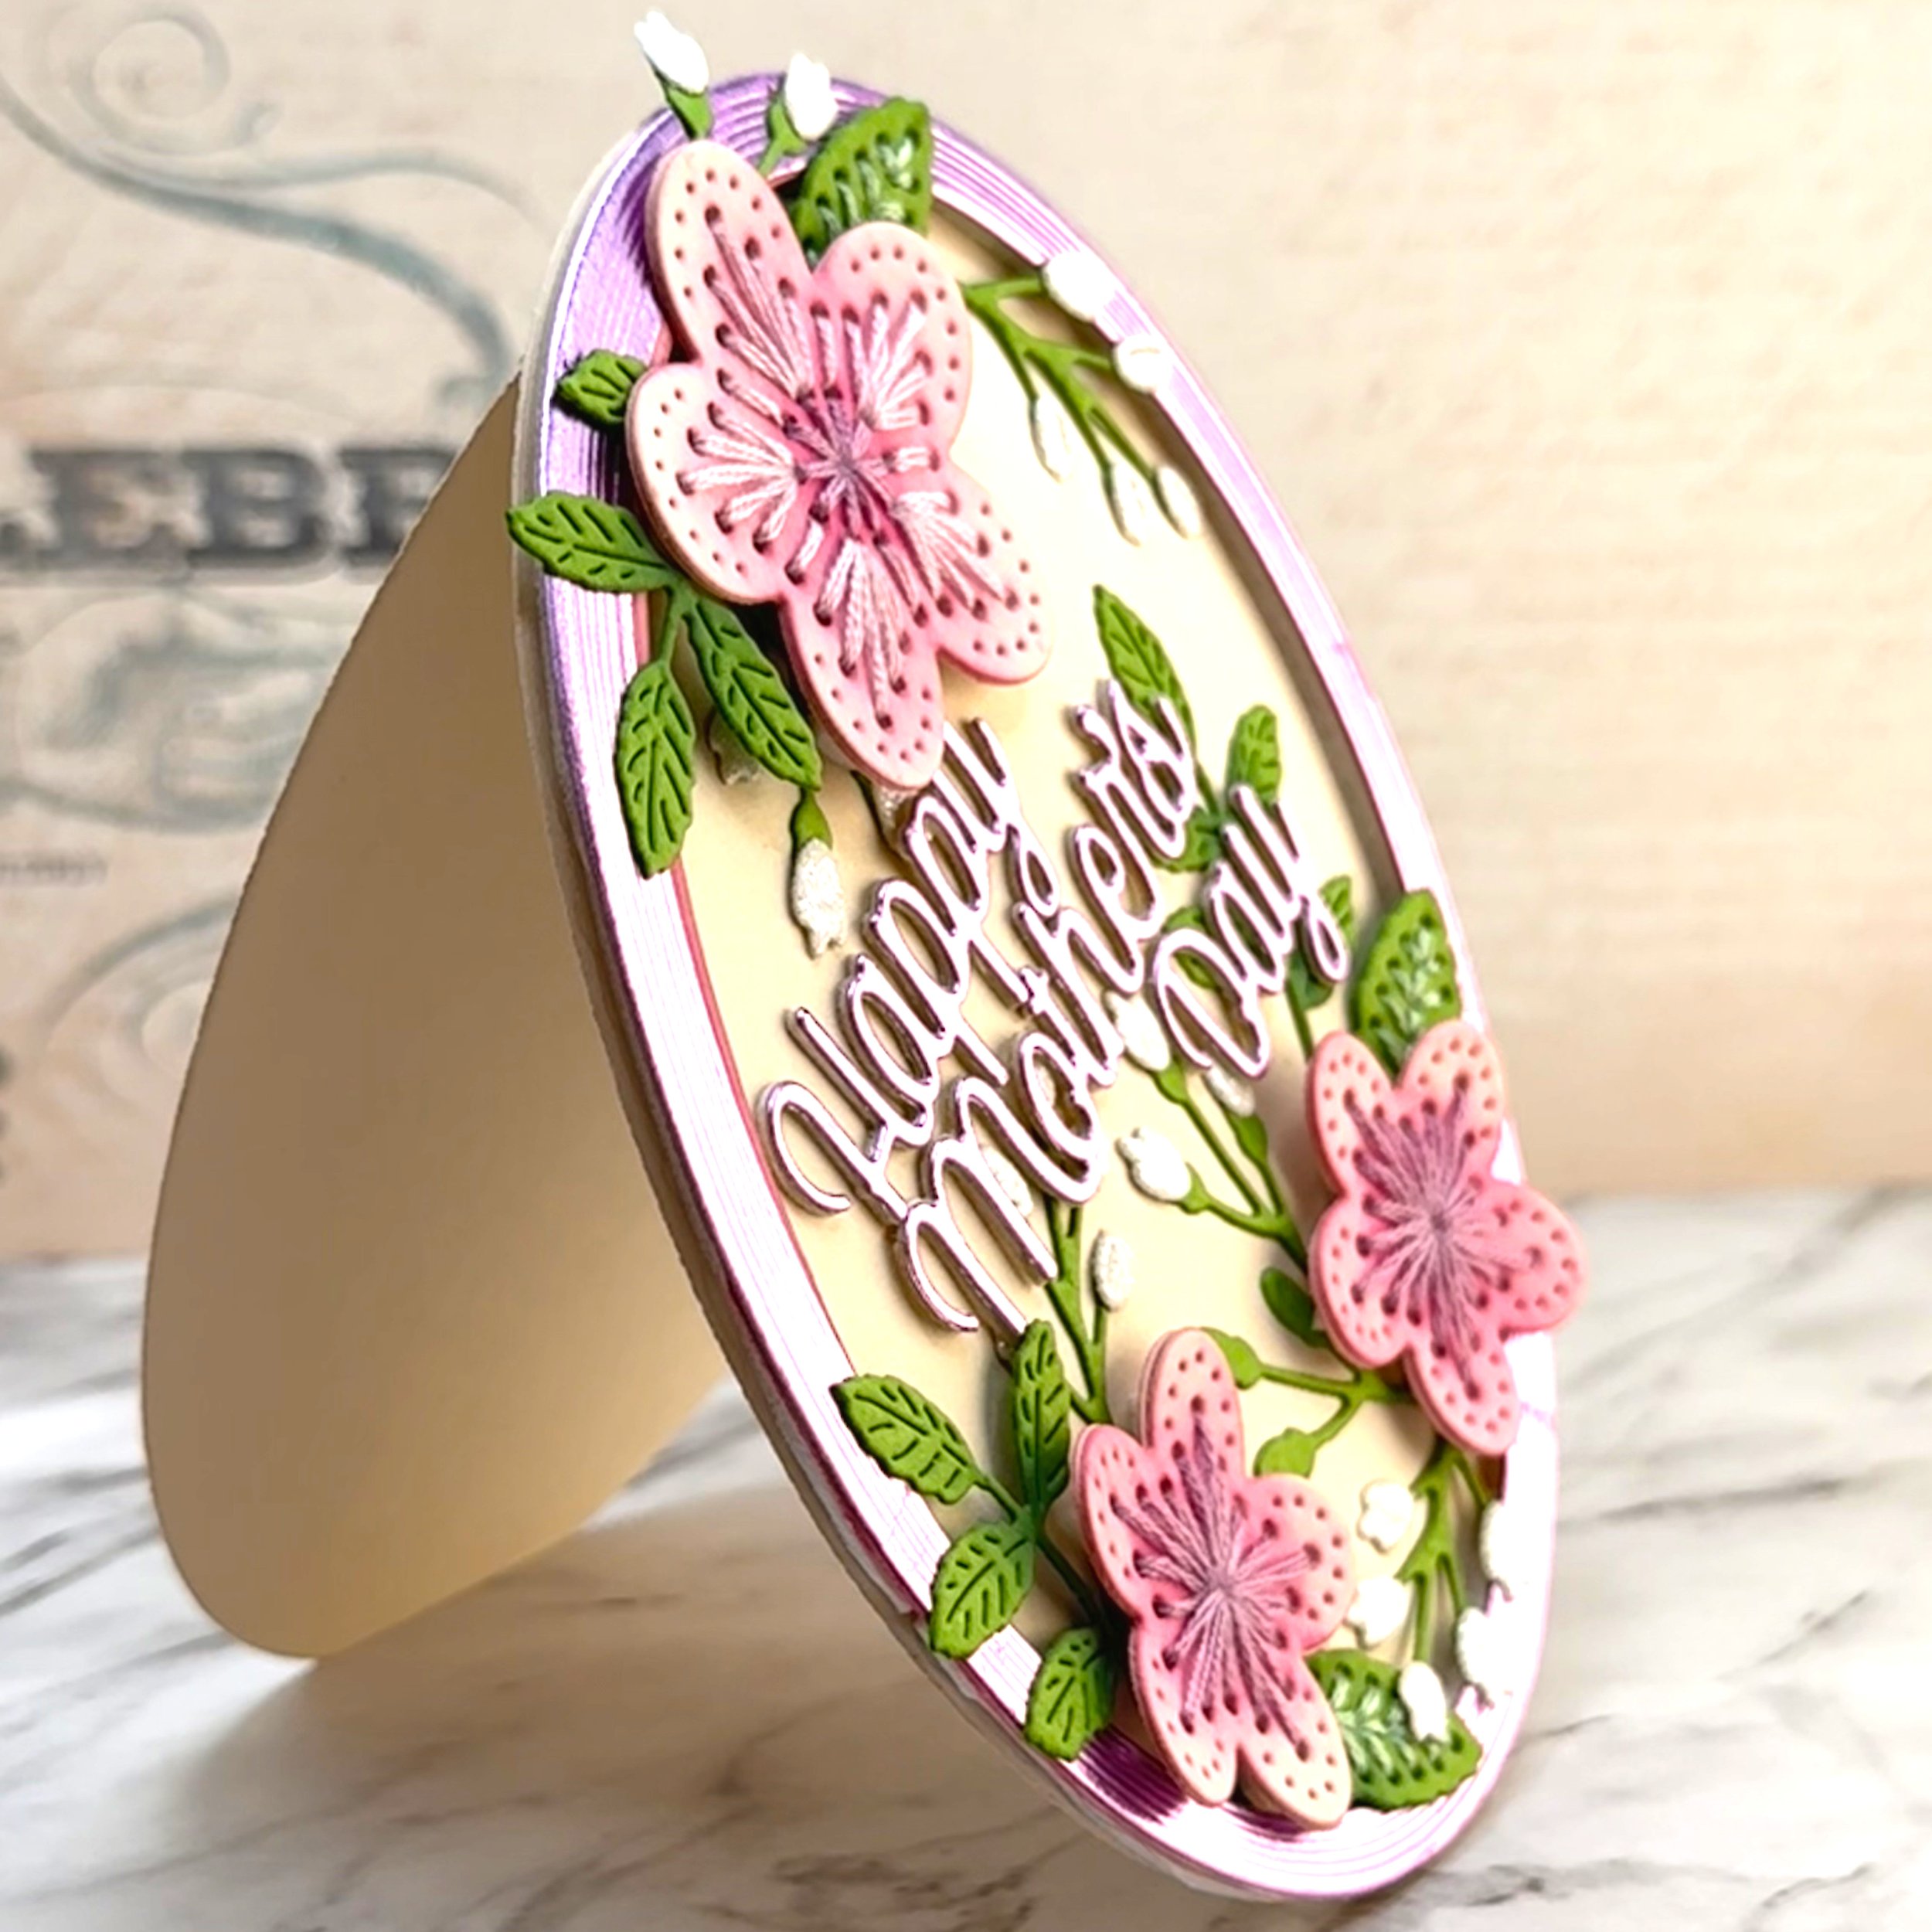
Stitched Mother’s Day
Affiliate links: You support my crafty business whenever you click on a link and buy something, and it doesn’t cost you a penny extra.
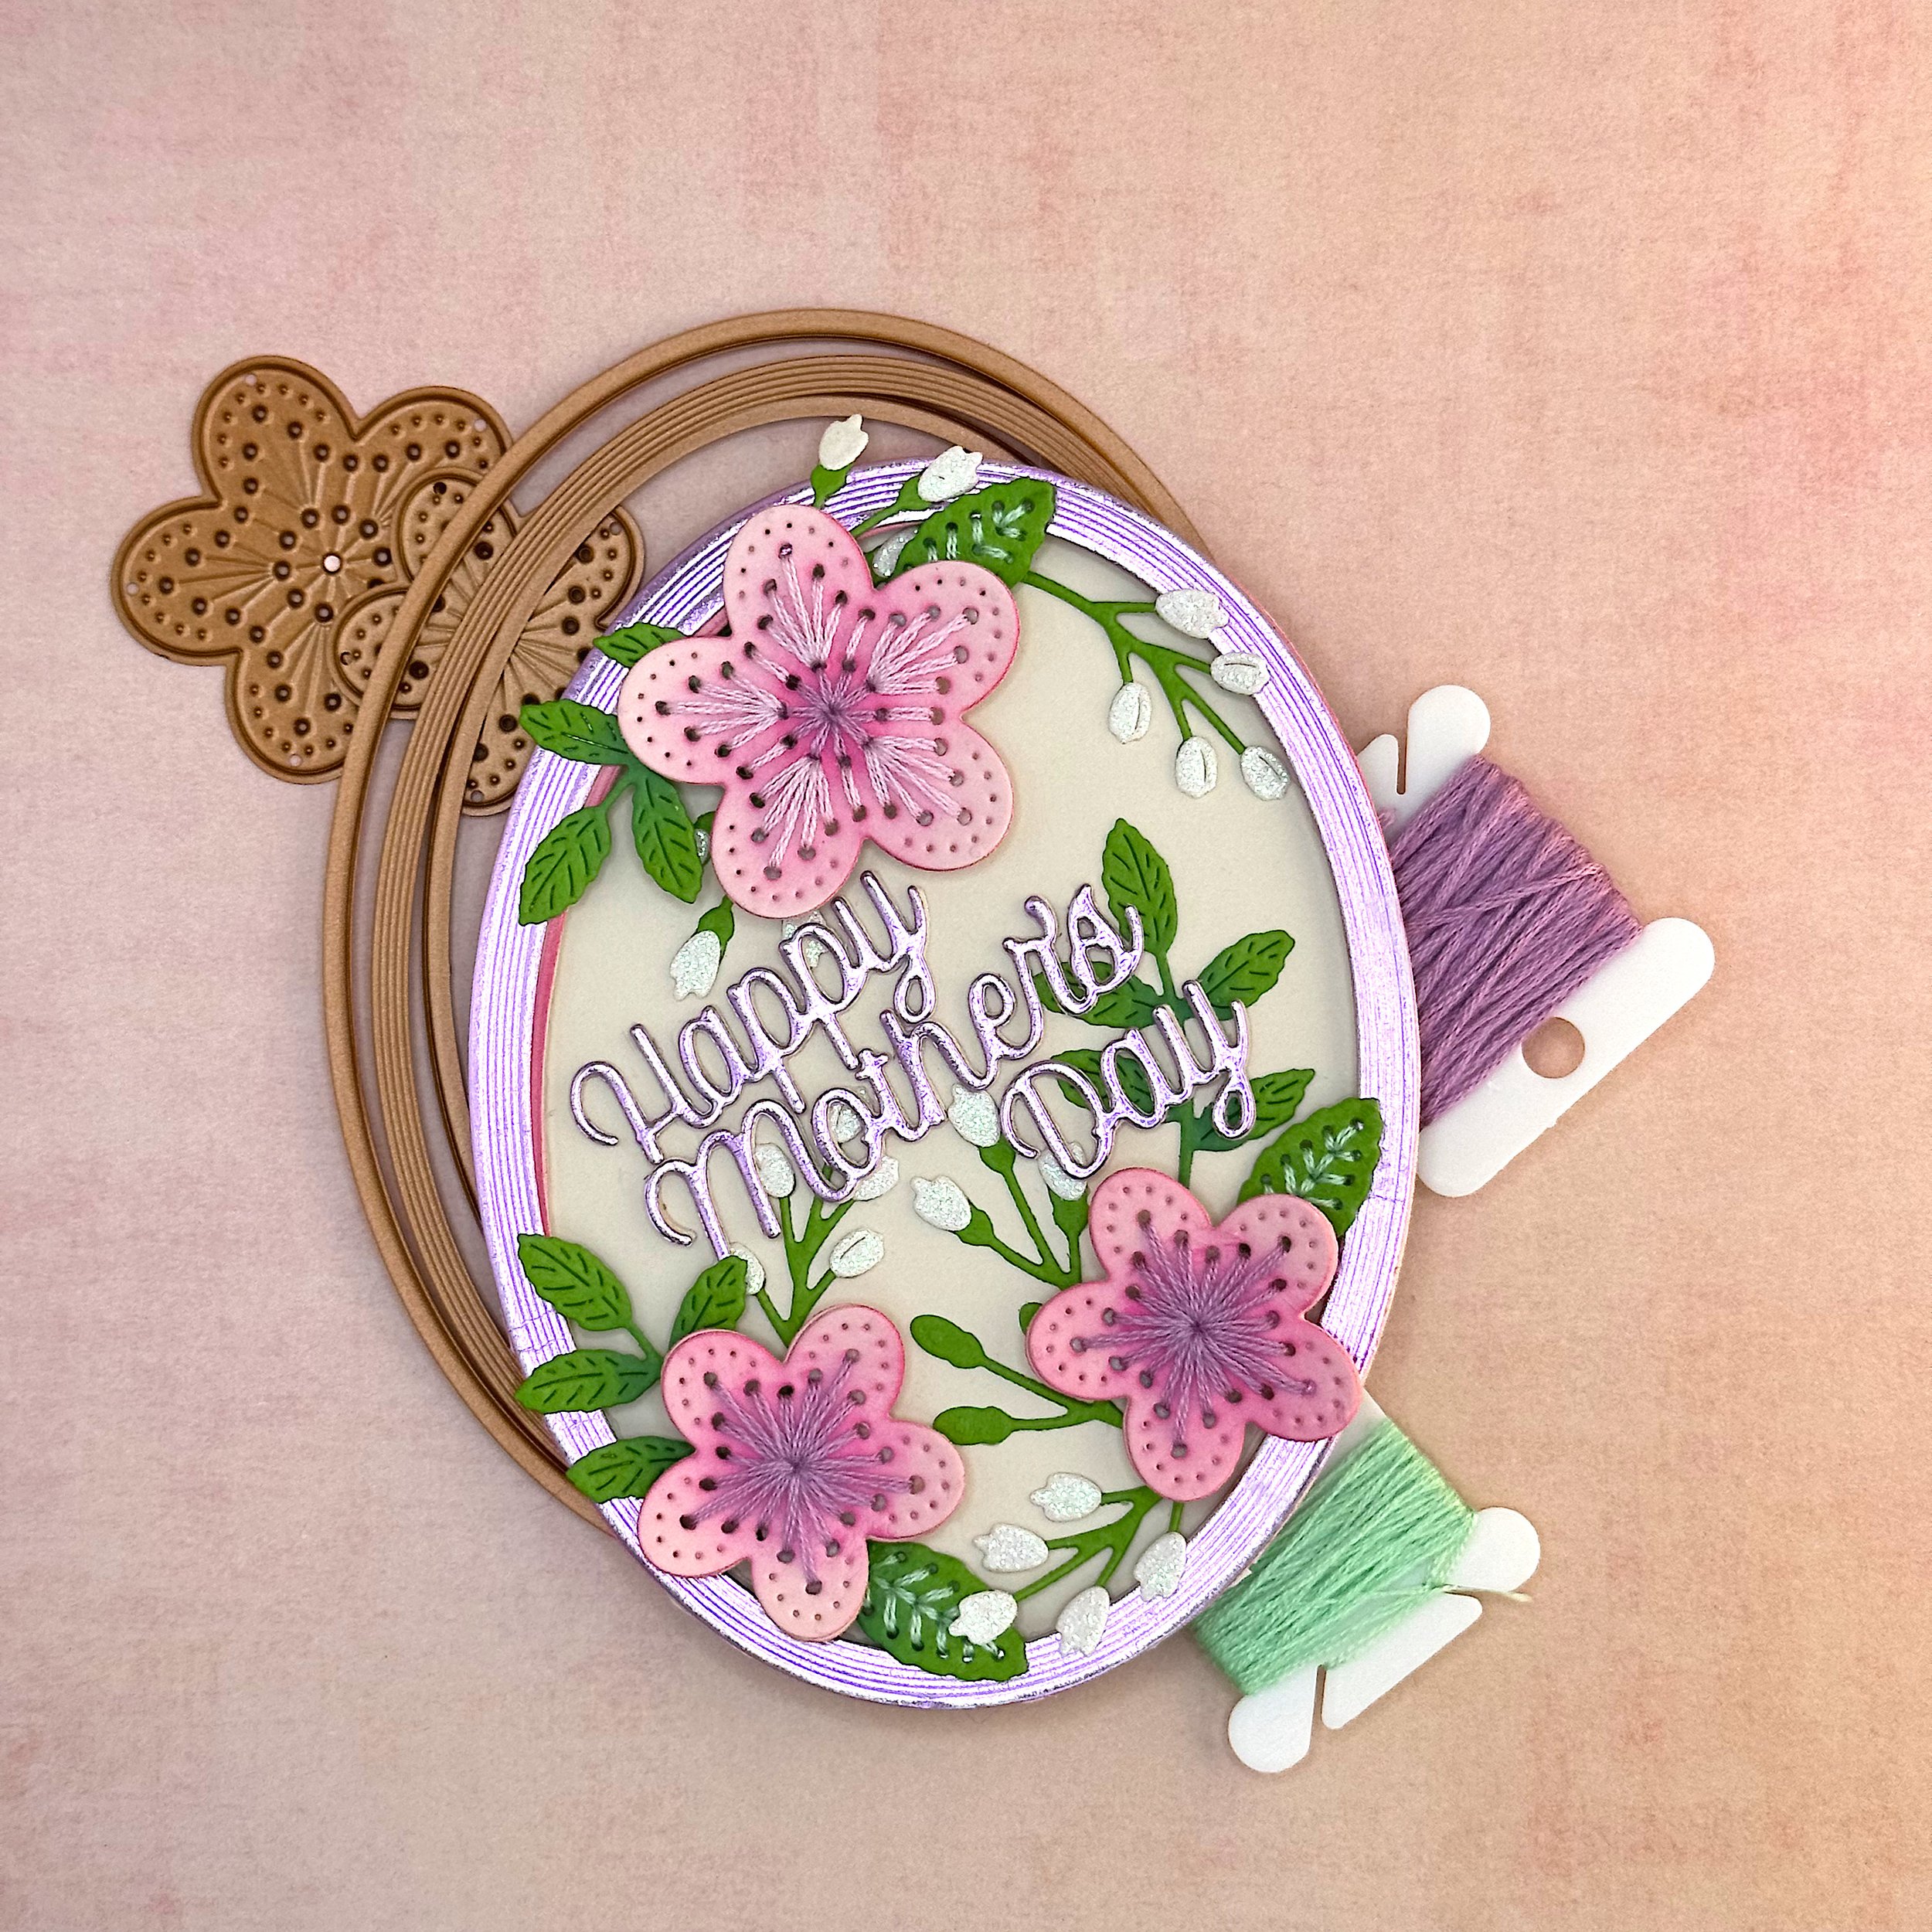
For this card, I used the Spellbinders Stitching Die of the Month for April 2024. It’s called Stitched Wall Hanging and includes an oval embroidery hoop, as well as two stitched flowers and a stitched leaf. Smaller, non-stitchable flowers and leaves are also included. So is a “for you” sentiment. The sentiment is an older Spellbinders set, that’s still available from Amazon. It’s called Merry Everything. It includes Happy Father’s Day, too.
Die Cutting and Card Base
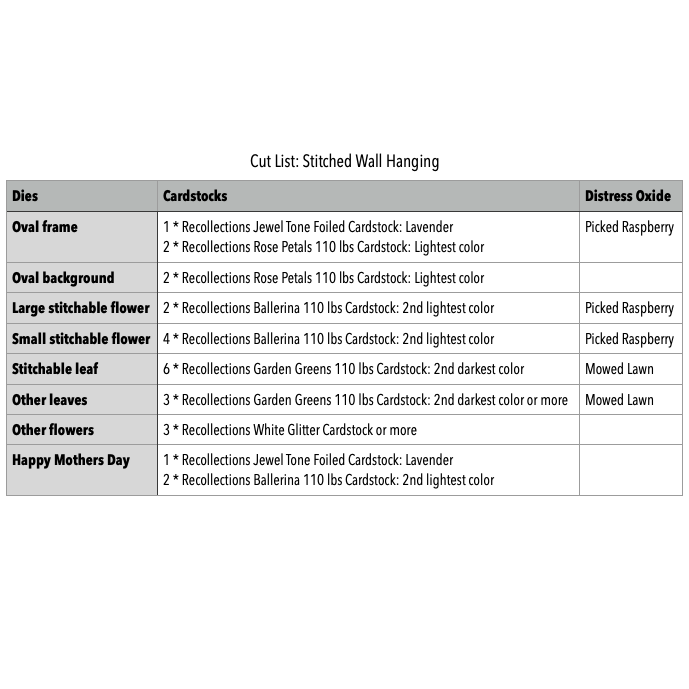
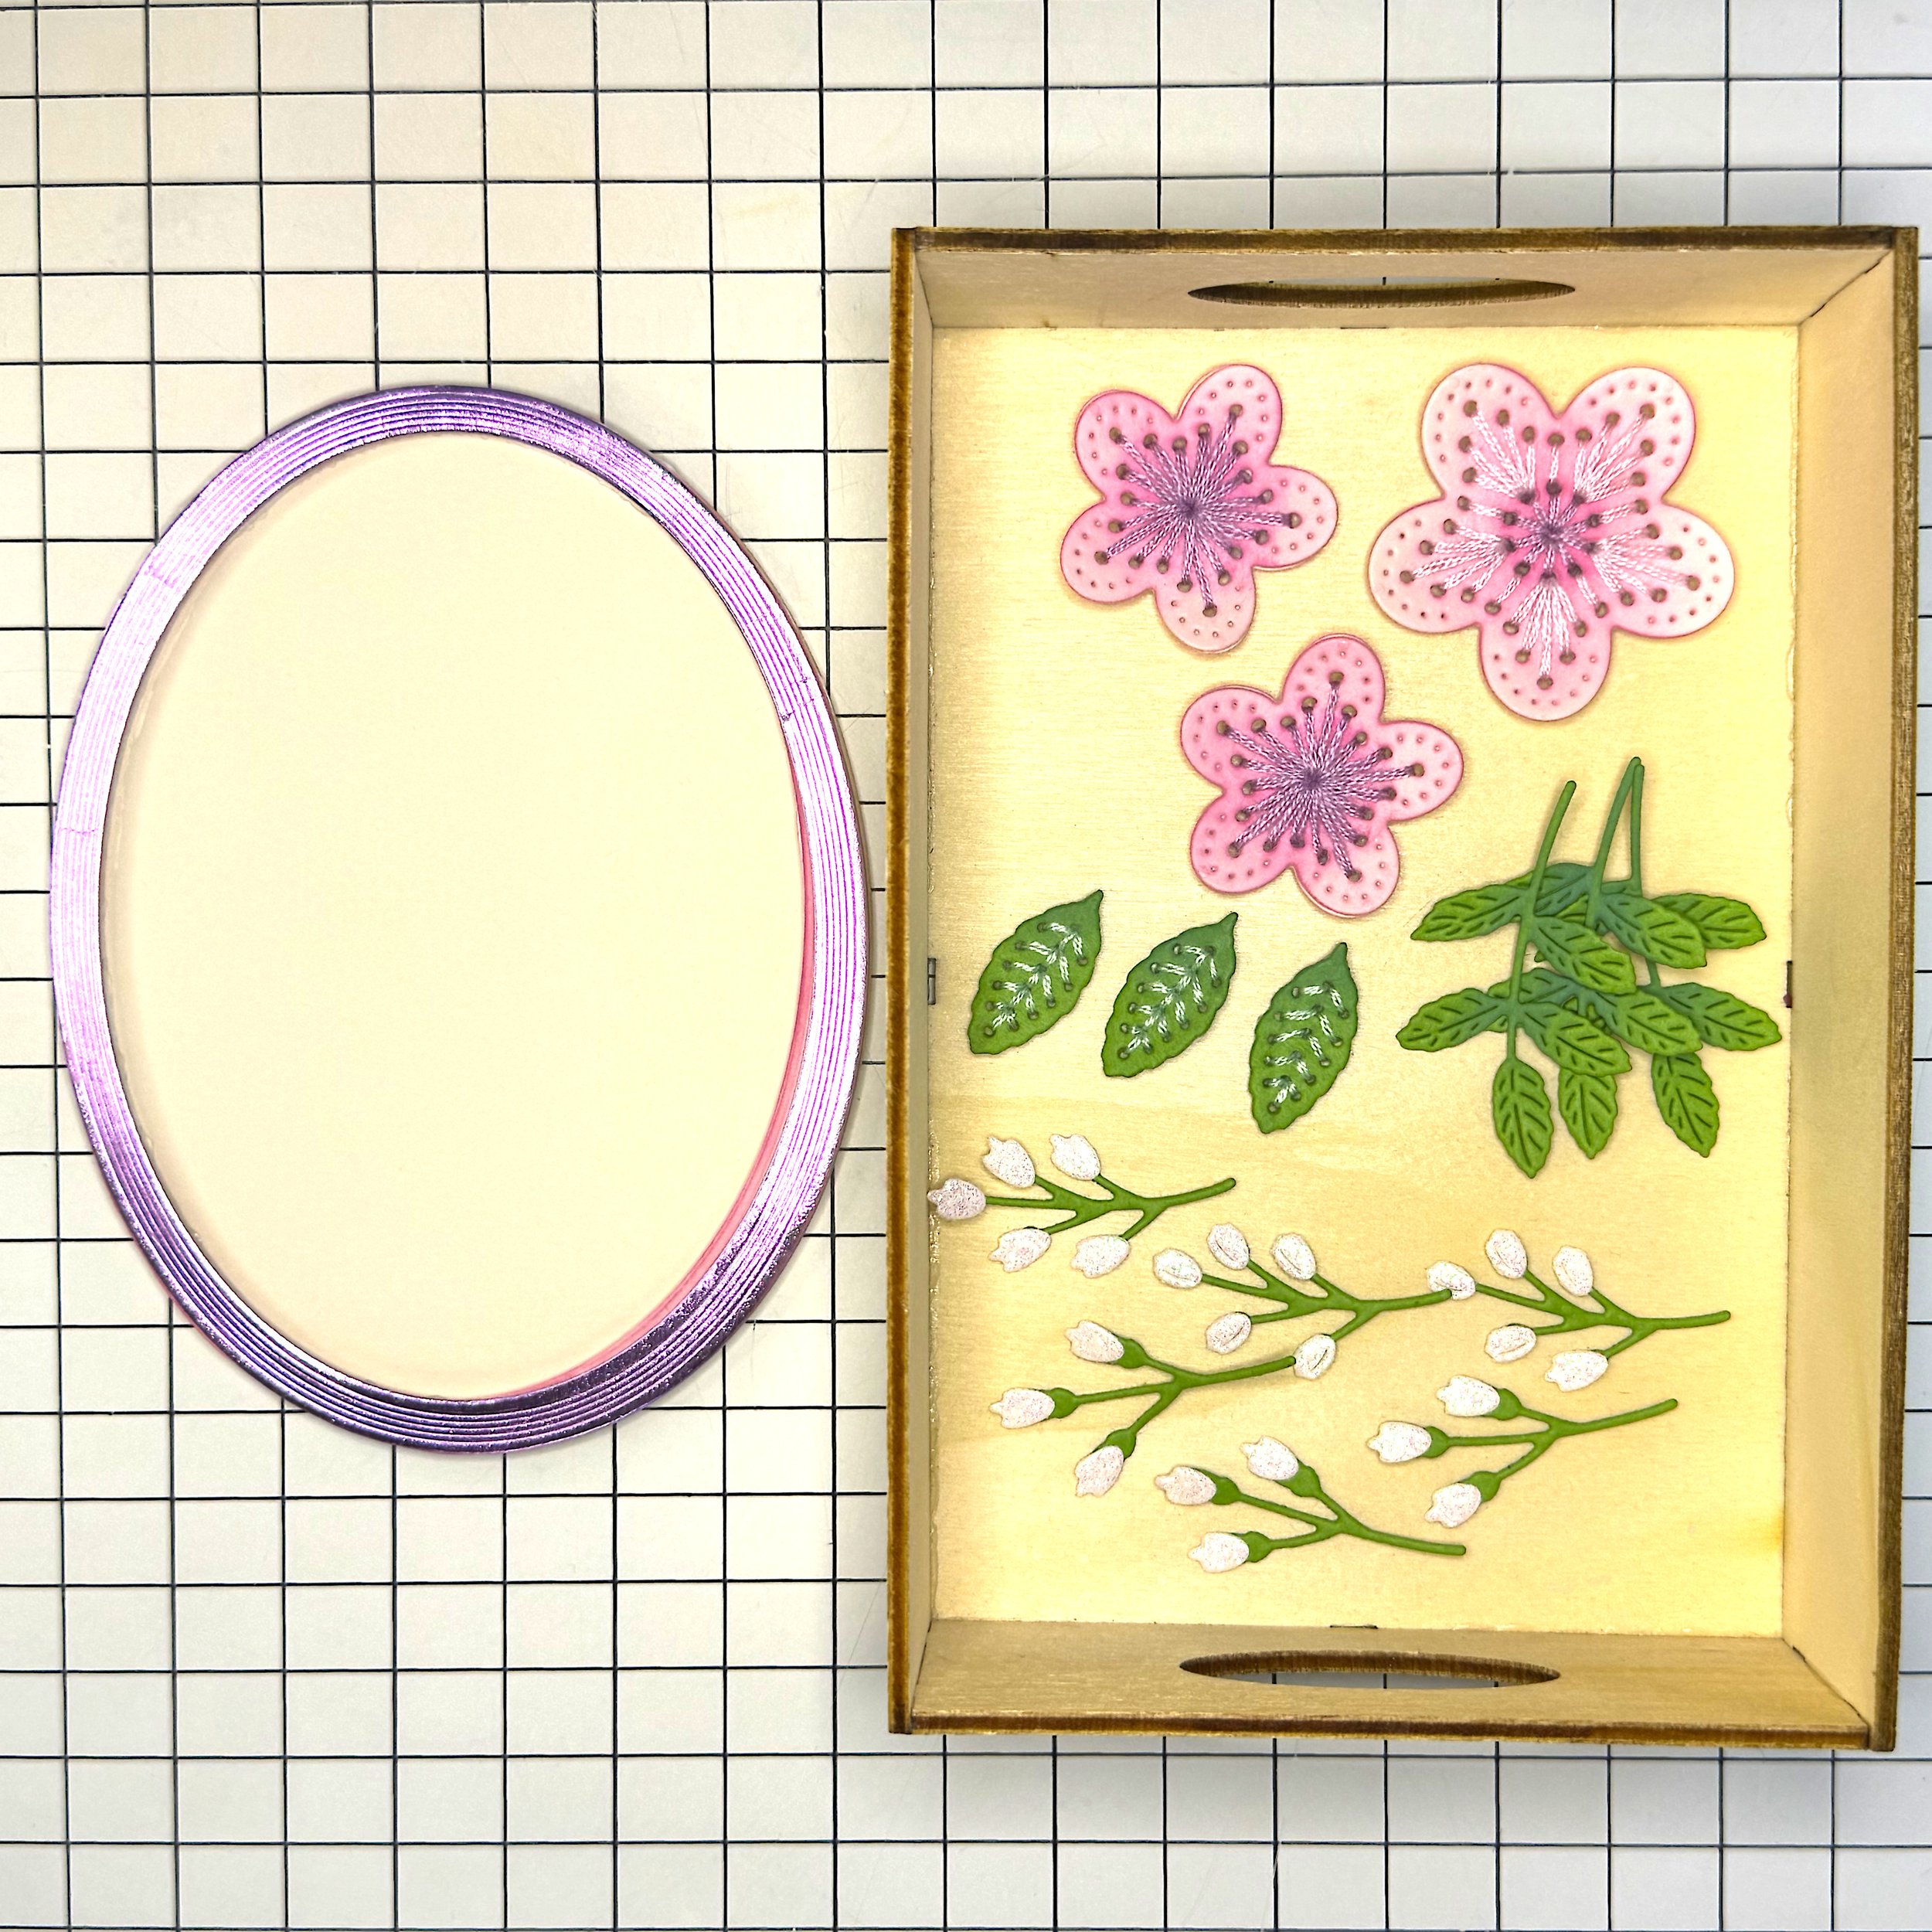
I started by die cutting according to the cut list above. Most of my cardstocks are by Recollections.
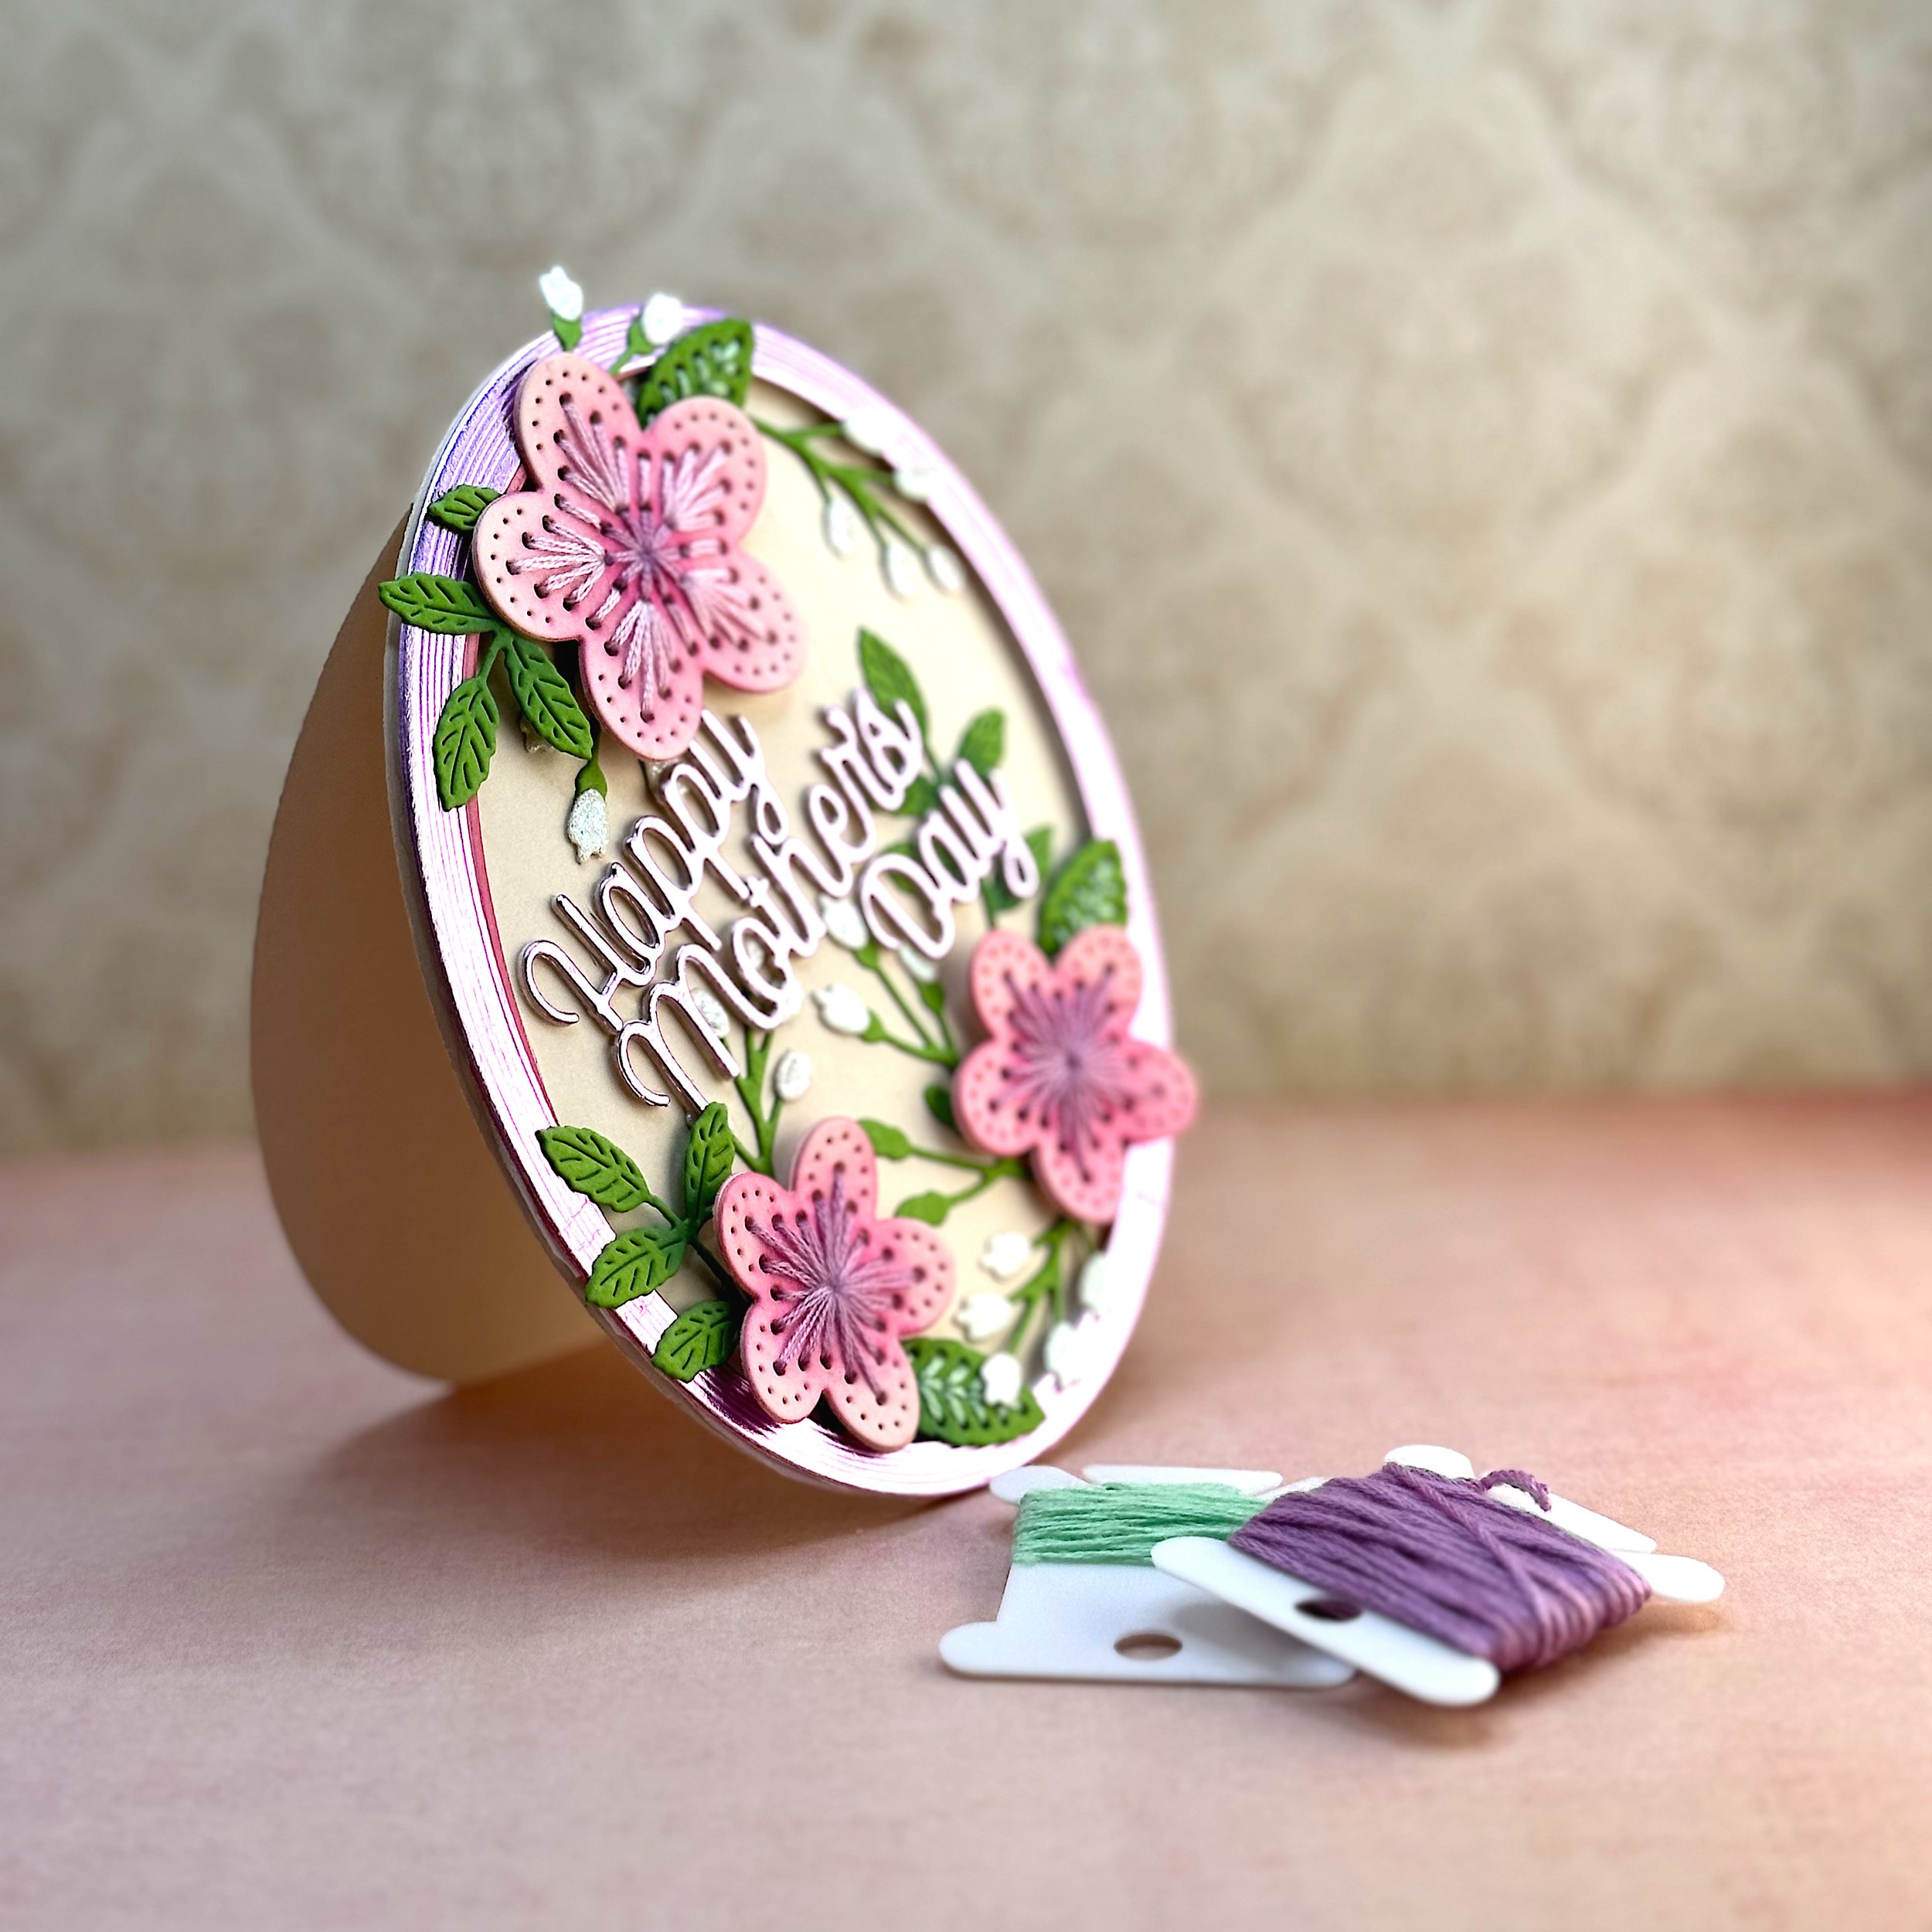
Next I created the card base from the two ovals. On one oval, I scored horizontally 0.5” from the top. After I had reinforced the fold with my teflon bone folder, I applied glue above the score line. Then I lined up the two ovals and allowed the glue to set.
To allow the card to stand up, I lopped off 1-2 millimeters from the bottom. It’s important that this cut is level, or the card may lean and/or fall over.

Inking and Stacking
With the card base ready, I stacked the frame and sentiment, as well as the stitchable flowers and leaves. I ended up with a frame, a sentiment and a large stitchable flower. I also had two small stitchable flowers and three stitchable leaves.
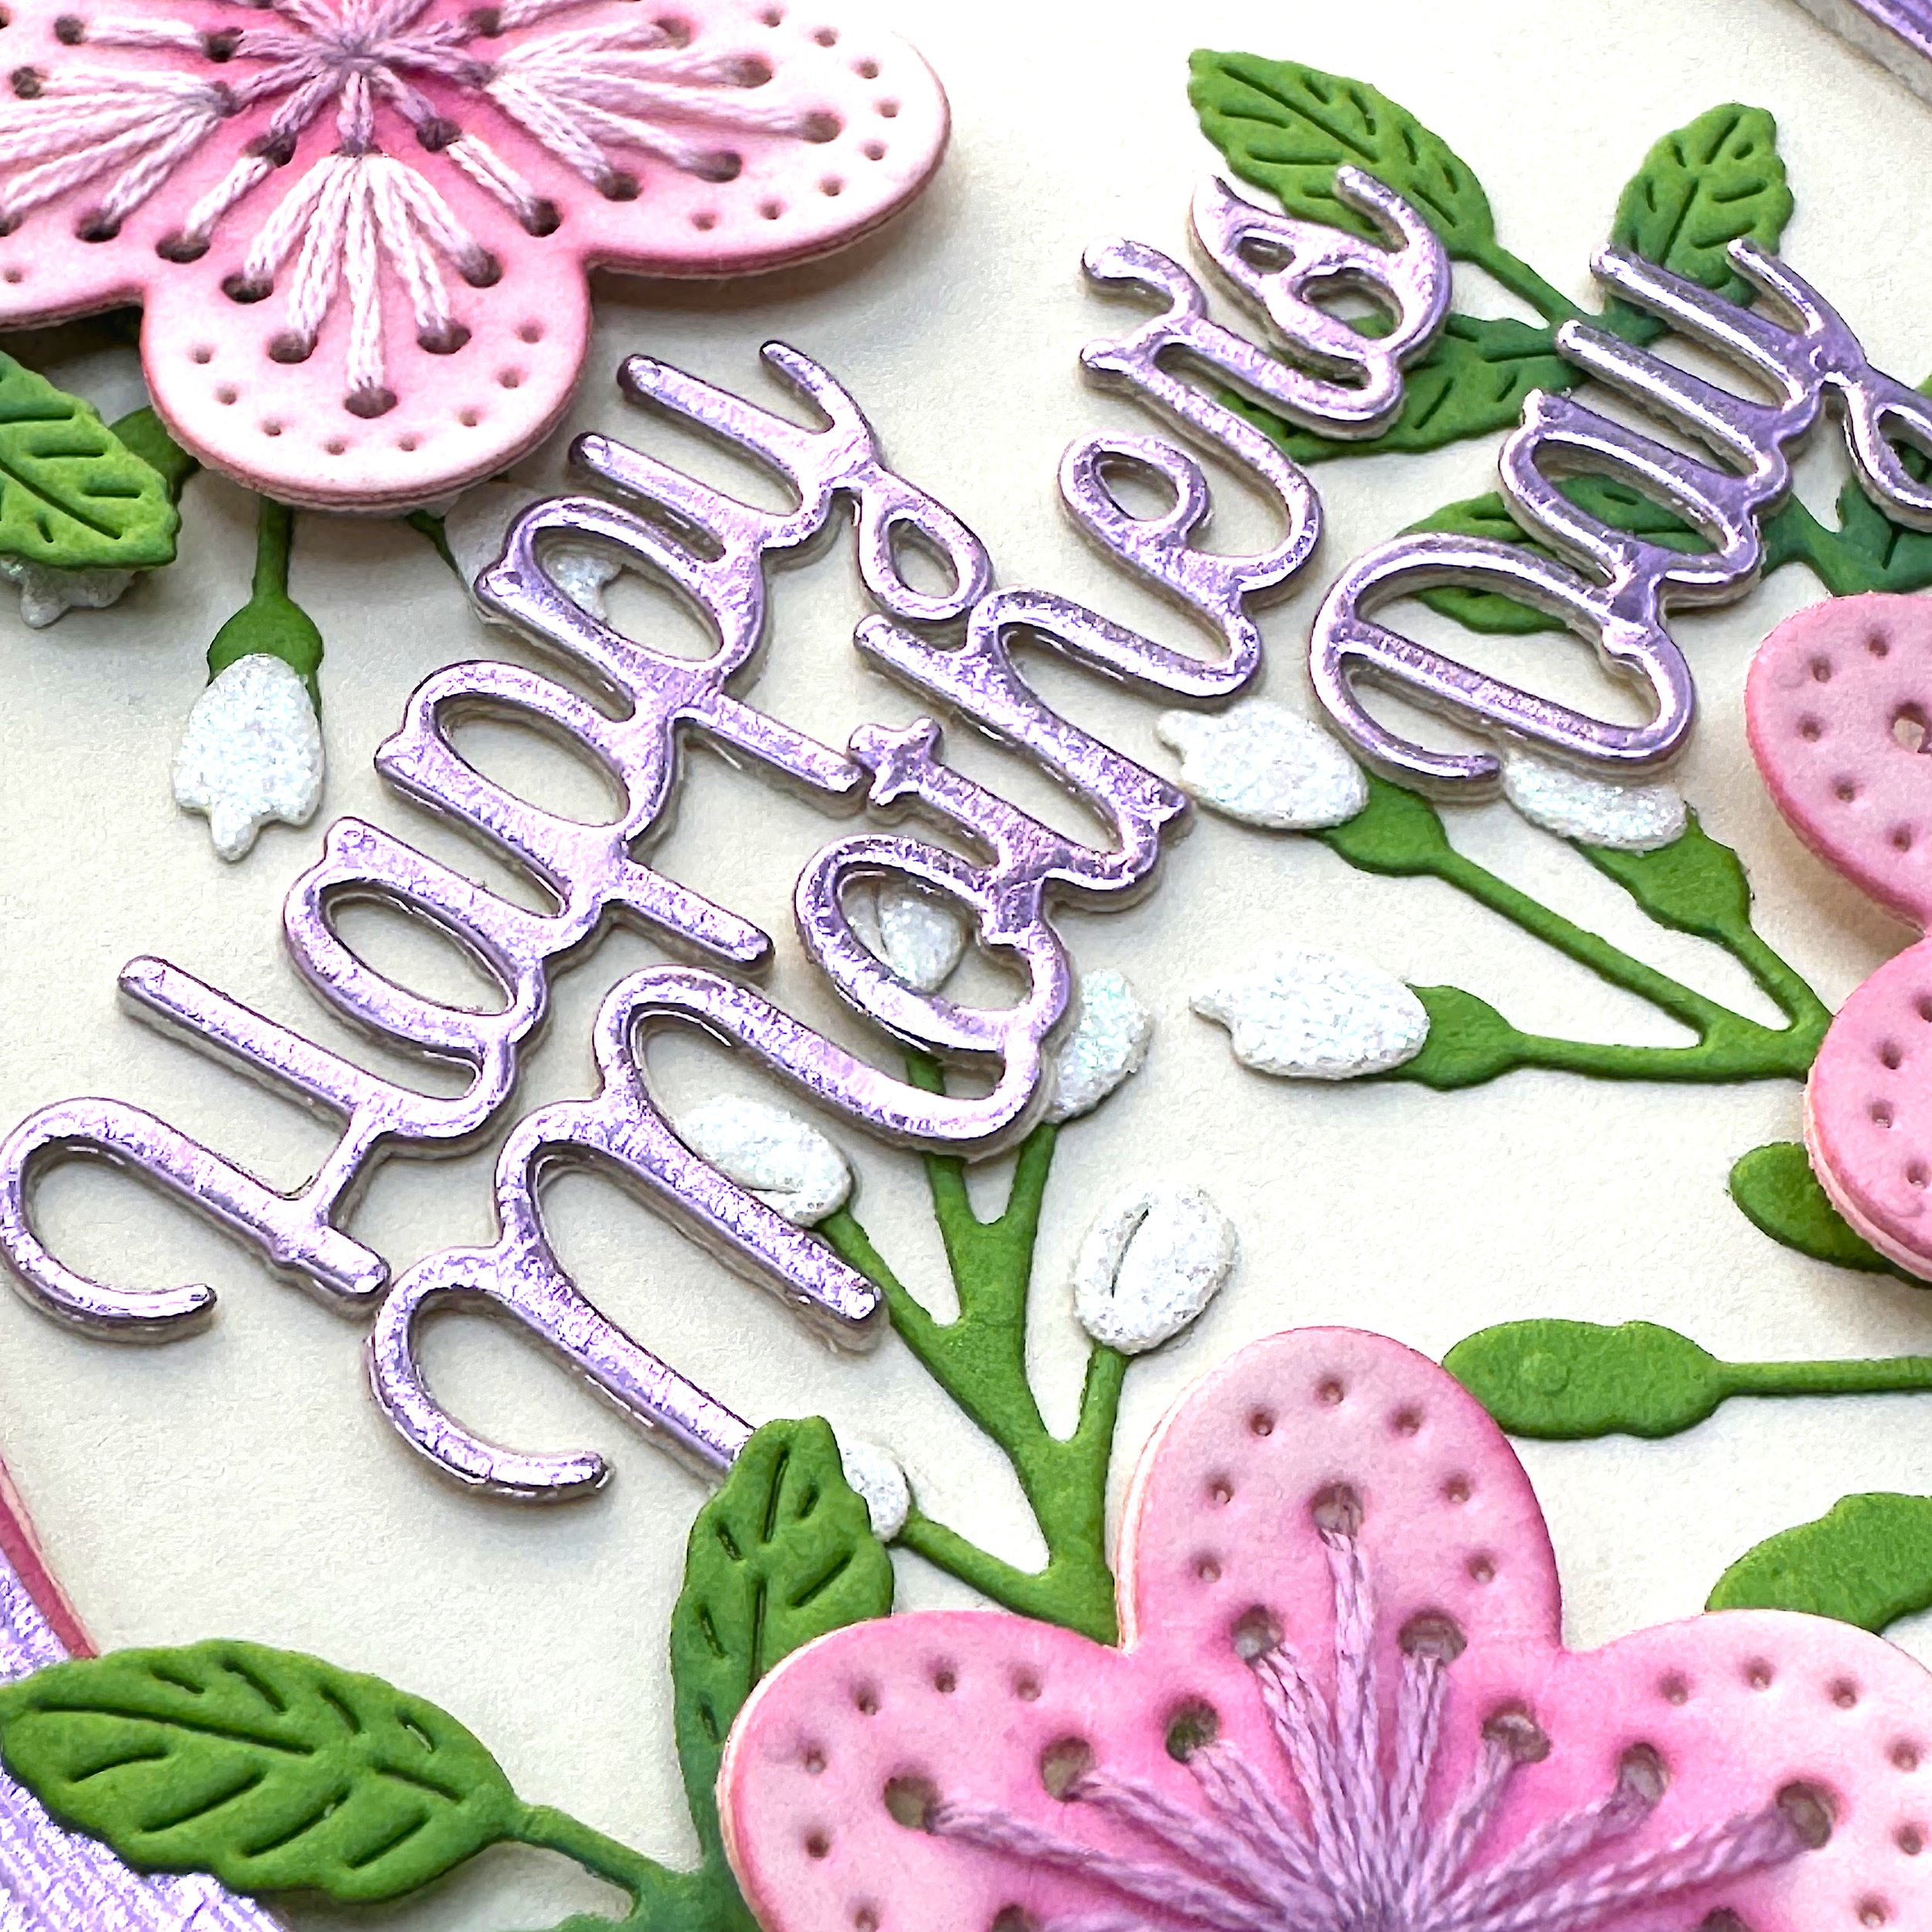
I ink blended the frame, flowers and leaves, using Distress Oxide inks per the cut list above. On the flowers I concentrated on the centers. For the leaves I blended most of the color onto the bottom and centers.
Then I glued the white glitter flowers to the stalks.
I adhered the frame to the card base with thin strips of foam tape. If you remove the backing from the foam tape, it’s easier to bend it to follow the frame. You can always add glue to the exposed side of the foam tape for better hold.
Stitching
I stitched the leaves with two strands of light green embroidery floss, following the embossed lines to mimic leaf veins.
I stitched the flowers with two shades of lavender that I matched to the color of the frame. On the small flowers I used the darker tone. I also used the darker tone in the center of the large flower. The lighter tone was used on the outer part of the large flower. I did all stitching on the flowers with 3 strands.
Assembly
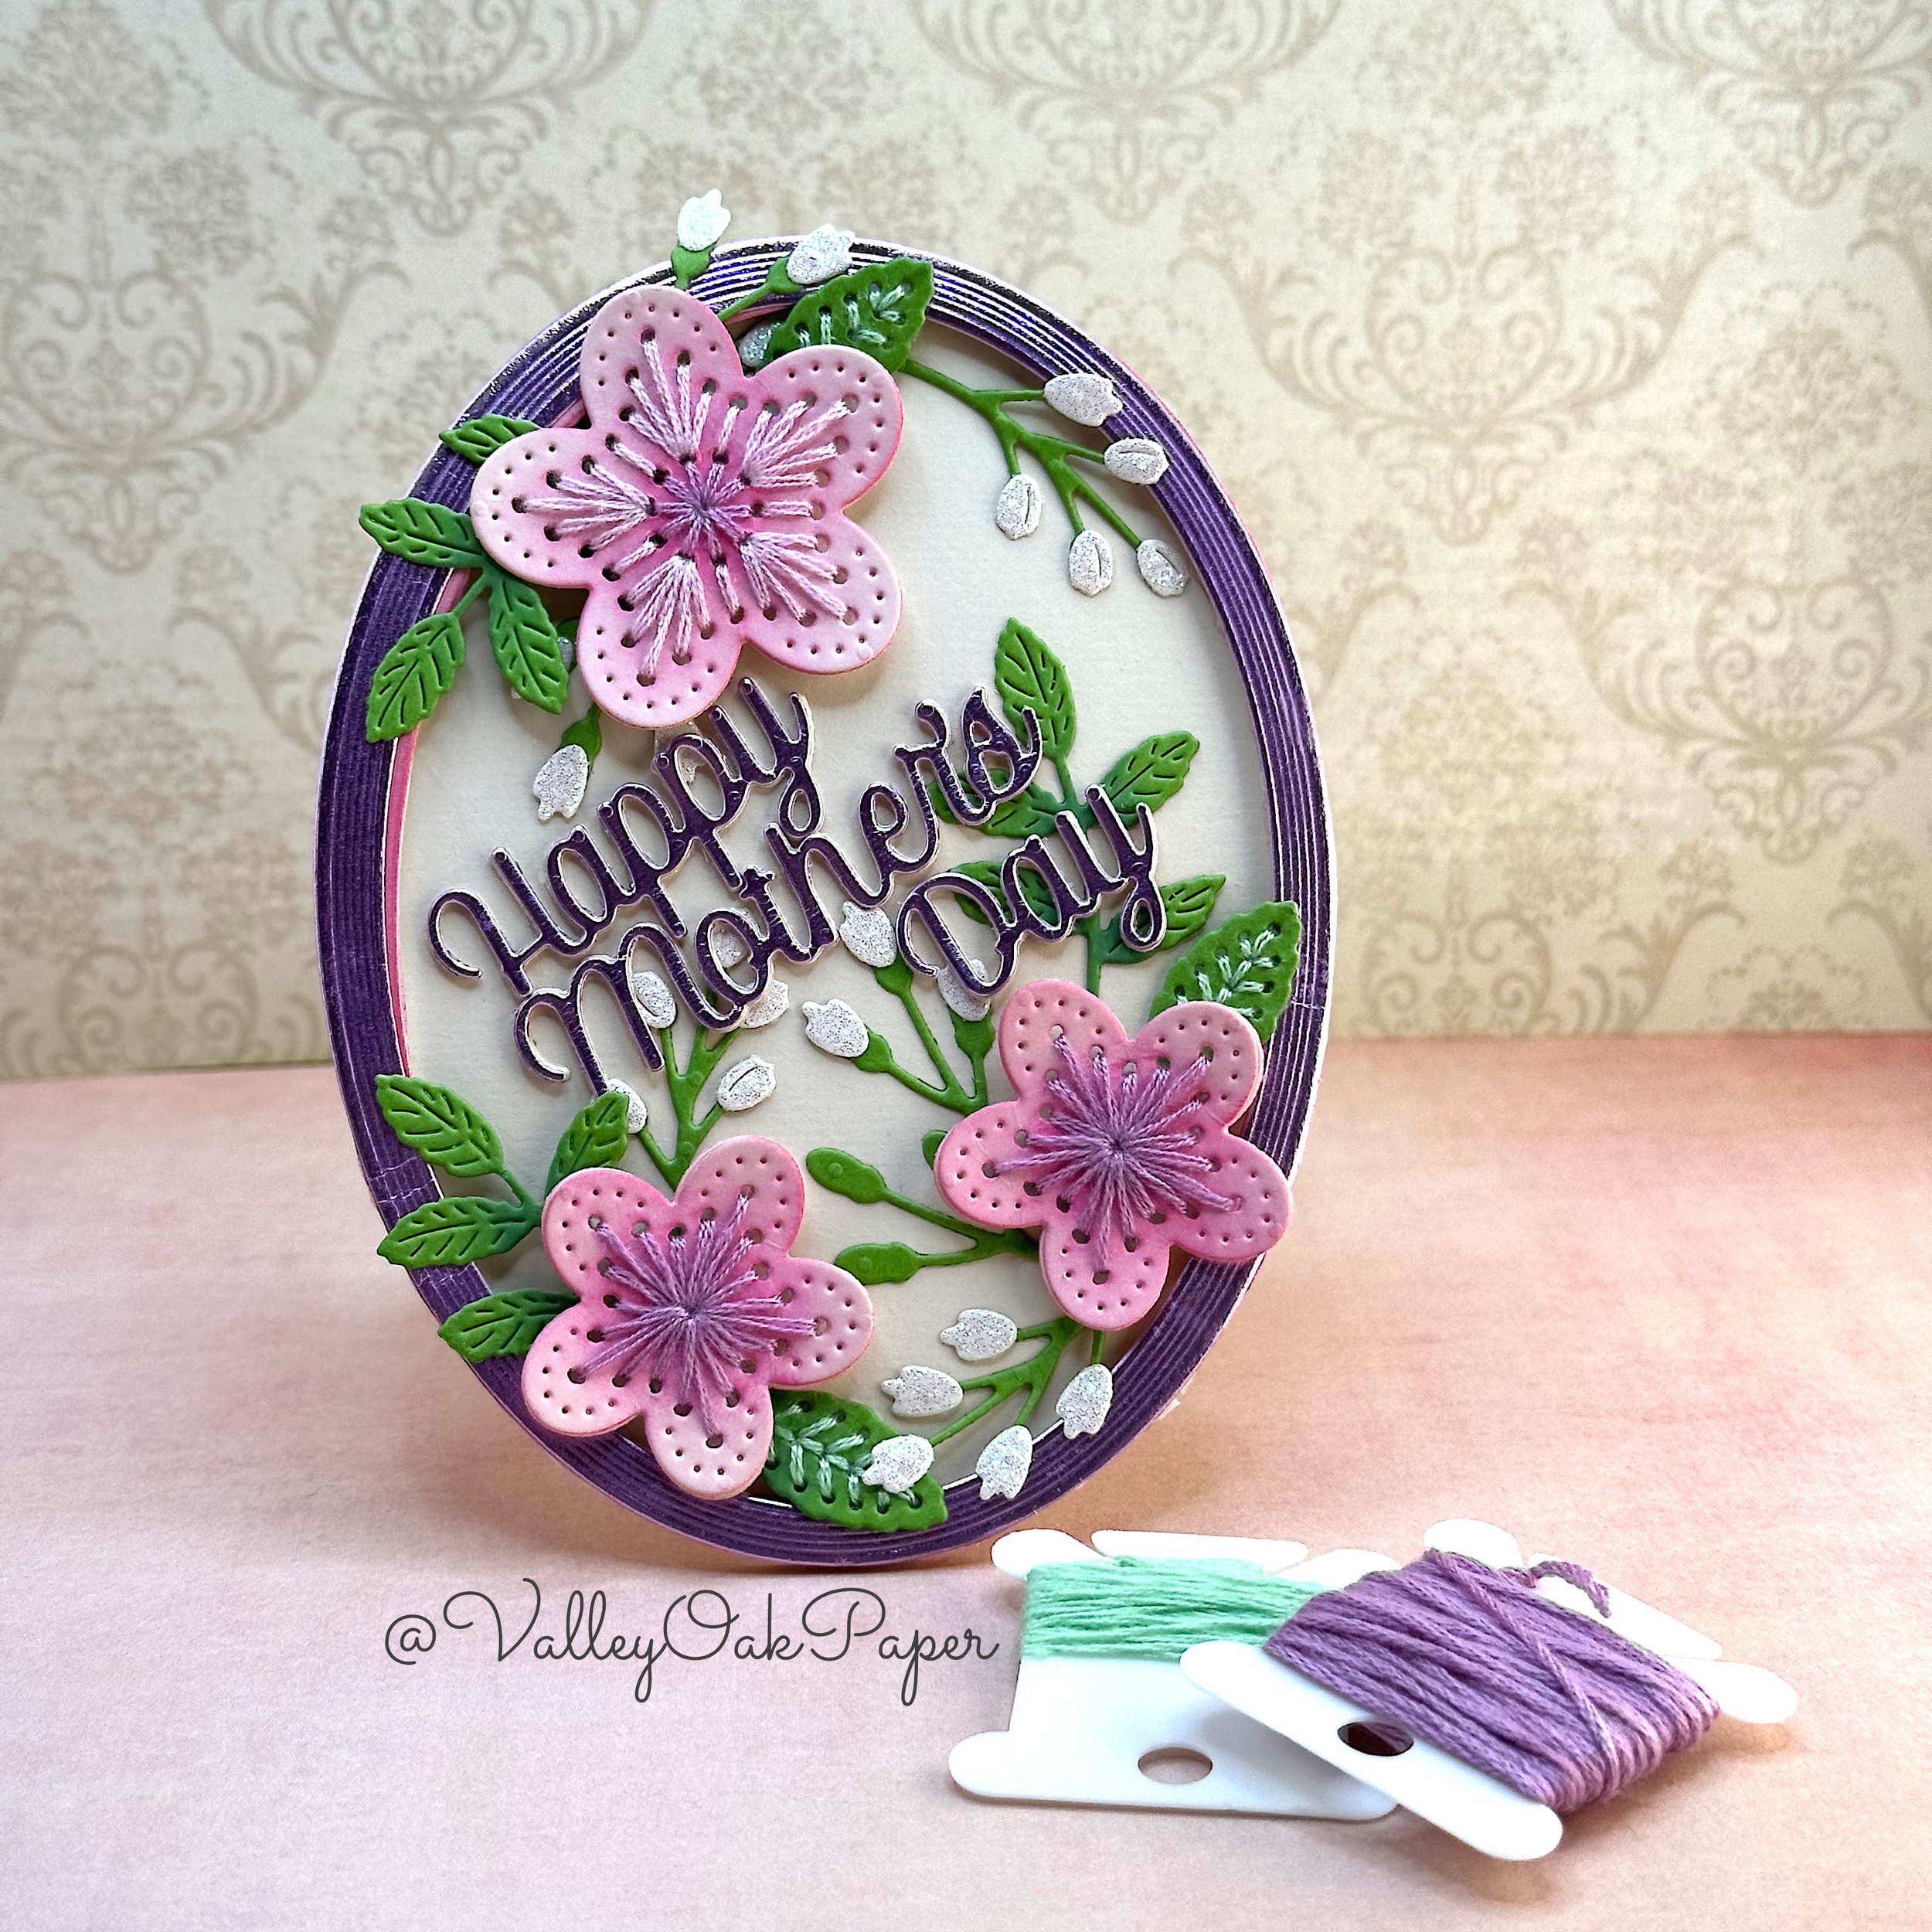
I knew that I wanted to lift up the flowers, so they’re above the frame. So I placed the large flower at the top left and the smaller flowers toward the bottom. I think it looks better with one a little higher than the other.
Then I placed the greenery around the flowers, so it would cover most of the background. I made sure that I had room for the sentiment between the flowers before I started gluing down the greenery to the card base and frame.
Finally I adhered the stitched flowers with foam tape and glued down the sentiment in the middle.